ENGLISH 5
water connection point and the inlet side of the filter head
(1/2" & 3/8" washers included in washer pack)
8. Usage instructions
9. Isolating (shut-off) valve and Pressure Limiting Valve with
back-flow prevention and adapter
10.T-piece
11.Washers
Recommended tools for installation: one Allen hexagonal key (4 mm),
a pipe wrench, adjustable spanner for different sizes.
Recommended for installation of the wall mount bracket: two screws
(e.g. 5 mm in size) and two wall plugs (if necessary).
Please use appropriate screws and wall plugs for the type of wall in
the under-sink compartment.
3Installation of the BRITA Tap System
!
Installation of the filter system must comply with the relevant
state or local plumbing regulations and standards (AS/NZS
3500). Depending on the necessary method of connection to
the cold water supply, additional valves/adaptors/components
may be required, and the services of a licensed plumber may
be necessary. If you do not have an available connection to the
cold water supply and it is necessary to cut into the cold water
supply line, a licensed plumber is required.
Before starting, please check that you have all the components as
listed above (see fig. 1) as well as the recommended tools.
There are 7 steps to the installation.
!
Prior to installation, read the Technical Data (chapter 8) and
the Important Information (chapter 9). (After storage and
transport below 0°C, the product must be stored in the open
original packaging for at least 24 hours at the stated ambient
temperatures (chapter 8) for operation.) The system cannot
be installed with a low pressure boiler.
3.1 Step 1: Selecting appropriate setting on the
filter head
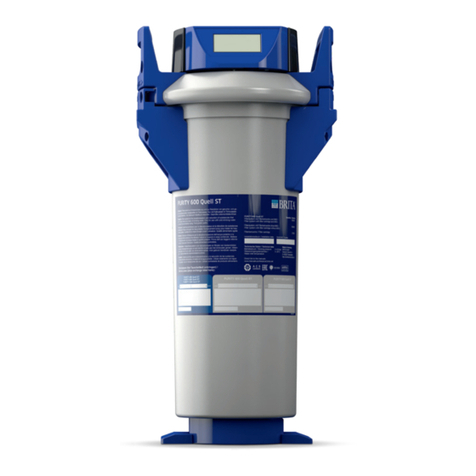
The filter head is set to the “++” setting by default. For use with
the supplied A 1000 filter cartridge you need to change the setting
in the window to “C”. Use an Allen key (hexagonal socket wrench)
and turn the hexagonal nut in the direction of the arrow in the
window until the “C” appears. Refer fig. 2)
(fig. 2)
3.2 Step 2: Programming the electronic BRITA
cartridge exchange indicator
A Commissioning:
Please insert the enclosed batteries (2 x AA) into the appropriate
compartment of the electronic BRITA cartridge exchange indicator.
A long beep will sound after insertion of the batteries.
B Initial Programming:
Important: Please program the timer for 180 days.
Note: Please ensure that you activate the electronic BRITA car-
tridge exchange indicator with display during the day-time as the
alert to change the filter will start beeping at the exact time of day
you originally set the indicator.
Programming:
aPress the DISPLAY button briefly to activate the display. Initially,
the default setting of 90 days flashes.
bPress and hold the DISPLAY button and then press the START/
RESET button briefly. This activates the setting mode.
cSwitch the display from 90 days to 180 days press the DISPLAY
button briefly.
dWait until the time value stops flashing or the DISPLAY switches
off.
eNow activate the 180-day timer by briefly pressing DISPLAY and
then press the START/RESET button.
fA flashing spot in the bottom left of the display indicates that the
timer is active.
