manuals.online logo
Brands
  1. Home
  2. •
  3. Brands
  4. •
  5. Broadconnect
  6. •
  7. IP Phone
  8. •
  9. Broadconnect IP Office 1416 User manual

Broadconnect IP Office 1416 User manual

1416 Phone Quick Guide Page 1
Issue 01 (3/10/2011)
IP Office
IP Office 1416 telephone quick
reference guide
Your 1416 Telephone
The IP Office supports the 1416 telephones.
The telephone supports 16 programmable call appearance and feature buttons. The labels for these are displayed in the
main display and can be controlled by the adjacent buttons.
Your system administrator can assign functions to the telephone call appearance and feature buttons, or you can assign
them yourself. However, you cannot replace the call appearance buttons set by your system administrator. There are
features that the system administrator can set, but you cannot assign those features.
More information
Log on to www.avaya.com/support for the latest support information, including user guide, installation and maintenance
guide, interactive document and software downloads.
1416 Phone Quick Guide Page 2
Issue 01 (3/10/2011)
IP Office
Making calls
If you are not already on a call, just dial the number. Use the first available appearance button for the call. Alternatively,
press a specific appearance button in order to make a call using that button.
Setting a callback
If the call is to an internal user and they do not answer, press the >> double-arrow soft key to access additional options.
For example, to set a callback, press the AutCB soft key.When the user ends their current or next call, the system will
call you and, when you answer, automatically make another call attempt to the user.
Calling a person from the contacts list
You can call directory contact. You can also use the directory in any function where Dir is displayed.
1.Press the CONTACTS key. The console displays the directory menu.
2.Use the left and right arrow keys to select the type of directory entries you want; External,Users,Groups,
Personal and All.
3.Use the up and down arrow keys to scroll through the list or to dial the name you want to find to display
matching entries. To return to the full list, press Clear.
4.Press Call .
Redialling a previous number
1.Press Redial. Use the up and down arrow keys to scroll through the 10 most recent outgoing calls.
2.Press Call or OK to call the number displayed in the call record.
Answering calls
A slow flashing appearance button indicates an alerting call. This may also be accompanied by ringing and a flashing
message lamp. If you are currently not on a call:
·To make the ringing quite, press the >> double-arrow soft key and then press the Ignore soft key. The call will still
continue alerting visually.
·To redirect the call to voicemail, press the >> double-arrow soft key and then press the To VM soft key.
·To answer the call using the handset, lift the handset.
·To answer the call without using the handset, press the SPEAKERkey.
·To answer the call using a headset, press the HEADSETkey.
After you have answered the call, you can switch between different talk modes:
·To switch to the handset, lift the handset.
·To switch to the handsfree mode, press the SPEAKERkey and then replace the handset.
·To switch to the headset mode, press the HEADSETkey and then replace the handset.
·To put a call on hold, press the call appearance key or any other appearance key.
Answering a new call
If you are already on a call, answering a new call automatically places the existing call on hold.
·To answer a new call, press the appearance button. The existing call is placed on hold.
·Alternatively, use the up and down arrow keys, to scroll the display and highlight the waiting call then press
the double-arrow (>>) soft key and do one of the following: Answer,To VM,Ignore or Drop.
Diverting a call to voicemail
You can transfer a call directly to your voicemail mailbox.
1.Use the up and down arrow keys to highlight the call if it is not highlighted.
2.Press the >> double-arrow soft key.
3.Press To VM. The call is redirected to your mailbox.
Silence a ringing call
You can silence the ringer of a currently alerting call. The call will continue alerting visually but with no audible ring.
1.Use the up and down arrow keys to highlight the call if it is not highlighted.
2.Press the >> double-arrow soft key.
3.Press Ignore.
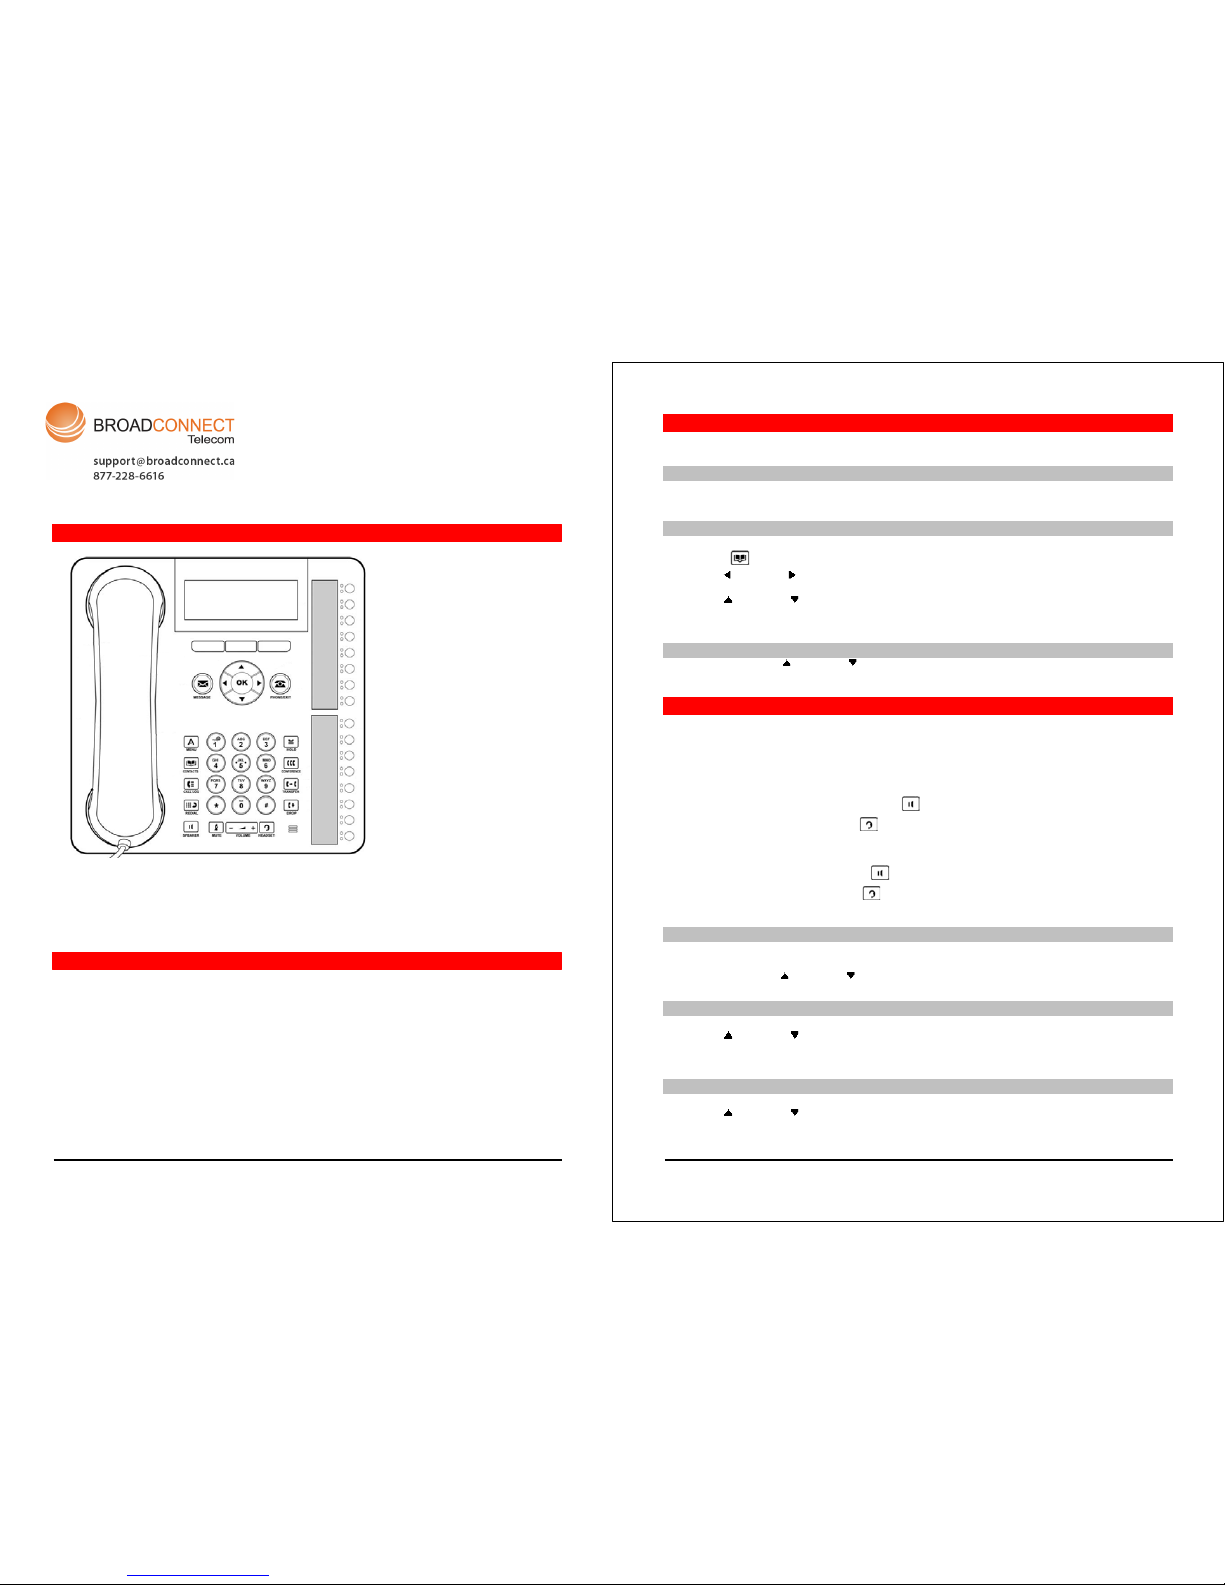
1416 Phone Quick Guide Page 3
Issue 01 (3/10/2011)
IP Office
Call handling
Adjusting the call volume
While on a call, you can adjust the volume of an incoming call. The volume is adjusted separately for the device, that is,
handset, headset or speaker, that you are currently using.
1.Press the VOLUME key.
2.Use the plus key (+) and the minus key (-) to adjust the volume.
Muting a call
To ensure that a caller cannot hear you, place the telephone on mute. However you can still hear the caller. The mute
setting remains active even if you switch between calls using hold or appearance buttons. If you change the listening
mode, for example, from the handset to the speaker, the mute setting is canceled.
1.To activate mute, press the MUTE key. The button will be lit while mute is active.
2.To switch mute off, press the MUTE key again.
Ending a call
·Use the Drop key to end the current call.
·Press the SPEAKER key to end the current call that is on the speaker mode.
·Press the HEADSET key to end the current call that is on the headset mode.
·Replace the handset to end the current call that is on the handset mode.
Starting a conference
Press the CONFERENCE key to start a conference with all the connected calls and calls placed on hold.
Alternatively, to start a conference or to add another party to a conference:
1.Press the CONFERENCE key. The telephone system automatically places the current call on hold.
2.Dial the number of the person that you want to add to the conference.
3.Press the CONFERENCE key again, or press the Join soft key after the call is answered and the person would like
to join the conference.
4.Press Drop key and then press the appearance key of the held call if the call is not answered.
Dropping/Muting
1.While in the conference, press the DROP key, the details menu appears. Scroll through the list of callers in the
conference and:
·To drop a caller from the conference, highlight the call and press Drop.
·To mute a caller, highlight the call and press Mute. Repeat this to unmute.
·To return to the call display, press the Exit soft key.
Transferring calls
To transfer a call, your telephone must have an available call appearance button. If all the call appearance buttons are in
use, end or park one of the existing calls.
1.Press the TRANSFER key. The telephone system automatically places the current call on hold.
2.Dial the number to which you want to transfer the call. Alternatively, press Dir to select a destination from the
directory.
·To complete the transfer, press the TRANSFER key or press the Complete soft key while the call is still
ringing or after it is answered.
·If the transfer destination does not answer or does not want to accept the call, press Cancel.
Transfering to voicemail
You can use the Message key to transfer a call to another user or to the voicemail mailbox of a group.
1.When connected to a call, press the Message key. You can still continue talking.
2.Dial the extension number of the user or group and press Select.
1416 Phone Quick Guide Page 4
Issue 01 (3/10/2011)
IP Office
Redirecting calls
Do Not Disturb
When you select Do Not Disturb, the calls are redirected to voicemail if available, otherwise, you hear a busy tone. Calls
to any group of which you are a member are not presented to you. You can still use the telephone to make outgoing
calls. When you go off-hook, you hear a broken dial tone.
1.Press Features. Use the up and down arrow keys to highlight Call Settings. Press Select.
2.Use the left and right arrow keys to change the setting or use the indicated soft key.
Forward Unconditional
Use the Status menu to change the forward unconditional settings.
1. Press the Status soft key, if shown. To access the status menu during a call, press the PHONE key and then press
the Status soft key, if shown.
2.Use the Up and Down arrow keys to scroll the menu to Fwd Uncon.
·To switch off forward unconditional, press the Off soft key.
·To change the forwarding settings, press the Edit soft key. Use the Up and Down arrow keys to scroll through
the editing options.
§Use the left and right arrow keys to switch the forwarding on or off.
§Use the left and right arrow to select which calls should be forwarded. The options are External Only
,External and Group,Non Group Calls and All Calls.
§Select Edit to change the number to which calls are forwarded.
Follow Me
You can redirect your calls temporarily to another extension.
1.Press Features. Use the up and down arrow keys to highlight Forward. Press Select.
2.Use the up and down arrow keys to highlight Follow me To. Press Select.
3. Dial the number of another user. When the number matches the user, the name appears. Alternatively, use the
Dir soft key to select a user from the directory.
·Save
Save the selected number as the follow me to destination. All calls to your extension number will be
redirected to that destination.
·Clear
Clear the currently selected or set number.
·Back
Go back to the previous menu.
Contacts
Adding a new contact
You can add up to 100 personal directory contacts.
1.Press the CONTACTS key. Use the left and right arrow keys to select your Personal directory.
2.To add a contact, press New. To edit a contact, highlight the contact and press Edit.
·Use the up and down arrow keys to switch between number and name entries.
·After you enter the required name and number, press Save.
Add a contact from the call history
You can add a name and number shown in your call history to your personal contacts.
1.Press the CALL LOG button. Use the left and right arrow keys to select the call types: All,Missed,
Answered or Outgoing.
2.Use the up and down arrow keys to scroll through the records.
4.Press Details and then press +Contact.
5.Use the up and down arrow keys to switch between the name and number details for the new contact.
6.When the name and number are set as required, press Save.
Voicemail
The MESSAGE button indicates new messages in the voicemail mailbox. The button remains lit until you play each new
message.
1416 Phone Quick Guide Page 5
Issue 01 (3/10/2011)
IP Office
Checking messages
1.Press the MESSAGE button. Enter your voicemail password if requested and press Done.
2.The numbers shown next to Listen indicate the number of new, old and saved messages.
3. Highlight Listen and press Select.
4.Use the Up and Down arrow keys to highlight the messages that is New,Old or Saved, that you want to
listen to and press Select. The details of the first message of that type are displayed.
5.You can use the up and down arrow keys to scroll through the messages.
6.Use the soft keys to control the playback actions for the current message.
By default, messages are automatically deleted at a set time after being played. The delay depends on the particular
voicemail server, for example, 24 hours for embedded voicemail and 30 days for Voicemail Pro.
Voicemail On/Off
You can switch on or switch off the voicemail for your unanswered calls. This does not switch off your mailbox; you can
still play existing messages and use other functions.
1.Press the MESSAGE button. Enter your voicemail password if requested and press Done.
2.Use the up and down arrow keys to highlight Voicemail.
3.Press the Select soft key.
4.Press the On or Off soft key to change the setting.

Other Broadconnect IP Phone manuals

Broadconnect IP Office 4602 User manual

Broadconnect

Broadconnect IP Office 4602 User manual

Broadconnect M7324N User manual

Broadconnect

Broadconnect M7324N User manual

Broadconnect 1403 User manual

Broadconnect

Broadconnect 1403 User manual

Broadconnect IP Office T7100 User manual

Broadconnect

Broadconnect IP Office T7100 User manual

Broadconnect IP Office 1120E User manual

Broadconnect

Broadconnect IP Office 1120E User manual

Broadconnect 9600 Series User manual

Broadconnect

Broadconnect 9600 Series User manual

Broadconnect IP Office 1408 User manual

Broadconnect

Broadconnect IP Office 1408 User manual

Popular IP Phone manuals by other brands

Avaya 1616 user guide

Avaya

Avaya 1616 user guide

Polycom VVX 350 quick guide

Polycom

Polycom VVX 350 quick guide

cetis 3302IP user manual

cetis

cetis 3302IP user manual

Cisco 8831 Deployment guide

Cisco

Cisco 8831 Deployment guide

Astra 6731i user guide

Astra

Astra 6731i user guide

AT&T 8403 quick reference

AT&T

AT&T 8403 quick reference

Grandstream Networks GRP2602 Quick installation guide

Grandstream Networks

Grandstream Networks GRP2602 Quick installation guide

Polycom SoundPoint IP 450 user guide

Polycom

Polycom SoundPoint IP 450 user guide

Polycom VVX-350 Series quick start guide

Polycom

Polycom VVX-350 Series quick start guide

Crexendo CX275 quick start guide

Crexendo

Crexendo CX275 quick start guide

Cisco 7940G installation manual

Cisco

Cisco 7940G installation manual

Polycom SoundPoint IP 331 manual

Polycom

Polycom SoundPoint IP 331 manual

Allworx 9224 brochure

Allworx

Allworx 9224 brochure

Fanvil X2P Quick installation guide

Fanvil

Fanvil X2P Quick installation guide

Nortel NN43112-102 user guide

Nortel

Nortel NN43112-102 user guide

Grandstream Networks GXP2135 user guide

Grandstream Networks

Grandstream Networks GXP2135 user guide

Htek UC926 user manual

Htek

Htek UC926 user manual

Siemens HiPath 4000 operating instructions

Siemens

Siemens HiPath 4000 operating instructions

manuals.online logo
manuals.online logoBrands
  • About & Mission
  • Contact us
  • Privacy Policy
  • Terms and Conditions

Copyright 2025 Manuals.Online. All Rights Reserved.