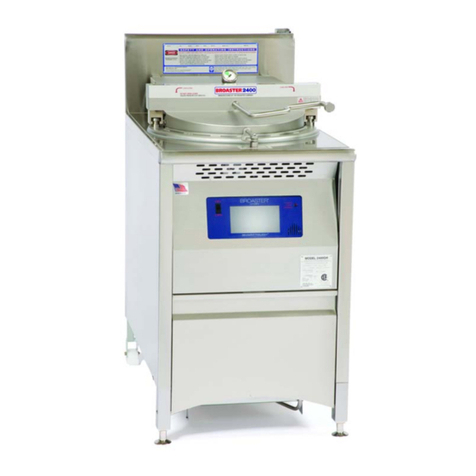
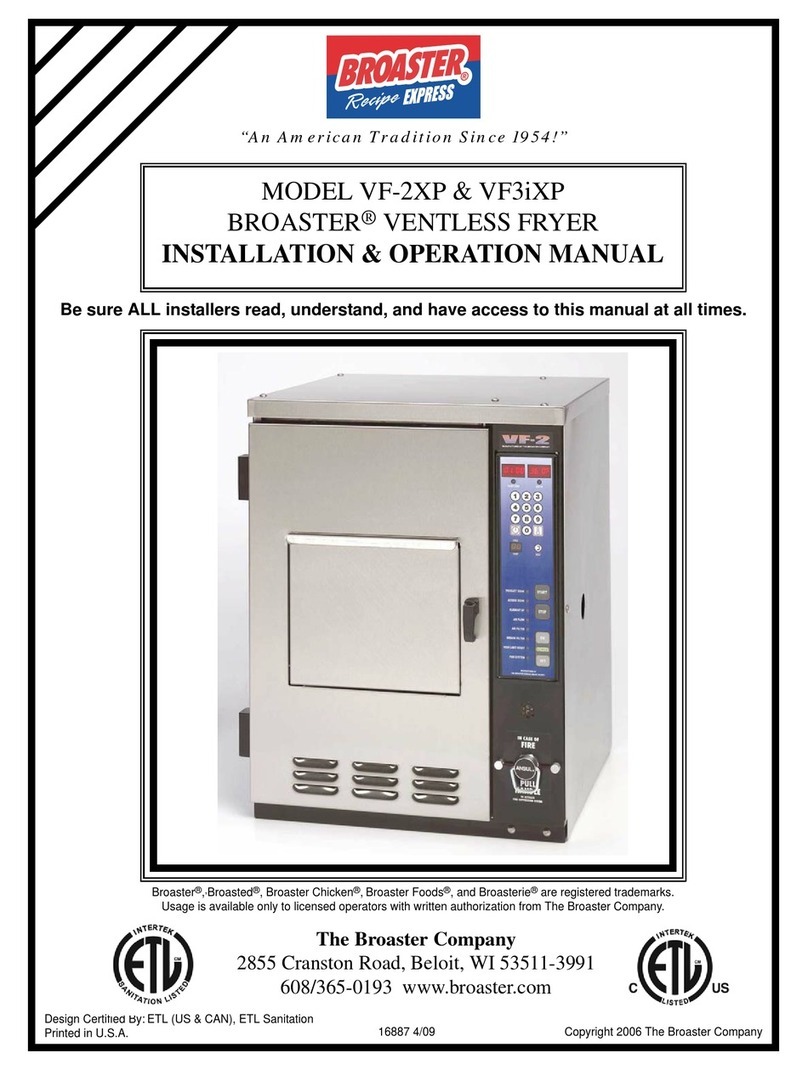
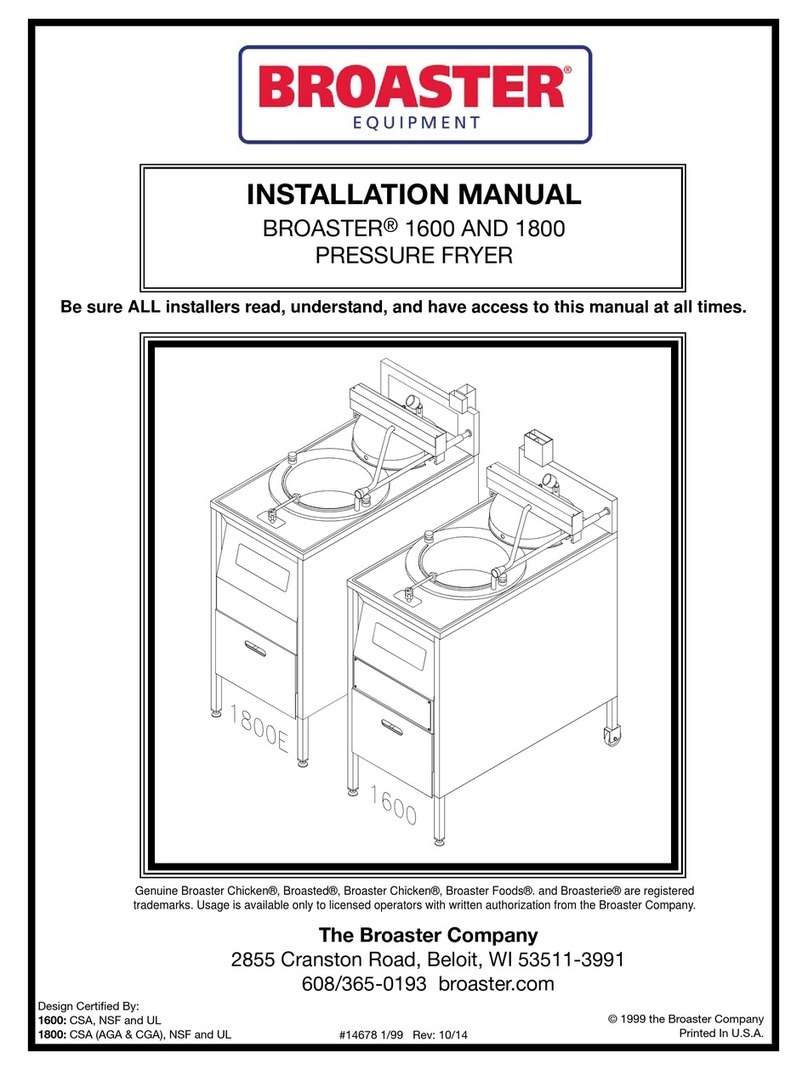
Broaster E Series User manual

Genuine Broaster Chicken®, Broasted®, Broaster Chicken®, Broaster Foods®. and Broasterie® are registered
trademarks. Usage is available only to licensed operators with written authorization from The Broaster Company.
Broaster Company
2855 Cranston Road, Beloit, WI 53511-3991
608/365-0193 broaster.com
© 2020 Broaster Company
Printed In U.S.A.
Design Certified By:
UL
Be sure ALL installers read, understand, and have access to this manual at all times.
INSTALLATION MANUAL
BROASTER
®
E-Series 18
PRESSURE FRYER w/SMART TOUCH CONTROL
Manual 21307 09/20 Rev
10
/20

W-1
All adjustments and repairs shall be made
by an authorized Broaster Company repre-
sentative.
If there is a power failure, turn power switch
OFF. Turn the gas valve OFF. DO NOT
attempt to operate unit during a power fail-
ure.
Failure to read and
understand this manual
completely could result in serious injury
or death. Be sure ALL operators read,
understand and have access to this
manual at all times.
Rags or paper containing
cooking oil can catch fire
if exposed to heat. Laundering will not
remove the oil. Dispose of all oil-soiled
papers and rags in a trash container that
is in a ventilated area away from all
cooking equipment or other heat
sources such as direct sunlight.
If at any time the
touchscreen control does
not turn off when the power switch is
moved to the OFF position, disconnect
the power to the fryer and contact your
local Broaster Company representative
for service immediately.
DO NOT operate unit
without filter pan and filter
pan cover in its proper position. Filter
pan cover must be wiped clean after
each filtering cycle.
Make sure Pressure Relief
Valve and Pressure Gauge
ports on bottom of cover are clear of any
oil or grease buildup.
The appliance, when
installed, must be
electrically grounded in accordance with
local codes, or in the absence of local
codes, with the National Electrical Code,
NFPA 70, or the Canadian Electrical
Code, CSA C22.2, as applicable.
cont’d on next page
FOR YOUR SAFETY
Do not use or store gasoline or other flammable vapors
or liquids in the vicinity of this or any other appliance.
Improper installation, adjustments, alteration, service or maintenance can cause
property damage, injury or death. Read the installation, operating and mainte-
nance instructions thoroughly before installing or servicing this equipment.
For the sake of safety and clarity, the following words used in this manual are defined as follows:
Indicates an imminently hazardous situation which, if not avoided, could
result in serious injury or death.
Indicates a potentially hazardous situation which, if not avoided, could
result in serious injury or death.
Indicates a potentially hazardous situation which, if not avoided, could
result in minor injury, property damage or both.
broaster.com Manual #21307 06/20 Rev: 06/20
W-2
ES 18G:
Post, in prominent locations, instructions to
be followed in the event that the user smells
gas. This information can be obtained from
your local gas supplier.
The installation shall be
made with a restraining
device that complies with the Standard
for Connectors for Movable Gas
Appliances, ANSI Z21.69 • CSA 6.16, and
a quick-disconnect device that complies
with the Standard for Quick-Disconnect
Devices for Use With Gas Fuel, ANSI
Z21.41 • CSA 6.9. Adequate means must
be provided to limit the movement of the
appliance without depending on the
connector and the quick-disconnect
device or its associated piping to limit
the appliance movement. The restraining
device shall be attached to the appliance
according to the manufacturer’s
instructions.
Failure to restrain the
fryer could allow it to
move or tip, causing hot oil to splash or
spill out, or a possible break in the gas
line causing an explosive condition. The
means of restraint may be the manner of
installation, such as connection to a
battery of appliances or installing the
fryer in an alcove, or by separate means,
such as adequate ties.
The installation must
conform with local codes,
or in the absence of local codes, with the
National Fuel Gas Code, ANSI Z223.1/
NFPA 54, or the Natural Gas and Propane
Installation Code, CSA B149.1, as
applicable, including;
i) The appliance and its individual shutoff
valve must be disconnected from the gas
supply piping system during any
pressure testing of that system at test
pressures in excess of 1/2 psi (3.5 kPa).
ii) The appliance must be isolated from
the gas supply piping system by closing
its individual manual shutoff valve during
any pressure testing of the gas supply
piping system at test pressures equal to
or less than 1/2 psi (3.5 kPa).
broaster.com Manual #21307 06/20 Rev: 06/20
i
TABLE OF CONTENTS
1 - PRE-INSTALLATION ....................................................................................................1 - 1
LOCATION...................................................................................................................1 - 1
CLEARANCE...............................................................................................................1 - 1
LEVELING ...................................................................................................................1 - 1
RECOMMENDED VENTILATION REQUIREMENTS....................................................1 - 2
General Requirements ........................................................................................1 - 2
Hood Dimensions In Inches................................................................................1 - 3
Hood Dimensions In Millimeters .........................................................................1 - 4
2 - FILTER PAN ASSEMBLY ..............................................................................................2 - 1
ASSEMBLY .................................................................................................................2 - 1
ASSEMBLY INSTRUCTIONS ......................................................................................2 - 2
ADDITIONAL ADJUSTMENTS IF NEEDED.................................................................2 - 3
3- 18E INSTALLATION .......................................................................................................3 - 1
ELECTRICAL CHARACTERISTICS.............................................................................3 - 1
ELECTRICAL CONNECTIONS....................................................................................3 - 1
ELECTRICAL HOOKUP ..............................................................................................3 - 2
Unit Dimensions For Electrical Hook-Up ....................................................................3 - 3
Wiring Diagram 18E ...................................................................................................3 - 4
4 - 18G INSTALLATION .....................................................................................................4 - 1
GENERAL REQUIREMENTS.......................................................................................4 - 1
ELECTRICAL CHARACTERISTICS.............................................................................4 - 2
ELECTRICAL CONNECTIONS....................................................................................4 - 2
Wiring Diagrams
DOMESTIC: 18G ................................................................................................4 - 3
GAS CHARACTERISTICS ...........................................................................................4 - 5
BTU/HR Ratings..................................................................................................4 - 5
Gas Pressure And Orifices..................................................................................4 - 5
Gas Conversion ..................................................................................................4 - 5
High Altitude .......................................................................................................4 - 5
GAS PIPING................................................................................................................4 - 6
Unit Dimensions For Gas Hook-Up ....................................................................4 - 6
Example Of Piping System Design .....................................................................4 - 7
Maximum capacity of pipe .................................................................................4 - 8
5 - OPERATIONAL CHECK-OUT ......................................................................................5 - 1
COVER ASSEMBLY ....................................................................................................5 - 1
INITIAL STARTUP
Electric ............................................................................................................... 5 - 1
Gas .....................................................................................................................5 - 2
broaster.com Manual #21307 09/20 Rev 09/20

1 - PRE-INSTALLATION
1-1
LOCATION
For convenience and speed, location of the
unit should be given careful consideration.
If possible, locate the unit so the flow of
cooked product is in a straight line from
storage, in and out of the unit and to the
customer. Landing tables should be pro-
vided on at least one side of the unit.
• To avoid splashing of hot liquid, unit
must be restrained to prevent tipping.
This can be done by installing the unit in
a battery of appliances, in an alcove or
with adequate ties
• Provision must be made to eliminate
movement of the unit which might cause
strain on electrical and gas connections.
• DO NOT install unit where traffic areas
are on either side or in back of unit.
CLEARANCE
Gas units are to be installed only in non-
combustible locations. Minimum clear-
ances for non-combustible construc-
tion on all units is 1/4 inch from sides
and 6 inches from back.
LEVELING
Adjust front casters or feet to level entire
unit. Add additional blocking if necessary
on a sloping floor.
broaster.com Manual #21307 09/20 Rev 09/20

1-2
RECOMMENDED VENTILATION
REQUIREMENTS
Exhaust hood should comply with ANSI/
NFPA #96 or national, state and local
codes. All units must be under an adequate
power exhaust hood for ventilation of cook-
ing vapors and products of combustion.
Precautions should be taken in the design
of the exhaust hood to avoid interference
with operation of the unit. Consult a local
ventilation company for fire suppression,
design and installation of a hood.
DO NOT extend the
exhaust stack or exhaust
flue of any unit. Doing so may cause a neg-
ative back draft causing malfunction and
interference with burner operation and
improper exhausting of cooking vapors on
all units.
General Requirements:
1. Exhaust hood must conform to appli-
cable national, state and local codes.
2. It is recommended that requirements
of the National Fire Protection Associ-
ation (NFPA), Standard No. 96 be fol-
lowed for the design, installation and
use of exhaust system components.
This includes hoods, grease removal
devices, exhaust ducts, dampers, air
moving devices, auxiliary equipment
and fire extinguishing equipment for
the exhaust system and the cooking
equipment used therewith in commer-
cial, industrial, institutional and similar
cooking applications.
3. Hood Size: The overhead canopy
type hood should be sized to com-
pletely cover the equipment it is
designed to ventilate plus an overhang
of at least 6 inches on all sides of
equipment not immediately adjacent
to walls or other construction extend-
ing above the cooking surface. Non-
canopy, prefabricated “backshelf”
type hoods should be sized according
to the manufacturers specifications.
4. Exhaust Air Volume (minimum):
Canopy hood open on all four sides:
1800 cu. ft./minute. Canopy hood
open on three sides or less: 1200 cu.
ft./minute.
5. Exhaust Air Velocity: All exhaust
ducts should be sized to provide an air
velocity in the ducts of at least 1500 ft./
minute.
broaster.com Manual #21307 09/20 Rev 09/20

1-3
Hood Dimensions In Inches:
broaster.com Manual #21307 09/20 Rev 09/20

1-4
Hood Dimension In Millimeters:
broaster.com Manual #21307 09/20 Rev 09/20

2 - FILTER PAN ASSEMBLY
2-1
ASSEMBLY
broaster.com Manual #21307 06/20 Rev 06/20

2-2
1. From bag of hardware, install com-
pression nut 15615 (1), ferrule (2) [see
picture below], onto riser line (3)
20998.
2. Install riser line 20998 onto pan. First
install line into elbow on bottom center
of pan while handle fits over studs on
front of pan.
3. Install washer 01596 and keps nuts
00552 onto studs but do not tighten.
4. Tighten compression nut onto elbow.
Elbow may have to be
turned with a wrench if
nut will not start onto elbow.
5. Lubricate O-ring 21192 with cooking
oil.
Install O-ring 21192 into groove on
riser line 20998.
6. Install filter pan under unit and align
riser line 20998 with suction line
21298.
7. Tighten keps nuts 00552 mounting
riser line 20998 to filter pan.
8. See Operation Manual for additional
assembly.
ADDITIONAL ADJUSTMENTS
IF NEEDED
1. Loosen bolt 01336 and nut.
2. Push pan under unit. By hand, move
suction line 20998 until riser line 21298
is fully inserted into suction line.
3. Tighten all nuts and bolts.
broaster.com Manual #21307 06/20 Rev 06/20

3 - 18E INSTALLATION
3-1
ELECTRICAL CHARACTERISTICS
These models are available for either 200 -
220, or 230 - 240 applied voltage, 50 and
60Hz, 1 and 3 phase electrical connection.
Be sure to check the wiring diagram located
inside the front panel. It shows electrical cir-
cuits and connections. See Access For
Hook-Up under ELECTRICAL HOOK-UP.
• All electrical work must conform with the
requirements of national, state and local
electrical codes.
• When installing or servicing the unit,
always check the data plate located
toward the rear of the counter top to
make certain proper parts are used and
the correct service rendered. DO NOT
apply a voltage to any unit other than
that shown on the data plate. If in doubt,
consult your local power company.
ELECTRICAL CONNECTIONS
• A remote circuit breaker or fuse should
be installed in main power supply
located in a path of exit and clearly iden-
tified.
• When installed, the unit must be electri-
cally grounded in accordance with local
codes, or in the absence of local codes,
with the National Electrical Code, ANSI/
NFPA 70, or for Canada, the Canadian
Electrical Code, CSA C22.2, as applica-
ble.
• Use copper wire only for connections.
• If power run is over 50 feet, use next
larger size wire.
18E Suggested Wiring Capacity Table:
Phase Volts Amps Wire Breaker
or Fuse
1 208 48 #8 60
1 220 50 #8 60
1 230 43 #8 60
1 240 45 #8 60
3 208 28 #8 40
3 240 26 #8 40
3 220/380 16.8 #10 20
3 230/400 14.3 #10 20
3 240/415 15 #10 20
broaster.com Manual #17268 9/20 rev 9/20

3-2
ELECTRICAL HOOK-UP
Disconnect main power
supply and turn unit OFF
before installing power supply to the
unit. HIGH VOLTAGE may be encoun-
tered. Only persons trained and
equipped for checking high voltage shall
perform electrical connections.
Access For Hook-Up:
1. Disconnect main power supply.
2. Remove condensate pan and one
screw (1600) or two screws (1800)
from bottom of front panel. Pull out
and down on bottom to remove.
Phase Wiring:
Phase wiring diagram is located inside the
front panel. See Access For Hook-Up under
ELECTRICAL HOOK-UP. Electric units are
shipped from the factory wired for 3 phase.
In this case, applied voltage must be con-
nected to bottom lugs of contactor C1 and
a ground wire to the GND connector.
For single phase operation, remove both
element wires from the center connector of
contactor C2. Install wire #3 with wires #1
and #5 and install wire #2 with wires #4 and
#6. In this case, applied voltage must be
connected to L1 and L3 of contactor C1
and a ground wire to the GND connector.
Check all contactor screw connections to be sure they are fully tightened
for proper electrical continuity.
broaster.com Manual #17268 9/20 rev 9/20

3-3
Unit Dimensions For Electrical Hook-Up:
broaster.com Manual #17268 9/20 rev 9/20

3-4
&&
/ //
1(875$/%/2&.(;325781,76
1
3+$6(86$&$1
// 9$&
// 9$&
// 9$&
3+$6((;3257
/1 9$&
/1 9$&
/1 9$&
// 9$&
(/(0(17
(/(0(17
(/(0(17
*1'
3+$6(
// 9$&
+,/,0,77&
+,/,0,77&
&
/
&
/
&
12
1&
&
/
6:/
3803
3803
)5205(/$<
*1'
&29(56:,7&+
),/7(5&29(56:,7&+
(;+$867
9$/9(
9$&21/<
&
/
6:/
+,/,0,77&
+,/,0,77&
723803
63($.(5
35(6685(
75$16'8&(5
9%/$&.
96,*1$/:+,7(
95('
:+,7(
:+,7(
:+,7(
6:/
6:/
6:/
)520+,/,0,712
6:,7&+
WIRING DIAGRAM
Wiring diagrams are located inside front panel. See Access For Hook-up under ELECTRICAL
HOOK-UP.
18E:
broaster.com Manual #17268 9/20 rev 9/20

4 - 18G INSTALLATION
4-1
GENERAL REQUIREMENTS
> When installing or servicing the unit,
always check the dataplates. This will
make certain proper parts are used and
the correct service rendered.
> DO NOT apply a voltage to this unit
other than that shown on the dataplate.
If in doubt, consult your local power
company.
> A remote circuit breaker or fuse should
be installed in main power supply
located in a path of exit and clearly iden-
tified.
> A gas shutoff valve, installed in gas
supply line, should be located in a path
of exit and clearly identified.
> Keep burner area free and clear of all
combustible materials.
> DO NOT obstruct exhaust flue or
open area around bottom of unit at the
front, back and sides which would
restrict the flow of combustion and ven-
tilation air.
> Consult a local ventilation company to
ensure an adequate air supply for all gas
fired equipment.
> EU and Other Countries: Installation
must conform with national & local
codes of the country in which installa-
tion is made.
> US & CANADA: Installation must con-
form with local codes, or in the absence
of local codes, with the National Fuel
Gas Code, ANSI Z223.1, Natural Gas
Installation Code, CAN/CGA-B149.1, or
the Propane Installation code, CAN/
CGA-B149.2, as applicable.
> The unit and its individual shut-off
valve must be disconnected from the
gas supply piping system during any
pressure testing of that system at test
pressures in excess of 1/2psi(3.45kPa).
> The unit must be isolated from the gas
supply piping system by closing its indi-
vidual manual shut-off valve during any
pressure testing of the gas supply piping
system at test pressures equal to or less
than 1/2psi(3.45kPa).
broaster.com Manual #21307 09/20 Rev 09/20

4-2
ELECTRICAL CHARACTERISTICS
The Model 18G is available for 120VAC
applied voltage, 15 amp, 60Hz, 1 phase
electrical connection in the USA and
120VAC or 200 - 240 VAC applied voltage,
15 amp, 50/60Hz, 1 phase electrical con-
nection for export applications.
> When installed, the unit must be elec-
trically grounded in accordance with
local codes, or in the absence of local
codes, with the National Electrical Code,
ANSI/NFPA 70, or the Canadian Electri-
cal Code, CSA C22.2, as applicable.
ELECTRICAL CONNECTIONS
> Applied voltage should match data-
plate listed voltage.
Electrical Grounding
Instructions - The Model
18G is equipped with a three-prong
(grounding) plug for your protection
against shock hazard and should be
plugged directly into a properly
grounded three-prong receptacle. DO
NOT cut or remove grounding prong
from this plug.
broaster.com Manual #21307 09/20 Rev 09/20

4-3
18G Wiring Diagram
J7
TC2
LOW
OIL
TC1
TEMP
TYPE K
USB
J8
- 12V BLACK
SIGNAL 1-5V WHITE
+12V RED
PRESSURE
TRANSDUCER
J10
J1
J6
ISOLATION
FILL
J4
J3
J11
J2
Y+ R- Y+ R-
TOUCHSCREEN
OVERLAY
FC- FC+
S1
GND
V2 RL1 IND V1 PSW TH
120/208/240 VAC
24 VAC
120/208/240 VAC
24 VAC
GAS VALVE
IGNITOR / BURNER
PUMP
120/208/240 VAC
EXHAUST VALVE
COVER
REED SWITCH
FILL VALVE
DISPOSAL VALVE
FILTER ISOLATION
BLACK
FILTER COVER
REED SWITCH
THERMOCOUPLE
RESET
J5
DISPOSAL
LIFT
WHITE
BLACK
WHITE
BLACK
WHITE
BLUE
RED
RED RED
BLACK WHITE
YELLOW
BLUE
C2
BLUE
BLUE
JUMP 3-10
24 VDC+
24 VDC-
PURPLE
PURPLE
GREY
WHITE
FAN
EXPORT TRANSFORMER
200-240 VAC 120 VAC
broaster.com Manual #21307 09/20 Rev 09/20

4-4
18G Wiring Diagram Effective S/N EG8K02018Y
J7
TC2
LOW
OIL
TC1
TEMP
TYPE K
USB
J8
- 12V BLACK
SIGNAL 1-5V WHITE
+12V RED
PRESSURE
TRANSDUCER
J10
J1
J6
ISOLATION
FILL
J4
J3
J11
J2
Y+ R- Y+ R-
TOUCHSCREEN
OVERLAY
FC- FC+
S1
GND
V2 RL1 IND V1 PSW TH
120/208/240 VAC
24 VAC
120/208/240 VAC
24 VAC
GAS VALVE
IGNITOR / BURNER
PUMP
120/208/240 VAC
EXHAUST VALVE
COVER
REED SWITCH
FILL VALVE
DISPOSAL VALVE
FILTER ISOLATION
BLACK
FILTER COVER
REED SWITCH
J5
DISPOSAL
LIFT
WHITE
BLACK
WHITE
BLACK
WHITE
BLUE
RED
RED RED
BLACK WHITE
YELLOW
BLUE
C2
BLUE
BLUE
JUMP 3-10
24 VDC+
24 VDC-
PURPLE
PURPLE
GREY
WHITE
FAN
EXPORT TRANSFORMER
200-240 VAC 120 VAC
broaster.com Manual #21307 09/20 Rev 09/20

4-5
GAS CHARACTERISTICS
All gas units are tested using local gas sup-
ply. Your unit may or may not operate cor-
rectly on your type of gas. Therefore, the
unit should be checked and corrected if
necessary. See service manual.
DO NOT attempt to use
any other gas than that
specified on dataplate located on the
front panel.
BTU/HR Ratings:
US & CANADA
Natural Gas: 50,000
Propane: 55,000
Butane: 58,000
EU
G20: 14.65 KW net
G31: 15.83 KW net
Gas Pressure and Orifices:
If adjustment of the regulator does not
deliver the correct BTU per hour or if
another type of gas is to be used, contact
your local gas supply company for correct
gas pressure and orifice sizing.
Gas pressure at test fitting:
Natural (G20) Gas: 3.5”wc (8.7 mbar)
LP / Propane (G31) Gas: 10.0”wc (24.9
mbar)
Butane Gas: 10.0”wc (24.9 mbar)
Main burner orifice size:
Natural (G20) Gas: 0.211”
LP / Propane (G31) Gas: 0.157”
Butane Gas: 0.141”
Gas Conversion:
US & CANADA
Contact your local Broaster Company
representative for converting from one
type of gas to another. An orifice change
is required and a new gas data plate
must be installed which identifies the
new gas it is set up for.
High Altitude:
For operation at elevations above 2,000
feet above sea level, gas input must be
reduced 4% for each 1,000 feet. Con-
tact your local Broaster Company repre-
sentative for correct orifice sizing.
broaster.com Manual #21307 09/20 Rev 09/20

4-6
GAS PIPING
The Model 18G is equipped with a
1/2” pipe for gas connection.
Use only black steel pipe and malleable fit-
tings for gas connections.
Pressure loss in the piping must not exceed
0.3” W.C.
Be sure gas supply piping is of the proper
size for the BTU input. Take into consider-
ation all other gas appliances which must
operate from the same gas supply. Be sure
piping will not interfere with drain pails or
valves.
A compound resistant to the action of liqui-
fied petroleum gas should be used on the
threads of gas supply piping joints. Check
all connections and pipes with a soap and
water solution. Bubbles indicate a gas leak.
DO NOT use an open flame to check for
gas leaks.
Determine the required pipe size of each
section and outlet of the piping system
shown in Solution, with a designated pres-
sure drop of 0.50 inch water column. Gas
to be used has 0.65 specific gravity and a
heating value of 1,000 BTU per cubic foot.
Unit Dimensions For Gas Hook-Up:
broaster.com Manual #21307 09/20 Rev 09/20
This manual suits for next models
3
Table of contents
Other Broaster Fryer manuals

Broaster
Broaster 1600 User manual

Broaster
Broaster 1600 User manual

Broaster
Broaster 1600 User manual

Broaster
Broaster VF-2 User manual

Broaster
Broaster 2400 Series User manual

Broaster
Broaster 2400 Series User manual

Broaster
Broaster VF3i User manual

Broaster
Broaster 2400 Series User manual

Broaster
Broaster 1800 User manual

Broaster
Broaster 1600 User manual
Popular Fryer manuals by other brands

Instant
Instant VORTEX PLUS 4QT Get started

Frymaster
Frymaster MJ35 quick start guide

inventum
inventum GF350HLD instruction manual

Farberware
Farberware 554023059 user manual

Dean
Dean Cool Zone Electric Fryer Installation & operation

creative housewares
creative housewares Taurus AIR FRY PLUS English Manual