manuals.online logo
Brands
  1. Home
  2. •
  3. Brands
  4. •
  5. Brother
  6. •
  7. All In One Printer
  8. •
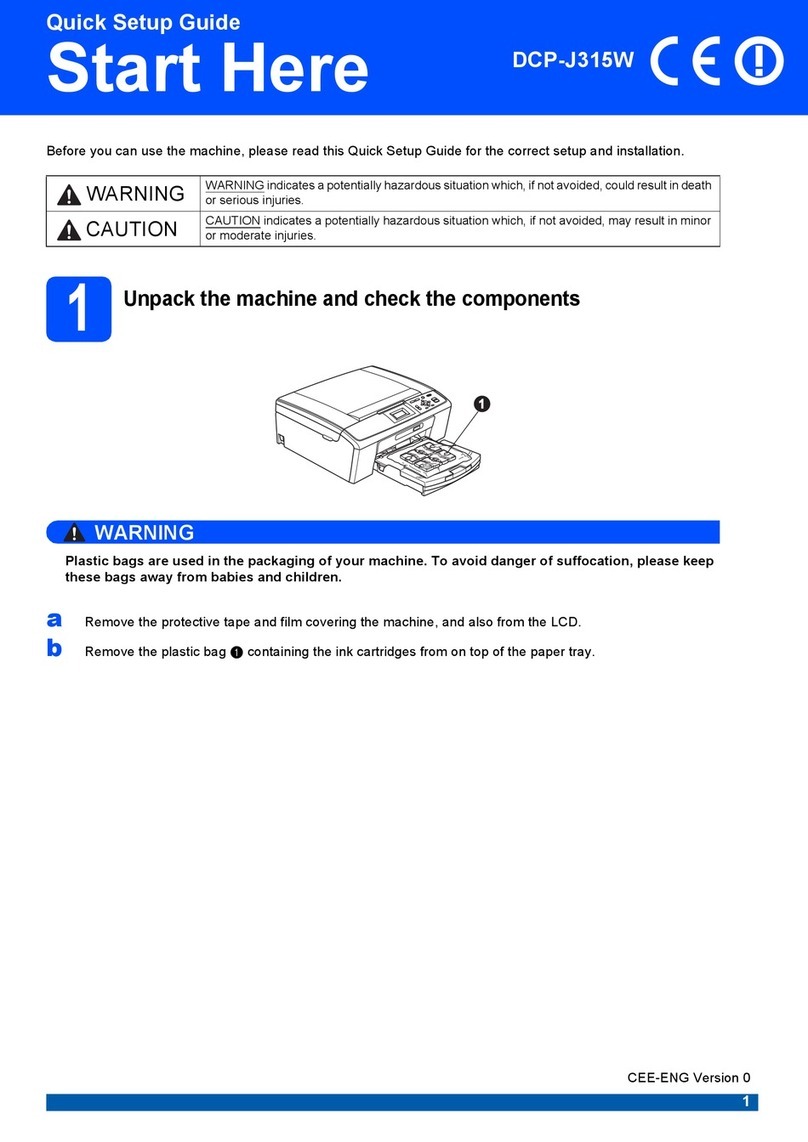
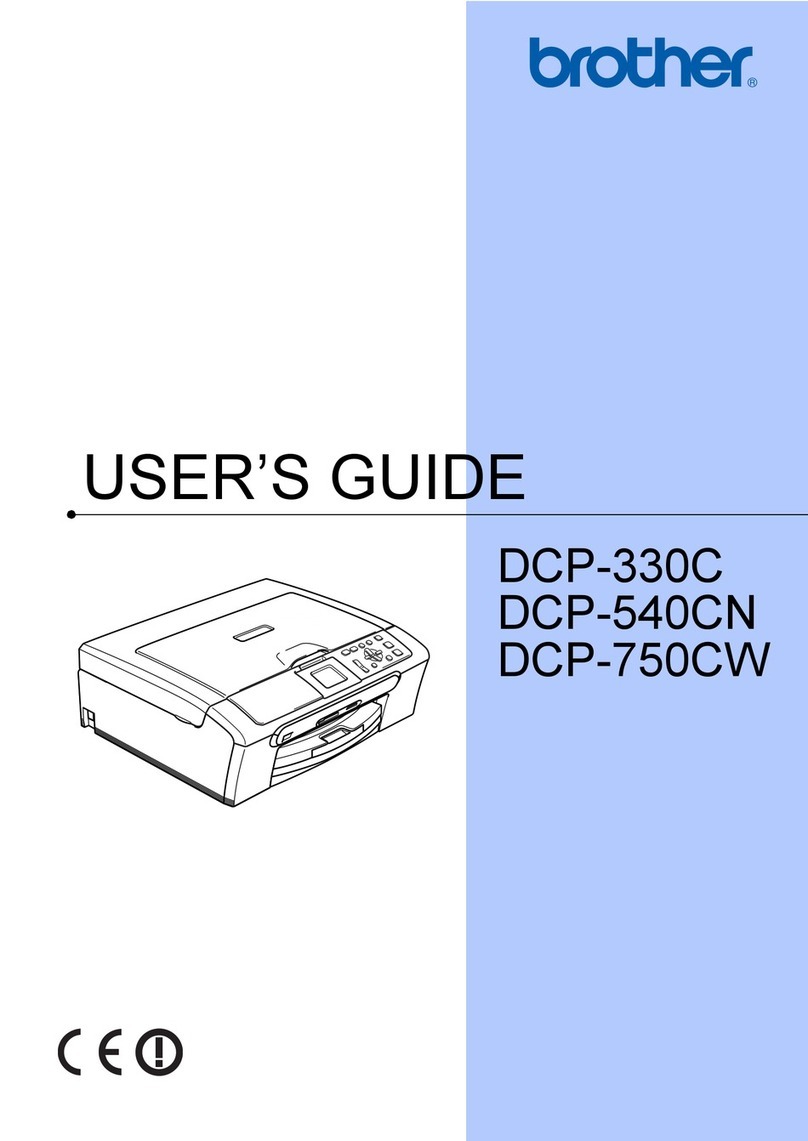
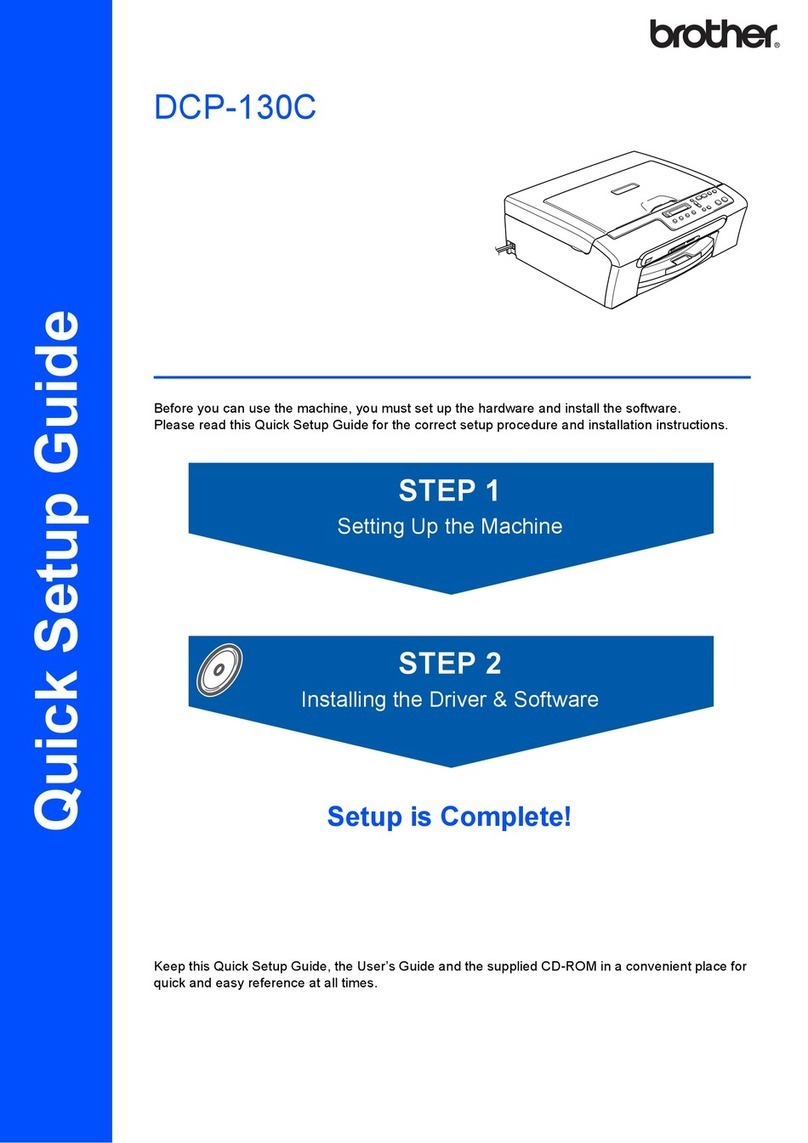
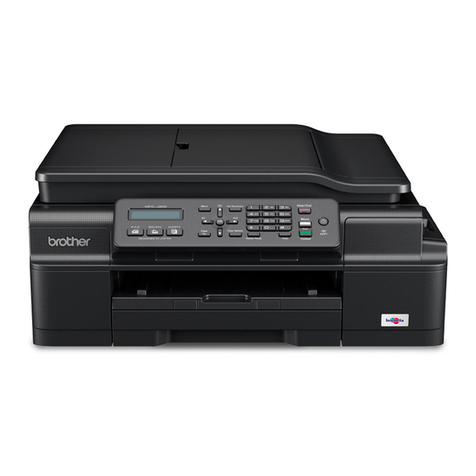
  9. Brother DCP-135C User manual

Brother DCP-135C User manual

The machine must be fitted with an earthed/fused plug.
Turn the sheet over.
LS2346004
UK/IRE/SAF
Printed in China
a. When the LCD shows this
message, press OK.
a. The LCD shows this message:
Note
The control panel warning
LED will stay on until you have
installed the ink cartridges.
3
Install the ink cartridges
5e. Unpack the ink cartridge.
Remove the protective yellow cap ❶if it is still
attached.
Note
If you make a mistake and want to start again,
press Stop/Exit to go back to step a.
g. Lift each lock release lever and gently push it
until it clicks, and then close the ink cartridge
cover.
■If all lines are clear and visible, press ▲
(Yes) to nish the quality check.
■If you can see missing short lines, press ▼
(No) and answer the LCD questions.
Connect the power cord
Set the LCD contrast (if needed)
7
6
Check the print quality
c. Press ▲(Yes) to conrm the
language setting.
c. Pull all the lock release levers ❶down. d. Remove the yellow
protective part ❶.
a. When the preparation process
has nished, the LCD shows
this message.
OK
Poor
Set the date and time
8
a. Press Menu.
b. Press ▲ or ▼ to choose
0.Initial Setup, and then press OK.
c. Press ▲ or ▼ to choose
2.LCD Contrast, and then press OK.
d. Press ▲ or ▼ to choose Dark or Light.
e. Press OK and then Stop/Exit.
a. Press Menu.
b. Press ▲ or ▼ to choose
0. Initial Setup, and then press OK.
c. Press ▲ or ▼ to choose
1. Date&Time, and then press OK.
4
Set the language
Important
DO NOT
connect the
USB cable yet.
b. Open the ink cartridge cover.
b. Check the quality of the four colour
blocks ❶on the sheet.
(black/yellow/cyan/magenta)
d. Press ▲repeatedly to enter the
last two digits of the year, and then press OK.
(e.g. Enter 07 for 2007.)
e. Repeat for Month and Day, and Hour and Minute in
24-hour format.
f. Press Stop/Exit.
b. Press ▲ or ▼ to choose
your language and press
OK.
1
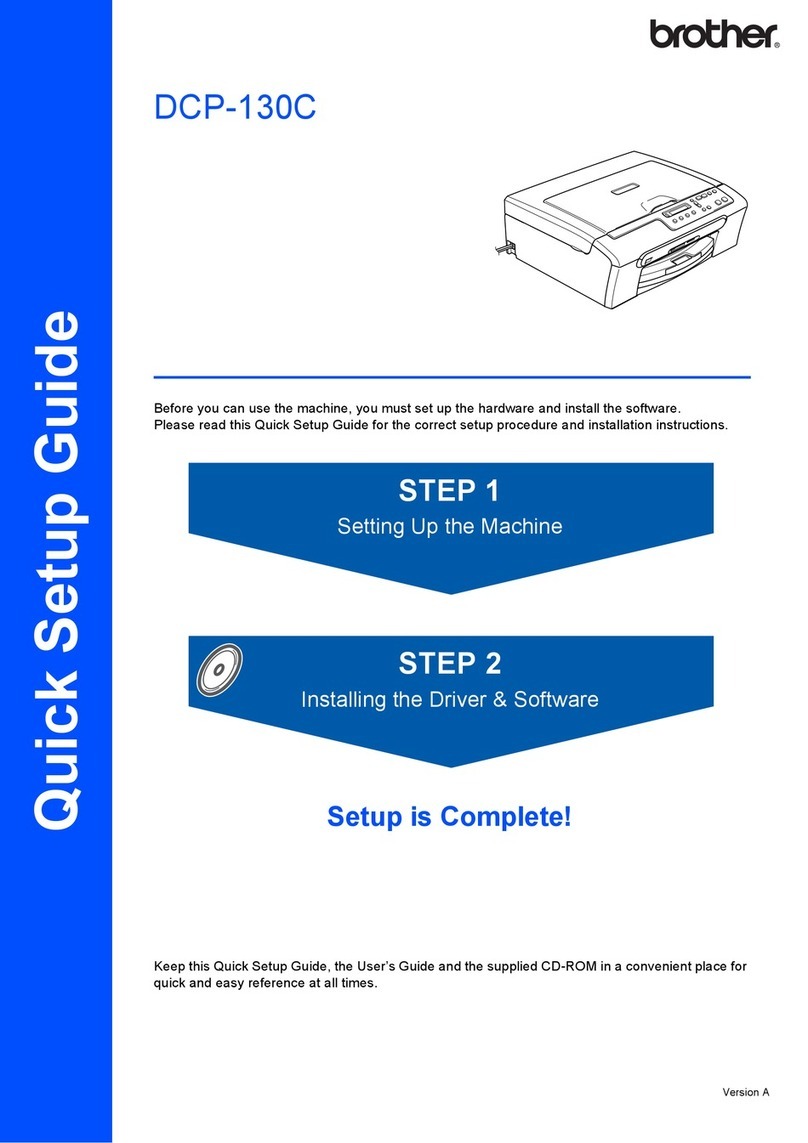
Quick Setup Guide
CD-ROM
User's Guide
Ink
Cartridges [x4]
Black (LC970BK)
Yellow (LC970Y)
Cyan (LC970C)
Magenta (LC970M)
Power Cord
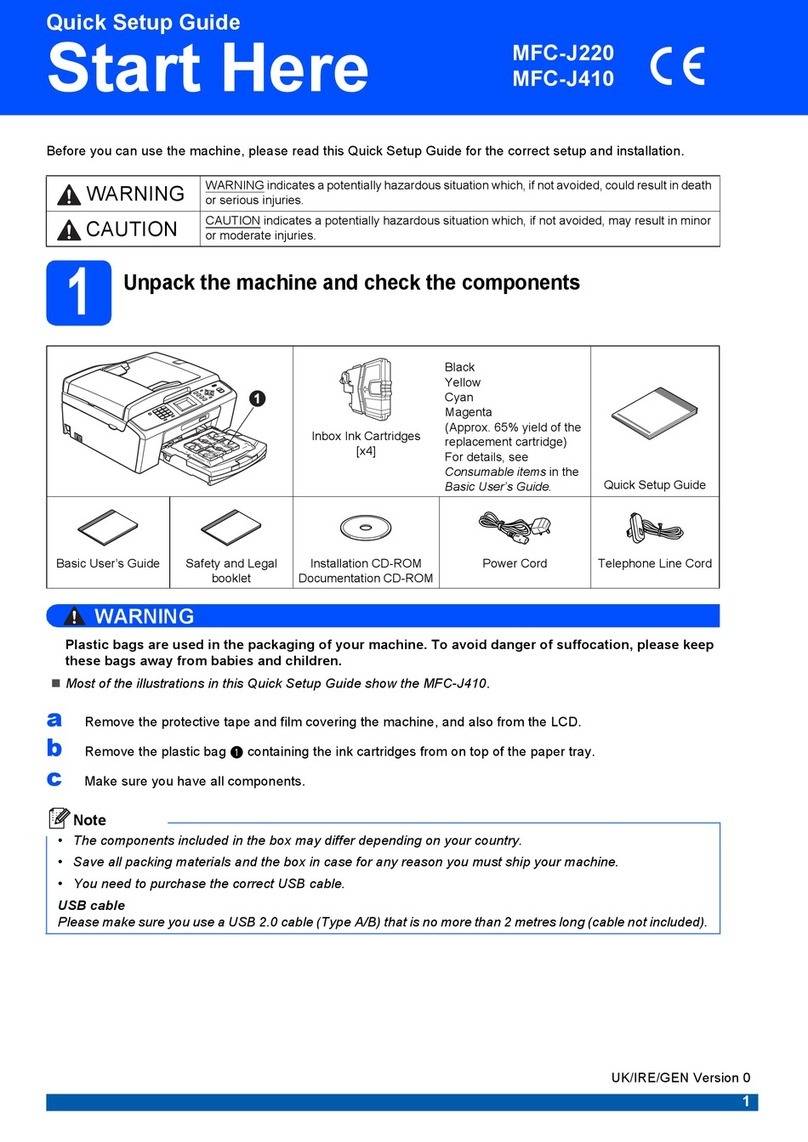
Start Here
Unpack the machine and check the components
Note
・The components of your box may differ.
・Save all packing materials and the carton in case for any
reason you must ship your machine.
・A USB cable is not included.
You need to purchase a USB 2.0 cable that is no longer
than 2 metres.
1 2
Illustrations in this Quick Setup Guide
are based on the DCP-135C.
a. Pull out the paper tray. b. Lift the output paper tray cover ❶.
Load plain A4 paper
d. Fan the stack of paper well.
e. Gently put the paper into
the paper tray.
Check that the paper is at
in the tray.
f. Make sure that the paper
side guides and paper
length guide touch the
edges of the paper.
a. Remove the protective
tape and lm.
b. Remove the foam
bag containing the ink
cartridges from on top
of the paper tray.
Note
・If you set the wrong
language, you can change
it again after setting the
date and time.
(For details see Changing
LCD language in
Appendix B of the User's
Guide.)
g. Close the output paper tray
cover and slowly push the
paper tray back into the
machine.
h. Pull out the paper support
❶until it clicks, and then unfold
the paper support ap ❷.
c. Make sure you have all components. c. Press and slide the
paper side guides
❶and paper length
guide ❷to t the
paper size.
Quick Setup Guide
DCP-135C DCP-150C
DCP-153C DCP-157C
Important
Do not push the
paper in too far.
a. Connect the power cord.
Important
DO NOT connect the USB
cable yet.
Warning
If ink gets in your eyes, wash them out with water
at once, and if irritation occurs consult a doctor.
Warning Note
The machine prepares the ink tube system.
This process will take approximately four minutes.
Press Colour start.
Important
11
❶
❷
❶
f.
Install each ink cartridge in the direction of the arrow on the label.
Take care to match the colour of the lock release lever ❶with the
cartridge colour ❷.
❷
❶
❶
1
❶
❶
❶
❷
❶
2
Connect the USB cable
11
For Windows®
Before you install
9
Install MFL-Pro Suite
10
Connect the power cord
Before you install
9
Install MFL-Pro Suite
11
Install FaceFilter Studio (Optional)
14
Connect the USB cable
10
Install Presto! PageManager
12
Finish and restart
For Mac OS® X
a. Insert the supplied CD-ROM into
your CD-ROM drive.
Choose your language. 
b. Click Install MFL-Pro Suite, and click Yes
if you accept the license agreements.
a. Lift the scanner cover until it locks
securely into the open position.
a. Connect the power
cord.
b. When the
On-Line
Registration
screen appears,
make your
selection and
follow the
on-screen
instructions.
a. Click Finish to restart your
computer.
c. Follow the on-screen instructions
until this screen appears:
c. Click OK.
a. Lift the scanner
cover until it locks
securely into the
open position.
c. Carefully guide the USB cable into the
cable channel and out the back of the
machine.
d. Connect the cable to your Macintosh®.
a. Insert the supplied CD-ROM into your
CD-ROM drive.
b. Double-click the Start Here OSX icon.
For Mac OS® X 10.3.x or greater users:
Go to step 12.
・DO NOT connect the
machine to a USB port on a
keyboard or a non-powered
USB hub. Connect the
machine directly to your
Macintosh®.
・Make sure that the cable
does not restrict the cover
from closing, or an error
may occur.
12
FaceFilter Studio is an easy-to-use borderless
photo printing application for Windows.
a. Open the main menu again by ejecting
and then reinserting the CD-ROM
or by double-clicking the start.exe
program from the root folder.
b. The CD-ROM main menu will appear.
Choose your language and then click
Install Other Driver or Utilities.
c. Click the
FaceFilter Studio
button to install.
Install FaceFilter Studio Help
15
a. Go to Start/All
Programs/
FaceFilter Studio
on your computer.
b. Click the button on
the upper right corner
of the screen, and
then click Check for
Updates to go to the
updates web site.
c. Click the
Download button
and choose a
folder to save the
le in.
d. Close FaceFilter
Studio, double-click
the downloaded le
program from the
folder you specied, and
then follow the on-screen
instructions to install.
Note
To view
FaceFilter Studio
Help, go to Start/
All Programs/
FaceFilter
Studio/FaceFilter
Studio Help on
your computer.
Important
Important
・DO NOT connect the
machine to a USB
port on a keyboard
or a non-powered
USB hub. Connect the
machine directly to your
computer.
・Make sure that the
cable does not restrict
the cover from closing,
or an error may occur.
d. Lift the scanner cover to release the
lock ❶. Gently push the scanner
cover support down
❷and close
the scanner
cover ❸.
a.
Make sure that your computer is ON and you are logged on with Administrator rights
.
b. Disconnect the machine.
Important
・DO NOT connect the USB cable yet.
・Close any applications.
・Make sure there are no memory cards or USB Flash memory drive inserted.
・The screen may differ depending on the operating system.
・The supplied CD-ROM includes the ScanSoft™ PaperPort™ 11SE.
・This software supports Windows® 2000 (SP4 or greater), XP (SP2 or greater),
XP Professional x64 Edition and Windows Vista™ only. Update to the latest
Windows® Service Pack before installing MFL-Pro Suite.
・For Windows Vista™, when the User Account Control screen appears, click Allow.
Important
・
The computer must be
connected to the internet.
・
The machine must be ON and
connected to the computer.
d. For Mac OS®X 10.2.4
to 10.2.8 users:
Click Add and then
choose USB.
e. Choose your
model name, and
then click Add.
f. Quit Print Center.
When Presto!®PageManager®is installed,
OCR capability is added to Brother
ControlCenter2. With Presto PageManager,
you can easily scan, share and organize
photos and documents.
The installation will continue
automatically.
13
Make sure your machine is connected the
power and your Macintosh®is ON.
Important
・DO NOT connect the USB cable yet.
・Close any applications.
・
Make sure there are no media cards
in the media drive of the machine.
・
For Mac OS
®
X 10.2.0 to 10.2.3
users, upgrade to Mac OS
®
X 10.2.4
or greater. (For the latest information
for Mac OS
®
X, visit
http://solutions.brother.com)
b. Insert the USB cable into the USB
socket marked with a symbol.
The USB socket is inside the
machine as
shown below.
a. Double click the Presto! PageManager icon
and follow the on-screen instructions.
Note
After restarting the computer,
the Installation Diagnostics runs
automatically. If the installation is
unsuccessful, the installation results
window appears. Follow the on-screen
instructions or read the on-line help
and FAQs in Start/All Programs
(Programs)/Brother/DCP-XXXX.
b. Insert the USB cable into the USB
socket marked with a
symbol. The USB
socket is
inside the
machine as
shown right.
c. Carefully guide the USB cable into the cable
channel and out the back of the machine.
Connect the cable to your computer.
Note
If the Brother screen does
not appear automatically, go
to My Computer/Computer,
double click the CD-ROM
icon, and then double click
Start.exe.
Note
It may take a few
minutes for installation
to complete. After the
installation, click Restart.
Important
DO NOT cancel
any of the screens.
It may take a
few minutes for
installation to
complete.
e. Lift the scanner cover to release the
lock ❶. Gently push the scanner
cover support down ❷
and close the scanner
cover ❸.
The installation is
now complete.
Finish
❷❸
❶
❷
❶
❸
The installation is
now complete.
Finish

Other manuals for DCP-135C

2

This manual suits for next models

3

Other Brother All In One Printer manuals

Brother MFC-L8600CDW User manual

Brother

Brother MFC-L8600CDW User manual

Brother DCP 330C - Color Inkjet - All-in-One User manual

Brother

Brother DCP 330C - Color Inkjet - All-in-One User manual

Brother MFC4450 User manual

Brother

Brother MFC4450 User manual

Brother Business Smart MFC-J4510dw Instruction Manual

Brother

Brother Business Smart MFC-J4510dw Instruction Manual

Brother MFC-7420 User manual

Brother

Brother MFC-7420 User manual

Brother MFC490CW - Color Inkjet - All-in-One User manual

Brother

Brother MFC490CW - Color Inkjet - All-in-One User manual

Brother MFC-J430w Operating and maintenance manual

Brother

Brother MFC-J430w Operating and maintenance manual

Brother MFC-9100C User manual

Brother

Brother MFC-9100C User manual

Brother MFC-J430w User manual

Brother

Brother MFC-J430w User manual

Brother MFC 7460DN User manual

Brother

Brother MFC 7460DN User manual

Brother MFC 495CW - Color Inkjet - All-in-One User manual

Brother

Brother MFC 495CW - Color Inkjet - All-in-One User manual

Brother MFC-J615W Operating and maintenance manual

Brother

Brother MFC-J615W Operating and maintenance manual

Brother MFC-7360N Operating and maintenance manual

Brother

Brother MFC-7360N Operating and maintenance manual

Brother MFC-J432W User manual

Brother

Brother MFC-J432W User manual

Brother MFC-9*970CDW User manual

Brother

Brother MFC-9*970CDW User manual

Brother DCP-9010CN User manual

Brother

Brother DCP-9010CN User manual

Brother DCP-J552DW User manual

Brother

Brother DCP-J552DW User manual

Brother IntelliFAX 5750e User manual

Brother

Brother IntelliFAX 5750e User manual

Brother HL-L2310D Operating manual

Brother

Brother HL-L2310D Operating manual

Brother MFC-9840CDW User manual

Brother

Brother MFC-9840CDW User manual

Brother MFC-440CN User manual

Brother

Brother MFC-440CN User manual

Brother MFC8440D User manual

Brother

Brother MFC8440D User manual

Brother MFC-J625DW Assembly instructions

Brother

Brother MFC-J625DW Assembly instructions

Brother DCP-9270CDN Operating and maintenance manual

Brother

Brother DCP-9270CDN Operating and maintenance manual

Popular All In One Printer manuals by other brands

Canon MP980 series manual

Canon

Canon MP980 series manual

Samsung SCX-4720F manual

Samsung

Samsung SCX-4720F manual

Lexmark 22R0010 - C 500n Color Laser Printer Setup & installation

Lexmark

Lexmark 22R0010 - C 500n Color Laser Printer Setup & installation

Panasonic DP-6030 Specifications

Panasonic

Panasonic DP-6030 Specifications

Lanier SP C222SF Brochure & specs

Lanier

Lanier SP C222SF Brochure & specs

Xerox WorkCentre 4260S installation guide

Xerox

Xerox WorkCentre 4260S installation guide

Canon Laser Class 2060P user manual

Canon

Canon Laser Class 2060P user manual

Oce cm6520 user guide

Oce

Oce cm6520 user guide

Epson Stylus NX510 quick guide

Epson

Epson Stylus NX510 quick guide

NIRx NIRSport user guide

NIRx

NIRx NIRSport user guide

Kyocera Ecosys M812cidn Operation guide

Kyocera

Kyocera Ecosys M812cidn Operation guide

Canon PIXMA MP460 user guide

Canon

Canon PIXMA MP460 user guide

Canon PIXMA MX350 Network Setup Guide

Canon

Canon PIXMA MX350 Network Setup Guide

Canon imageRUNNER 1023if manual 

Canon

Canon imageRUNNER 1023if manual 

Konica Minolta bizhub C350 user guide

Konica Minolta

Konica Minolta bizhub C350 user guide

Canon imageRUNNER 2202N quick guide

Canon

Canon imageRUNNER 2202N quick guide

Canon MF5750 - ImageCLASS B/W Laser Remote ui guide

Canon

Canon MF5750 - ImageCLASS B/W Laser Remote ui guide

Ricoh AP-P2 G188 Field service manual

Ricoh

Ricoh AP-P2 G188 Field service manual

manuals.online logo
manuals.online logoBrands
  • About & Mission
  • Contact us
  • Privacy Policy
  • Terms and Conditions

Copyright 2025 Manuals.Online. All Rights Reserved.