X
Solicitamos observar atentamente as orientações de montagem como: fixação do produto na parede,
colocação de cola em locais específicos necessários, o peso suportado pelo produto, etc...
We request you to carefully observe the assembly instructions as: fixing the product on the wall, adding
glue in needed and specifics places, product weight limit, etc.
Pedimos que lea atentamente las instrucciones, principalmente las informaciones de fijación del
producto en la pared, colocación de pegamento en local específico y necesario, el peso soportado por
el producto etc...
No se suba ni se apoye en el mueble.
Do not climb or lean on the furniture.
Não escale ou se apoie no móvel.
Utilize o papelão da própria embalagem
para separar e apoiar as peças retiradas
das caixas.
Use the cardboard of the packaging to
separate and support the parts removed
from the boxes.
Utilice el cartón de la embalaje para
separary apoyan las piezaz desmontadas
de las cajas.
4
Forre a área de montagem com um
cobertor ou tapete. Assim, você evita
avarias nas peças durante o processo de
montagem.
Cubrir la zona de ensamble con una manta o
alfombra. De este modo, se evitan daños
en las piezas durante el proceso de montaje.
Cover the assembly area with a blanket or carpet
to avoid damaging the parts during the
assembly process.
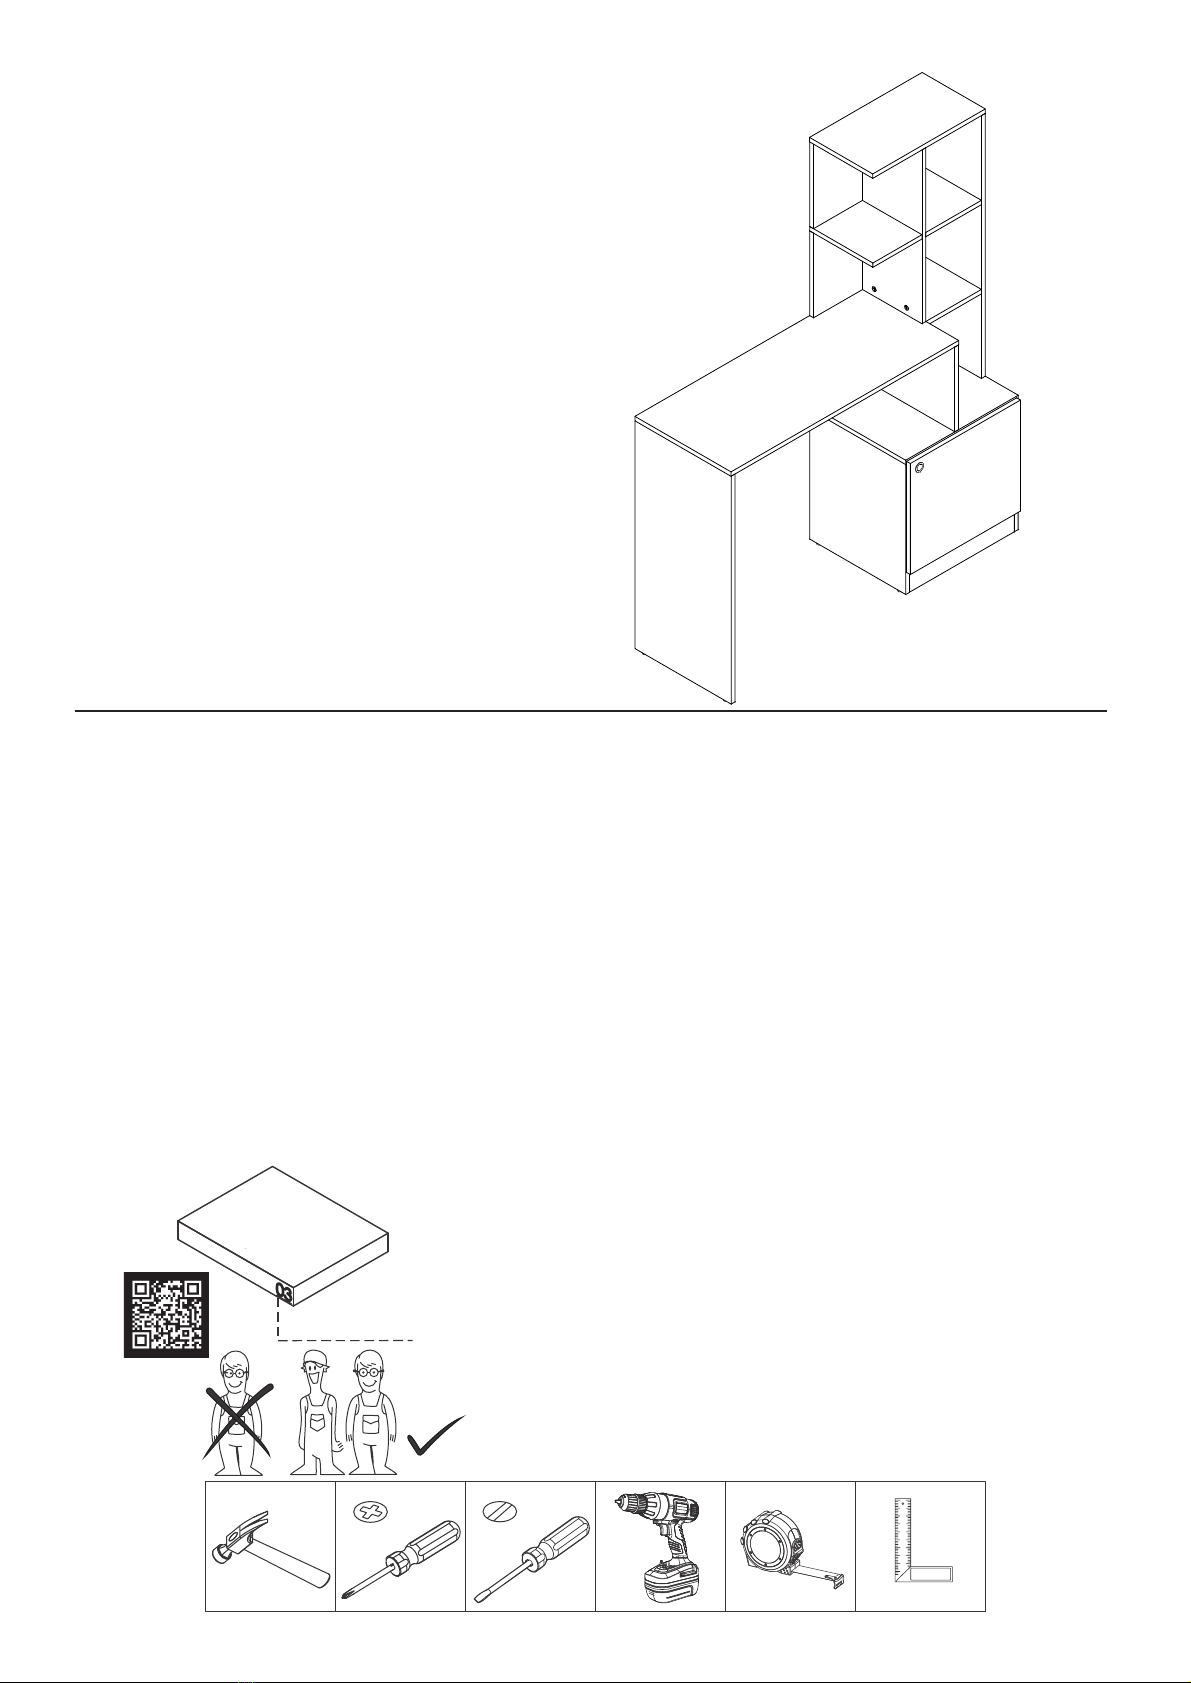
Antes de começar
Antes de comenzar
Before starting
Antes de começar a montagem prepare o ambiente, deixando-o completamente limpo e
com bom espaço para iniciar o trabalho.
Antes de comenzar el montaje preparar el ambiente, dejándolo completamente limpio y
con bueno espacio para comenzar el trabajo.
Prepare the room before starting the assembly, leaving it completely clean and the area in
good condition to start the work.
Evite acidentes
Prevenir accidentes
Avoid accidents