2MY HOME Technical sheets - Automation
BT00110-d-UK
HD4657M3 - HC4657M3 - HS4657M3
HD4657M4 - HC4657M4 - HS4657M4
Conguration
The conguration of the Nighter &Whice control can be made in two dierent modes:
- PHYSICAL CONFIGURATION: by connecting the physical congurators to their sockets;
- VIRTUAL CONFIGURATION: the control can be congured remotely, when no physical
congurators are available. (For the details refer to theVirtual Conguration).
Regardless of the mode, an A/PL address must always be assigned to the control.
For the activation of the programming pushbutton and the LED adjustment, only use
the screwdriver provided
Aroom
PL Light point
Mmode
INT LED display mode
1) Self-learning mode M=0
Possible function Value congurator in M
This operating mode can be used to associate one individual control to any key of the device. It is
possible to create, delete or change each control. The device may be congured using any A/PL
address already present in the system, or a unique address not used by other devices.
0
2) Non-cyclical self-learning mode M=6
Possible function Value congurator in M
This mode is a variant of the self-learning mode (M=0), in which, however, the keys never
work cyclically.” Therefore, if for example, the ON of an actuator or dimmer is learnt, the
couple of keys is congured automatically to switch on or increase the light intensity level for
the upper key, and switch o or decrease the level of intensity for the lower one.
If, on the other hand, a single function is learnt (e.g. recalling of a scenario), the other key
of the pair remains without function, or retains the previous function. The device may be
congured using any A/PL address already present in the system, or a unique address not
used by other devices.
6
Programming the Keys
To associate a dierent control to each key, proceed as follows:
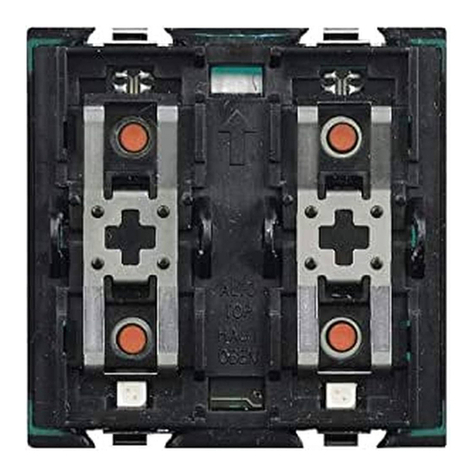
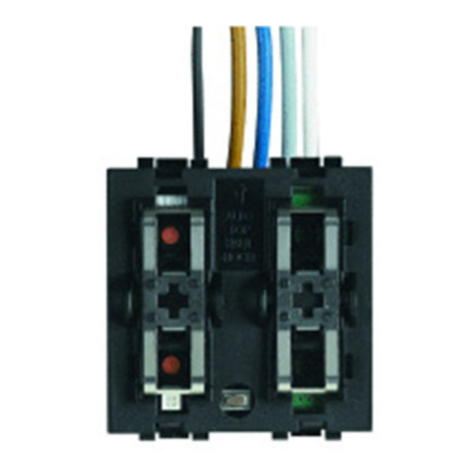
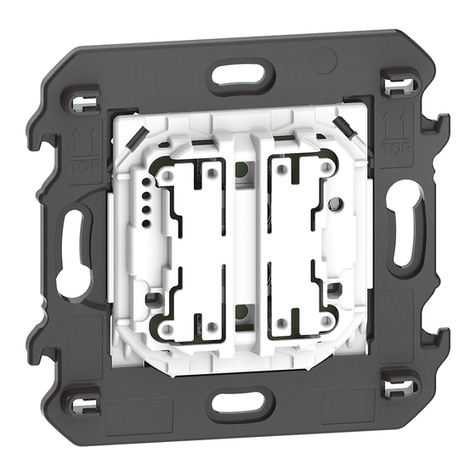
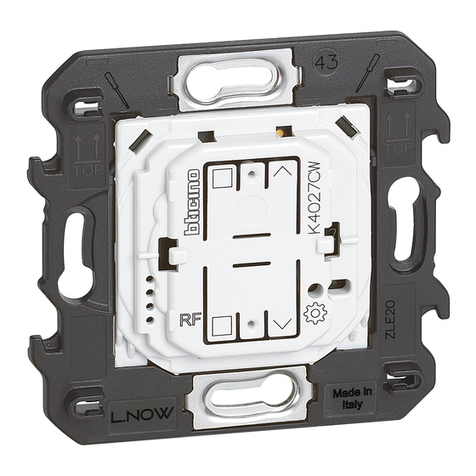
1) Press and release the key on the back, the LEDs come on in succession;
2) Lightly touch the key to be programmed within 20 seconds: he LED will start
ashing, conrming that the programming mode is active;
3) Set up the control you want to associate to the key using the controls and/or
corresponding actuator. The LEDs start ashing in succession
4) You can now repeat 2) and 3) for all keys, even for a key that has already been
associated, in case you want to change it;
5) Press the pushbutton to exit programming, or wait 20 seconds to exit programming
automatically.
Deleting the programming of the keys
1) Press and release the key on the back, the LEDs come on in succession;
2) Within20 secondspressandhold down for4seconds thekeyforwhich programming
is to be cancelled; from now on, no controls will be activated when this key is
pressed, until the key is programmed again.
3) The corresponding LED ashes for 4 seconds in alternative to the others, after which
it will be possible to repeat point 2, to delete other programming sequences;
4) Short press the pushbutton, or wait 20 seconds to automatically exit delete
programming.
NOTE: To cancel the programming of all keys at the same time press and release the
key on the back. The LEDs will come on in succession. Press the pushbutton on the back
again, and hold it down for 10 seconds: all LEDs will ash for about 4 second to conrm
that all programming has been deleted.
