manuals.online logo
Brands
  1. Home
  2. •
  3. Brands
  4. •
  5. Bticino
  6. •
  7. Controllers
  8. •
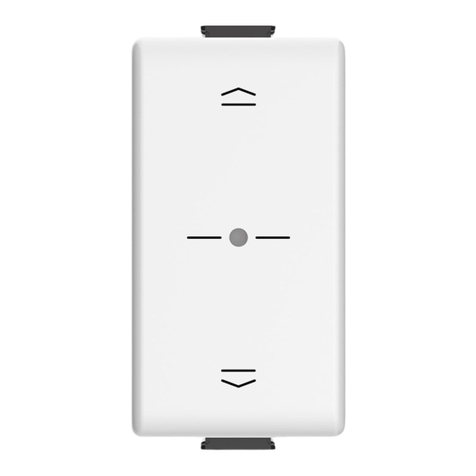
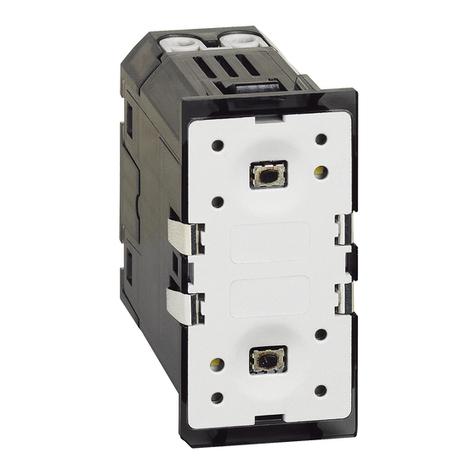
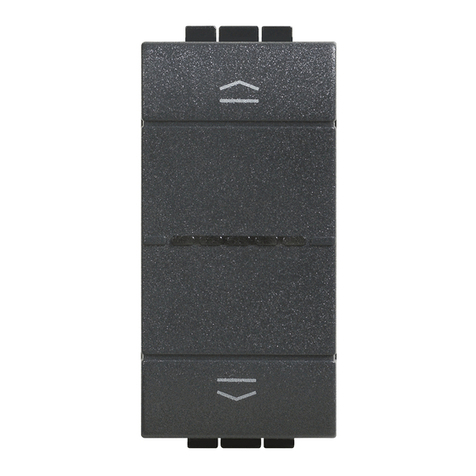
  9. Bticino L4003C User manual

Bticino L4003C User manual

L4003C
N4003C
NT4003C
05/19-01 PC
LE11385AA
BTicino SpA – Viale Borri, 231 – 21100 Varese – Italy – www.bticino.com
LNA4803...*
LNB4803...*
• Schemi elettrici
• Electric diagrams
• Schémas électriques
• Schaltpläne
• Esquemas eléctricos
• Elektrische schema’s
• Esquemas elétricos
• Электрические схемы 
1. Control pushbutton
2. Notification LED
3. Connection clamps
1. Кнопка управления
2. Сигнальный светодиод
3. Соединительные клеммы
L
N
L
1
2
N
L/N/NT4003C
• Schema per interrotta
• Interrupted light point diagram
• Schéma mode interrupteur
• Schema Lichtauslass mit Ausschaltung
• Esquema para punto de luz interrumpido
• Schema voor onderbreking
• Esquema para interrompido
• Схема управления освещением посредством
традиционного выключателя

• Schema per deviata o invertita
• Redirected or inverted light point diagram
• Schéma mode va-et-vient
• Schema Lichtauslass mit Wechselschaltung oder
Kreuzschaltung
• Esquema para punto de luz desviado o invertido
• Schema voor regeling of omkering
• Esquema para desvio ou inverso
• Схема управления освещением посредством
двух переключателей на два направления или
промежуточного переключателя

1. Pulsante di comando
2. Led segnalazione
3. Morsetti di collegamento
1. Botão de controle
2. LED de sinalização
3. Bornes de conexão
1. Steuertaste
2. Meldeleuchte
3. Anschlussklemmen
1. Pulsador de mando
2. LED de señal
3. Bornes de conexión
1
2
1
• Montaggio • Mounting • Montage • Montage • Montaje • Montage • Montagem • Монтаж 
L
N
L L
1
2
N
2
1
L1
L2
1
2
L/N/NT4003C
Invertitore
Intermediate switch
Permutateur
Umschalter
Inversor
Inverter
Inversor
Промежуточный
переключатель
Deviatore
Two-way switch
Va-et-vient
Ableiter
Desviador
Regelaar
Desviador
Переключатель на
два направления
 
1. Bouton de commande
2. Voyant LED
3. Bornes de branchement
1. Bedieningsknop
2. Signalering met led
3. Aansluitklemmen
1
2
3
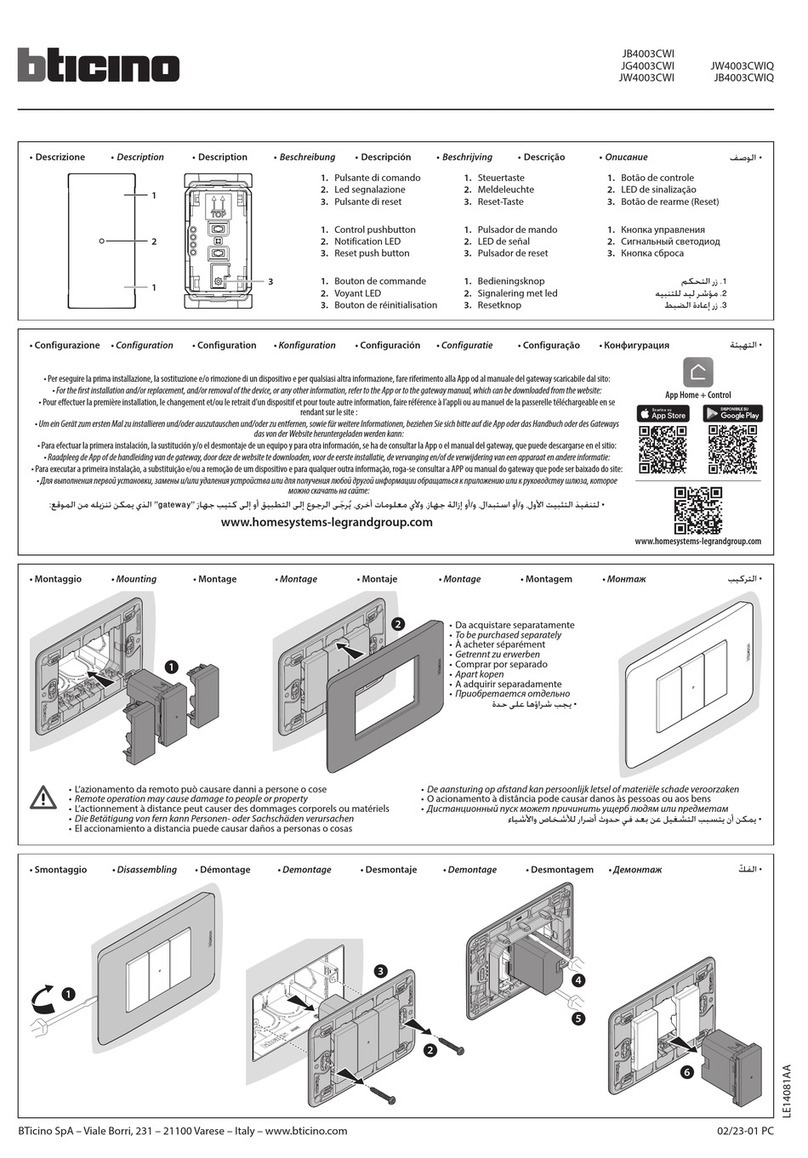
• Descrizione • Description • Description • Beschreibung • Descripción • Beschrijving • Descrição • Описание 
• Togliere tensione dall’interruttore generale. L’azionamento da remoto può causare danni a persone o cose.
• Cut the power at the general circuit breaker. Remote operation may cause damage to people or property.
• Coupez le courant au disjoncteur général. L’actionnement à distance peut causer des dommages corporels ou matériels.
• Den Hauptschalter stromlos machen. Die Betätigung von fern kann Personen- oder Sachschäden verursachen.
• Quitar tensión al interruptor general. El accionamiento a distancia puede causar daños a personas o cosas.
• Verwijder de spanning van de hoofdschakelaar. De aansturing op afstand kan persoonlijk letsel of materiële schade veroorzaken.
• Desligar a tensão do interruptor geral. O acionamento à distância pode causar danos às pessoas ou aos bens.
• Отключить напряжение главного выключателя. Дистанционный пуск может причинить ущерб людям или предметам.

2
* Da acquistare separatamente
To be purchased separately
À acheter séparément
Getrennt zu erwerben
Comprar por separado
Apart kopen
A adquirir separadamente
Приобретается отдельно

3
• Configurazione • Configuration • Configuration • Konfiguration • Configuración • Configuratie • Configuração • Конфигурация 
Per eseguire la prima installazione, la sostituzione e/o rimozione di un dispositivo e per qualsiasi altra informazione, fare riferimento alla App od al manuale del gateway L/N/NT4500C scaricabile
dal sito www.homesystems-legrandgroup.com
For the rst installation and/or replacement, and/or removal of the device, or any other information, refer to the App or the L/N/NT4500C gateway manual, which can be downloaded from
www.homesystems-legrandgroup.com
Pour eectuer la première installation, le changement et/ou le retrait d’un dispositif et pour toute autre information, faire référence à l’appli ou au manuel de la passerelle L/N/NT4500C
téléchargeable en se rendant sur le site www.homesystems-legrandgroup.com
Um ein Gerät zum ersten Mal zu installieren und/oder auszutauschen und/oder zu entfernen, sowie für weitere Informationen, beziehen Sie sich bitte auf die App oder das Handbuch oder des Gateways
L/N/NT4500C, das von der Website heruntergeladen werden kann www.homesystems-legrandgroup.com
Para efectuar la primera instalación, la sustitución y/o el desmontaje de un equipo y para otra información, se ha de consultar la App o el manual del gateway L/N/NT4500C, que puede
descargarse en el sitio www.homesystems-legrandgroup.com
Raadpleeg de app of de handleiding van de gateway L/N/NT4500C door deze de website www.homesystems-legrandgroup.com te downloaden, voor de eerste installatie, de vervanging en/of de
verwijdering van een apparaat en andere informatie
Para executar a primeira instalação, a substituição e/ou a remoção de um dispositivo e para qualquer outra informação, roga-se consultar a APP ou manual do gateway L/N/NT4500C que pode ser
descarregado do site www.homesystems-legrandgroup.com
Для выполнения первой установки, замены и/или удаления устройства и для получения любой другой информации обращаться к приложению или к руководству шлюза L/N/
NT4500C, которое можно скачать с сайта www.homesystems-legrandgroup.com


www.homesystems-legrandgroup.com
App Home + Control
2
+ 45 °C

+ 5 °C

1 x 1,5 mm2
1 x1.5 mm2
1 x 1,5 мм2
21
110 – 240 Vac ; 50/60 Hz
110 – 240 В ; 50/60 Гц

LED (*)
(**)
LED
(*)
(**)
LED (*)
(**)
LED (*)
(**)
LED (*)
(**)
Carichi Lampada incandescente
o lampada alogena Lampada a LED Fluorescente compatta Trasformatore elettronico Trasformatore
ferromagnetico
240 VAC 500 W min. 4 W max 100 W 250 VA 250 VA 250 VA
100 VAC 250 W min 4 W max 50 W 125 VA 125 VA 125 VA
Tecnologia Radio (Maglie di rete senza fili)
Livello di potenza <100mW
Frequenza di banda da 2,4 a 2,4835 GHz
Loads Filament lamp or halogen lamp LED lamp Fluorescent compact Electronic transformer Ferromagnetic transformer
240 VAC 500 W min. 4 W max. 100 W 250 VA 250 VA 250 VA
100 VAC 250 W min. 4 W max. 50 W 125 VA 125 VA 125 VA
Technology Radio (Wireless meshed network)
Power level <100mW
Band frequency from 2,4 to 2,4835 GHz
Charges
Ampoule à incandescence ou
lampe halogène
Ampoule à LED Fluorescente compacte Transformateur
électronique
Transformateur
ferromagnétique
240 VAC 500 W min. 4 W max. 100 W 250 VA 250 VA 250 VA
100 VAC 250 W min. 4 W max. 50 W 125 VA 125 VA 125 VA
Technologie Radio (Réseau maillé sans fil)
Niveau de puissance <100mW
Fréquence de bande de 2,4 à 2,4835 GHz
Stromlasten Glühlampe oder Halogenlampe LED-Lampe Kompakte Leuchtstoffröhre Elektronischer
Transformator
Ferromagnetischer
Transformator
240 VAC 500 W min. 4 W max. 100 W 250 VA 250 VA 250 VA
100 VAC 250 W min. 4 W max. 50 W 125 VA 125 VA 125 VA
Technologie Radio (Maschen eines drahtlosen Netzes)
Leistungsniveau <100mW
Bandfrequenz von 2,4 bis 2,4835 GHz
• Caratteristiche tecniche
• Technical features
• Caractéristiques techniques
• Technische Daten
• Características técnicas
• Technische eigenschappen
• Características técnicas
• Технические характеристики 
• Reset alle impostazioni di fabbrica
• Reset to the factory settings
• Rétablissement des réglages par défaut
• Default-Einstellungen wieder herstellen
• Restablecer los ajustes de la fábrica
• Reset van de fabrieksinstellingen
• Resetar definições de fábrica
• Восстановление фабричных настроек

Attenzione: questa procedura disassocia completamente il dispositivo dall’impianto elettrico smart.
Warning: this procedure completely disassociates the device from the smart electric system.
Attention : cette procédure dissocie complètement le dispositif de l’installation électrique smart.
Achtung: Dieser Vorgang trenn das Gerät vollständig von der Smart-Stromanlage.
Atención: este procedimiento desasocia completamente el equipo del sistema eléctrico smart.
Opgelet: deze procedure koppelt het apparaat volledig los van de elektrische installatie smart.
Atenção: este procedimento exclui totalmente o dispositivo do sistema elétrico smart.
Внимание: эта процедура полностью отсоединяет устройство от умной электрической системы.

Attenzione: la pressione involontaria breve del pulsante reset, avvia l'associazione (LED verdi accesi di tutti gli altri dispositivi dell'impianto).
Premere brevemente e contemporaneamente i due tasti del comando L/N/NT4500CW Master per terminarla.
Warning: a short accidental pressure of the reset pushbutton, starts the association (the green LEDs of all the other system devices are ON).
Press quickly and at the same time the two keys of the L/N/NT4500CW Master control to end it.
Attention : une brève pression involontaire sur le bouton de reset active l’association (voyants verts de tous les autres dispositifs de l’installation allumés).
Appuyer brièvement et simultanément sur les deux touches de la commande L/N/NT4500CW Master pour la terminer.
Achtung: Durch den kurzen versehentlichen Druck der Reset-Taste wird die Zuordnung gestartet (grüne LED leuchtet an allen anderen Geräten der Anlage).
Drücken Sie kurz und gleichzeitig die beiden Tasten der Master-Steuerung L/N/NT4500CW, um sie zu beenden.
Atención: la presión involuntaria breve del botón reset acciona la asociación (LEDs verdes encendidos en todos los otros equipos del sistema).
Presionar al mismo tiempo brevemente los dos botones del mando L/N/NT4500CW Master para acabar la asociación.
Opgelet: wanneer de resetknop per ongeluk kort ingedrukt wordt, wordt de koppeling gestart (de groene leds van alle andere apparaten van de installatie branden).
Druk de twee toetsen van de bediening L/N/NT4500CW Master tegelijkertijd kort in om de procedure af te ronden.
Atenção: a pressão involuntária breve do botão Reset, inicia a associação (LED verdes acesos de todos os outros dispositivos do equipamento).
Carregar brevemente e em simultâneo nas duas teclas do comando L/N/NT4500CW Master para terminá-la.
Внимание: случайное кратковременное нажатие на кнопку сброса запускает сопряжение (горят зеленые светодиоды всех других устройств системы).
Кратковременно и одновременно нажать на две кнопки главного устройства управления L/N/NT4500CW для его завершения.
 
Premere e mantenere premuto il pulsante reset , il LED lampeggia blu, poi si spegne, poi diventa rosso.
A questo punto rilascia il pulsante. Il LED diventa rosso fisso. Il reset è eseguito.
Press and hold down the reset pushbutton , the LED flashes blue, then it goes off, then turns red.
Now release the pushbutton. The LED turns red steady. The reset has been done.
Appuyer sur le bouton de reset et le maintenir enfoncé : le voyant clignote en bleu, s’éteint puis devient rouge.
Ensuite relâcher le bouton. Le voyant devient rouge fixe. Le reset est effectué.
Drücken die Taste Reset und halten Sie sie gedrückt. Die LED blinkt blau und erlischt, dann leuchtet sie rot auf.
Nun die Taste loslassen Taste. Die LED leuchtet rot auf. Reset durchgeführt.
Presionar sin soltar el botón reset , el LED parpadea de color azul, luego se apaga y se pone de color rojo.
Entonces soltar el botón. El LED se pone rojo fijo. El reset se ha efectuado.
Houd de resetknop ingedrukt. De led blauw knippert blauw, gaat vervolgens uit en kleurt daarna rood.
Laat de knop nu los. De led kleurt rood en brandt. De reset is verricht.
Carregar e manter carregado o botão reset , o LED pisca azul, depois desliga-se, então torna-se vermelho.
Nesta altura soltar o botão. O LED torna-se vermelho fixo. O reset foi efetuado.
Нажать и удерживать нажатой кнопку сброса , светодиод начнет мигать синим светом, затем погаснет и
загорится красным светом.
После этого отпустить кнопку. Светодиод загорится постоянным красным светом. Сброс выполнен.
 

1
2
3
3
(*) Oppure 10 lampade max. Per un buon comfort luminoso, si consiglia di utilizzare delle lampadine dello stesso tipo e dello stesso produttore.
(**) Attenzione: - I trasformatori ferromagnetici devono essere caricati a più del 60% della loro potenza nominale.
- Durante il calcolo della potenza ammissibile, bisogna tenere conto del rendimento dei trasformatori ferromagnetici.
- È necessario collegare un carico prima di programmare e utilizzare il prodotto.
- Utilizzare solo con trasformatori progettati per funzionare con interruttori elettronici.
(*) Or 10 max lamps. For good lighting comfort, we recommend the use of lamps of the same type and from the same supplier.
(**) Caution: - Ferromagnetic transformers must be charged at over 60% of their rated power.
- During the calculation of the permitted power, take into account the performance of ferromagnetic transformers.
- A load must be connected before programming and using the product.
- Use only with transformers designed to work with electronic switches.
(*) Ou 10 lampes max. Pour un bon confort lumineux, il est recommandé d’utiliser des ampoules de même type et de même fabricant.
(**) Attention : - Les transformateurs ferromagnétiques doivent être chargés à plus de 60% de leur puissance nominale.
- Lors du calcul de la puissance admissible, il faut prendre en compte le rendement des transformateurs ferromagnétiques.
- Il est nécessaire de raccorder une charge avant de programmer et d’utiliser le produit.
- Utiliser uniquement avec des transformateurs conçus pour fonctionner avec des interrupteurs électroniques.
(*) Oder 10 Lampen Max. Für einen guten Lichtkomfort empfehlen wir die Verwendung von Birnen des gleichen Typs und des gleichen Herstellers.
(**) Achtung: - Ferromagnetische Transformatoren müssen mit mehr als 60% ihrer Nennleistung geladen sein.
- Bei der Berechnung der zulässigen Leistung muss der Wirkungsgrad der ferromagnetischen Transformatoren berücksichtigt werden.
- Vor der Programmierung oder Benutzung des Produkts ist eine Stromlast anzuschließen.
- Nur mit Transformatoren verwenden, die für den Betrieb mit elektronischen Schaltern ausgelegt sind.
(*) O 10 lámparas max. Para obtener un buen confort luminoso, se aconseja el uso de bombillas del mismo tipo y del mismo fabricante.
(**) Cuidado: - Los transformadores ferromagnéticos se han de cargar con más del 60% de sus potencias nominales.
- Durante el cálculo de la potencia admisible, se ha de considerar el rendimiento de los transformadores ferromagnéticos.
- Se ha de conectar una carga antes de programar y usar el producto.
- Usar solo con transformadores diseñados para funcionar con interruptores electrónicos.
(*) Of 10 max lampen. Voor een comfortabele verlichting wordt geadviseerd om hetzelfde type lampen van dezelfde fabrikant te gebruiken.
(**) Opgelet: - Ferromagnetische transformatoren moeten tot meer dan 60% van hun nominale vermogen zijn opgeladen.
- Tijdens de berekening van het toegestane vermogen dient rekening te worden gehouden met het rendement van de ferromagnetische transformatoren.
- Sluit een lading aan alvorens het product te programmeren en gebruiken.
- Uitsluitend gebruiken in combinatie met transformatoren die specifiek voor de werking met elektronische schakelaars zijn ontworpen.
(*) Ou 10 lâmpadas max. Para um bom conforto luminoso, sugerimos usar lâmpadas do mesmo tipo e do mesmo fabricante.
(**) Atenção: - Os transformadores ferromagnéticos devem ter uma carga superior a 60% de sua potência nominal.
- Ao calcular a potência admissível, deve-se levar em consideração a eficiência dos transformadores ferromagnéticos.
- É necessário conectar uma carga antes de proceder à programação e utilização do produto.
- Use somente com transformadores projetados para funcionar com interruptores eletrónicos.
(*) Или 10 ламп макс. Для обеспечения светового комфорта рекомендуется использовать лампочки одного типа и одного производителя.
(**) Внимание: - Ферромагнитные трансформаторы должны быть заряжены более чем на 60% от своей номинальной мощности.
- При расчете допустимой мощности необходимо учитывать КПД ферромагнитных трансформаторов.
- Перед программированием и эксплуатацией изделия необходимо подключить нагрузку.
- Использовать только с трансформаторами, спроектированными для работы с электронными выключателями.

 





+ 45 °C

+ 5 °C

1 x 1,5 mm2
1 x1.5 mm2
1 x 1,5 мм2
21
100 – 240 Vac ; 50/60 Hz
100 – 240 В ; 50/60 Гц

LED (*)
(**)
LED
(*)
(**)
LED (*)
(**)
LED (*)
(**)
LED (*)
(**)
Cargas Bombilla incandescente o bombilla
halógena Bombilla LED Fluorescente compacta Transformador eléctrico Transformador
ferromagnético
240 VAC 500 W mín. 4 W max .100 W 250 VA 250 VA 250 VA
100 VAC 250 W mín. 4 W max. 50 W 125 VA 125 VA 125 VA
Tecnología Radio (Mallas de red sin hilos)
Nivel de potencia <100mW
Frecuencia de banda de 2,4 a 2,4835 GHz
Ladingen Gloei- of halogeenlamp Ledlamp Compacte
fluorescentielamp
Elektronische
transformator
Ferromagnetische
transformator
240 VAC 500 W min. 4 W max. 100 W 250 VA 250 VA 250 VA
100 VAC 250 W min. 4 W max. 50 W 125 VA 125 VA 125 VA
Technologie Radio (draadloos netwerkschakels)
Vermogensniveau <100mW
Frequentieband 2,4 t/m 2,4835 GHz
Cargas Lâmpada incandescente ou
lâmpada de halogênio Lâmpada de LED Fluorescente compacta Transformador eletrônico Transformador
ferromagnético
240 VAC 500 W mín. 4 W máx. 100 W 250 VA 250 VA 250 VA
100 VAC 250 W mín. 4 W máx. 50 W 125 VA 125 VA 125 VA
Tecnologia Rádio (links de rede sem fio)
Nível de potência <100mW
Frequência de banda de 2,4 a 2,4835 GHz
Нагрузка Лампа накаливания или
галогенная лампа Светодиодная лампа Компактная
люминесцентная лампа
Электронный
трансформатор
Ферромагнитный
трансформатор
240 Пер. 500 Вт мин. 4 Вт макс. 100 Вт 250 Ва 250 Ва 250 Ва
100 Пер. 250 Вт мин. 4 Вт макс. 50 Вт 125 Ва 125 Ва 125 Ва
Технология Радио (Ячейки беспроводной сети)
Уровень мощности <100мВт
Полоса пропускания от 2,4 до 2,4835 ГГц
     
 


  
 


  
 
 
 
Il fabbricante, BTicino S.p.A., dichiara che il tipo di apparecchiatura radio Deviatore connesso art. L/N/NT4003C è
conforme alla direttiva 2014/53/UE.
Il testo completo della dichiarazione di conformità UE è disponibile al seguente indirizzo Internet: www.bticino.it/red
Hereby, BTicino S.p.A., declares that the radio equipment type Connected 2ways switch
item L/N/NT4003C is in compliance
with Directive 2014/53/EU.
The full text of the EU declaration of conformity is available at the following internet address: www.bticino.it/red
This manual suits for next models

2

Other Bticino Controllers manuals

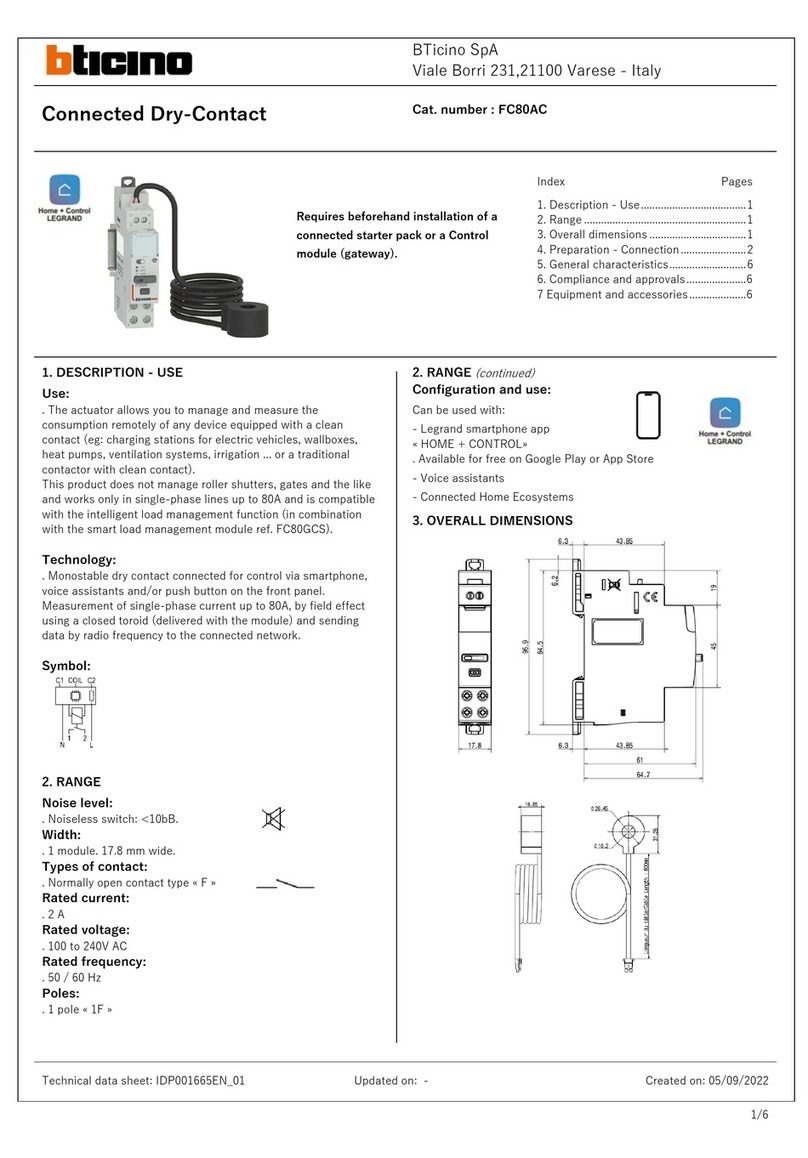
Bticino FC80AC Instruction Manual

Bticino

Bticino FC80AC Instruction Manual

Bticino F470/1 User manual

Bticino

Bticino F470/1 User manual

Bticino K8002S User manual

Bticino

Bticino K8002S User manual

Bticino MyHOME H4660M2 User manual

Bticino

Bticino MyHOME H4660M2 User manual

Bticino K4500C User manual

Bticino

Bticino K4500C User manual

Bticino K8002L User manual

Bticino

Bticino K8002L User manual

Bticino K4003DCW User manual

Bticino

Bticino K4003DCW User manual

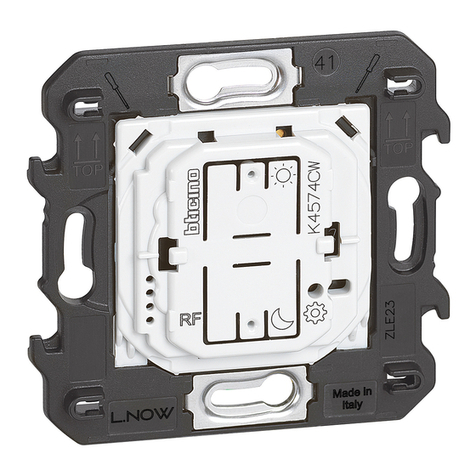
Bticino K4574CW User manual

Bticino

Bticino K4574CW User manual

Bticino BTK4003CW User manual

Bticino

Bticino BTK4003CW User manual

Bticino K4027CW User manual

Bticino

Bticino K4027CW User manual

Bticino H4574 User manual

Bticino

Bticino H4574 User manual

Bticino KW8013 User manual

Bticino

Bticino KW8013 User manual

Bticino L4027C User manual

Bticino

Bticino L4027C User manual

Bticino 3470 User manual

Bticino

Bticino 3470 User manual

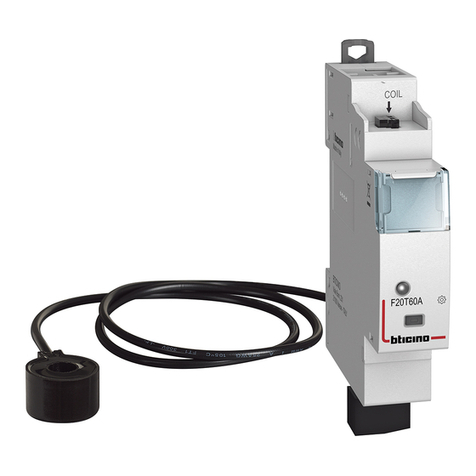
Bticino F20T60A User manual

Bticino

Bticino F20T60A User manual

Bticino LN4027CWI User manual

Bticino

Bticino LN4027CWI User manual

Bticino JB4003CWI User manual

Bticino

Bticino JB4003CWI User manual

Bticino 346230 User manual

Bticino

Bticino 346230 User manual

Bticino AM4027C User manual

Bticino

Bticino AM4027C User manual

Bticino AXOLUTE HD4657M3 User manual

Bticino

Bticino AXOLUTE HD4657M3 User manual

Popular Controllers manuals by other brands

Hayes Endeavor 81770 installation manual

Hayes

Hayes Endeavor 81770 installation manual

Lafalink LF-AC300 Quick installation guide

Lafalink

Lafalink LF-AC300 Quick installation guide

Unitronics UniStream installation guide

Unitronics

Unitronics UniStream installation guide

Rayrun T130 quick start guide

Rayrun

Rayrun T130 quick start guide

Toto TLE03502U1i2 installation manual

Toto

Toto TLE03502U1i2 installation manual

Mercury Security EP4502 manual

Mercury Security

Mercury Security EP4502 manual

Motion Access CONDOR SWING MA50777 Installation & operation manual

Motion Access

Motion Access CONDOR SWING MA50777 Installation & operation manual

OPHIR RF Technical description and operating instructions

OPHIR

OPHIR RF Technical description and operating instructions

FLYLINE MoCo manual

FLYLINE

FLYLINE MoCo manual

Titon auramode BP 52422 product manual

Titon

Titon auramode BP 52422 product manual

Johnson Controls VA-7700 Series installation instructions

Johnson Controls

Johnson Controls VA-7700 Series installation instructions

dixell WING XW272K Installing and operating instructions

dixell

dixell WING XW272K Installing and operating instructions

Halma ALICAT SCIENTIFIC LCR Series Get started

Halma

Halma ALICAT SCIENTIFIC LCR Series Get started

Vimar Elvox EIM2 Installation and operation manual

Vimar

Vimar Elvox EIM2 Installation and operation manual

Tyco SCOTT EZ Flo + Important User Notice

Tyco

Tyco SCOTT EZ Flo + Important User Notice

MRC 0001325 instructions

MRC

MRC 0001325 instructions

National Instruments GPIB-SCSI-A installation guide

National Instruments

National Instruments GPIB-SCSI-A installation guide

XILO Stax F4 manual

XILO

XILO Stax F4 manual

manuals.online logo
manuals.online logoBrands
  • About & Mission
  • Contact us
  • Privacy Policy
  • Terms and Conditions

Copyright 2025 Manuals.Online. All Rights Reserved.