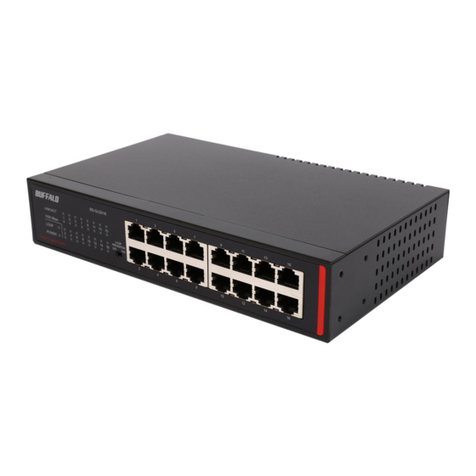
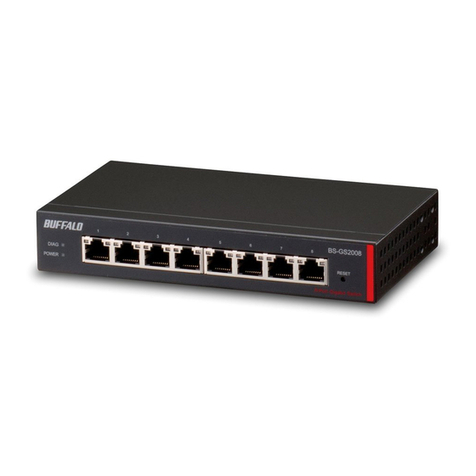
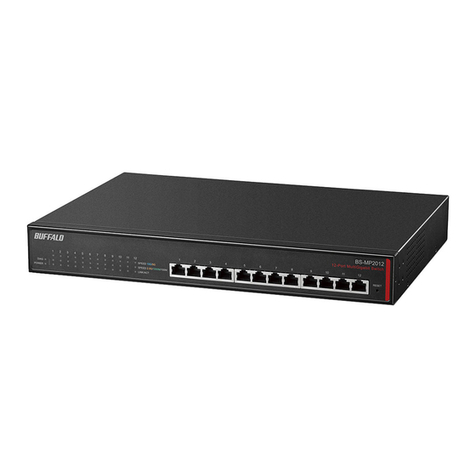
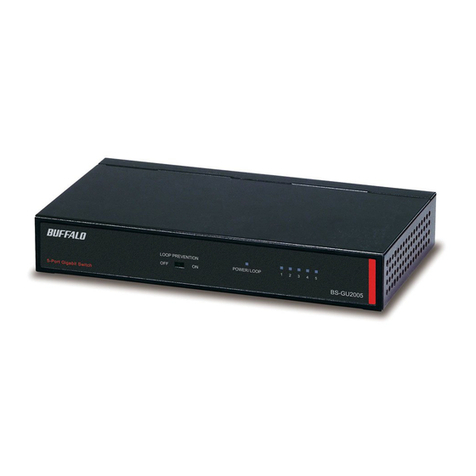
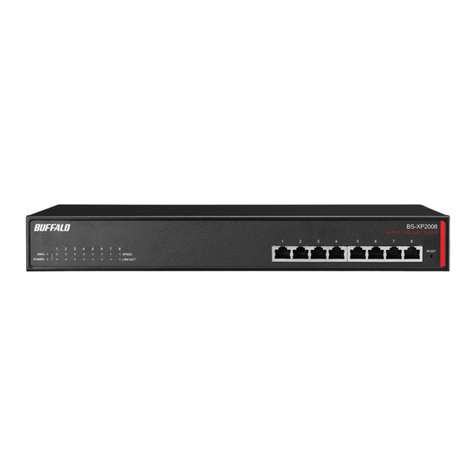
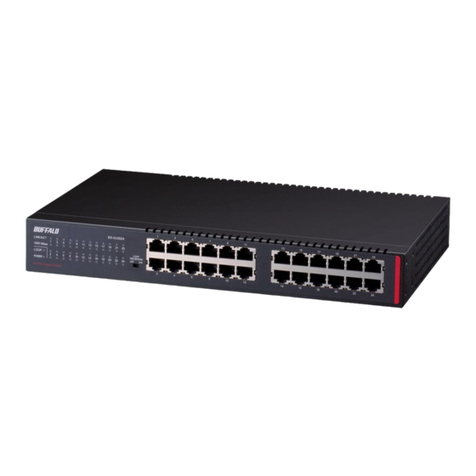
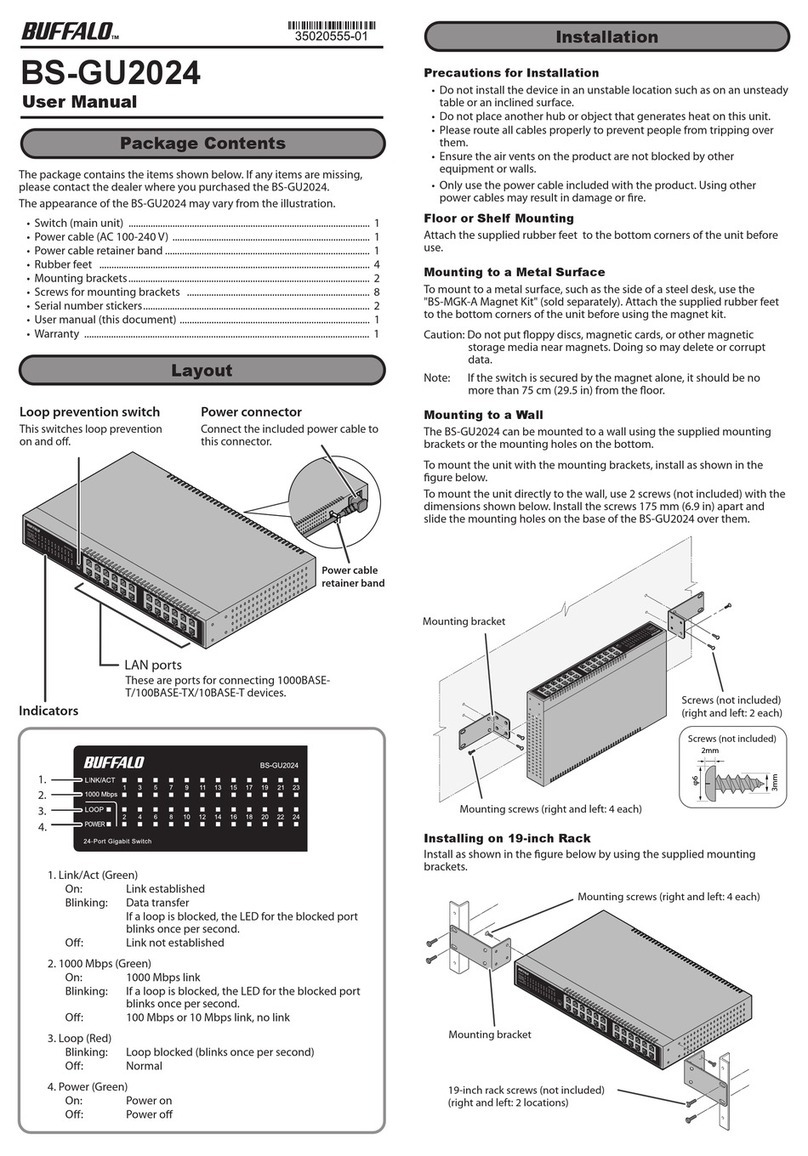
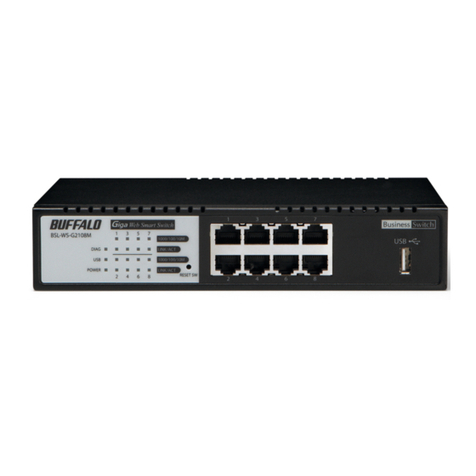
Buffalo BS-XP20 Series User manual

Layer 2 10 Gigabit Switch
BS-XP20 Series
User Manual
Americas: www.buffaloamericas.com
Europe: www.buffalo-technology.com
35021193-02
2016.10

1
Contents
Chapter 1 Initial Settings ...............................................4
Product Requirements.....................................................................4
Install Business Switch Configuration Tool ....................................4
Change Switch's IP Address.............................................................5
Open Settings................................................................................ 11
Change Username and Password ................................................ 14
MAC Address Learning ................................................................. 15
Chapter 2 Settings....................................................... 16
Menu .............................................................................................. 16
System Information ...................................................................... 17
System............................................................................................ 17
System IP Settings......................................................................... 18
VLAN .............................................................................................. 19
VLAN Settings ..........................................................................................19
VLAN Ports ...............................................................................................20
MAC Addresses.............................................................................. 21
Static MAC Filtering .................................................................................21
Port Settings.................................................................................. 22
Status ........................................................................................................22
Speed/Mode Settings ..............................................................................23
System Security............................................................................. 24
Administration Account ..........................................................................24
QoS ................................................................................................. 25

2
QoS Settings.............................................................................................25
QoS Mapping............................................................................................26
VoIP Auto Priority ....................................................................................27
Security .......................................................................................... 28
Auto DoS Attack Prevention ...................................................................28
Port Trunking................................................................................. 29
Traffic Control................................................................................ 30
Mirroring........................................................................................ 31
IGMP............................................................................................... 31
Status ........................................................................................................31
IGMP Settings...........................................................................................32
IGMP Querier............................................................................................32
IGMP Router Port .....................................................................................33
Loop Prevention............................................................................ 33
Update Firmware........................................................................... 34
Back Up and Restore..................................................................... 35
Reboot............................................................................................ 35
Initialize ......................................................................................... 36
Statistics......................................................................................... 36
Network Diagnostics..................................................................... 37
Cable Diagnostics.......................................................................... 38
Chapter 3 Troubleshooting........................................ 39
LED Is Not Lit, Abnormal Lighting or Blinking............................ 39
Cannot Access Settings................................................................. 39
Forgot the Username or Password .............................................. 39

3
Appendix A Specifications.......................................... 40
Product Specifications.................................................................. 40
Port Specifications...................................................................................40
Factory Default Settings............................................................... 41
Appendix B Regulatory Compliance Information..... 43
For Customers in the United States ............................................. 43
For Customers in Europe .............................................................. 44

4
Chapter 1 Initial Settings
Product Requirements
Compatible Devices and Browsers
Compatible Devices to Connect to BS-XP
10GBASE-T/1000BASE-T/100BASE-TX compatible devices (PCs, Mac, NAS, switches)
Compatible Browsers to Enter Settings
Microsoft Edge
Internet Explorer 8/9/10/11
Mozilla Firefox
Google Chrome
Refer to our website to check the latest information on compatible browser versions.
Install Business Switch Configuration Tool
Install "Business Switch Configuration Tool" before you perform the following procedure. (Compatible with Windows
only.)
Note: You can download the latest version of Business Switch Configuration Tool from the URLs below:
BS-XP2008 http://d.buffalo.jp/bs-xp2008/
BS-XP2012 http://d.buffalo.jp/bs-xp2012/

5
Change Switch's IP Address
To enter Settings, the switch's web user interface, the switch's IP address should belong to the same segment as
your PC's IP address.
1 Connect the switch to your PC and your network with an Ethernet cable (sold separately). Confirm that link/act
LED of the connected port is on.
2 Double-click the "Business Switch Configuration Tool" icon to open Business Switch Configuration Tool.
3 Click Next to start searching for the switch.

6
4 Select the switch and click Next.

7
5 Click Change IP Address.

8
6 Configure the switch's IP address to match the segment of the IP address of your PC and click Next.

9
7 If the password input screen is displayed, enter "password" and click Next.

10
8 Click Finish.

11
Open Settings
1 Configure the switch's IP address, referring to the "Change Switch's IP Address" section above.
2 Double-click the "Business Switch Configuration Tool" icon to open Business Switch Configuration Tool.
3 Click Next to start searching for the switch.

12
4 Select the switch and click Next.

13
5 Click Settings (Web Admin Interface).
6 Click OK.
7 A web browser is launched and the login screen is displayed. Enter "admin" as the username and "password" as
the password, then click Log In.
Note: There is a message window, "The switch's configuration interface is now open in a browser window."
under the browser window. Click Complete to close the window.

14
Change Username and Password
To change the default username and password from "admin" and "password", refer to the following procedure.
1 Open Settings.
2 Navigate to Basic - System Security - Administration Account.
3 Enter your new username and password (also fill the "Confirm Password" field), then click Apply.
Note: You may enter up to 8 alphanumeric characters, hyphens (-), and underscores (_) for the new username
and password.
4 Enter the new username and password, then click Log In.

15
MAC Address Learning
This switch uses SVL (Shared VLAN Learning) to learn MAC addresses. SVL is a method that retains a shared MAC
address table for the entire switch. It differs from IVL, which retains a MAC address table for each VLAN. Be sure you
understand how SVL works before you create a VLAN with the switch.
Differences between Operation of SVL and IVL
Switch 1
Switch 2
VLAN 1 VLAN 2
VLAN 1VLAN 2
VLAN 3
PC 1
(VLAN 1, PVID 1)
PC 2
(VLAN 2, PVID 2)
PC 3
(VLAN 1, 2, 3 PVID 3)
SVL
When PC 1 and PC 3 communicate, PC 3 is learned by port 1 on switch 2 so PC 2 and PC 3 cannot communicate.
IVL
When PC 1 and PC 3 communicate, PC 3 is learned by both VLAN 1 and VLAN 2 so PC 2 and PC 3 can communicate.
However, frames sent from PC 3 to PC 1 are also delivered to PC 2.

16
Chapter 2 Settings
Refer to the "Open Settings" section in chapter 1 to access Settings.
Menu
System Information Displays the switch's information.
Basic
System Configure the switch's name, location, and contact.
System IP Settings Configure the switch's IPv4 address, subnet mask, and
default gateway.
VLAN VLAN Settings Confirm VLAN status and create new VLAN. This switch's IP
address can also be configured on this page.
VLAN Ports Configure PVID (Port VLAN ID).
MAC Addresses Static MAC Filtering Configure static MAC address-based filtering.
Port Settings Status Displays port status.
Speed/Mode Settings Configure transmission rate and flow control for each port.
System Security Administration
Account Configure administration username and password.
Advanced
QoS
QoS Settings Configure QoS priority.
QoS Mapping Configure QoS mapping for each priority.
VoIP Auto Priority Configure priority for SIP, H.323, SCCP.
Security Auto DoS Attack
Prevention Configure to drop specified packets.
Port Trunking Configure port trunking.
Traffic Control Configure traffic storm control.
Mirroring Configure to monitoring traffic.
IGMP
Status Displays IGMP status.
IGMP Settings Configure IGMP snooping.
IGMP Querier Configure IGMP querier.
IGMP Router Port Specify ports to connect to multicast routers.
Loop Prevention Configure loop prevention settings.
Management
Update Firmware Update firmware from a local file.
Back Up and Restore Save settings to a file or restore settings from a file.
Reboot Reboot the switch.
Initialize Initialize the switch.
Statistics Displays the switch's statistics.
Network Diagnostics Execute communication test to the specified IP address.
Cable Diagnostics Confirm abnormalities of each Ethernet cable connected
to the switch.

17
System Information
Displays the switch's information.
System Information Displays system information such as the switch name, and MAC address.
IPv4 Address Displays information such as the switch's IPv4 address, subnet mask, and default
gateway.
Version Displays the switch's firmware, boot code, and hardware versions.
System
Configure the switch's name, location, and contact.
Switch Name Enter the switch's name. You may enter up to 50 alphanumeric characters,
hyphens, and underscores.
Location Enter the location of the switch. You may enter up to 50 alphanumeric characters,
hyphens, underscores, and spaces.
Contact Enter the contact information of the switch. You may enter up to 50 alphanumeric
characters, hyphens, underscores, and spaces.

18
System IP Settings
Configure the switch's IP address, subnet mask, and default gateway.
Method of Acquiring IPv4
Address
Select a method of obtaining the switch's IP address.
Obtain from DHCP Server
Obtain the switch's IP address from DHCP server.
Static IP Address
Enter the IP address manually.
IPv4 Address Enter the switch's IPv4 address if you select Static IP Address as the connection
method.
Subnet Mask Enter the switch's subnet mask if you select Static IP Address as the connection
method.
Default Gateway Enter the switch's default gateway if you select Static IP Address as the connection
method.

19
VLAN
VLAN Settings
Confirm VLAN status and configure new VLAN.
Mode
Select a VLAN mode from "VLAN Settings" or "Privacy Separator". Privacy separator
is a mode that enables communication to the router from a port but blocks
communication between ports.
Note: VLAN and privacy separator cannot be used at the same time.
VLAN Status Displays current VLAN and PVID (Port VLAN ID) status. Click Edit to edit the VLAN
selected. Click Delete to delete the VLAN selected. VLAN 1 cannot be deleted.
VLAN ID Specify VLAN ID from 2-4094.
VLAN Name Enter the VLAN name. You may enter up to 17 alphanumeric characters, hyphens,
and underscores.
Table of contents
Other Buffalo Switch manuals

Buffalo
Buffalo BS-MP20 Series User manual

Buffalo
Buffalo BS-GU2008P User manual

Buffalo
Buffalo BS-POE-G21M-EU User manual

Buffalo
Buffalo BS-GU2016 User manual

Buffalo
Buffalo BS-GU2008 User manual

Buffalo
Buffalo BSL-WS-G2108M User manual

Buffalo
Buffalo BS-GU2005 User manual

Buffalo
Buffalo BS-GS20 Series User manual

Buffalo
Buffalo BSL-PS-G2108M User manual

Buffalo
Buffalo BS-GU2016P User manual