manuals.online logo
Brands
  1. Home
  2. •
  3. Brands
  4. •
  5. Bullerjan
  6. •
  7. Wood Stove
  8. •
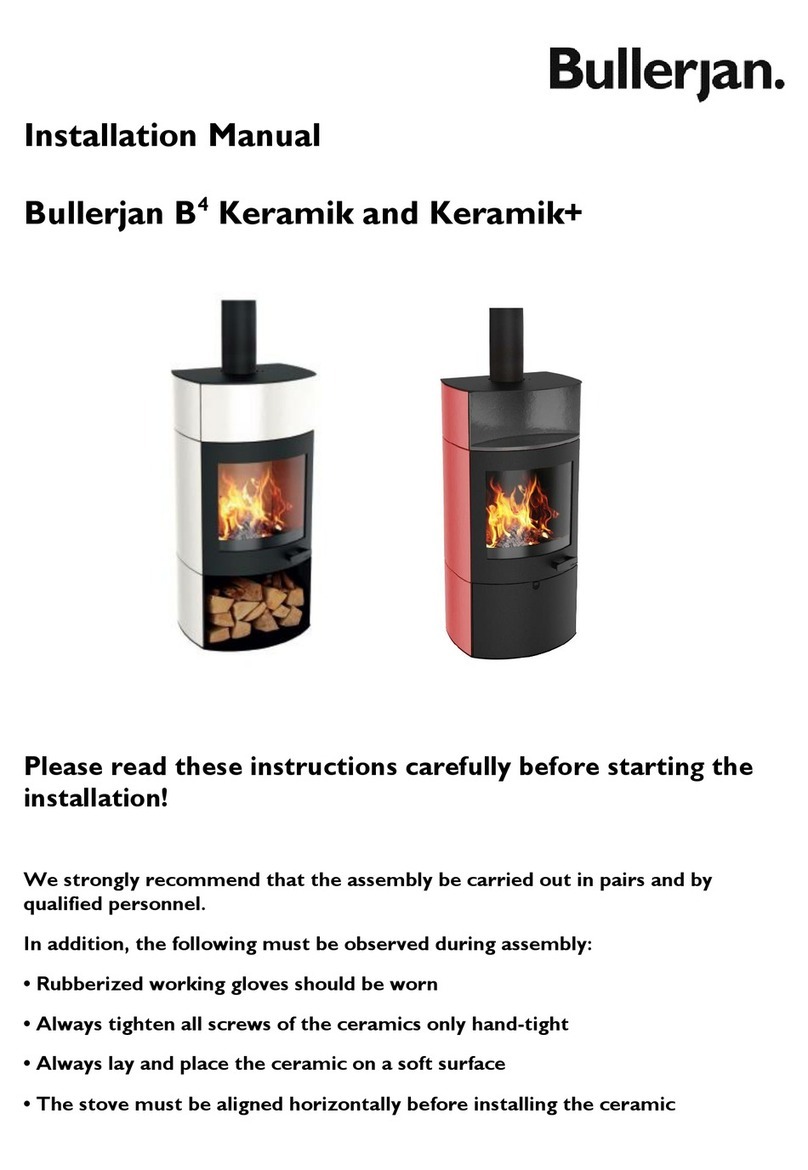
  9. Bullerjan B4 Keramik User manual

Bullerjan B4 Keramik User manual

Seite 1 von 6
Bullerjan B4Stahl, Keramik und Keramik+
Anleitung zur Montage der Tür für die Holzbox
Instruction for the mounting of the door for wood storage box
Instructions pour le montage de la porte de la boîte en bois
Instructies voor het monteren van de deur voor de houtvak
Stahltür
Steel door
Porte en acier
Stalen deur
Seite 2 von 6
Zubehör –Equipment –Équipement - Toebehoren
2 x Unterlegscheibe
1 x Schraubenmutter
1 x Schraube mit Magnetkopf
4 x Schraube innen sechskant
1 x Halter für Magnetanschlag
1 x Halter für Tür
2 x Rondelle
1 x Vis écrou
1 x Vis avec tête magnétique
4 x vis hexagonale interne
1 x Support pour arrêt magnétique
1 x Support pour porte
Befestigen Sie den Halter für den
Magnetanschlag an der rechten
Innenseite der Holzbox.
Nutzen Sie dafür zwei der Innen-
Sechskant-Schrauben.
Attach the holder for the
magnet stop to the right
inside of the wood box.
Use two of the hexagon
socket screws.
Fixez le support pour l‘arrêt
magnétique à la droite à
l'intérieur de la boîte en bois.
Utilisez deux des vis
hexagonales.
Bevestig de magneethouder rechts
in de houtvak.
Gebruik twee van de
binnenzeskantschroeven.
2 x Washer
1 x Screw Nut
1 x Screw with magnetic head
4 x Hexagon screw inside
1 x Holder for magnetec stop
1 x Holder for door
2 x Sluitring
1 x Schroef moer
1 x Schroef met magnetische kop
4 x binnen-zeskant-schroef
1 x Houder voor magneet stop
1 x Houder voor deur
Seite 3 von 6
Richten Sie den Halter horizontal
aus –ziehen Sie die Schrauben
mit Hilfe eines Inbusschlüssels
fest.
Align the holder horizontally
- tighten the screws with an
allen wrench.
Alignez le support
horizontalement - serrez les
vis avec une clé allen.
Lijn de houder horizontaal uit -
draai de schroeven vast met een
inbussleutel.
Drehen Sie die Schraube mit
Magnetkopf inklusive der
aufgeschraubten Mutter in die
soeben montierte Halterung ein.
Insert the screw with
magnetic head including the
screwed-on nut into the
holder that has just been
mounted.
Insérez la vis à tête
magnétique, y compris
l’écrou vissé, dans le support
qui vient d’être monté.
Draai de schroef met de magneet-
kop inclusief de geschroefde moer in
de zojuist bevestigde beugel.
Seite 4 von 6
Befestigen Sie nun den Halter für die Tür –vorerst nur handfest - an der linken
Innenseite der Holzbox.
Now attach the holder for the door - for the time being only hand-tight - on
the left inside of the wooden box.
Maintenant, attachez le support de la porte - pour l’instant seulement à
force de main - à l’intérieur gauche de la boîte en bois.
Bevestig nu de houder voor de deur - voorlopig alvast losjes - aan de linkerkant binnen in de
houtvak.
Schieben Sie die zwei
mitgelieferten Unterlegscheiben
auf den Türbolzen an der
Unterseite der Holzfachtür.
Slide the two supplied
washers onto the door bolt
on the underside of the wood
box door.
Glissez les deux rondelles
fournies sur le boulon de la
porte sous la boîte en bois.
Schuif de twee meege-leverde
sluitringen op de deurbout aan de
onderkant van de deur van het
houtvak.
Seite 5 von 6
Führen Sie nun den Pin des
Halters für die Tür von oben in
das dafür vorgesehene Loch an
der Tür ein, richten Sie die Tür
aus und ziehen Sie die Schrauben
des Türhalters fest.
Now insert the pin of the
door holder from above into
the hole provided on the
door, align the door and
tighten the screws of the
door holder.
Insérez maintenant la
goupille du support de porte
par le haut dans le trou
prévu sur la porte, alignez la
porte et serrez les vis du
support de porte.
Steek nu de pen van de deurhouder
van boven in het gat op de deur, lijn
de deur uit en draai de schroeven
van de deurhouder vast.
Führen Sie die Tür mit dem sich
an der Unterseite befindenden Pin
mit der Unterlegscheibe in das
dafür vorgesehene Loch links im
Boden der Holzbox ein.
Insert the door with the pin
and washer at the bottom
into the hole provided in the
bottom of the wood box.
Insérez la porte avec la
broche et la rondelle en bas
dans le trou prévu au bas de
la boîte en bois.
Plaats de deur met de pen en de
sluitring aan de onderkant in het
daarvoor bestemde gat in de bodem
van de houtvak.
Seite 6 von 6
Das Bild zeigt die Tür in eingebautem Zustand. Der Schließpunkt der Tür
kann bei Bedarf noch über die Magnetschraube eingestellt werden; die
vertikale Neigung über den Türhalter.
The picture shows the door in installed condition. The closing
point of the door can be adjusted if necessary via the magnetic
screw and the vertical tilt with the door holder.
L‘image montre la porte en état installé. Le point de fermeture de
la porte peut être ajusté si nécessaire via la vis magnétique et
l'inclinaison verticale sur le support de porte.
De afbeelding toont de deur in geïnstalleerde staat. Het sluitpunt van de deur kan
indien nodig worden aangepast via de magnetische schroef en de verticale
kanteling over de deurhouder.
Bullerjan GmbH
Neuwarmbüchener Str. 2
30916 Isernhagen
Tel.: +49 (0)5136/9775-0
Email: [email protected]
Onder voorbehoud van wijzigingen en vergissingen. Versie: 09/2018

Other manuals for B4 Keramik

3

This manual suits for next models

1

Other Bullerjan Wood Stove manuals

Bullerjan Free Flow FF18 User manual

Bullerjan

Bullerjan Free Flow FF18 User manual

Bullerjan Dot User manual

Bullerjan

Bullerjan Dot User manual

Bullerjan dot 2017 User manual

Bullerjan

Bullerjan dot 2017 User manual

Bullerjan B4S User manual

Bullerjan

Bullerjan B4S User manual

Bullerjan B3 Keramik MAX User manual

Bullerjan

Bullerjan B3 Keramik MAX User manual

Bullerjan B4 Keramik User manual

Bullerjan

Bullerjan B4 Keramik User manual

Bullerjan B2 flex BOX User manual

Bullerjan

Bullerjan B2 flex BOX User manual

Bullerjan B4 Keramik User manual

Bullerjan

Bullerjan B4 Keramik User manual

Popular Wood Stove manuals by other brands

ILD 2 manual

ILD

ILD 2 manual

Avalon Pendleton manual

Avalon

Avalon Pendleton manual

Nibe Contura 690AG Style manual

Nibe

Nibe Contura 690AG Style manual

Regency F1103S Owners & installation manual

Regency

Regency F1103S Owners & installation manual

EdilKamin MODO 2 Installation, use and maintenance

EdilKamin

EdilKamin MODO 2 Installation, use and maintenance

Jøtul C 24 Installation and operating instrictions

Jøtul

Jøtul C 24 Installation and operating instrictions

Dovre 550 CB Installation instructions and operating manual

Dovre

Dovre 550 CB Installation instructions and operating manual

Guntamatic BMK Series Planning and installation

Guntamatic

Guntamatic BMK Series Planning and installation

Dovre 550 quick start guide

Dovre

Dovre 550 quick start guide

SUPREME AMBIANCE Elegance 42 owner's manual

SUPREME

SUPREME AMBIANCE Elegance 42 owner's manual

Saey Altum Installation and operation manual

Saey

Saey Altum Installation and operation manual

Jøtul F 601 N Installation and operating instructions

Jøtul

Jøtul F 601 N Installation and operating instructions

Jøtul Oslo Installation and operating instructions

Jøtul

Jøtul Oslo Installation and operating instructions

D'Alessandro Termomeccanica CS Small 20 Use and maintenance guide

D'Alessandro Termomeccanica

D'Alessandro Termomeccanica CS Small 20 Use and maintenance guide

FDC TFG 5 Installation and operating instructions

FDC

FDC TFG 5 Installation and operating instructions

Falcon Reginald Installation and operating instructions

Falcon

Falcon Reginald Installation and operating instructions

ADURO 3 user manual

ADURO

ADURO 3 user manual

Sierra Products EF-4001B AutoLite Installation & operating instructions

Sierra Products

Sierra Products EF-4001B AutoLite Installation & operating instructions

manuals.online logo
manuals.online logoBrands
  • About & Mission
  • Contact us
  • Privacy Policy
  • Terms and Conditions

Copyright 2025 Manuals.Online. All Rights Reserved.