Burke TRI-FLEX II User manual

PN 63149
Revised 0617
TF2OM0617pn63149.indd
KEEP THIS MANUAL WITH THE BED AT ALL TIMES!
STOP!
TM
WARNING - All persons operating this bed
must read this entire manual before using the bed!
!

Table of Contents
Introduction page 1
- Device Overview page 1
- Typographical Overview page 2
- Symbols and Warnings page 2
Safe Working Load page 4
Specications page5
Important Safety Information page 6
Electromagnetic Compatibility page 8
Basic Operational Instructions page 9
- Function Description page 9
- IV Poles page 9
- Siderail Width Adjustment page 9
- Pull/Lock Pin Locations page 10
- CPR Procedure page 11
- Patient Restraint page 11
- Patient Transfers page 11
- Transporting the Bed & Patient page 12
Repositioning (Boosting) Procedure page 13
Cleaning / Disinfection Instructions page 14
-MattressCleaningSpecics page 14
Storage and Service page 16
Troubleshooting page 17
Control Schematics page 18
IdenticationofMajorComponents page 19
Scale System (optional) page 20
Setup / Disassembly Instructions page 21
- Unfolding For Use page 21
- Folding For Transport page 22
Copyright 2003 Burke, Inc.
All rights reserved. No part of this text shall be reproduced or transmitted in any form or
means, electronic or mechanical, including photocopying, recording, or by any informa-
tion retrieval system without written permission of BURKE, INC.
Tri-Flex™II is a trademark of Burke, Inc.
The information in this manual is subject to change without notice. Burke, Inc. makes no
commitment to update or keep current, the information contained in this manual.
Additional copies of this manual may be obtained from Burke, Inc.
Please contact your local representative.
®
Burke, Inc. ®
1800 Merriam Lane
Kansas City, KS 66106 USA
www.burkebariatric.com
1-913-722-5658
All persons with access to the bed must read the entire manual before using the bed.
They should be familiar with the information and all procedures described in it.
!
TRI-FLEX II Conforms to :
IEC 60601-2-38 (1996;1999)
UL 60601-1
Medical Device Directive (93/42/EEC) Risk Class I Medical Device

TRI-FLEX II BED - OPERATION MANUAL 1
TRI-FLEX™II BED
OPERATIONAL MANUAL
Overview
This electric hospital bed is intended for use in an institu-
tional environment whenever a patient’s weight and/or over-
all size exceeds existing unit limitations or patient’s weight
exceeds that which the staff can care for without reducing
the quality of service or endangering the safety of patient
and staff. This patient weight includes anyone over 181 kg. /
400lbs.butnottoexceed455kg./1000lbs.
The Tri-Flex II bed is multi-purpose capable. The patient sur-
face can be raised or lowered to facilitate patient care. The
bed has Trendelenberg and Reverse Trendelenberg function
in the pendant as well as “Cardio-Chair” positioning.
The Tri-Flex II system can also facilitate patient transport.
The two foot end casters contain steering lock ability which
provides directional control during transport.
NOTE: This manual covers the use and functions of the
basic bed. Instructions for various options and accessories
will be covered in supplemental literature provided with those
accessories. SEE ALSO:
Impulse Drive Manual
Low-Air-Loss Mattress Manual
Barri-Float Foam Mattress Manual
Scale System Manual
Operating Precautions
Before operating this bed ensure that you have read and un-
derstood in detail the content of this manual. It is important
that you read and strictly adhere to the safety information
contained in this manual. This product is intended for indoor
use at room temperatures with intermittent operation consis-
tent with the stated duty cycle of the device.
Any reference to a side of the bed is from the patient’s view-
point, lying in the bed on their back.
Introduction
!

2 TRI-FLEX II BED - OPERATION MANUAL
Typographical Conventions
This manual contains different typefaces and icons designed to improve readability and increase
understanding of content. Note the following examples:
• Standardtext-usedforregularinformation
• Boldface text - emphasizes a word or phrase.
• NOTE: - in boldface type and capital letters, this sets apart special information or important
instructionclarication.
Symbols and Warnings
Introduction
- A WARNINGidentiessituationsoractionsthatmayaffectpatientoruser
safety. Disregarding a warning could result in patient or user injury.
- A CAUTION points out special procedures or precautions that personnel
must follow to avoid equipment damage.
•READ MANUAL. This symbol occurs on bed labels that indicate a
functionorprocedurethatmaybebetterdenedinthemanualshould
some question arise regarding operation.
•ProductisidentiedasaClassBdevice:
•This device is for indoor use only:
!
•This indicates a battery:
•This indicates that a process, agent or item should not be used:
•Exposion Hazard Not for use in oxygen environment
•Caution When Lowering End of Bed

TRI-FLEX II BED - OPERATION MANUAL 3
HeavyTipHazard150lbs.DriveLabel
!
68 kg.
=
150 lbs.
Transport in Low Position Only
Side Rail Operation
Product ID
Label
TRI-FLEX II BED
By Burke, Inc.
1800 Merriam Lane
Kansas City, KS 66106
Use by authorized personnel only
Type B, Class 1 IP-54
max load: 454.5-Kg/1000-lbs.
Supply: 230VAC/50HZ, 1.5-amperes
Duty Cycle: 10%, 6 min/hr.
USA
Place Bed in Flat Position
when Adjusting Side Rails
Allign Casters Properly
Before Operating Bed
Do Not Push Head Gatch
ETL Label
Symbols and Warnings
Control Box Label
CPR
Indicates a Turnbuckle
Recycle Waste Electrical &
Electronic Equipment
CPR Label
Ground
Tri-Flex II Trapeeze Label
!
136 kg.
=
300 lbs.
!
193 kg.
=
425 lbs.
!
205 kg.
=
450 lbs.

4 TRI-FLEX II BED - OPERATION MANUAL
Safe Working Load
Below are the approximate weight of some Tri-Flex accessories.
You may use the accessory weight to calculate adjustments to the Maximum Patient Weight.
1,085lb492.1kg-(sumofallaccessoriesinstalled)=AdjustedMaximumPatientWeight.
!
•ThisindicatesSafeWorkingLoad(SWL):TheSWLfortheTri-FlexIIis1,085lb
(492.1 kg). The sum of the Patient Weight and Accessories installed on the bed is not
to exceed the SWL.
!
•This indicates Maximum Patient Weight (MPW): The MPW for the Tri-Flex II is
1,000lb(453.6kg).
Ifmultipleaccessoriesareusedonthebedandtheyweightmorethan85lb(38.6kg),the
Maximum Patient Weight is reduced by using the following calculation.
SWL-(SumofAllAccessoriesInstalled)=AdjustedMPW
or
Symbols used with Safe Working load
Calculating the Safe Working load
Barioatfoammattress 6kg13lbs.
TriFlexIIairmattress 7kg15lbs
Trapeze 4 post 41 kg 90 lbs.
Trapeze3post 26kg58lbs.
ScaleHead 2.3kg5lbs.
Trapeze single arm 31 kg 68 lbs.
Dual passage assists 12 kg 12 lbs.
Impulse drive system 29 kg 64 lbs.
Low-Air-Loss Mattress 7 kg. 37 lbs.

TRI-FLEX II BED - OPERATION MANUAL 5
Mechanical
Total Physical Length, End to End: 94” / 239cm
Total Physical Width: 41” / 104cm
TotalPhysicalWeight: 575lbs/261kg(w/oScaleSystem)
TotalShippingWeight: 650lbs/295kg
Patient Surface Length: 86” / 218 cm
PatientSurfaceWidth: 37”-48”-54”/94cm-121cm-137cm
Patient Surface Transport Width: 37” / 94cm
Deck High: 28” / 71cm
Deck Low: 14” / 36cm
Maximum angle of head gatch elevation: 60 degrees
Maximum angle of upper foot gatch elevation: 24 degrees
Maximum angle of lower foot gatch decline: 26 degrees
Maximum angle of trendelenberg 12 degrees
Electrical
Input Voltage: (refer to label on control box) 120 VAC 60 Hz @ 2.7 AMPS or
230VAC50Hz/60Hz@1.5AMPS
Current: 1.5AMPS
Output Voltage: 24 VDC, 70 WATTS max.
Classication: ClassBIP-54
Duty Cycle: Intermittent operation/ 10%, 6-min/hr.
(2)Fusesincontrolbox 5x20mm1.6L250VTime-Lagfuse
(1.6A/250V)
WickmannSeries19195orequivalent
Scale System (optional)
Accuracy: Overall 1%
WeightCapacity: 1000-lbs/454.5kg
Power Requirement: 6x C-size Alkaline
Readings per battery set 8000 (approx)
Options and Accessories
In-Bed Scale System System
Bed Exit Monitor
Underbed Light
Impulse Drive System
Trapeze - Single Arm or 4C/3P
Dual Passage Assist
Specications
Patien Lock-Out
Barri-Float Foam Mattress
Low Air Loss Mattress
Bed Exit Monitor
Wall Bumpers
Manufactured by
Burke, Inc.
1800 Merriam Lane
Kansas City, Kansas
Instructions for use, cleaning and disinfecting for the
above options can be found in the supplemental manuals.

6 TRI-FLEX II BED - OPERATION MANUAL
Hand Pendant Controls
PN62327 HBWO 75-XXX
The pendant controls all bed functions.
Thependantsymbolsaredenedasfollows:
HEAD GATCH - UP/DOWN
adjusts upper body for patient comfort
KNEE GATCH - UP/DOWN
adjusts knees for patient comfort
FULL BED HI/LOW - UP/DOWN
adjusts bed height for transfer and/or other patient care
return to full down when patient is unattended
TRENDELENBERG - UP/DOWN
adjusts full bed for trendelenberg function
HEAD/KNEE - UP/DOWN
both head and knee gatch work simultaneously
TRI-FLEX II
BY BURKE, INC.
POWERED BY LINAK
•WARNING: 454kg./1,000LBS.patientuseWEIGHT LIMIT.
Never exceed maximum load capacity of the bed.
• WARNING: Do not store or place items under the bed that could interfere
with bed function.
• WARNING: Thisbedistobecleanedanddisinfectedbeforerstuse
and after each usage, or when the bed is contaminated. (see cleaning and
disinfecting p.16)
•WARNING: All bed functions should be tested for correct performance
prior to use.
• WARNING: When bed is in use, the CASTERS must be positioned so
that the tabs are locked and pointed towards the foot end of the bed.
•WARNING: All persons with access to the bed must read the entire
manual before using the bed.They should be familiar with the informa-
tion and all procedures described in it.
!
Important Safety Information
!

TRI-FLEX II BED - OPERATION MANUAL 7
Important Safety Information
• WARNING: The POWER CORD must be positioned so as to prevent be-
ing walked on or rolled over by the bed casters or interfering with moving
parts of the bed. Keep the power cord plugged into a wall outlet. Unplug
prior to moving, cleaning or maintenance activities.
• Hang the hand CONTROL PENDANT on the side rail when not in use.
Run the cord under the bed frame and keep it clear of moving parts to
prevent possible damage to the cord.
• WARNING: Not for use in oxygen rich environment.
DO NOT SMOKE WHILE IN BED.
•WARNING: PossiblerehazardexistswhenbedisusedwithOXYGEN
administering equipment other than a nasal mask or 1/2 bed length tent.
Oxygen tents should not extend below the mattress support level.
•WARNING: The Tri-Flex II electronics are not designed to be operated
in environments containing FLAMMABLE ANESTHETICS.
• WARNING: AVOID CONTACT WITH INJURED SKIN. It is not intended
for this device to come in contact with injured skin. Ensure that injured skin
is properly protected.
• WARNING: HOSPITAL GRADE Grounding reliability can only be
achieved when equipment is connected to an equivalent receptacle marked
“Hospital only” or “ Hospital grade’.
!
•WARNING: TRANSPORT WHEELS must be retracted to their storage
position for proper bed operation.
•WARNING: To transport a patient in bed, the bed
high-low must be in its lowest position with the frame
resting on the transverse caster bars.See transport
section of the manual.
•WARNING: Keep the SIDE RAILS in a raised position while patient is
on the bed to prevent patient from accidentally falling off the bed.
•WARNING: Bed should be left in the lowest position when unattended in
order to reduce the risk of injury due to falls while getting into or out of the
bed, or while lying on the bed.
•WARNING: If PATIENT RESTRAINTS are used they must be attached
to some point on the bed that articulates when the gatches are raised and
lowered.
!

8 TRI-FLEX II BED - OPERATION MANUAL
Important Safety Information
MATTRESS INFORMATION
•Since1999theHospitalBedStandardIEC60601-2-38(1996;1999)requirestheheight
of the top edge of the side rail be at least 220mm or 22 cm (9”) above the mattress with
out compression.
•Themattressintendedforusewiththisbedis18cm(7”)thick.Useofamattress
taller than 18cm (7”) will not be in compliance with the UL-60601-1 / IEC 60601-2-38
(1996;1999)ratingofthebed.Atallermattressreducesthedistancebetweenthetopof
the side rail and the top of the mattress. Serious injury or equipment damage may occur
if the patient goes over the top of the raised side rails.
•TomaximizethefullscopeofUL60601-1/IEC60601-2-38(1996;1999),thisbedis
intendedforpatientuseinONLYthe122cm(48”)or137cm(54”)widthcongurations.
Within the current standard, patient and caregivers are safely removed from pinch points
andmovingcomponentswhichcouldcauseharm.Congurationsotherthandescribed
reduce the distance to these points which could result in severe personal injury or
equipment damage.
•Thiscontrolsystemalsoincludesabatterybackupsystemtocontinueoperationof
the bed in the event of a main power failure or during transport.
•Itisnotintendedforextendeduse,andshouldbeusedonlywhennecessaryto
accommodate patient comfort.
•Thebackupbatterywillprovidetheopportunityforseveraladjustmentsforpatient
comfort or transport during power outage.
•Inthesituationofanextendedpoweroutageitisrecommendedthatthepatientbe
removed from the bed.
POWER AND BATTERY OPERATION
•TheelectronicssystemoftheTri-FlexIIbedoperatesfromalowvoltage
power supply located under the head of the bed. To insure optimum battery
charge, please keep unit connected to a main power source.
(see optional Barri-Float / Low-Air-Loss manual for instructions on use, cleaning and disinfection)
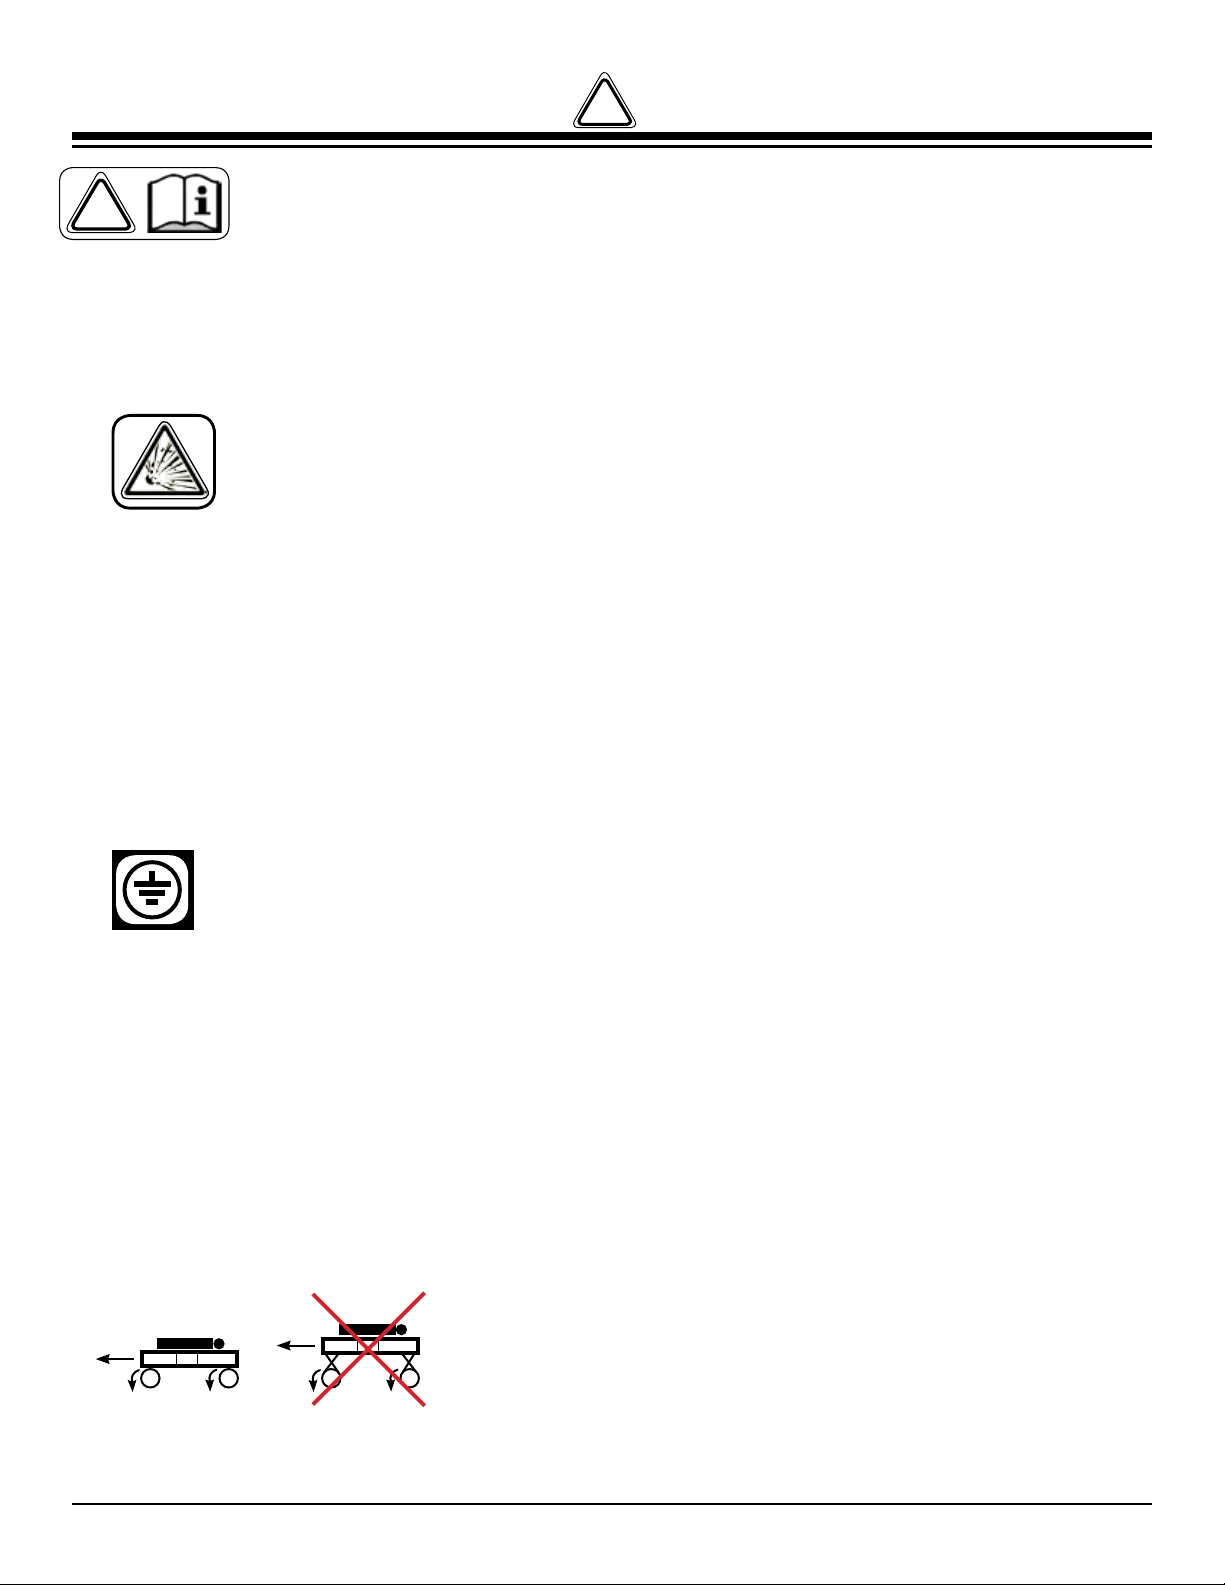
!
ThisproducthasbeentestedtoconrmcompliancewiththeappropriateEMCstandardsac-
cording to CISPR 11, Class B.
Mostelectronicequipmentisinuencedbyradiofrequencyinterference(RFI).Cautionshould
be exercised with regard to the use of portable communications equipment in the area around such
equipment. While Burke has made every effort to ensure that RFI does not cause problems, very
strong signals could cause a movement of a section of the bed. Such movement would be of very
short duration and travel.
Itistheresponsibilityofthehealthcareprovidertoconrmthatcellphonesandotherportable
communications devices will not cause erratic behavior of other equipment. In the event that RFI does
cause erratic behavior, turn off the communications device as soon as possible. For maximum safety do
not operate the affected equipment until the source of the interference is removed. Report any malfunc-
tionstoqualiedservicepersonnel.
Electromagnetic Compatibility (EMC)

TRI-FLEX II BED - OPERATION MANUAL 9
Operational Instruction
I.V Poles
If needed, I.V. support poles can be attached to each corner of the bed base frame.
Head Elevation
Press and hold the top Up or Down
button on the hand pendant to raise or
lower the head of the bed as desired.
Maximum head elevation is 60 degrees .
Head & Foot / Knee (Up-Down)
Press and hold the bottom Up or
Down button on the hand pendant to
Raise/Lower the Head and Foot/Knee
at the same time.
Trendelenberg Function
To access the Trendelenberg position
press and hold the fourth Up or Down
button on the hand pendant to tilt or
reverse the bed as needed.
Bed Elevation (Hi-Lo)
Press and hold the third Up or Down
button on the hand pendant to raise or
lower the bed as desired.
Foot / Knee (Up-Down)
Press and hold the second Up or Down
button on the hand pendant to raise or
lower the foot as desired.
WARNING: Be sure to fully reengage the lock pin when adjusting the width of the bed.
TomaximizethefullscopeofUL60601-1/IEC60601-2-38(1996;1999),thisbedisintendedforpatient
useinONLYTHE122cm(48”)OR137cm(54”)WIDTHCONFIGURATIONS.
Within the current standard, patient and caregivers are safely removed from pinch points and moving
componentswhichcouldcauseharm.Congurationsotherthandescribedreducethedistancetothese
points which could result in severe personal injury or equipment damage.
Side Rail Width and Height Adjustments
To attach the side rails to the bed, you must insert the side rail support frame into
the horizontal tubes under the patient surface. Retract the stop pin by hand until
youcanpasstheframeatleast5cm(2”)intothebedgatch.Releasethestoppin
and continue to insert the support frame to the desired width. To adjust the width,
retract the stop pin and slide the support frame to the in or out position.
To remove the side rail support frame, slowly pull the frame out until it fully engages
the stop pin. Manually retract the stop pin and continue to remove the arm. Nor-
mally, the siderail support frame should not be completely removed for anything
other than setup or maintenance. Stop Pin Location
!

10 TRI-FLEX II BED - OPERATION MANUAL
Operational Instructions
BURKE INC. TRI-FLEX II
LOCATING PULLOUT RELEASE PINS (Pull Pins)
The Tri-Flex II has
a white/gray plug at
one end of each pull-
out (with exception of
Center Pullouts). The
location of the plug cor-
responds with the loca-
tion of the pull pin that
releases the pullout.
With this feature the
pull pins can be located
more easily when the
pullouts are extended
to their widest position.
The Diagram below
also indicates the loca-
tions of the pull pins.
HEAD SIDE RAIL LOCK - To release lock, Grasp around knob/
lock edges and pull outward while lifting hand loop. Knob will
autolock only when side rail is returned to the full upright posi-
tion. Side rail only locks in full upright postion.
Ensure lock is fully engaged after side rail returns to full
upright postition.
TO MOVE HEAD SIDE RAIL - movement of side rail
should only be performed using hand loop as shown.
Release lock, grasp hand loop and move side rail TOWARD
FOOT END of bed. Side rail only locks in full up position.
Foot Section
Center
Section
Head Section
Foot Pullout (L)
Foot Pullout (R)Knee
Pullout
Knee
Pullout
Center
Pullout
Center
Pullout
Head Pullout (L)
Head Pullout (R)
Top View
of Bed
Pull Pins
(Left side of bed)
Pull Pins
(Right side of bed)
Hand LoopHead Side Rail Lock
Pull Outward
To Unlock
Pull Pin Locations
PULL PIN WHITE/GRAY PLUG
Figure 1
Figure 2
Figure 3

TRI-FLEX II BED - OPERATION MANUAL 11
Operational Instructions
Tri-Flex II with Fold Down Side Rails
To lower the fold down side rail, hold the top of the side and
pull up the spring loaded pull pin. Rotate the side rail away
from the bed. Allow the side rail to rotate downward until it
comes to a stop. To raise this type of side rail, lift upward on
the side rail to rotate fully upward until the spring loaded pull
pin engages the stop (See Figure 4).
WARNING: Ensure lock pin is fully engaged.
Tri-Flex II with Roll Out Side Rails
To lower the head side rail, hold the side rail at the handle and pull the spring loaded pull pin. Using the handle
on the top of the side rail, rotate the side rail toward the foot of the bed. Allow the side rail to rotate downward
untilitcomestoastop(SeeFigure3pg.12andFigure5).
To raise the head side rail, lift upwards on the handle at the top of the side rail. Allow the side rail to rotate
completely upward until the spring loaded pull pin fully engages the stop..
To lower the foot side rail, hold the top of the side rail and pull the spring loaded pull pin. Rotate the side rail
towardthefootofthebed.Allowthesiderailtorotatedownwarduntilitcomestoastop(SeeFigure5).
To raise the foot side rail lift upward on the side rail. Allow the side to completely rotate upward until the spring
loadedpin/lockengagesthestop.(SeeFigure5)
WARNING: Ensure lock pin is fully engaged.
CPR Procedures
Thisprocedurewilllowertheheadgatchinabout3-5
seconds. The emergency CPR release can be used
to lower the patient faster than running the actuator alone.
•Remove Headboard and stand at head of bed,
•PullRedCPRHandleTowardsyouapprox1-3inches.
•ContinuepullingCPRHandlewhileHeadGatchlowers.
•ReleaseCPRHandleoncebedhasloweredcompletely.
For maximum speed you should use the head down
button on the pendent control and pull the CPR release
handle on the head gatch at the same time (See Figure 6)
Figure 5
Figure 6
Figure 4
CPR Handle
!
!
!
Patient Restraints
WARNING: If patient restraints are used, they must be
attached to some point on the bed that articulates
with the
gatches when they are raised or lowered.
!

12 TRI-FLEX II BED - OPERATION MANUAL
Operational Instruction
TRANSPORTING THE BED & PATIENT
To transport a patient on the Tri-Flex II bed:
1) Adjust head elevation to the desired position for
patient comfort.
•Maximumpatientweightinbedfortransport
is454kg(1000lbs).
2) WARNING: To ensure patient safety, the height of the bed should
be lowered to its lowest position. (See Figure 7)
3) Ensure side rails are locked in an upright position.
4) Use an IV pole to mount solutions.
5)UnplugthebedACpowercable;wraptheACpowercablearoundcableholderbeneaththe
head board. Automatic battery power will temporarily allow the use of all bed functions until
AC power is restored.
6) Unlock the two head end caster locks and one foot end caster lock. This will leave you with one
directional lock caster (caster with green brake tab) engaged to assist in transport down a hall.
7) Use a minimum of two persons to transport the patient.
Check the bed width and side rail adjustment for doorway clearance to prevent damage to the
bed and door frames.
WARNING: Keep hands and feet clear of wheels during bed movement. Move the bed only
at a slow walk.
WARNING: Moving bed down inclines or excursion off a ledge (such as moving into an
elevator or across a threshold) can result in damage to the bed and injury to persons.
WARNING: DO NOT PULL OR PUSH ON HEAD GATCH
TO MOVE THE BED.
Figure 7
!
!
NOTE: Remember to plug the Tri-Flex II bed into the
wall outlet once transport of the bed is complete.
PATIENT TRANSFERS (from or to the bed)
1) Set the brake on all casters with spring locking lever pointing towards the foot end of the bed.
2) Adjust the height of the bed to match transfer height, It is best to always transfer down.
3) Lower the side rails or remove them.
4) Use a hospital sheet and appropriate number of personnel to lift the patient on/off the bed.

TRI-FLEX II BED - OPERATION MANUAL 13
Operational Instruction
Repositioning (Boosting) Procedure
• WARNING: When the bed is in use, the casters must be positioned so that
the locking tabs are locked and pointed toward the foot end of the bed.
•Forpatientswhereitistolerableandnotmedicallycontraindicated,the
Trendelenbergposition(oratleastatposition)shouldbeusedtoreducethe
force required for repositioning (boosting). The patient should be asked to
help if it is medically acceptable by bending their knees and pushing the feet
as the staff pulls.
•Thetrapezesystemshouldbeusedtoreducetheforcerequiredofthestaff
to relocate the patient when feasible and not medically contraindicated.
• Warning: Bedmustbepositioned10cm-15cm(4”-6”)fromwallwithout
a trapeze and 43 cm - 48 cm (17” - 19”) from wall with a trapeze when in the
Trendelenberg position.
• WARNING: Keep clear of head end bed when repositioning a patient towards the
head end of the bed.
!
!

14 TRI-FLEX II BED - OPERATION MANUAL
Cleaning & Disinfection
CLEANING AND DISINFECTING
Cleaning and Disinfection are two separate procedures.
For sanitary maintenance of the bed, follow the suggested recommendations of the
manufacturer(Burke) and the institution regarding cleaner/disinfectant solutions of choice
and appropriate concentrations.
Routine cleaning is to be done on a daily basis by wiping the surfaces with a disposable
cloth using warm water and a mild detergent or cleaning solution. In the event of known infec-
tion,bloodorbodyuidscontamination,cleanrst,then disinfect following facility guidelines
using disinfectants at their recommended concentrations.
Burke recommends a chlorine based solution no greater than 10,000 PPM for routine decon-
tamination.
The bed and components should also be cleaned and disinfected between patients and be-
fore returning to service after a period of storage, per facility guidelines.
UNPLUG ALL POWER CORDS BEFORE PERFORMING CLEANING
All staff performing cleaning/disinfection processes should wear appropriate personal
protective equipment (PPE)
Do Not use alkaline or acid chemical products outside of the optimal pH range or 6-9.
Do Not use any scouring or abrasive cleaners on the bed.
Do Not use caustic or corrosive substances or chemical substances which may affect the
structure of the bed, such as acetone.
Do Not hose down, use high pressure spray or steam to clean as this may cause damage
to the electronics system and void the warranty.
Always wipe down the areas cleaned with clear water after cleaning or disinfecting
All cleaning solutions must be properly diluted according to the manufacturer’s instructions.
Follow standard institutional wipe down and infection control procedures. If the facility has
aHygieneOfcerorothergoverningbodyforcleaningandinfectioncontrolconsultthemto
ensure both internal and external compliance.
Allow all surfaces to thoroughly dry, including any electrical components that could have
become wet, before reconnecting power cord.
SEE MATTRESS/OPTION MANUALS FOR MORE SPECIFIC INDEPTH
CLEANING AND DISINFECTION INSTRUCTIONS.

TRI-FLEX II BED - OPERATION MANUAL 15
Cleaning, Disinfection, & Service
MAINTENANCE
CLEAINING & INSPECTION CHECK-LIST
This list is provided as a guide to assist with documentation.
Burke recommends the following procedures be conducted before each
new patient and before return to service if bed has been in storage.
Cleaning & Disinfecting Bed
Unplug power cord of bed before performing maintenance
Wipe down frame and appropriate options with disinfectant. Allow to dry completely.
Follow guidelines in mattress manual for cleaning/disinfecting of mattress to be used
with the bed.
Mechanical Inspection
Inspect all bolts and rivets to ensure that they are securely tightened and
functioning properly.
Visually examine all welds for cracks.
Inspect pull tubes and mounting hardware for bending, damage or excessive wear.
Check sleep surfaces to ensure all links are intact.
Check all components for damage or excessive wear
Check that all components are working properly:
The side rails and side rail latches
The gatches move easily
Casters roll and lock properly
Casters are free of debris
Electrical Inspection
Check all electrical bed components for damage or excessive wear
(i.e. cracked or broken housings, worn components).
Checkpendant,powerandmotorcordsforchang,cuts,fraysorexcessivewear.
All plugs are fully attached and free of damage.
Battery back-up is charged.
Hand control pendant is operational

16 TRI-FLEX II BED - OPERATION MANUAL
Storage & Service
STORAGE OF THE BED
Remove any accessories.
Pack the bed and its accessories or protect them in a manner which will prevent damage.
This equipment is provided with a battery backup. To insure the longevity of this system,
we recommend that the bed be plugged into an appropriate wall outlet to keep battery
charged when not in use for extended periods of time.
Store in a clean, dry area with an environment similar to that of the operating environment.
INSPECTION & MAINTENANCE
This bed is designed to have a minimum amount of maintenance through its lifetime.
The recommended frequency of inspection for the bed is once per month or before
eachnewpatient,whichevercomesrst.
In the event of mechanical damage or any issue which may compromise product
performance or patient safety, discontinue use and contact qualied service
personnel or distributor immediately.
A suggested maintenance list has been provided as a guide to assist with documentation.
Refer to the troubleshooting section provided in this manual for basic problem solutions.
Majorserviceofthisequipmentshouldbereferredtoqualiedpersonnel.
Refertocircuitlayoutdiagramandpartidenticationdiagramprovidedinthismanual.
The manufacturer of this equipment will provide assistance to the user’s appropriately
qualiedtechnicalpersonneltorepairthosepartsoftheequipmentwhicharedesignated
by the manufacturer( Burke) as repairable.
Use only replacement components which are approved and designated as acceptable by
the manufacturer ( Burke)
Seealsotheoptions/mattressmanualsforspecicserviceinstructionsfortheImpulse
Drive, Low Air Loss Mattress and Barri-Float Foam Mattress.

TRI-FLEX II BED - OPERATION MANUAL 17
Troubleshooting
Problem Check the following:
Bed does not operate > Check all cords for fraying, cuts or damage and replace immediately.
> Check that the bed is plugged in, and that the wall outlet is working.
> Check for green power-on light on top of control box, this indicates AC power
to the box. If no light, and wall outlet is working, then fuses may be bad (requires
tools).
> If all or some of the relays in control box “click” when pendant is activated, and
bed does not move, replace control box.
> If no relay “click” can be heard from control box, check that pendant and other
cords are completely plugged into control box.
> If control box is found to be bad, check that no cords have been pinched or
severed. Also check that actuators and all moving parts are not obstructed.
Also check for damaged or dented actuators.
Bed only operates on battery > check that the bed is plugged in, and that the wall outlet is working.
Only a portion of the bed > Check all cords for fraying, cuts or damage and replace immediately.
operates, while others don’t
work > Check that you are applying enough pressure to the pendant button to perform
the function selected.
> Check that all plugs are securely installed into the control box and that the
control box plug clamp is in place.
> Check that travel on all actuators and other moving parts are not obstructed.
> Try a different location on control box. (ie: if head gatch does not work but
knee gatch does, plug head gatch into knee gatch outlet. If head runs, then the
problem is in control or pendant, if no function, problem is a bad actuator.
Scale System > If no display, check batteries for possible replacement need.
does not operate
(OPTIONAL) > Check that the W.I. display is plugged into the load cells, and that the connector
to each load cell (at each caster) is properly connected.
> Check that casters are properly aligned with bed and that caster brakes are set.
> Check that the cabling on any of the interconnects is not cut or crimped
causing a signal problem.
> Check that there is clearance between the top of the caster and the bottom of
the load cell housing. There must be some space between the top of
the caster bearing cover and the housing.
If none of these suggestions results in full function returning to the bed, then refer to a properly trained service
personnel for technical assistance.
WARNING: If the bed loses any function or is damaged in any way stop using the bed immediately
andreferittoaqualiedservicepersonel.Otherwisefurtherequipmentdamageorpersonalinjurymay
result.
!

18 TRI-FLEX II BED - OPERATION MANUAL
H =Headgatchactuator
K =Kneegatchactuator
H/L-H=Hi/LoHeadactuator
H/L-F=Hi/LoFootactuator
BB =BatteryBackup
P =Pendant
ACIN=ACpowercord
Control Box
Control Schematics
Control Box Label
The control box for the bed is located
under the head gatch on the left side
of the bed. This schematic is also on
a label located on the control box.
The abbreviations are as follows:
BATTERY AND CHARGER INFORMATION
Battery is in a sealed container, cannot be accessed.
Battery automatically charges when the bed is plugged in.
Auniquecircleconnectionismarkedtopreventincorrectttings.
All connect, disconnect and reconnect motions are a push-in pull-out connection.
Clean outside of battery box during regular maintenance.
The battery typically requires 8 hours to charge, depending on conditions, use or storage.
This battery and charger are part of a CE approved system that meets the IEC 60601.
It is not life sustaining or life supporting.
FUSES
The control box located under the left side of the head gatch has two line fuses located
behind a round removable plug located on the underside of the box. A pair of pliers can
grasp the “handle” of the plug and extract it from the box.
The fuses are designated as follows:
5x20mm 1.6L250V Time-Lag fuse (1.6A/250V) Wickmann Series 19195 or equivalent
DISPOSAL The bed and various components consist of plastic,
metal parts and electrical components.
Recycle per local, state or national regulations.
Other manuals for TRI-FLEX II
2
Table of contents
Other Burke Medical Equipment manuals
Popular Medical Equipment manuals by other brands

Otto Bock
Otto Bock 8060 Genu Immobil Instructions for use

Omron
Omron COMP A-I-R Pro NE-C29-RU instruction manual

Performance Tool
Performance Tool W2977 owner's manual

Sunbeam Health
Sunbeam Health RESTORE 964-000-RML4-CN manual

idi
idi Aspect 100UC Plus Q-CARD Operator's manual

Nasco
Nasco Life/form LF03622U instruction manual