Burmester B 18 User manual

Loudspeaker
B 18
Owner‘s Manual


B18 Loudspeaker 3
T C
A O .....................................................
A T O I ...................................
Used symbols and characters ........................................................5
Meaning of warning symbols and words ..............................................5
I S I .........................................
Unpacking ........................................................................6
Positioning ........................................................................6
Connecting........................................................................6
First start-up .......................................................................6
During operation...................................................................6
U L ..........................................
Unpacking ........................................................................7
What’s in the box? .......................................................................7
Packing material.........................................................................7
Overview of the loudspeaker ........................................................8
S U L ..........................................
Correctly placing the speakers .......................................................9
High-frequency range and spatial imaging ............................................9
Fundamental tone and bass range (Room Adaption)...................................10
Distance to the wall .....................................................................10
Room Adaption ........................................................................10
C ........................................
Binding posts.....................................................................12
Connection cables ................................................................13
Requirements for amplifiers ........................................................13
How to connect the loudspeaker: ...................................................13
M, .................................
R...........................................................
W...........................................................
T ....................................................
T .............................................

A BRIEF OVERVIEW
4
A O
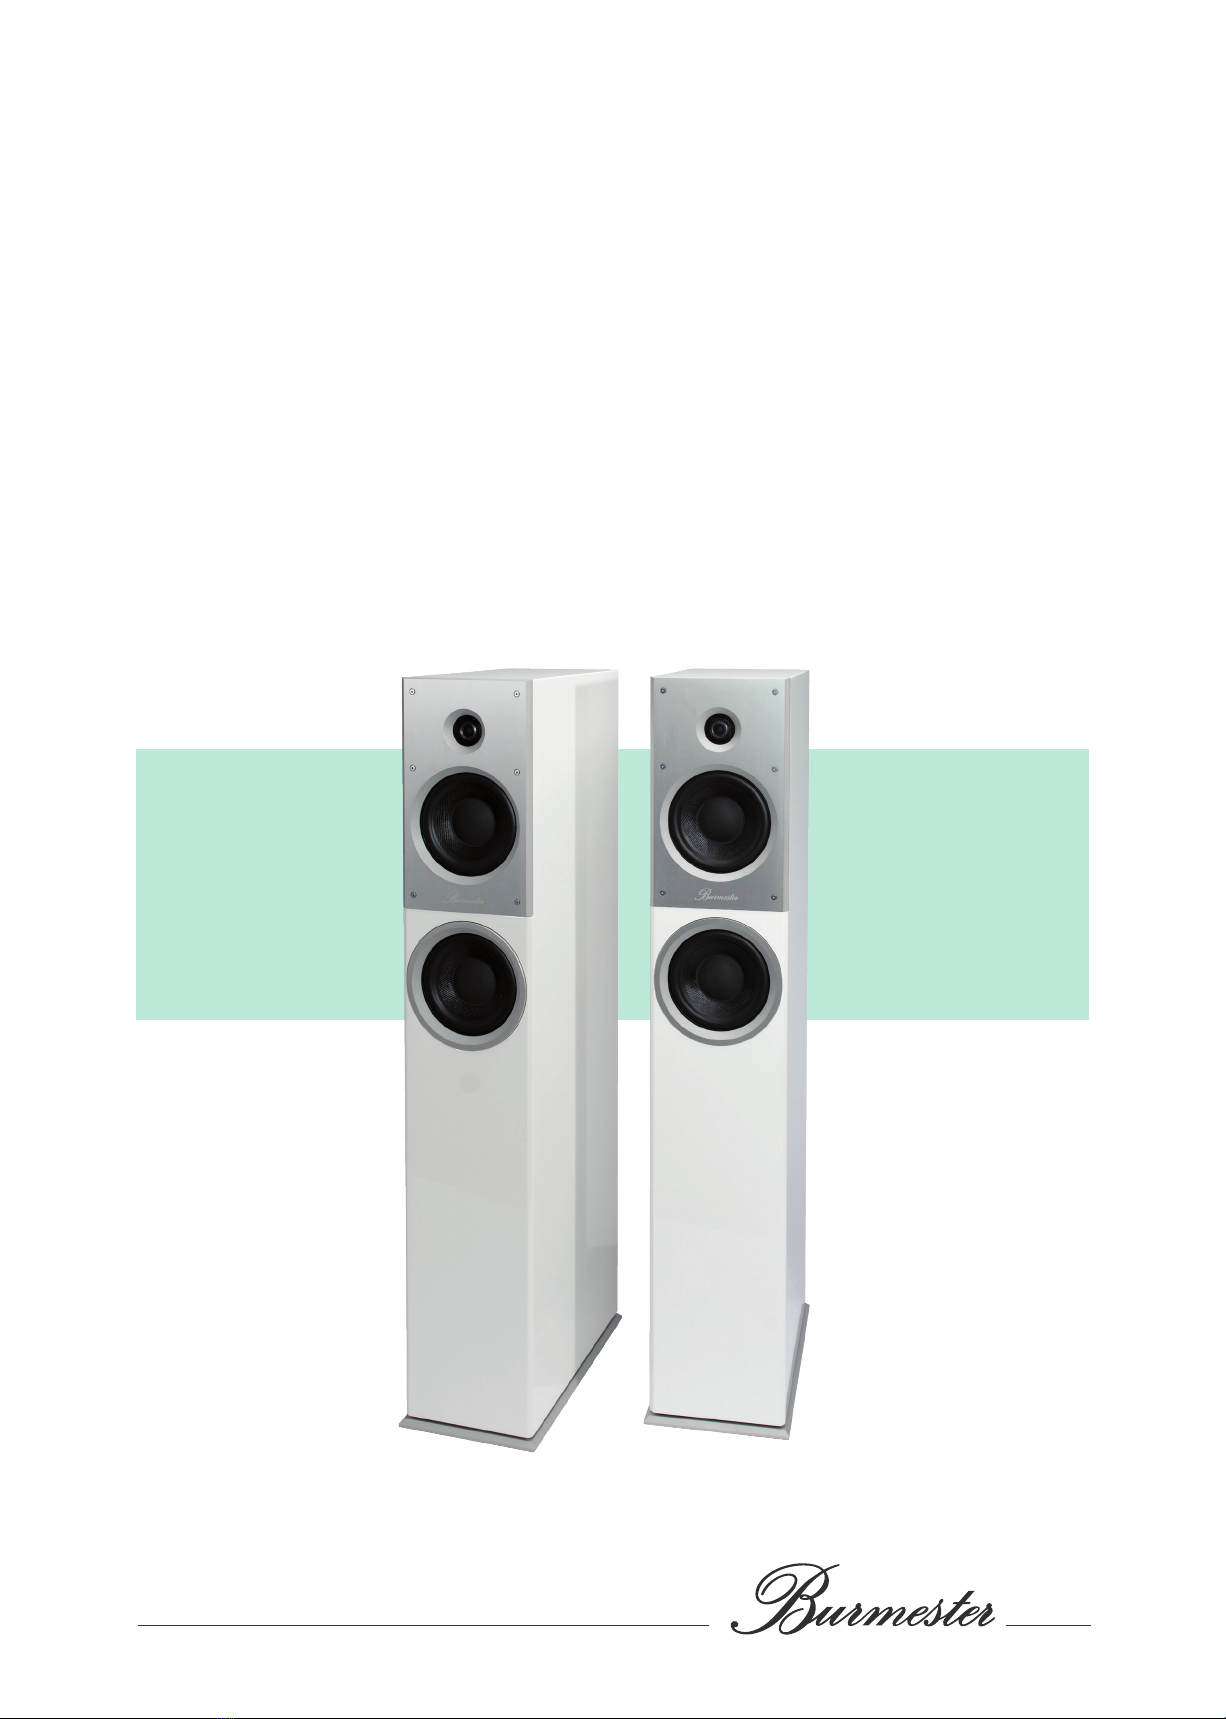
The B18 loudspeaker has been developed as a 2½-way bass reflex speaker with a front-
firing design and is a universal sound talent: space-saving, yet at the same time
extremely musical and dynamically thrilling.
The high-frequency reproduction benefits from the ring radiator which is custom-made
for Burmester and guarantees optimum clarity and resolution. The low-mid and
mid-low drivers are a derivative on the basis of the proven chassis which has already
earned the B10 compact speaker an impressive sound performance.
The highly complex frequency crossover sits in an isolated enclosure chamber, just like
the low-mid driver whose own sealed compartment yields an outstandingly clean mid-
frequency performance. A fully re-designed, computerized spring-mass damping
system ensures an optimum decoupling of the speaker and thus makes it extremely
resistant to floor vibrations.
Supported by the cabinet, which has been optimized using FEM analysis, the massive
and particularly torsion-resistant aluminum-MDF sandwich front delivers an accurate,
precise bass and reduces cabinet resonances significantly.
Apart from a mechanical damping through a foam cylinder, the B18 loudspeaker has a
bass switch to tweak the bass intensity to the ambient room conditions and your
personal listening taste.
Highlights:
• Exclusive Burmester ring radiator for optimized transparency and resolution
• Advanced low-mid and mid-low driver based on the B10 compact speaker
• Several options of room adjustment using the rearward bass switch in combination
with the plastic foam cylinder
• Accurate, precise bass and significantly reduced cabinet resonances due to the
massive and particularly torsion-resistant aluminum-MDF sandwich front in
combination with the cabinet, which has been optimized using FEM analysis
• 2½-way bass reflex speaker with an isolated enclosure chamber for the mid-low
driver and an own sealed compartment for the low-mid-driver
• Re-designed, computerized spring-mass damping system decouples the speaker
from the ground
• Highly complex frequency crossover in an isolated enclosure chamber
Dear Music Enthusiast,
Congratulations on your selection and thank you for your trust.
You have chosen a product that combines absolute fidelity and uncompromising
quality with technical innovation and maximum flexibility.
Please read through these operating instructions at least once before initially installing
the product so you can fully benefit from all the functions of this truly high-fidelity
device. Should any of your questions remain unanswered, please contact your
specialist dealer or us directly.
Talk to us about any special requests you may have – even if they seem exceptional.
We love accepting technically feasible challenges.
We wish you many hours of high-fidelity listening.
The Burmester Team

ABOUT THESE OPERATING INSTRUCTIONS
B18 Loudspeaker 5
A T O I
These operating instructions describe the set-up, connection and operation of the
Burmester B18 loudspeaker (referred to in the following as “(loud)speaker” or “B18”).
Please note the following:
►Read and follow the information given, in particular the safety information and
warnings.
►Save these operating instructions.
Used symbols and characters
Requirement
Designates a requirement which must be fulfilled before a subsequent action
can be taken.
►Action step
Designates an individual action step.
1.
2.
3.
Sequence of actions
Designates a sequence of action steps which have to be performed in the given
order.
Result
Designates the outcome of an action.
Meaning of warning symbols and words
This document uses the following warning symbols and words:
The general danger symbol, in conjunction with the warning words
CAUTION, WARNING, and DANGER, serves to warn against the risk
of severe injuries. Follow all subsequent instructions to avoid injury
or death.
The lightning symbol, in conjunction with the warning word
DANGER, serves to warn against a lethal electrical voltage.
ATTENTION The warning word ATTENTION indicates a danger that can lead to
damage to or destruction of the device.
CAUTION The warning word CAUTION indicates a danger that poses a low or
medium risk of injury.
WARNING The warning word DANGER indicates a danger which can directly
lead to death or severe injury.

IMPORTANT SAFETY INFORMATION
6
I S I
Please read through the operating instructions for your speaker completely and save
them.
Note: Should you have any questions, please contact your specialist dealer.
Unpacking
The speakers are very heavy components. To prevent injuries, the speakers should only
be unpacked and set up by individuals who are experienced in handling heavy loads.
To prevent damage to the housings, do not use sharp or pointed objects to remove the
packaging.
When unpacking, look out for sharp edges.
The speakers are enclosed in a plastic bag on delivery. Keep this bag out of reach of
children to prevent suffocation.
Positioning
Please keep in mind the following when positioning the speakers:
• Avoid direct sunlight, excessive heat, cold, moisture, and dust.
• Do not drip or spray water on the speaker and don’t put anything containing liquid
on top of the loudspeaker.
• Never put anything with an open fire, such as candles, on top of the speaker.
Connecting
►Switch off amplifiers before connecting them to the speakers.
First start-up
►After connecting the amplifier, adjust its volume to a low setting before
switching it on.
During operation
►Do not listen at high volumes for an extended period of time. Excessive volume
levels may damage your hearing.

UNPACKING THE LOUDSPEAKERS
B18 Loudspeaker 7
U L
CAUTION
Heavy weight of loudspeakers
The speakers are very heavy and can result in injuries in case of falling or toppling.
►The speakers should be unpacked and positioned only by persons who are used
to handle heavy loads.
►If necessary solicit the help of another person to unpack and position the speakers.
Unpacking
►Remove the speaker carefully from its transport box and position it in an appropriate
place. Avoid direct sunlight, dust and humidity.
►Please check the content of the box to make sure it is complete and undamaged. In
case parts are missing or you notice damage to the speaker during unpacking
please do not connect it. Instead, contact your authorized Burmester dealer.
What’s in the box?
The shipment contains:
• Packaging with the loudspeaker B18
• 1 Manual
• 1 Set of warranty documents
Packing material
WARNING
Danger of suffocation
The loudspeakers are shipped in a protective plastic bag which could pose a
potential danger of suffocation for children.
►Keep this bag out of the reach of children.
We recommend keeping the original packing material for future transport such as
when moving your household.

UNPACKING THE LOUDSPEAKERS
8
Overview of the loudspeaker
5
2
3
6
4
7
1
1 Radial tweeter
2 Midrange/bass driver
3 Bass/midrange driver
4Room Adaption Switch
Switch for adjusting the bass range to the room situation.
5 Connection panel
6 Base plate
7 Bass reflex port

SETTING UP THE LOUDSPEAKERS
B18 Loudspeaker 9
S U L
Correctly placing the speakers
The distance between the speakers should ideally be between 2 and 3 meters
(6.5 ft to 9.9 ft).
You have the possibility to influence the spatial imaging as well as the neutrality of the
high frequency range by the positioning of the loudspeakers.
In a rectangular room, it is recommended to place the speakers on the shorter room
wall. In principle, the space between the loudspeakers should be as empty as possible.
If at all, acoustically dampening elements (curtains / acoustic elements) should be
attached behind the loudspeakers. On the wall between the loudspeakers, reflective
(also jagged) elements should be preferred. Even a smooth wall is closer to the goal of
a three-dimensional stage than the mentioned acoustically dampening materials.
High-frequency range and spatial imaging
You can influence the spatial imaging and the high-frequency range by turning the
speakers. The two positions described below only represent two variants. The best
angle for the listener should be determined by testing:
Straight speaker placement
►Place the loudspeakers straight, at a distance of 2 to 3 meters to each other
(6.5 ft to 9.9 ft).
Spatial imaging becomes wider.
The high-frequency range becomes more subtle.
Angled speaker placement
►Place the loudspeakers straight, at a distance of 2 to 3 meters to each other
(6.5 ft to 9.9 ft).
The sound stage becomes more precise.
Playback is more direct.

SETTING UP THE LOUDSPEAKERS
10
Fundamental tone and bass range (Room Adaption)
Distance to the wall
The spatial sound and the precision of the fundamental range increase with growing
wall distance. This arrangement, however, can also lead to a feeling of thinner,
bodyless fundamental sound reproduction.
On the other hand, a loudspeaker placed directly to the wall sounds generally richer,
but under certain circumstances also imprecise and too prominent. The optimal
position should be determined in conjunction with the bass plug and the “Room
Adaption”.
Refer to the following paragraph for recommendations.
Room Adaption
The loudspeaker offers the possibility to adjust the sound pressure level in the
fundamental / bass range. The various possibilities are explained below.
Note: The following options are based on the most neutral sound possible in an average
living space and should only be seen as recommendations. The best position should
additionally be determined by hearing and personal perception.
Option 1:
Room
This setting should lead to the best results in average rooms without large glass
surfaces and symmetrical positioning, but also in acoustically optimized rooms.
Necessary actions
The speakers are placed at least 20 inches from the wall away.
1. Remove the bass plugs from the bass reflex port (7) of the speakers.
2. Set the Room Adaption Switch (4) to minus on both speakers ( ).
Option 2:
Room
This setting is suitable for rooms with large glass surfaces or plasterboard walls that
have poor bass reproduction (e.g. Lofts).
Room adjustment
The bass reproduction between 50 Hz and 100 Hz is increased by 2 dB. This leads to a
significantly higher upper bass performance in rooms with poor bass reproduction.
In addition, the area below 50 Hz is lowered steeply. This leads to a higher maximum
volume.
Note: This setting is therefore also suitable for events.
Necessary actions
The speakers are placed at least 20 inches from the wall away.
1. Remove the bass plugs from the bass reflex port (7) of the speakers.
2. Set the Room Adaption Switch (4) to plus on both speakers ( ).

SETTING UP THE LOUDSPEAKERS
B18 Loudspeaker 11
Option 3:
Room
This variant is primarily suitable for speakers placed close to the wall in smaller rooms.
Room adjustment
The bass drops slowly below 100 Hz and reaches very low frequencies. This frequency
response compensates the overemphasis of the bass range by close corners and walls.
This setting allows greater clarity in the mid-range reproduction.
Necessary actions
The speakers are placed close to the wall.
1. Insert the bass plugs into the bass reflex opening (7) of the speakers.
2. Set the Room Adaption Switch (4) to minus on both speakers ( ).
Option 4:
Room
This variant is also suitable for speakers placed close to the wall in smaller rooms.
The gain on bass compared to the previous variant provides an even more powerful
performance.
Room adjustment
The bass reproduction between 50 Hz and 100 Hz is increased by 2 dB. In addition, the
area below 50 Hz is lowered steeply.
The inserted bass plugs into the bass reflex tubes make the positioning quite uncritical
and the gain on bass compared to variant 3 provide a more powerful performance.
Note: Due to the missing low bass, the maximum volume in this variant is also increased.
Necessary actions
The speakers are placed close to the wall.
1. Insert the bass plugs into the bass reflex opening (7) of the speakers.
2. Set the Room Adaption Switch (4) to plus on both speakers ( ).

CONNECTING THE LOUDSPEAKERS
12
C
►Before connecting the speakers please also read the manuals for the components
that are to be connected.
►Make sure the polarity is correct: red = positive, blue or black = negative
WARNING
Dangerously high voltage at the binding posts
During operation dangerously high voltages may be present at the binding posts.
►Before connecting the speakers turn of all components of your music system and
turn them back on only after you’ve made sure that all connections have been
made correctly.
►Do not touch the binding posts while the speakers are connected to a live
amplifier.
ATTENTION
Damage caused by faulty connection
An electrical short or a faulty connection may damage the speakers as well as other
components.
►Turn your amplifier off before connecting the speakers. This way you avoid
possible shorts by cables not connected on both ends.
►Connect the cables to the speakers first and then to the amplifier.
►Connect the speaker cables ONLY to the speaker terminals of an audio amplifier.
NEVER plug the speaker cables into an AC outlet, which would destroy the
speakers.
Binding posts
Burmester uses the same terminals for its speakers as it does for its power amplifiers.
These terminals have proved their worth many times over in terms of function and
sound quality. Cable lugs soldered to the stripped speaker cable ends ensure optimal
contact and minimal contact resistance. Sockets (1) for banana plugs are also available.
1

CONNECTING THE LOUDSPEAKERS
B18 Loudspeaker 13
Connection cables
Burmester recommends the use of cables with a large cross-sectional area to connect
the speakers to the power amplifier(s). The large cable cross-sectional area preserves
the damping factor of the amplifiers for optimal speaker control.
For the best results, we recommend the use of original Burmester speaker cables,
which have the same electrical and acoustic properties as the wiring inside Burmester
speakers and amplifiers.
Requirements for amplifiers
The B18 can produce superior acoustics, even in large spaces. Nonetheless, high
quality power amplifiers are required to prevent clipping (distortion caused by
overdriving an amplifier) and speaker damage..
How to connect the loudspeaker:
Each output stage channel is connected to a loudspeaker via a 2-pin cable. Thus, a
2-channel (stereo) amplifier is required.
1. Connect the right loudspeaker with the right speaker output of your amplifier.
2. Connect the left loudspeaker with the left speaker output of your amplifier.
R
R
L
L
+
–
+
–

MAINTENANCE, REPAIR AND ROUTINE CARE
14
M,
ATTENTION
Damage to the surface
Liquids and chemical agents may damage the housing surface.
►Make sure that no liquid splashes on or enters the loudspeaker.
►Never use chemical agents for surface cleaning.
R
European law requires that this device may not be recycled with general household
trash. It must be turned in at special collection places for electronics.
W
For loudspeakers Burmester offers a warranty period of two years and an extension of
the warranty period for three years, provided that the speakers have been correctly
hooked up, have not been overloaded, modified or mechanically altered. Also, the
request for Warranty Papers and Warranty Extension must have been sent in.
The warranty is voided by unauthorized alterations, the removal of drivers or binding
posts or by opening up the speakers.
T
Trouble Most likely cause Fix
One or both speakers
are dead
The electronics have not
been switched on
►Turn on your amplifier and/or
the source.
Short or open circuit in
your cable connections
►Check your cable connections
and correct any problems.
The sound seems to
lack bass and/or be
spatially ill defined
The polarity in one channel
is reversed
►Swap the positive and
negative wires on the affected
channel.

TECHNICAL SPECIFICATIONS
B18 Loudspeaker 15
T
Design type 2 ½-Way Bass reflex
Weight (per speaker) 34.8 kg (76.7 lbs)
Width 204 mm (8,1‘‘)
Height 1056,3 mm (41,6 ‘‘)
Depth 395 mm (15.6 ‘‘)
Power rating 120 Watt
Sensitivity
at 2.83 V/1 m
88 dB
Impedance 4 Ω
Frequency range
+/- 3 dB
42- 30,000 Hz
Tweeter Radial tweeter
Midrange/Bass driver 17 cm (7.7’’) Glass fiber diaphragm
Bass/Midrange driver 17 cm (7.7’’) Glass fiber diaphragm
Crossover frequency 400 Hz/ 2,300 Hz
We reserve the right to make technical changes

Burmester Home Audio GmbH
Wilhelm-Kabus-Straße 47
10829 Berlin
Germany
+49 (0) 30 7879 680
www.burmester.de
BA-Version 1.0 / 1702
Other manuals for B 18
1
Table of contents
Other Burmester Speakers manuals

Burmester
Burmester B10 User manual

Burmester
Burmester InWall User manual

Burmester
Burmester BC350 User manual

Burmester
Burmester B100 User manual

Burmester
Burmester B28 User manual

Burmester
Burmester B 18 User manual

Burmester
Burmester Ambience 71 User manual

Burmester
Burmester BC150 User manual

Burmester
Burmester AMBIENCE 31 User manual

Burmester
Burmester B38 User manual
Popular Speakers manuals by other brands

Panasonic
Panasonic SB-MAX8000GS Service manual

Dual
Dual LUR66E Installation & owner's manual

E2S
E2S E2xL15R instruction manual

West Mountain Radio
West Mountain Radio CLRspkr ClearSpeech operating manual

La Boite Concept
La Boite Concept LX user manual

Bowers & Wilkins
Bowers & Wilkins CDM CNT owner's manual