manuals.online logo
Brands
  1. Home
  2. •
  3. Brands
  4. •
  5. Burrow
  6. •
  7. Indoor Furnishing
  8. •
  9. Burrow Serif Credenza User manual

Burrow Serif Credenza User manual

Right pegs
4 x
Hex Key
1 x
Thumbscrews
Stretchers
Short leg
Long leg
4 x
Left pegs
4 x
Bottom panel
1 x
Side walls
2 x
2 x
Divider
1 x
Top panel
1 x
Shelves
2 x
Doors
2 x 4 x
Hinge
4 x
2 x
Back wall
1 x
12 3
Assembly
Instructions
Everything you need
is included:
Thanks for bringing Burrow into your home.
Everything we make is incredibly simple to set up,
including your new credenza. The only tool that
you will need is the hex key included in the
package, however an extra set of hands to help
flip will be useful.
Feel free to contact support@burrow.com with
any specific questions!
Start with the top panel lying upside down on a soft
surface like a rug or the cardboard box. Attach the
right wall by lowering it onto the alignment pins, and
make sure the groove along the edge of the wall
lines up with the groove on the top panel.
Attach the left wall by lowering it onto the align-
ment pins, and make sure the groove along the
edge of the wall lines up with the groove on the top
panel.
Insert the hex key into each of the 3 holes along
the joint between the two panels and turn 90º
clockwise to engage the locking mechanism. If it
won’t turn a full 90º, check that the side wall is
perfectly flush with the top panel.
Lower the back wall, with the back groove on the
top, into the frame created by the groove along
the rear edge of the side walls and the top panel.
Gently push down to make sure it’s completely
inserted into the groove on the top panel, which
is currently on the ground.
456It’s time to attach the bottom panel. Flip credenza
over on to its back. Gently flex the side walls out
and lower the bottom panel in place, until it is fully
inserted in the groove on the back panel. The cord
cutouts belong toward the back of the credenza.
Insert the hex key into each of the 3 holes along
the joint between the two panels and turn 90º
clockwise to engage the locking mechanism. If it
won’t turn a full 90º, check that the side wall is
perfectly flush with the top panel.
7 98
Just like you did with the side walls, use the hex key
to engage the locking mechanisms by inserting it
into the holes along the edge of the bottom panel,
and turning each 90º clockwise.
Attach the 4 long legs to the credenza by
screwing them into the threaded inserts on the
leg mounts. Make sure everything is screwed
tight before moving to the next step.
Attach the 2 metal stretchers to the bottom
panel with the thumbscrews. Then, position the
rings on the end of the stretchers over the
attached long legs.
LICC K
10 11 12
Complete the leg assembly by screwing the short
legs into the inserts on the long legs, through the
rings at the end of the stretchers, sandwiching the
metal ring in between the two parts of the leg. Make
sure everything is screwed tight before moving to
the next step.
Slide the divider wall into the center of the
credenza along the plastic rails. Firmly push until
you feel both the front and back clips snap solidly
into place. Next, with another person to help, flip
the credenza upright so it is standing on its legs.
Gather all of your pegs and separate them into
L pegs and R pegs. Insert the pegs into the front
and back holes on each wall and the divider
according to the diagram below. The peg will
slide into the holes at a slight angle. There are
additional holes so that you can choose the
height of your shelves.
13 14 15
Slide each of the shelves into the credenza and
lower them onto the pegs. The peg should be flush
with the bottom of the shelf.
Next, you’ll attach the hinges to the doors. Lay
each of the doors on a soft surface like a rug or the
cardboard box with the pre-drilled holes facing up.
Insert the round part of the hinge into the holes,
with the long arm of the hinge pointed out. Push
down on the tab to lock the hinges into place.
With another person to help, attach the doors
by sliding both of the hinges onto the integrated
mounting hardware on the inside of the side
walls. Then, push firmly against the hinge until
you hear it click solidly into place.
Door Options
Slow motion hinges Vertical Alignment
(moving your doors up and down)
Each of the door hinges has a ‘slow motion’ mode,
which adds resistance so that your doors won’t
slam shut. We recommend only turning it on for the
top hinge on each door, unless you want extra slow
doors, in which case you can turn it on for all four
hinges. All you have to do is click the little button on
the inside of the hinge, as shown below. It’s just
below the hinge on the right side, but above the
hinge on the left side.
If your doors have a slight overlap (or a gap)
between them when closed, you can adjust the
horizontal position by turning the screw closest to
the door on all four hinges. Use a Phillips head
screwdriver to turn the screws counterclockwise to
bring the doors closer together (if there’s a gap),
and clockwise to spread the doors apart (if there’s
an overlap). We recommend starting with small
adjustments, and adding turns as needed.
Horizontal Alignment
(moving your doors left and right)
If you’d like to move your doors forward or back-
ward in space, you can adjust the depth by turning
the screw farthest from the door on all four hinges.
Use a Phillips head screwdriver to turn the screws
counterclockwise to bring the doors outward, and
clockwise to push the doors inward. We recom-
mend starting with small adjustments, and adding
turns as needed.
Depth Alignment (moving your doors in and out)
If one of your handles is slightly higher than the
other, don't fret. There's an easy fix. You can adjust
the vertical position of your doors by turning the
middle, inset screw on all four hinges. Use a Phillips
head screwdriver to turn the screws counterclock-
wise to lift the doors up, and clockwise to lower the
doors down. We recommend starting with small
adjustments, and adding turns as needed.

Other Burrow Indoor Furnishing manuals

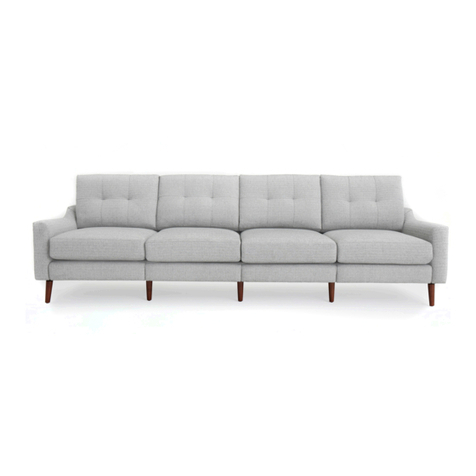
Burrow KING SOFA User manual

Burrow

Burrow KING SOFA User manual

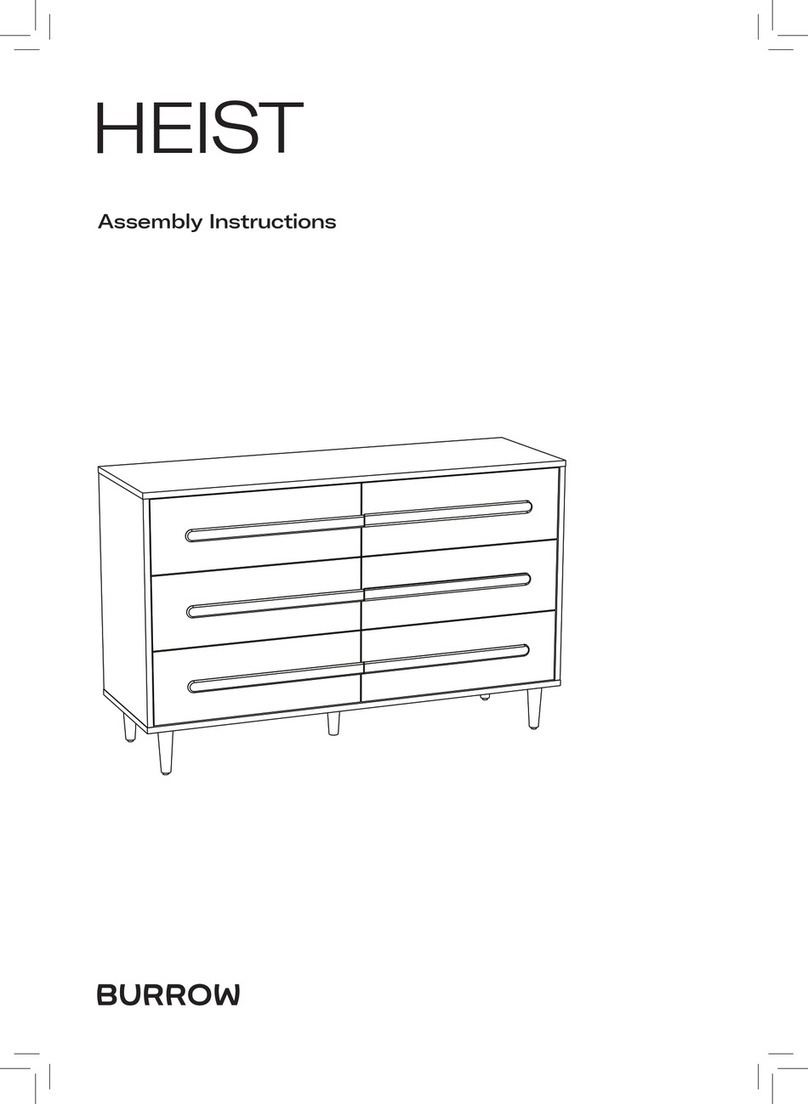
Burrow HEIST User manual

Burrow

Burrow HEIST User manual

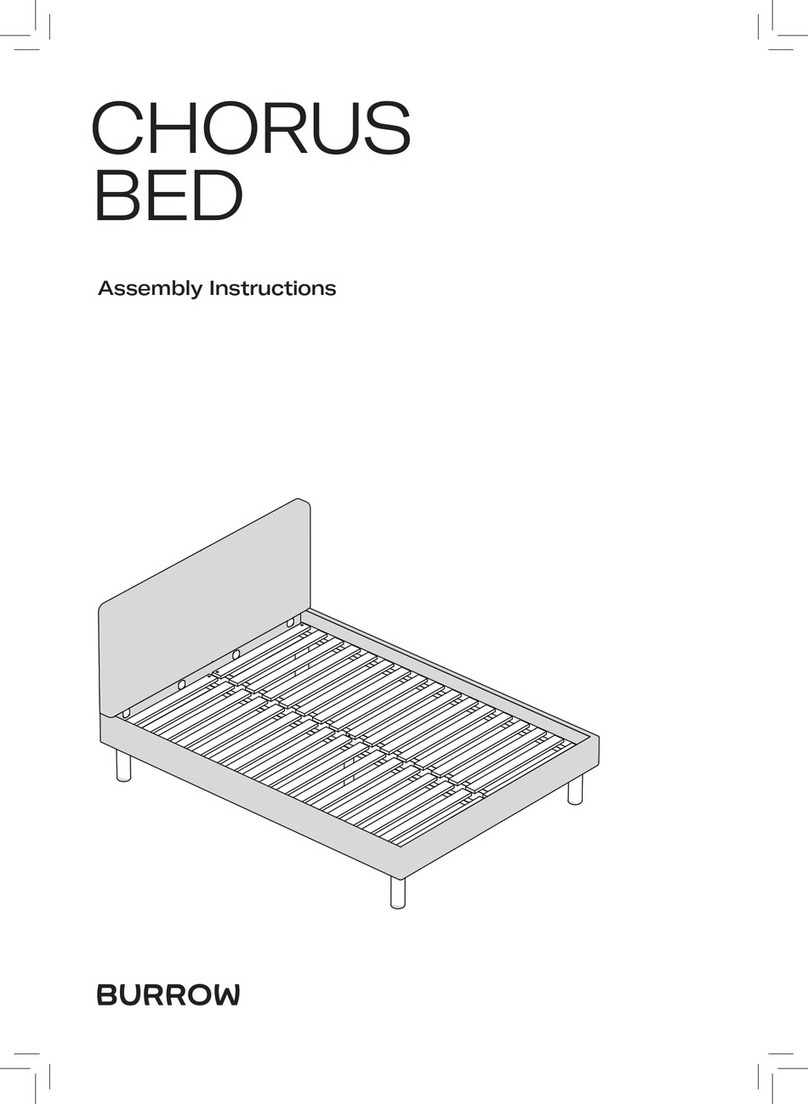
Burrow CHORUS User manual

Burrow

Burrow CHORUS User manual

Burrow PROSPECT 5-DRAWER TALL DRESSER User manual

Burrow

Burrow PROSPECT 5-DRAWER TALL DRESSER User manual

Burrow Totem Bench User manual

Burrow

Burrow Totem Bench User manual

Burrow PROSPECT User manual

Burrow

Burrow PROSPECT User manual

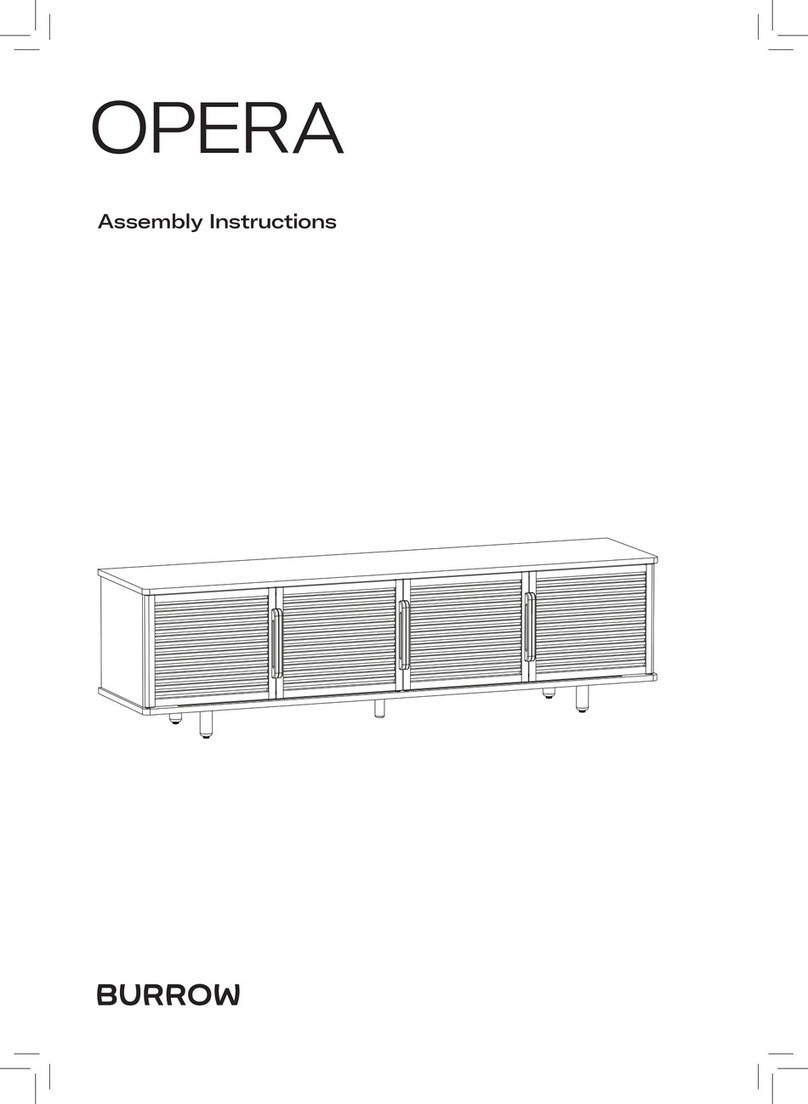
Burrow OPERA User manual

Burrow

Burrow OPERA User manual

Burrow RELAY DINING TABLE User manual

Burrow

Burrow RELAY DINING TABLE User manual

Popular Indoor Furnishing manuals by other brands

Moon Valley M-1700 Rocker Assembly instructions

Moon Valley

Moon Valley M-1700 Rocker Assembly instructions

MTD Vanities Bathroom Vanity Set installation guide

MTD Vanities

MTD Vanities Bathroom Vanity Set installation guide

Safco Task Mater 5124 Assembly instructions

Safco

Safco Task Mater 5124 Assembly instructions

Better Homes and Gardens Mercer Series Assembly manual

Better Homes and Gardens

Better Homes and Gardens Mercer Series Assembly manual

Stryker stair-pro 6251 Maintenance manual

Stryker

Stryker stair-pro 6251 Maintenance manual

SAFAVIEH COUTURE Cora Rose SFV5738A quick start guide

SAFAVIEH COUTURE

SAFAVIEH COUTURE Cora Rose SFV5738A quick start guide

raumplus LEGNO Assembly instruction

raumplus

raumplus LEGNO Assembly instruction

Home Decorators Collection ELDRIDGE HD06-F01WD Use and care guide

Home Decorators Collection

Home Decorators Collection ELDRIDGE HD06-F01WD Use and care guide

AJ 111832 quick start guide

AJ

AJ 111832 quick start guide

Costway HW59370 user manual

Costway

Costway HW59370 user manual

Next 651855 Assembly instructions

Next

Next 651855 Assembly instructions

Great Little Trading l3939 quick start guide

Great Little Trading

Great Little Trading l3939 quick start guide

Sedus mr. 24 Instructions for use

Sedus

Sedus mr. 24 Instructions for use

BDI SEQUEL 20 6116 instruction manual

BDI

BDI SEQUEL 20 6116 instruction manual

Walker Edison ORTRINCRBU Assembly instructions

Walker Edison

Walker Edison ORTRINCRBU Assembly instructions

rst brands SL-BARCAB-3 Assembly instructions

rst brands

rst brands SL-BARCAB-3 Assembly instructions

KEUCO Royal Modular 2.0 800A11050G0 000 Series Instructions for use

KEUCO

KEUCO Royal Modular 2.0 800A11050G0 000 Series Instructions for use

Smartecarte smartelocke 1000 Series specification

Smartecarte

Smartecarte smartelocke 1000 Series specification

manuals.online logo
manuals.online logoBrands
  • About & Mission
  • Contact us
  • Privacy Policy
  • Terms and Conditions

Copyright 2025 Manuals.Online. All Rights Reserved.