manuals.online logo
Brands
  1. Home
  2. •
  3. Brands
  4. •
  5. BWI Eagle
  6. •
  7. Receiver
  8. •
  9. BWI Eagle 38UL-2000-DC Manual

BWI Eagle 38UL-2000-DC Manual

PRODUCT INFORMATION
BULLETIN
105 Bonnie Drive
Butler, PA 16002
724-283-4681
724-283-5939 (fax)
www.bwieagle.com
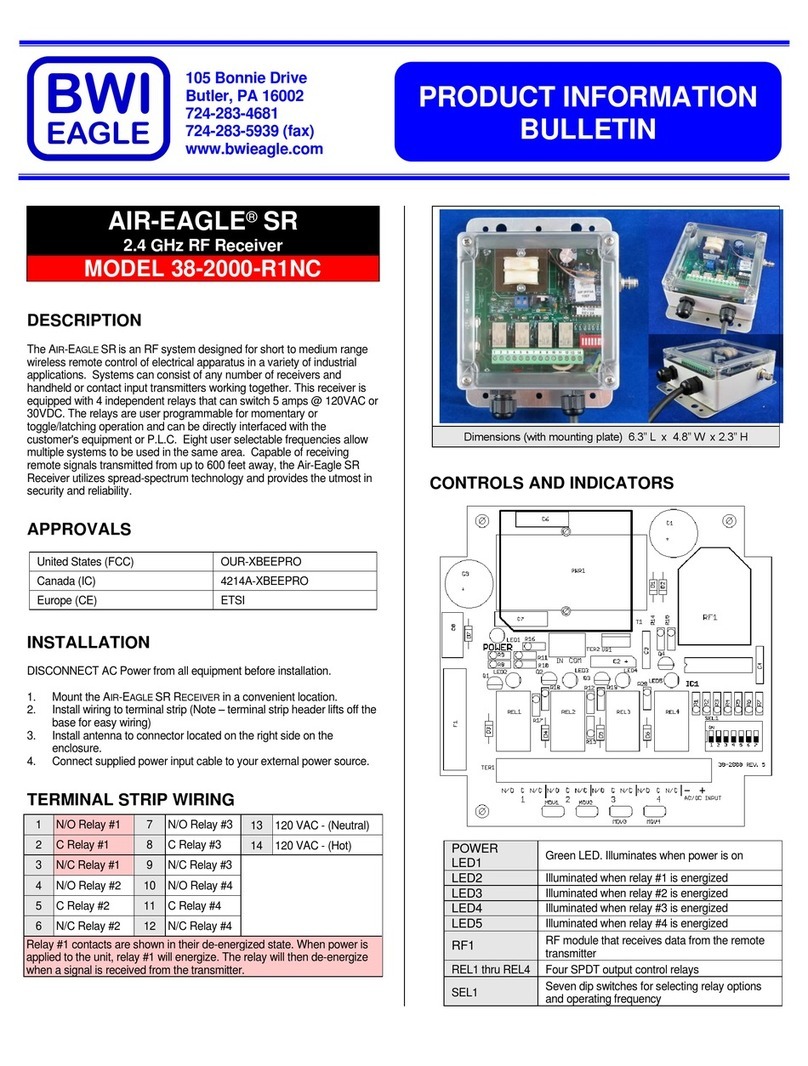
AIR-EAGLE®SR
2.4 GHz RF Receiver
MODEL 38UL-2000-DC
DESCRIPTION
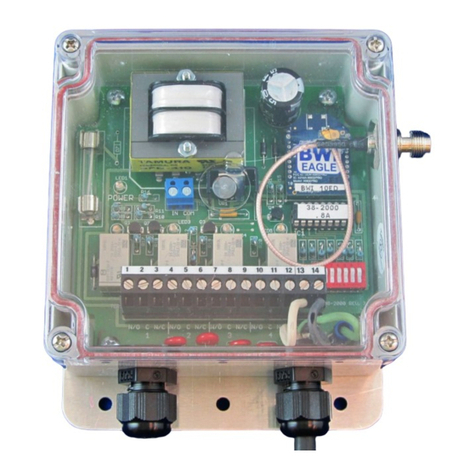
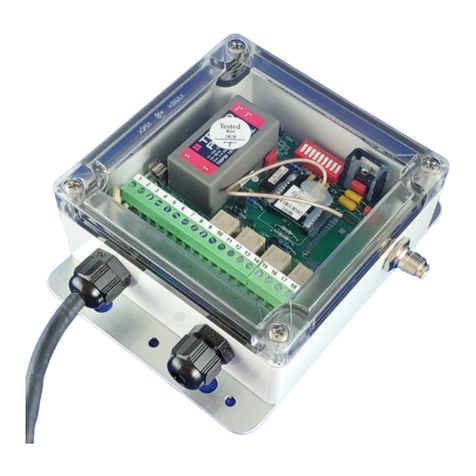
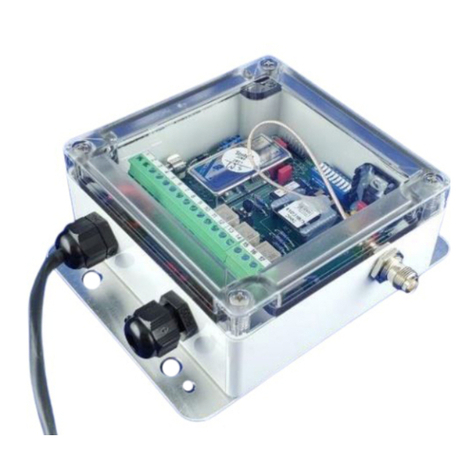
The AIR-EAGLE SRis a UL/CSA approved RF system designed for short
to medium range wireless remote control of electrical apparatus in a
variety of industrial applications. Systems canconsist of any number of
receivers and handheld or contact input transmitters working together.
This receiver is equipped with 4 independent relays that can switch 5
amps @ 120VAC or 30VDC. The relays are user programmablefor
momentary or toggle/latching operation and can be directly interfaced with
the customer's equipment or P.L.C. Eight user selectable frequencies
allowmultiple systems to be used in the same area. Capable of receiving
remote signals transmitted from up to 100 feet away (with the SR
transmitter) or up to 600 feet away (with the SR PLUS transmitter), the
Air-EagleSR Receiver utilizes spread-spectrum technology and provides
the utmost security and reliability even in the noisiest RF environments.
Please read through this document in its entirety before proceeding
with installation.
INSTALLATION
DISCONNECT DC Power from all equipment before installation.
1. Mount the control unit in a suitablelocation that allows the user to
easily remove the lid ofthe enclosure for wiring access. When
possible select a locationthat is not directlybeside high energy
transformers or large inductive relay housings. It is recommended to
allow for a minimum of 2.0” clearance on all sides of the unit’s
housing& mounting plate. The power andcontrol wiring exiting thru
the provided cord grips should have ample room to bend without
excessive stress. It is also important that any coax cable connected
to the TNC connector have room to bend without “kinking”.
2. Install relay wiring to terminal strip (TER1).
3. Attach supplied rubber duck antenna to TNC connector on the right
side ofthe unit.
4. Connect DC power to the proper terminals in your control circuit.
Note 1: (6) #10 thru holes & (4) 1/4-20 thru holes are provided on the
mounted plate to securethe unit)
Note 2: The recommended power/control wire sizes to the terminalstrip
ranges from 24 AWG (0.205mm2) (min) to 18 AWG (0.823mm2) (max).
TERMINAL STRIP WIRING
1
N/O Relay #1
7
N/O Relay #3
13
(-) 10 - 24 VDC
2
C Relay #1
8
C Relay #3
14
(+) 10 - 24 VDC
3
N/C Relay #1
9
N/C Relay #3
4
N/O Relay #2
10
N/O Relay #4
5
C Relay #2
11
C Relay #4
6
N/C Relay #2
12
N/C Relay #4
CONTROLS AND INDICATORS
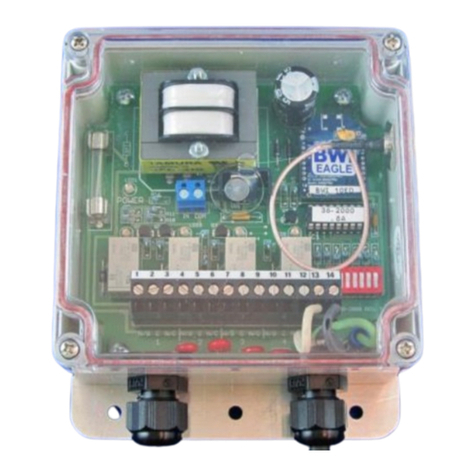
POWER
LED1
Green LED.Illuminates when power is on
LED2
Illuminated when relay #1 is energized
LED3
Illuminated when relay #2 is energized
LED4
Illuminated when relay #3 is energized
LED5
Illuminated when relay #4 is energized
RF1
RF module that receives data from the remote
transmitter
REL1 thru REL4
Four SPDT output control relays
SEL1
Seven dip switches for selecting relay options
and operating frequency
Page 1
AIR-EAGLE®SR
2.4 GHz RF Receiver
MODEL 38UL-2000-DC
RELAY MODES OF OPERATION
Auto Reset (Maintained Momentary)
When signal is received from an authorized transmitter, the relay will
energize. The relay will maintain the energized state as long as the
transmitter is sending the signal. The relay de-energizes when the
transmitted signal stops.
Toggle Reset (Toggle Latch)
When a signal is received from an authorized transmitter, the relay will
energize and latch.The relaystays energized until thesame signal is
received again, at which time it unlatches and de-energizes.
Latching Reset (True Latch)
When a signal is received from an authorized transmitter, the relay will
energize and latch.The relaystays energized until a different signal is
received from the transmitter, at whichtime it unlatches and de-energizes.
i.e. –Transmissionfrom Input 1 of authorized transmitter energizes and
latches relay 1. Transmission from Input 2 of an authorized transmitter de-
energizes relay 1.
RELAY & FREQUENCY SET-UP
The unit is shipped from the factory with SEL1 switches in the open
positions. All four relays will operate as maintained momentaryand unit is
receiving commands on frequency one. If you wish to change these
default settings, follow the instructions onthe table below.
1) Remove power from unit.
2) Remove top cover.
3) Select desired relay operation and/or network frequency using table
below.
4) Reattach cover and apply power.
5) Programming is now complete.
RELAY CONFIGURATION
SEL1
SWITCH
NUMBER
OPEN
CLOSED
SW1
Relay #1 maintained
momentary (default)
Relay #1 toggle/latch
SW2
Relay #2 maintained
momentary (default)
Relay #2 toggle/latch
SW3
Relay #3 maintained
momentary (default)
Relay #3 toggle/latch
SW4
Relay #4 maintained
momentary (default)
Relay #4 toggle/latch
FREQUENCY SET-UP
SEL1
(SW5-7)
Network
Frequency
SW5
SW6
SW7
1 (default)
OPEN
OPEN
OPEN
2
CLOSED
OPEN
OPEN
3
OPEN
CLOSED
OPEN
4
CLOSED
CLOSED
OPEN
5
OPEN
OPEN
CLOSED
6
CLOSED
OPEN
CLOSED
7
OPEN
CLOSED
CLOSED
8
CLOSED
CLOSED
CLOSED
UL SPECIFICATIONS & CLASSIFICATIONS
SPECIFICATIONS
DC Input
10 –24 VDC @ 10Watts
Relay Contacts
SPDT 5 amp @ 120VAC or 30VDC
Fuse Protected
1 amp
Receiver Frequency
2.4 GHz Spread Spectrum
Receiver Range –Dependent upon transmitter –see below:
Using 38 Series TX
Approximately 100 feet
Using 36 Series TX
Approximately 600 feet
Receiver Channels
Eight independent network frequencies
Operating Temperature
-10oC to +55oC
Altitude
Under 2000 meters
Enclosure
Polycarbonate, IP66 Approved
Weight
Approx 2 lbs.
CLASSIFICATIONS
Automatic Control and Electrically Operated Control
Incorporated Control and an Independently Mounted Control
Type 1.C Action; Micro-Interruption
PTI of Materials Used for Insulation: Material Group IIIb
Electrical Shock Risk: Class II Control
Period of Electrical Stress Across Insulating Parts Supporting Live
Parts: Long Period
Pollution Degree 2
Number of Cycles of Activation: 30,000 (Relay)
DIMENSIONS
Page 2
AIR-EAGLE®SR
2.4 GHz RF Receiver
MODEL 38UL-2000-DC
APPROVALS
UL/CSA Approved
United States (FCC)
OUR-XBEEPRO
Canada (IC)
4214A-XBEEPRO
Europe (CE)
ETSI
REPLACEMENT PARTS & ACCESSORIES
PC Board (Main)
38UL-2002-DC
Standard Antenna (Included):
2.4GHz TNC Portable Antenna
49-1201
Optional Antennas and Accessories –
Used to increase range in both non line of sight and line of sight
applications. - Contact BWI Eagle for recommendations
2.4GHz Thru-Hole Mount Mobile Antenna
49-2201
2.4GHz Magnetic Mount Mobile Antenna
49-2202
2.4GHz Omni Directional Antenna
49-3201
2.4GHz 13dB Yagi Antenna
49-3202
Flex Coax Cable w/Connectors –Connects
external antenna(s) to base unit(s).
49-4000-XX
(XX = # of Feet)
2 Ft. Bulkhead Assembly (Used when
mounting unit inside another enclosure)
49-5004-2-ISO
* = Line of Sight
REPAIR STATEMENT
NO USER SERVICEABLE PARTS! RETURN TO THE
MANUFACTURER FOR SERVICE.
LIMITED WARRANTY STATEMENT
BWI Eagle Inc. warrants the Air-Eagle Remote Control System, if properly
used and installed, will be free from defects inmaterial and workmanship
for a period of 1 year after date of purchase. Said warranty to include the
repair or replacement of defective equipment. This warranty does not
cover damage due to external causes, including accident, problems with
electrical power, usage not in accordance with product instructions,
misuse, neglect, alteration, repair,improper installation, or improper
testing. This limited warranty, and any implied warranties that may exist
under state law, apply only to the original purchaser of the equipment, and
last only for as long as such purchasercontinues to own the equipment.
This warranty replaces all other warranties, express or implied including,
but not limited to, the implied warranties or merchantability and fitness for
a particular purpose. BWI Eagle makes no express warranties beyond
those stated here. BWI disclaims without limitation, implied warranties of
merchantability and fitness for a particular purpose. Some jurisdictions do
not allowthe exclusion of implied warranties so this limitation may not
apply to you. To obtain warranty service, contact BWI Eagle for a return
material authorization. When returning equipment to BWI Eagle, the
customer assumes the risk of damage or loss duringshipping and is
responsible for the shipping costs incurred.
DOCUMENT DATE: 11/9/18 / PRODUCT REV.8
105 Bonnie Drive
Butler, PA 16002
(724) 283-4681
Fax (724) 283-5939
www.bwieagle.com
Page 3

Other manuals for 38UL-2000-DC

1

This manual suits for next models

1

Other BWI Eagle Receiver manuals

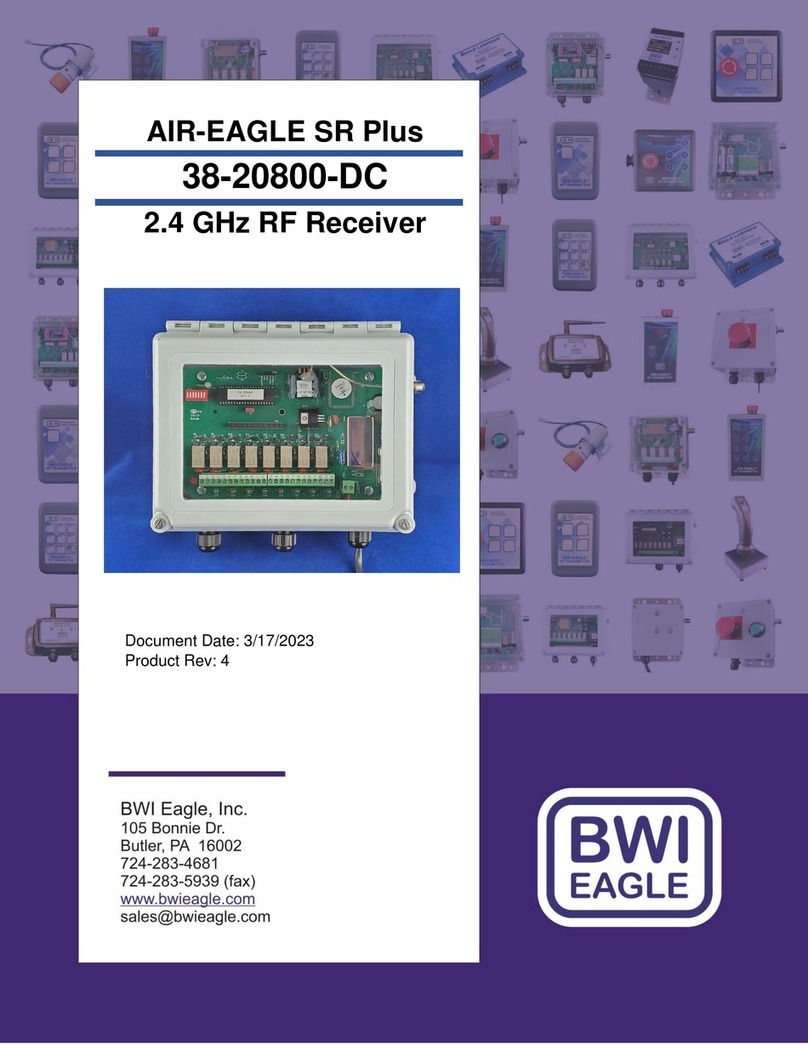
BWI Eagle AIR-EAGLE SR 38-20800-DC Manual

BWI Eagle

BWI Eagle AIR-EAGLE SR 38-20800-DC Manual

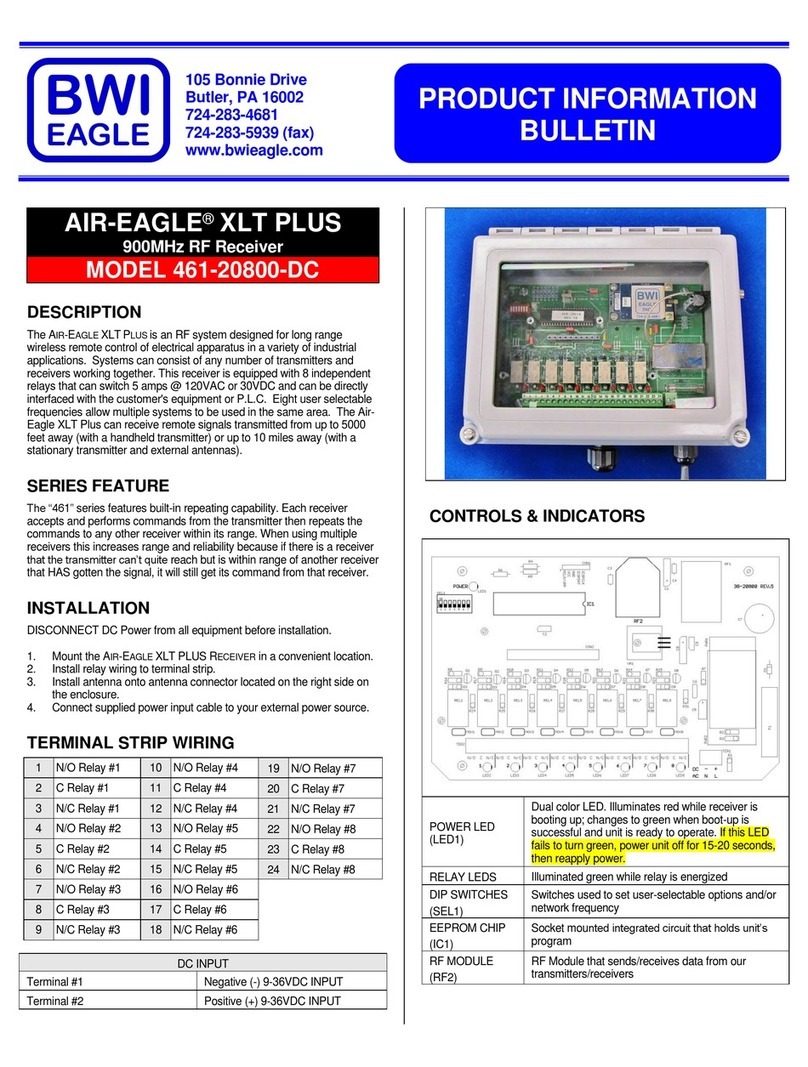
BWI Eagle AIR-EAGLE XLT PLUS Manual

BWI Eagle

BWI Eagle AIR-EAGLE XLT PLUS Manual

BWI Eagle AIR-EAGLE XLT Manual

BWI Eagle

BWI Eagle AIR-EAGLE XLT Manual

BWI Eagle AIR-EAGLE XLT Manual

BWI Eagle

BWI Eagle AIR-EAGLE XLT Manual

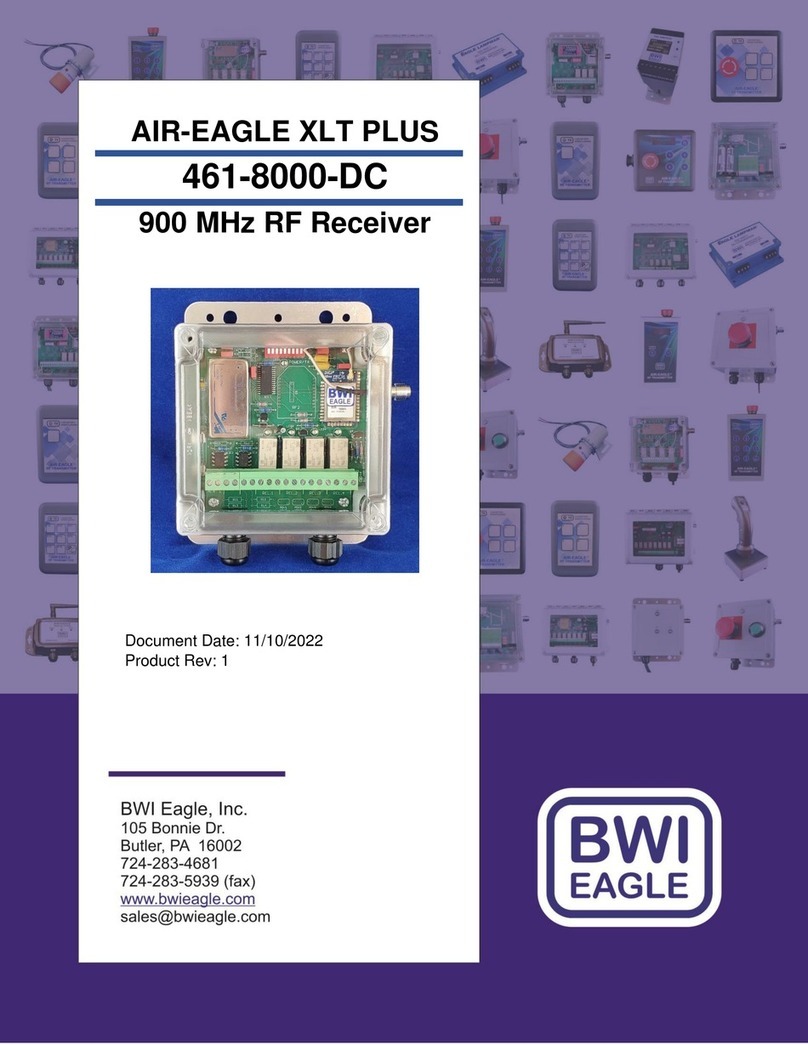
BWI Eagle AIR-EAGLE XLT PLUS Manual

BWI Eagle

BWI Eagle AIR-EAGLE XLT PLUS Manual

BWI Eagle AIR-EAGLE XLT 441-20100-X-DC Manual

BWI Eagle

BWI Eagle AIR-EAGLE XLT 441-20100-X-DC Manual

BWI Eagle AIR-EAGLE SR PLUS User manual

BWI Eagle

BWI Eagle AIR-EAGLE SR PLUS User manual

BWI Eagle Air-Eagle XLT PLUS 461-8000-AC User manual

BWI Eagle

BWI Eagle Air-Eagle XLT PLUS 461-8000-AC User manual

BWI Eagle AIR-EAGLE XLT Manual

BWI Eagle

BWI Eagle AIR-EAGLE XLT Manual

BWI Eagle AIR-EAGLE XLT 441-8000-R1NC-DC Manual

BWI Eagle

BWI Eagle AIR-EAGLE XLT 441-8000-R1NC-DC Manual

BWI Eagle AIR-EAGLE SR 38-20100-AC Manual

BWI Eagle

BWI Eagle AIR-EAGLE SR 38-20100-AC Manual

BWI Eagle AIR-EAGLE XLT PLUS 461-5000-AC Manual

BWI Eagle

BWI Eagle AIR-EAGLE XLT PLUS 461-5000-AC Manual

BWI Eagle AIR-EAGLE XLT 441-8000-R1NC Manual

BWI Eagle

BWI Eagle AIR-EAGLE XLT 441-8000-R1NC Manual

BWI Eagle AIR-EAGLE XLT Manual

BWI Eagle

BWI Eagle AIR-EAGLE XLT Manual

BWI Eagle 38UL-2000-DC User manual

BWI Eagle

BWI Eagle 38UL-2000-DC User manual

BWI Eagle AIR-EAGLE XLT PLUS 465AN/D-5000-DC Manual

BWI Eagle

BWI Eagle AIR-EAGLE XLT PLUS 465AN/D-5000-DC Manual

BWI Eagle 38-20800-AC User manual

BWI Eagle

BWI Eagle 38-20800-AC User manual

BWI Eagle AIR-EAGLE SR 38-5000-AC Manual

BWI Eagle

BWI Eagle AIR-EAGLE SR 38-5000-AC Manual

BWI Eagle AIR-EAGLE XLT Manual

BWI Eagle

BWI Eagle AIR-EAGLE XLT Manual

BWI Eagle AIR-EAGLE XLT 441-20100-DC Manual

BWI Eagle

BWI Eagle AIR-EAGLE XLT 441-20100-DC Manual

BWI Eagle AIR-EAGLE XLT Manual

BWI Eagle

BWI Eagle AIR-EAGLE XLT Manual

BWI Eagle AIR-EAGLE SR 38-6500-DC Manual

BWI Eagle

BWI Eagle AIR-EAGLE SR 38-6500-DC Manual

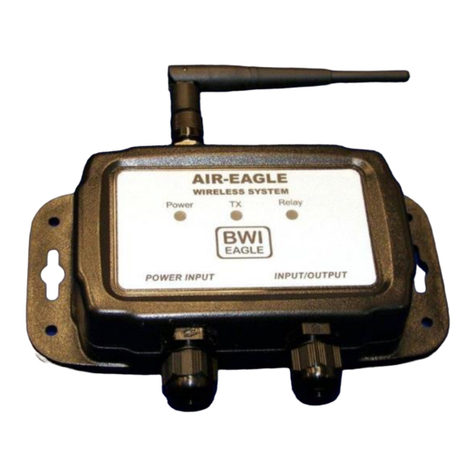
BWI Eagle Air-Eagle SR 38-2000-DC Manual

BWI Eagle

BWI Eagle Air-Eagle SR 38-2000-DC Manual

BWI Eagle AIR-EAGLE SR PLUS User manual

BWI Eagle

BWI Eagle AIR-EAGLE SR PLUS User manual

Popular Receiver manuals by other brands

Sony BKM-41HD installation manual

Sony

Sony BKM-41HD installation manual

DMP Electronics XR150 series installation guide

DMP Electronics

DMP Electronics XR150 series installation guide

ashtech MobileMapper 100 Getting started guide

ashtech

ashtech MobileMapper 100 Getting started guide

Novoferm Novotron 171 manual

Novoferm

Novoferm Novotron 171 manual

Denon AVR-3806 Instrucciones de funcionamiento

Denon

Denon AVR-3806 Instrucciones de funcionamiento

Pioneer ELITE VSX-92TXH instructions

Pioneer

Pioneer ELITE VSX-92TXH instructions

Yamaha AVENTAGE RX-A2050 Easy setup guide

Yamaha

Yamaha AVENTAGE RX-A2050 Easy setup guide

Denon AVR-3808CI Service manual

Denon

Denon AVR-3808CI Service manual

Sennheiser EK 2000 instruction manual

Sennheiser

Sennheiser EK 2000 instruction manual

GlobSatIP ZIP-5107 user manual

GlobSatIP

GlobSatIP ZIP-5107 user manual

Integra RFR-6 instruction manual

Integra

Integra RFR-6 instruction manual

Parkside PWCA 20-Li A1 operating instructions

Parkside

Parkside PWCA 20-Li A1 operating instructions

jotron RA-2500 Operator and installation manual

jotron

jotron RA-2500 Operator and installation manual

Yamaha RX-V365 Specifications

Yamaha

Yamaha RX-V365 Specifications

Onkyo TX-SR706 - AV Receiver Quick setup guide

Onkyo

Onkyo TX-SR706 - AV Receiver Quick setup guide

HAMTRONICS R301 Installation operation & maintenance

HAMTRONICS

HAMTRONICS R301 Installation operation & maintenance

Strong SRT 8222 user manual

Strong

Strong SRT 8222 user manual

Topcon GR-5 quick start guide

Topcon

Topcon GR-5 quick start guide

manuals.online logo
manuals.online logoBrands
  • About & Mission
  • Contact us
  • Privacy Policy
  • Terms and Conditions

Copyright 2025 Manuals.Online. All Rights Reserved.