C-me BodyGuard 323 User manual

Service Manual
for
BodyGuard 323, 545, & 575
Infusion pumps
0344
Manufacturer:
Caesarea Medical Electronics Ltd.
International Toll Free: +800-323-575-00
European address:
taufenburgstr. 23 Lichtenstein
P.o.b. 1248 Lichtenstein 72805 Germany
PN 100-091X ver. 191009
E-mail: sales@cme-infusion.com
www.cme-infusion.com

of 502
Table of Contents
Introduction ...........................................................................................3
Warnings and Cautions.........................................................................4
Service Process Diagram .......................................................................7
Tools and Test quipment................................................................... 10
Adjustable Operating Parameters and Options.................................12
Operational Checklist and Performance Acceptance Test................19
Calibration ...........................................................................................22
Troubleshooting ................................................................................... 29
Service actions...................................................................................... 34
Service Center Recommended Parts................................................... 48
Cleaning and Storage...........................................................................48
APP NDIX A....................................................................................... 49

of 503
Introduction
This manual provides instructions for the service of BodyGuard infusion pump
models 323, 545, and 575 and their software, and mechanical service for pole
mount chargers. ets are single use and are not serviceable.
The following requirements and conditions apply when performing service on
BodyGuard products, failure to follow these instructions will invalidate warranty
and creates unacceptable risk:
• ervice of BodyGuard pumps, chargers and accessories may only be
performed by CME authorized service personnel. ervice can only be
performed with the recommended equipment and CME approved
parts.
• This manual is intended to support CME authorized service technicians
performing service.
• Clinical personnel, patients, and other users are advised to return pumps to
an authorized service center for service.
• Refer to operation manual for pump operation instructions, cautions and
warnings.
• Refer to BodyComm operations manual for BodyComm operation
instructions.
• Document service performed in accordance with service provider’s
prevailing procedures.

of 504
Warnings and Cautions
Warning: Warnings advise you of circumstances that could result in
injury or death to the patient or operator. Read and understand this
manual and the Operation’s Manual taking note of all warnings before
operating or performing service on the BodyGuard Infusion ystem.
Caution: Cautions advise you of circumstances that could result in
damage to the device. Read and understand this manual and the
Operation’s Manual taking note of all cautions before operating or
performing service on the BodyGuard Infusion ystem.
Note: Indicates that the information that follows is additional important
information or a tip that will help you when operating or performing
service on the BodyGuard Infusion ystem.
Warnings
To avoid possible personal injury or loss of life, observe the following:
Read the entire Operation’s Manual before using the pump, since the text
includes important precautions.
The maximum volume that may be infused under INGLE FAULT
CONDITION is 0.1 ml.
Voltage present on internal components may cause severe shock or death
upon contact. Disconnect the charger from AC power prior to opening the
casing. Only authorized service personnel should open the pump cover.
Blown fuses could cause a fire hazard. Replace blown fuses on the
charger only with fuses of the same type and rating (see fuse values on
the charger PCB).
The equipment is not suitable for use in the presence of flammable
anesthetic-air/oxygen/nitrous oxide mixture. Do not use the system in the
presence of these gases.
Make sure the pump is attached securely to the charger, which is
connected snugly to an IV pole.
A kinked or occluded IV line may impair the operation of the pump and
the accuracy of the infusion. Before operation, verify that the IV line is
not kinked or occluded.
The BodyGuard should be operated only with BodyGuard tubing sets.
Use of administration sets other than manufacturer-produced BodyGuard
tubing set may impair the operation of the pump and the accuracy of an
infusion.

of 505
Drugs must not be administered to the epidural space unless the drugs are
indicated for this purpose and are administered in accordance with the
indications included in the manufacturer’s package insert accompanying
the drugs.
Epidural administration of drugs other than those indicated for epidural
use could result in serious injury to the patient.
Any adjustments, maintenance, or repair of the uncovered pump may
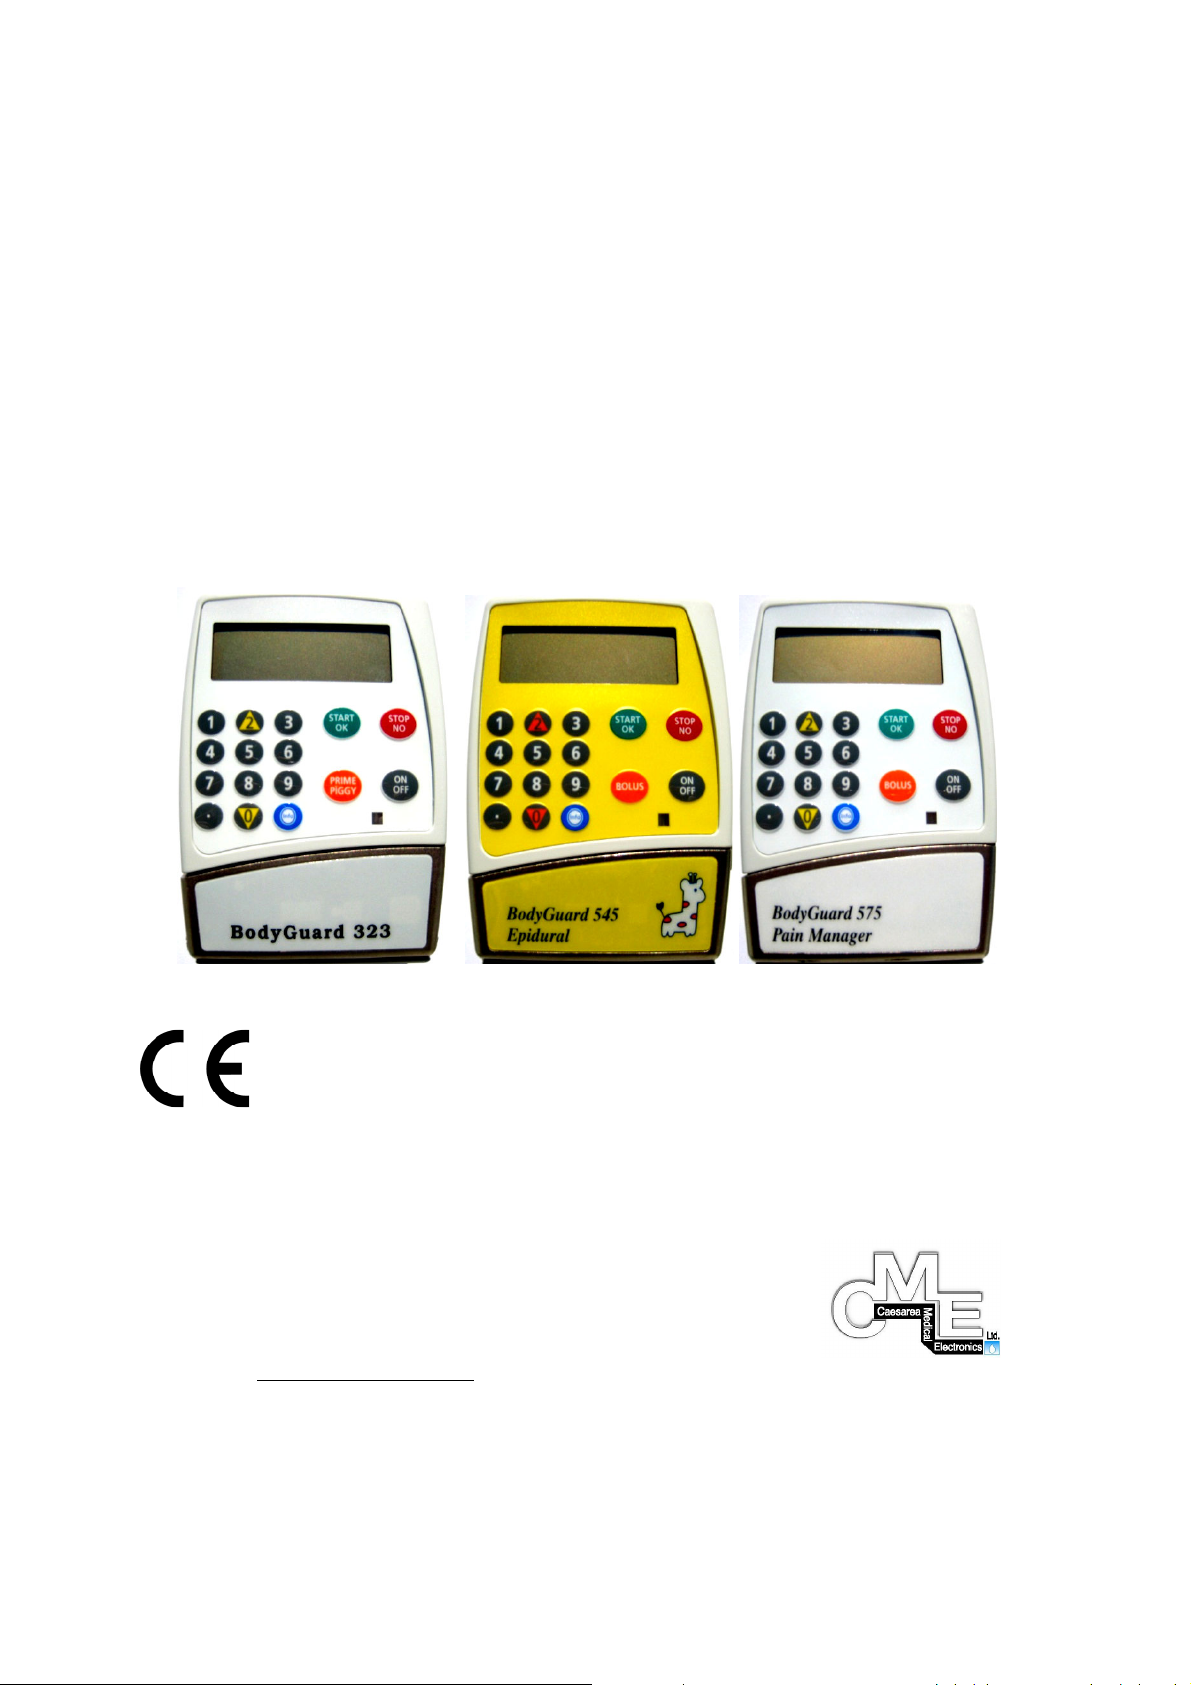
impair the operation of the BodyGuard Infusion ystem and/or the
accuracy of the infusion. Only CME authorized technicians should
perform any adjustments, maintenance, or repair of the uncovered pump.
Any adjustments, maintenance, or repair of the uncovered pump while
connected to the power should be avoided.
The BodyGuard Infusion ystem should be operated within a temperature
range of 15°C (50°F) to 45°C (115°F) and at up to 85% humidity.
Operating the pump at temperatures and/or humidity other than within
this range may affect accuracy.
Unsafe operation may result from using improper accessories. Use only
accessories and options designed for this system and supplied by
manufacturer.
The BodyGuard tubing sets should not be use for blood, blood products or
nitroglycerin administration.
Battery charging is enabled as long as the charger cord is connected to
AC power and the pump is in the charger. witching the pump off does
not disconnect it from AC power. To disconnect from AC power, remove
the charger cord from AC power. To disconnect pump from AC power,
remove it from the charger.
Dropping the BodyGuard Infusion ystem could cause damage to
components. If the pump is dropped, return the pump for inspection by
qualified service personnel.
Use aseptic technique. Patient infection may result from the use of non-
sterile components. Maintain sterility of all disposable components and
do not re-use single use IV sets.
When operating the pump in PCA mode with a rate of 0.0 ml/hr there is a
hazard of blood clot formation. Connect saline infusion in parallel to
avoid this problem.
Do not operate the pump near high-energy radio-frequency emitting
equipment, such as electro-surgical cauterizing equipment. False alarm
signals may occur.
Watch your fingers / nails when opening and closing the pump door.

of 506
Cautions
To avoid possible damage to the equipment, observe the following:
Leaving the battery in a discharged state for a long period of time may
damage the battery. Connect the pump to the AC power via the charger
whenever possible to recharge the battery.
Do not store the pump with the battery fully depleted.
Xylene, acetone or similar solvents could cause damage to components.
Do not clean the pump with these chemicals. Clean solution spills on the
pump immediately. Use a damp cloth or sponge. A mild detergent may be
used. Wipe thoroughly with a dry cloth.
Immersing the BodyGuard Infusion pump into liquid could cause damage
to components. Do not immerse the pump into any type of liquid.
Battery damage could occur if left in a temperature warmer than 50
0
C.

of 507
Service Process Diagram
The service operation is diagrammed below:

of 508
Customer and Device Information &
Pre-
Service Checklist
Before performing any service procedure:
1. Authorized service personnel
ervice of BodyGuard pumps may only be performed by authorized
service personnel. ervice can only be performed with the recommended
equipment and CME approved parts.
2. Confirm Customer Information
Confirm proper document record has been completed for, Log receipt,
pump serial number & physical appearance (i.e. damage, signs of
tampering).
3. Disinfect the pump according to cleaning instructions as described in the
user manual.
4. Open a service file to include all required documentation.
5. Download or View the vent Log - The event log records program and
calibration settings, and notes the frequency and nature of any
alarms/alerts that may be associated with past pump performance or a
complaint.
Download the vent Log
a. Use the BodyComm oftware and Communication charger.
b. Refer to the BodyComm Operations Manual:
i. Connect BodyGuard to a PC using BodyComm.
ii. Download and Record the Event Log
iii. Download and Record Pump ettings.
iv. Once done Power down the pump.
Manual View the vent Log and History
BodyGuard 323
a. tart pump normal operation mode
b. Enter Change et up Mode by pressing INFO key until
options are displayed.

of 509
c. elect Change et Up, Press TART/OK key
d. croll down to option “More”, Press TART/OK
e. For BodyGuard 323 Enter Change et Up Code
f. croll to option History, Press TART/OK key.
g. Using arrow key scroll through events, Press INFO key for
more detail.
h. Exit by pressing start/OK key
BodyGuard 545, & 575
a. tart pump normal operation mode
b. Enter Level 1 code, Press TART/OK to enter Main Menu
c. croll down to Event Log, Press TART/OK
d. Using arrow keys scroll through events, Press INFO key for
more detail.
e. Exit by pressing TART/OK key
Manual Review of Pump settings
a. Enter the Technician Menu (power up the pump while holding
down the INFO & POWER keys simultaneously until the
Technician Code prompt appears).
b. Enter Technician Code.
c. croll to ‘Manual Calibration’ and record all pump calibration
settings (volume and pressure calibration) by pressing
TART/OK continuously to review each setting.
d. croll to and perform ‘Main elf-Test’ and record any failures
or issues identified during the test.
6. Review Customer supplied Service Request Information
a. Has the user operated the pump correctly? Cross reference their report
with the Operation’s Manual to ensure the steps they took prior to the
incident did not cause, or result in, an alarm state or error code.
7. When the Pre-Service checklist has been completed, begin Service by
performing the Operational Checklist.
a. If a charger was returned as a complaint item, test the charger with the
associated pump cited in the complaint. If no pump was returned with
the charger, process the charger as usual.

of 5010
Tools and Test quipment
The following tools and test equipment are required to perform the procedures
contained in this manual. ince all fasteners on this device are metric, ensure that
all tools used are for metric fasteners.
Test quipment
• Digital voltmeter (Fluke 115 or equivalent)
• BodyGuard Operations Manual
• PC with a R 232 9way erial port
• BodyComm Communication oftware*
• BodyComm Operations Manual*
• BodyComm Communications Charger (150-318X)*
• BodyGuard Charger may be required (pulse oximeter charger for 545,
and 575)
• R 232 cable
(197-000X)**
• E D work station Mat and Wrist trap
• BodyGuard tubing set with proximal Y- ite**
• Infusion Bag (sterile water for injection)
• cale (.01g resolution)
• Pressure Gauge, maximum pressure 30psi, .01 psi resolution
• Timer (seconds resolution)
• Burning tation PN 100-405X* (for software updates)
• 5 pin male to male connection wire*
• Prog08sz software*
Tools
• Phillips screwdriver, M3
• Flat screwdriver, M3
• Allen key 2.5 mm
• Forceps
• 2mm Push shaft
• Air ensor ‘Go No-Go’ gauge/or gauge pins (GO, 2.2 mm, No-GO, 2.3 mm)
• harp knife
• 3 ml yringe with graduated markings
• DC Cable BG (196-000X)*

of 5011
*Available only from CME
** Optional Equipment
Note: CME prefers the download of the pump settings, event log and/or history
review be performed with BodyComm oftware available from CME.
However, when the software is not available the review and/or download can be
performed manually.

of 5012
Adjustable Operating Parameters and Options
BodyGuard 323
The BodyGuard 323 pump has adjustable operating parameters. These operating
parameters and options may be viewed and adjusted to modify the operation of the
pump. The operating parameters and options available for the BodyGuard 323 are
described below in the Techncian Menu, Change et Up Menu, Program Lock, and
Keypad Lock sections. If access to a specific mode of operation is required (i.e.
Continuous, Intermitent, PCA, TPN, or 25 steps), refer to the operation manual for
instructions.
Technician Menu
To
access the Technician Menu, press and hold the INFO key during the power on
operation until ‘Technician Code’ prompt appears. The display will show the software
version for 2 seconds before the access code prompt. Enter Technician Code to access
the Technical Menu.
The pump will display all the parameters that can be set, calibrated or tested. The
technician can scroll through all parameters using the ARROW keys (2 & 0 keys on
the pump).
Item
Parameter Description
1 Restart Pump Exit Technician Mode.
2 erial Number Displays serial number & production date.
3 Manual Calibration ummary of volume & pressure calibrations and ability to check/re-
enter software default calibrations after service.
4 Main elf-Test Performs keypad, display, alarm sound, door sensor, air sensor,
temperature, motor & encoder, and pressure sensor tests.
5 Manual Test ame as Main elf-Test but with a menu so technician can focus on
individual tests.
6 Pressure Calibration Allows manual calibration of pressure settings.
7 Volume Calibration Allows manual calibration of pumping mechanism.
8 oftware default
etting
Caution: pressing TART/OK will restore software defaults and
delete all pre-set protocols and set-up changes.
9 Reset Calibrations Caution: pressing TART/OK restores default settings. Pump must
be re-calibrated after reseting calibrations.
10 Operating time/
hours counter
Hours from last service – reset to zero by pressing TOP/NO key.

of 5013
Change Set Up Menu
To access Change et Up Menu:
1. Turn the pump on in the normal operation mode.
2. To access the Change et Up Menu, press the INFO key multiple times until
the “Change et Up” option is displayed,(it is always displayed as the 4th
option).
3. elect “Change et Up”, press OK.
4. croll down to the option “More”, press OK.
5. Enter access “Change et Up” Code, press OK.
The Change et Up Menu is intended for use by clinical personnel and authorized
service technicians.
Item
Parameter Description
1 restart pump Allows clinical personnel to return pump to normal operation mode.
2 pressure default Allows clinical personnel to set the default occlusion alarm pressure.
The pump will default to this pressure setting each time the pump is
started.
3 select program Allows clinical personnel to select program from list (Continuous,
Intermitent, PCA, TPN, or 25 steps).
4 priming rate Allows clinical personnel to set priming rate.
5 max bolus volume Allows clinical personnel to set maximum bolus volume (0-100 ml).
6 titration bolus Allows clinical personnel to set titration bolus (On/ Off).
7 bolus rate Allows clinical personnel to set bolus rate (0-1200 ml/h).
8 maximal rate Allows clinical personnel to set maximal rate (0.1-1200 ml/h).
9 KVO rate Allows clinical personnel to set KVO rate (0.0-5.0 ml/h).
10 flow control Allows clinical personnel to set flow control (0 - 20 drops/ml).
11 set loading test Allows clinical personnel to activate set loading test (On/Off).
12 air bubble size Allows clinical personnel to set air bubble size (0.1 - 2.0 ml).
13 store last program Allows clinical personnel to store last program (On/Off).
14 operation LED Allows clinical personnel to set operational indicator LED (On/Off)
15 time option Allows clinical personnel to set time option (On/Off).
16 delay before start Allows clinical personnel to set delay before start (On/Off).
17 language Allows clinical personnel to choose language (English, panish).
18 set time and date Allows clinical personnel to date and time (dd, mm, yy, hh, mm).
19 history Allows clinical personnel to review event history settings and alarms
(for last 500 events)

of 5014
Program Lock
To access Program Lock:
1. Turn the pump on in the normal operation mode.
2. To access the Change et Up Menu, press the INFO key multiple times until
the “Change et Up” option is displayed,( it is always displayed as the 4
th
option).
3. elect “Change et Up”, press OK.
4. croll down to the option “More”, press OK.
5. Enter Program Lock Code, press OK.
6. elect ON to activate lock (Off/On).
The Program Lock is intended for use by clinical personnel and authorized service
techncians.
Item
Parameter Description
1 Locks ability to
change programs
Enables clinical personnel to lock out the pump so that programs can
only be started or stopped.
Keypad Lock
To access Keypad Lock:
1. With the pump operating in normal operation mode, to activate the Keypad
Lock: Press and Hold the INFO Key until the bar graph is filled.
2. Repeat step 1 to deactivate.
The Keypad Lock is intended for use by clinical personnel and authorized service
technicians.
Item
Parameter Description
1 Locks all keypad
buttons except the
INFO TART/OK
and TOP keys
Enables clinical personnel to lock all buttons but the INFO,
TART/OK and TOP keys to prevent tampering with the pump
during normal operation.

of 5015
BodyGuard 545 and BodyGuard 575
The BodyGuard 545 and 575 pumps have adjustable operating parameters. These
operating parameters and options may be viewed and adjusted to modify the
operation of the pump. The operating parameters and options available for the
BodyGuard 545, and 575 are described in the Technician Menu, Level 1 Menu and
Keypad Lock.
Technician Menu
To access the Technician Menu, press and hold the INFO key during the power on
operation until ‘Technician Code’ prompt appears. The display will show the software
version for 2 seconds before the access code prompt. Enter Technician Code to access
the menu.
The pump will display all the parameters that can be set, calibrated or tested. The
technician can scroll through all parameters using the ARROW keys (2 & 0 keys on
the pump).
Item
Parameter Description
1 Restart Pump Exit Technician Mode.
2 erial Number Displays serial number & production date.
3 Manual Calibration ummary of volume & pressure calibrations and ability to check/re-
enter software default calibrations after service.
4 Main elf-Test Performs keypad, display, alarm sound, door sensor, air sensor,
temperature, motor & encoder, and pressure sensor tests.
5 Volume Test
Program rate & volume to be delivered during flow rate test.
6 Manual Test ame as Main elf-Test but with a menu so technician can focus on
individual tests.
7 Pressure Calibration Allows manual calibration of pressure settings.
8 Volume Calibration Allows manual calibration of pumping mechanism.
9 oftware default
etting
Caution: pressing TART/OK will restore software default defaults
and delete all pre-set protocols and set-up changes.
10 Reset Calibrations Caution: pressing TART/OK restores default settings. Pump must
be re-calibrated after reseting calibrations.
11 Operating hours Hours from last service – reset to zero by pressing TOP/NO key.
12 Access Codes Displays current access codes and allows change.

of 5016
Level 1 Menu
To access Level 1 Menu:
1. Turn pump on.
2. Prompt reads “Press OK to Resume or Press NO for Menu”.
3. Press No to access menu
4. Enter Level 1 Code, Press OK
The Level 1 Menu is intended for use by clinical personnel and authorized service
technicians.
Access to specific parameters requires entering Admin or Clinician Activate Bolus
access codes.
Item
Parameter Description
1 Prime Allows clinical personnel to prime set.
2 elect Protocol Allows clinical personnel to select protocol (New patient, Previously
programmed).
3 Change Bag Allows clinical personnel to change bag.
1. tart New Bag
2. Confirm bag volume (Ok/No)
3. tart Infusion (Ok/No)
4 Modify Protocol
Allows clinical personnel to modify protocol by entering Admin Code.
5 Clinician Bolus Allows clinical personnel to deliver a bolus regardless of preset limits by
entering Clinician Activated Bolus Code.
6 Patient History Allow clinical personnel to display infusion history for last 24 hours.
7 Event Log Allow clinical personnel to review event history settings and alarms for
last 500 events)
8 Battery Test Allow clinical personnel to perform battery capacity test.
9 Review et Up Allows clinical personnel to review:
1. Pulse Oximeter
2. Battery Level
3. Program Lock
4. Time and Date
5. Tube temperature
6. Key troke Volume
7. Occlusion Pressure
8. Priming Volume
9. Priming Rate
10. Max CA Bolus
11. Default Bolus Rate
12. Maximum Basal Rate
13. KVO Rate
14. Program Limits
15. Air In Line Limits

of 5017
16. LED Indicator
17. Bolus Key
18. Titration Option
19. erial Number
20. Production date
21. Operating Hours
22. oftware Version
23. Volume Calibration
24. Pressure Delta
25. Pressure Cap
26. Exit
10 Change et Up
Allow clinical personnel to Change et Up by entering Admin Code.
1. Pulse Oximeter
a. Enable/Disabled (Requires a pulse oximeter charger)
b. Program alarm limits
i. Pulse Limit (< Limit,> Limit)
ii. PO
2
saturation (< Limit)
c. ync Pulse Audible
i. Enable/Disable
2. Key troke Volume (bar graph)
3. Occlusion Pressure [545 (7/14/21psi)], [575 (5/7.5/10 psi)]
4. Priming Volume (0-20 ml)
5. Priming Rate (300-1200 ml/h)
6. Max CA Bolus (disable/limit max clinician bolus dose to 0-20 ml)
7. Default Bolus Rate (0-1000 ml/h)
8. Maximum Basal Rate (0.0-30 ml/h)
9. KVO Rate (0.0 - 5.0 m/h)
10. Program Limits - et MediGuard limits for body weight (On/Off)
11. Air In Line Limits - (0.0 - 1.0 ml)
12. LED Indicator - et operational indicator LED (On/Off)
13. Bolus Key - Allows clinical personnel to enable/disable the keypad
bolus key.
14. Titration Option - Allows clinical personnel to set titration Option
(On/ Off).
15. et Time and Date - Allows clinical personnel to date and time
(dd, mm, yy, hh, mm).
16. Restart Pump - Allows clinical personnel to return pump to normal
operation.

of 5018
Keypad Lock
To access Keypad Lock:
1. With the pump operating in normal operation mode, to activate the Keypad
Lock: Press and Hold the INFO Key until the bar graph is filled.
2. Repeat step 1 to deactivate.
The Keypad Lock is intended for use by clinical personnel and authorized service
techncians.
Item
Parameter Description
1 Locks all keypad buttons except the
INFO TART/OK and TOP keys
Enables clinical personnel to lock all buttons but the
INFO, TART/OK and TOP keys to prevent
tampering with the pump during normal operation.

of 5019
Operational Checklist and Performance
Acceptance Test
Introduction
The Operational Checklist and Performance Acceptance Test detailed in this
section determines if the device is operating correctly. The Operational
Checklist and Performance Acceptance Test should be carried out before any
service work is performed. If the device fails any test in the checklist, the fault
must be recorded and corrected prior to placing the device back into clinical
use. Any test failures should be analyzed using the troubleshooting procedure
that follows to determine service action. After all service is completed, the
Operational Checklist and Performance Acceptance Test should be repeated and
the device should be re-calibrated if required.
If the returned device is a complaint, the device should be tested with any
associated products (i.e. sets, etc). Devices subject to complaint evaluation
should be tested to try to duplicate the customer’s complaint. Once the
complaint evaluation with the associated product has been completed the device
should be retested without the associate product to the normal service process.
1. Main Self Test
a. Keypad test - Tests operation of all keypad keys.
i. Test passes if all keys work
b. Display Test - Tests all pixels back light.
i. Test passes if all pixels work
c. Acoustic alarm test - Tests volume of alarm.
i. Test passes if alarm volume can be heard from 20 feet.
d. Door position test - Tests door open alert.
i. Test passes if screen displays “Closed” when door is closed,
and “Open”, when door is open.
e. Air sensor test - Qualitative test of air sensor functionality.
i. Test passes if alert activates when air is present in front of air
sensor.
f. Motor Test - Qualitative test of motor functionality.
i. Test passes if display reads “pass”.
g. Pressure ensor Test - Qualitative test of pressure sensor functionality.
i. Test passes if screen displays 50+/- 2.

of 5020
2. Open Door Alert Function
a. Perform door open test – Open door during infusion and verify alarm.
b. Open door alert test is passed if alert activates when door is opened.
3. Air Detect Function
a. Load a primed BodyGuard tubing set into pump.
b. Attach a y-site upstream of the pump.
c. Using a 3 ml syringe, inject 1.1 ml of air into the line - alarm should
activate once the air bubble passes the sensor. This test will demonstrate
the accumulation of air bubbles of 1 ml over 15 minutes (user should
check Air Limit is set to 1ml under ‘Change et Up’).
d. Test is passed if air alarm activates under 1 ml.
4. Battery Operation Test
a. Discharge battery to “End Battery”.
b. Charge battery until green charge indicator light turns on.
c. Program pump to 1200ml/hr.
d. tart pump and start timer and run to “End Battery”.
e. Record time to discharge pump.
f. If battery ran for at least 3 hours, battery passes, if battery did not,
replace battery.
5. Restore Software Default Settings (page 46)
a. Check software default settings are restored. (User programmable
protocols should be blank)
b. Test is passed if they are set to oftware default values.
Note: Complaint pumps will have software default settings restored after
notification of complaint closure.
c. Check that oftware Default ettings were restored
d. oftware default settings should only be restored before beginning the
last Operational Checklist and Performance Acceptance Test after service
has been completed.
6. Pole Mount Charger Voltage Test (page 35)
a. Using voltmeter, measure pin voltages diagrammed in section 1.3
Replacing Charger PCB
This manual suits for next models
2
Table of contents
Other C-me Medical Equipment manuals

C-me
C-me BodyGuard 545 Color Vision User manual

C-me
C-me BodyGuard 595 Color Vision User manual

C-me
C-me Color Vision BodyGuard 595 Manual

C-me
C-me BodyGuard 575 Color Vision User manual

C-me
C-me BodyGuard 545 Color Vision Manual

C-me
C-me VET-PRO VIP 2000 User manual

C-me
C-me NIKI V4 User manual

C-me
C-me BodyGuard 121 Twins User manual