manuals.online logo
Brands
  1. Home
  2. •
  3. Brands
  4. •
  5. CamDo
  6. •
  7. Analytical Instrument
  8. •
  9. CamDo UNDERWATER WIFI INSPECTION PACK Manual

CamDo UNDERWATER WIFI INSPECTION PACK Manual


SETUP INSTRUCTIONS
UNDERWATER WIFI INSPECTION PACK
REV1.1 MAY 2018
INTRODUCTION
Congratulations on your purchase of the high quality telescopic carbon fibre pole and underwater
wifi cable pack. This document details the setup instructions for safe and efficient use of the
equipment.
WHAT’S INCLUDED
Underwater WiFi Cable and Accessories Case
The rugged waterproof case contains the following. We have also incorporated a number of slots in
the foam for storing of miscellaneous accessories such as USB power hubs, camera cables, etc.

1. 4K Action Camera
2. 2 x LumeCube lights and associated
mounting tray
3. Accessory slot - Power Hub or similar (not
included)
4. Accessory slot - AC power cable for
hub/tablet (not included)
5. USB Wall cubes (not included)
6. Ball socket arm
7. USB cables slot
8. Action camera spare battery and charger
9. Underwater WiFi cable
10.Tablet storage slot (tablet not included)
Carbon Fibre Pole


11.Telescopic Carbon Fibre Pole with
integrated articulating hinge.
12.Hard case.
Page 1 of 10
Rev1.1 | May 2018

GETTING STARTED
The system is simple to use. The following instructions are for the GoPro HERO4 series of cameras. 

Connect Underwater WiFi Cable to the GoPro housing
1. Remove the standard backdoor from the GoPro housing. The standard backdoor of the
GoPro housing is removed by opening the backdoor fully and then pulling or rotating the
backdoor away from the camera housing.

2. Replace the GoPro Housing Backdoor with the wet-end of the Underwater WiFi Extension
Cable.


 
Page 2 of 10
Rev1.1 | May 2018

3. Place the GoPro inside the camera housing and close the backdoor using the latch for a
waterproof seal.


Mounting the LumeCube Lighting System
1. Connect the 2x LumeCube lights to the included mounting tray using the thread ends

2. Face the LumeCubes forward and raise the tensioning disks for a tight connection

Page 3 of 10
Rev1.1 | May 2018


3. Attach the GoPro Buckle Mount to the GoPro Housing using the thumbscrew.

4. Clip the buckle into the tray



 
Page 4 of 10
Rev1.1 | May 2018


Telescopic Pole & Underwater WiFi Cable
1. Mount the camera / lighting tray onto the end of the telescopic pole. There is a ball mount
already installed on the pole end ready to accept the camera / lighting system.

2. Before extending the pole, loosen the hinge ratchet, adjust to the desired angle and then
re-tighten.


Page 5 of 10
Rev1.1 | May 2018

3. Extend the pole to the length you need. Tether the underwater wifi cable at the hinge with
the included tether.

4. Teather the Underwater WiFi Cable to the handle of the pole using the elastic velcro strap.

5. (Optional) Attach the dry-end adapter to the back of the viewing device using the velcro tape.
How far the tablet or smartphone can be from the dry-end adapter depends on the
orientation of the adapter, the type of the antenna in the controlling device, and the
interference from other signals. The WiFi signal will transmit a few feet from the dry-end in
most cases, but the closer the better.
Page 6 of 10
Rev1.1 | May 2018


LumeCube Setup
The LumeCube has 10 manual brightness settings that change in increments of 150 lumens. The
brightest setting maxes out at 1500 lumens. On a full charge at maximum brightness, the LumeCube
will last up to 30 minutes. At 50% brightness, your LumeCube will last 2 hours. Each LumeCube
produces a 60º beam. The dual LumeCube tray provides full light coverage for the GoPro’s wide 120º
horizontal field of view.

LumeCube Button Operation
Left Button
●Turns on the constant video light.
●Click multiple times to cycle through the 10 brightness settings.
●Hold for five seconds to shut down the cube.
Right Button
●1 click activates the Bluetooth (for use with LumeCube App - not required).
●5 second hold activates the optical sensor.
●1 click turns off the constant video light.

Page 7 of 10
Rev1.1 | May 2018


LumeCube Charging and Waterproofing
The one and only piece you have to worry about is the waterproof screw cap located at the back of
the unit. BEFORE you expose the LumeCube to water, ensure always ensure the screw cap is
tightened completely. Ensure the rubber gasket on the thread side of the screw cap this is present,
clean, and free from any debris.

Remove the screw cap to access the microUSB charging port. When the LumeCube is not charging,
flashing red lights below the buttons indicate a low battery. For maximum charge leave on charger
for 60-90 minutes. When connected to a USB charger, flashing red light will indicate the unit is
charging and will turn off when the battery is fully charged.



 
Page 8 of 10
Rev1.1 | May 2018


Action Camera Setup
The CamDo system is compatible with several different action cameras that use the the knuckle style
mounting such as on a GoPro. The action camera must also be WiFi enabled to stream the footage
being shot to the surface to your local tablet or smartphone.
The following instructions pertain to GoPro HERO4 series of cameras (except HERO4 Session).
1. Make sure the SD card and charged battery are in the GoPro camera.
2. Turn on the WiFi of the GoPro camera by holding down the button on the side of the
camera.

3. Launch the GoPro App on your tablet or smartphone. The apps can be downloaded from the
Apple store or Google Play store depending on your device.
4. Connect to the GoPro camera using the GoPro App for a live preview and control of the
camera settings. If your camera has not been paired with the GoPro App, simply following
the instructions on how to pair your GoPro with your device on this page:
https://gopro.com/support/articles/how-to-pair-the-camera-with-the-gopro-app

Page 9 of 10
Rev1.1 | May 2018

5. Once your camera is connected, you will now see a low resolution live view from the camera.
Tap the record button to start/stop recording in upto 4K resolution.
6. Once you have finished recording, the full resolution footage can be reviewed via the App.
The files can also be downloaded by connecting the camera to a laptop/PC or placing the SD
card in laptop/PC to download.
7. To recharge the camera batteries, use the dual GoPro battery charger.

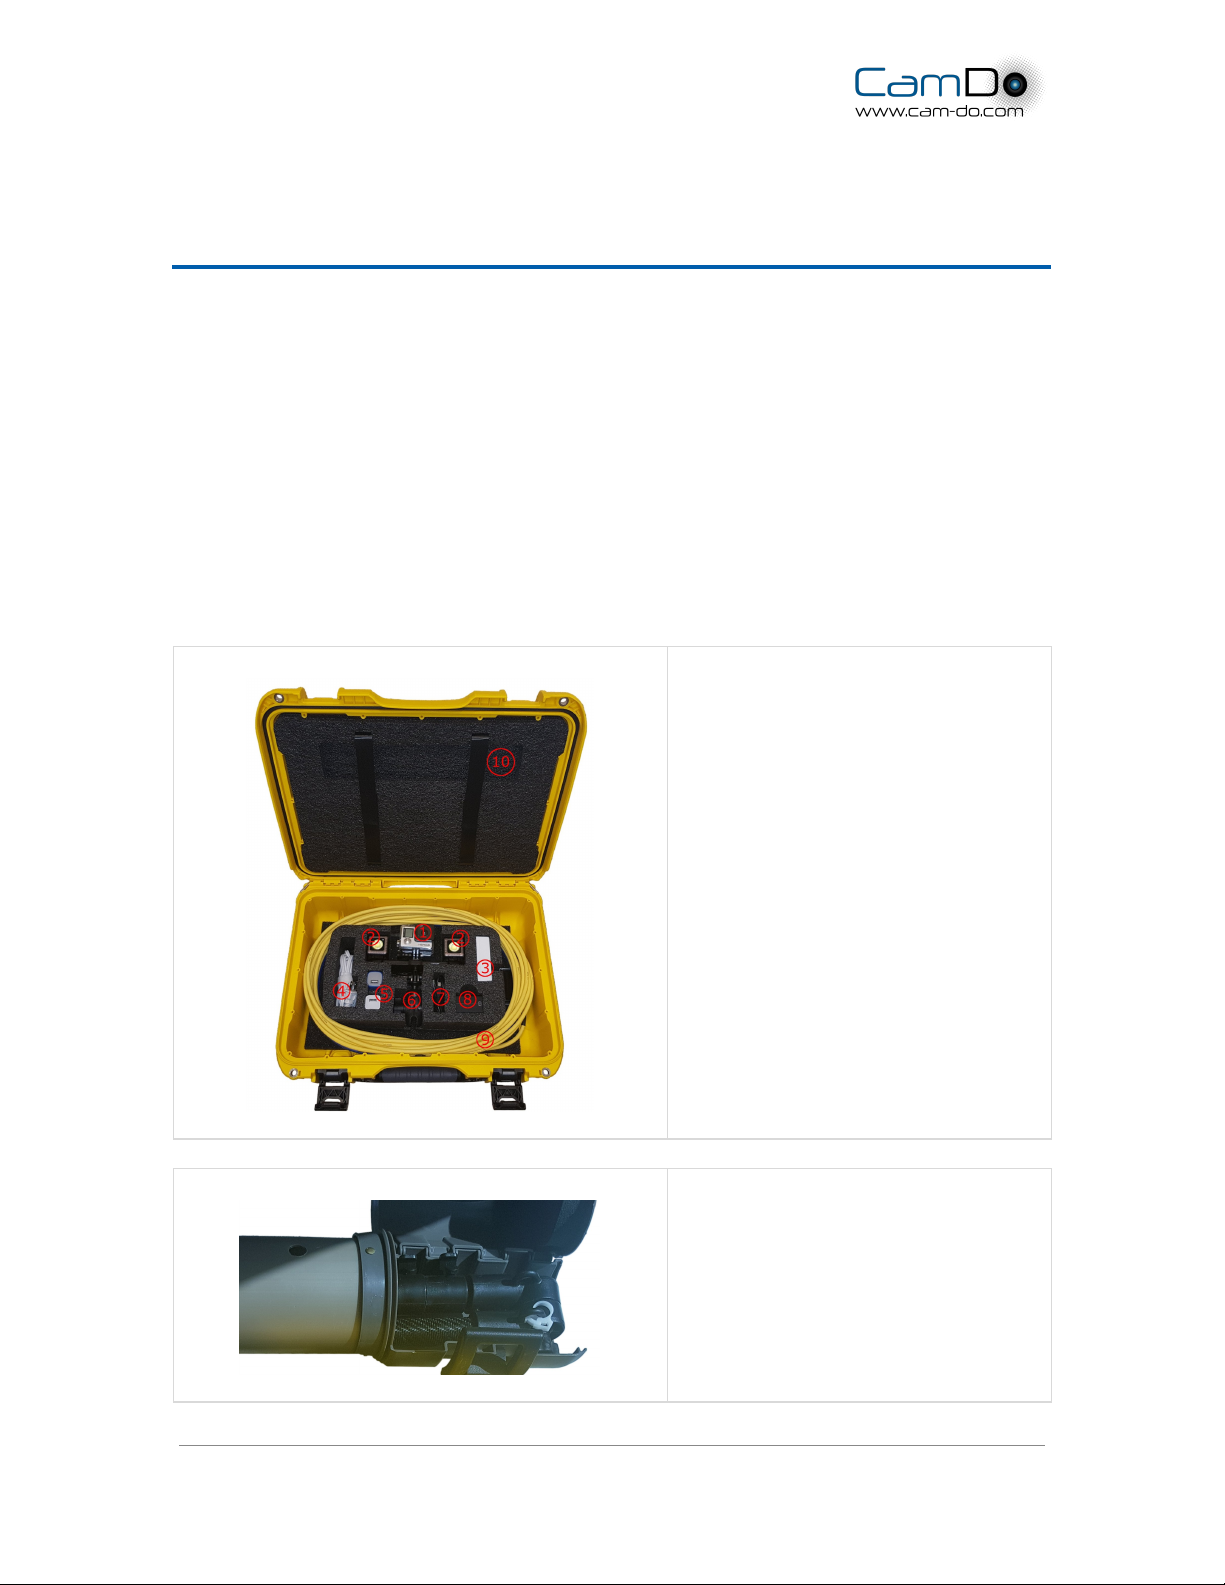
Taking care of your system and maintenance
To ensure long term trouble-free use of your system, make sure to take the time to clean the system
at the end of each use. We recommend the following:
1. Rinse down the camera and lights in freshwater.
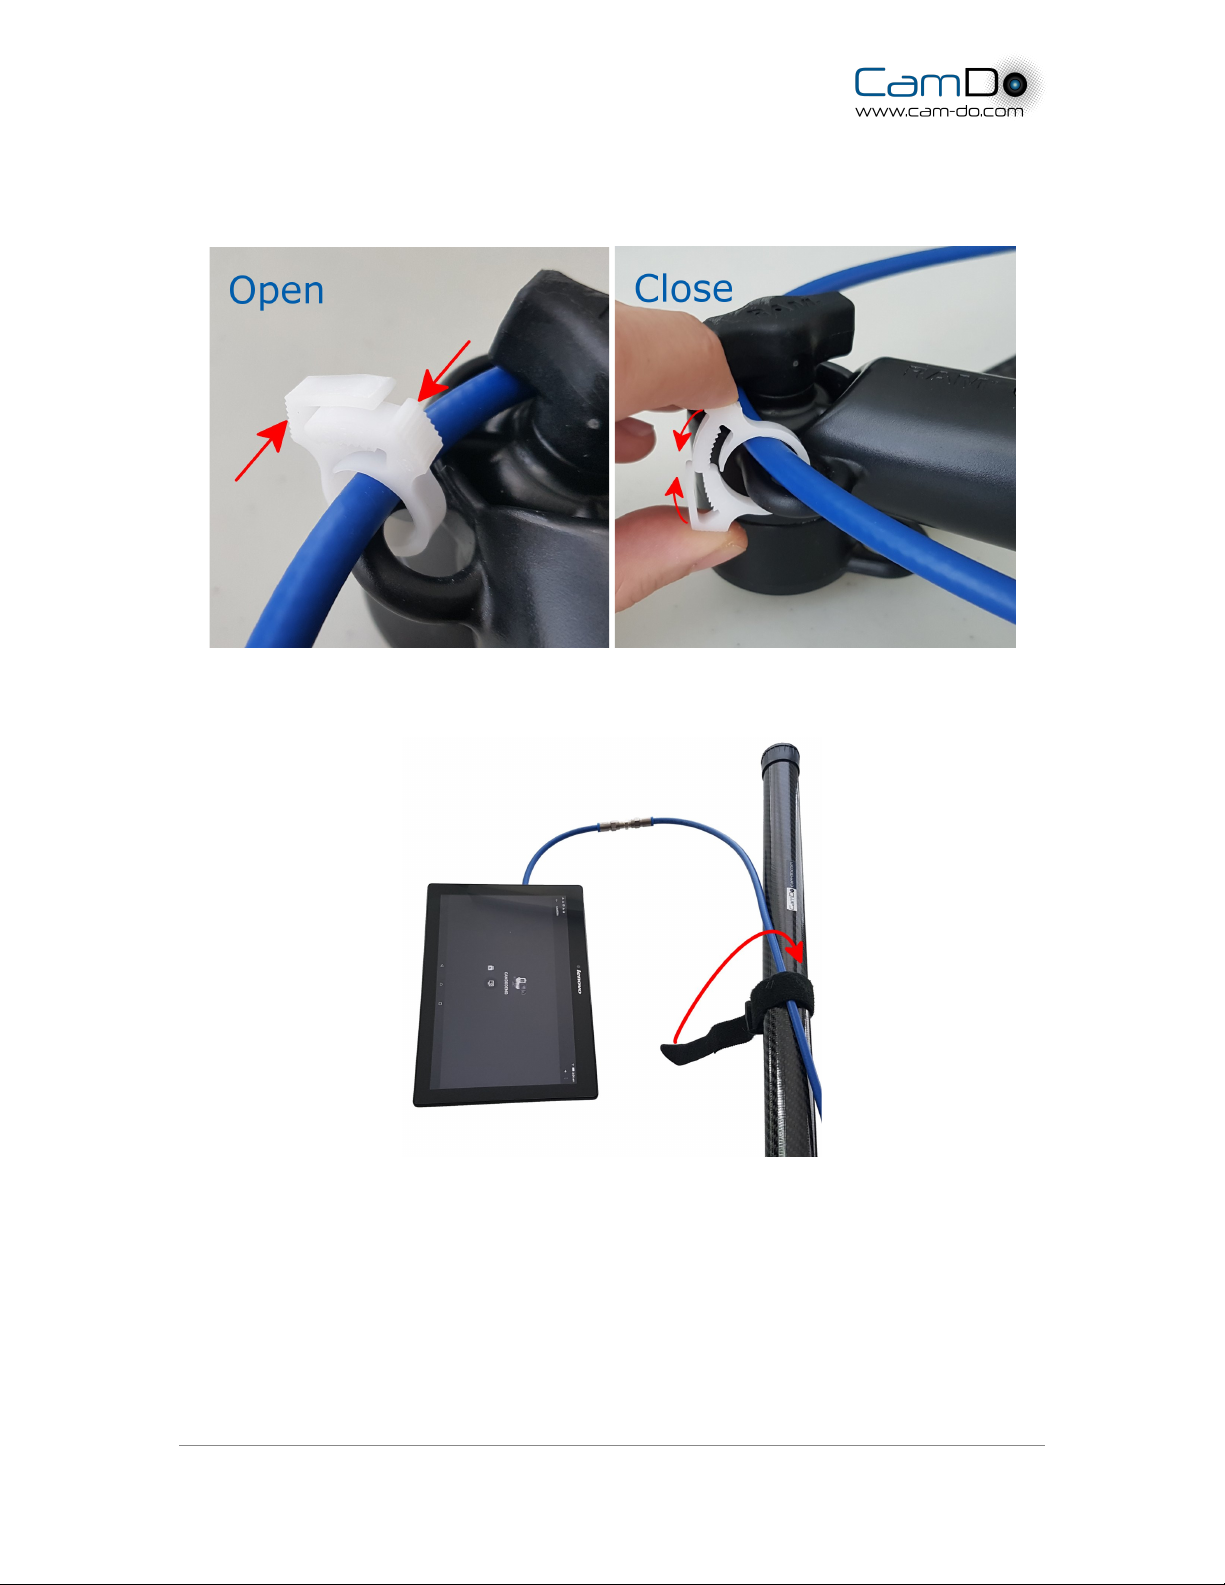
2. Wipe down the carbon pole before retracting.
3. Stand pole upright and drain any water via the base end cap.
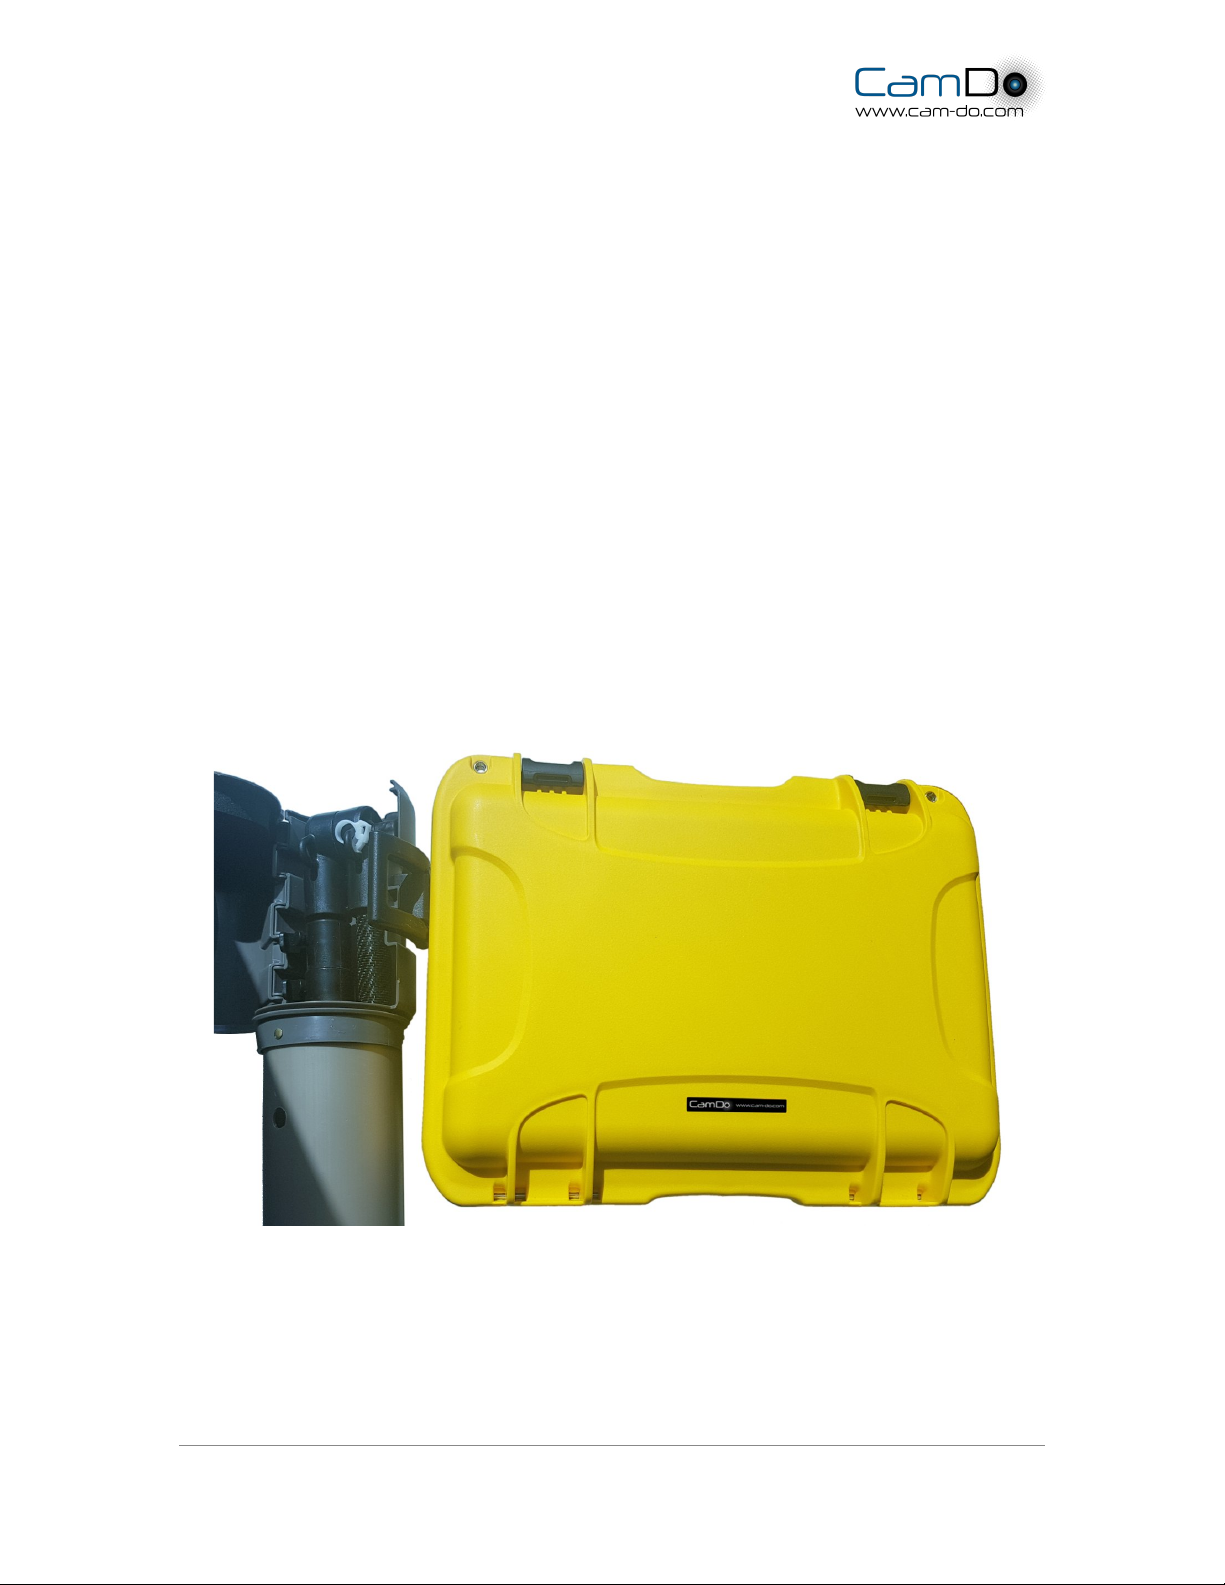
4. Drain any water in the hard cases before sealing the contents.

Page 10 of 10
Rev1.1 | May 2018

Popular Analytical Instrument manuals by other brands

Teledyne 311-D instruction manual

Teledyne

Teledyne 311-D instruction manual

Leica DISTO X3 manual

Leica

Leica DISTO X3 manual

YSI EcoSense ODO200 user manual

YSI

YSI EcoSense ODO200 user manual

SICK ZIRKOR302 P operating instructions

SICK

SICK ZIRKOR302 P operating instructions

Keysight B Series user guide

Keysight

Keysight B Series user guide

R&S SMBVB-K548 user manual

R&S

R&S SMBVB-K548 user manual

Hazet 4812-10/4 S user manual

Hazet

Hazet 4812-10/4 S user manual

SecurityMan ToolCam Speci?cations

SecurityMan

SecurityMan ToolCam Speci?cations

Valore LA13 manual

Valore

Valore LA13 manual

Benetech GM100D instruction manual

Benetech

Benetech GM100D instruction manual

P&E Microcomputer Systems MON08 MULTILINK user manual

P&E Microcomputer Systems

P&E Microcomputer Systems MON08 MULTILINK user manual

MileSeey S3 user guide

MileSeey

MileSeey S3 user guide

Trotec BD15 operating manual

Trotec

Trotec BD15 operating manual

Sealey VS8199 instructions

Sealey

Sealey VS8199 instructions

Gilson FC 203B Quick reference guide

Gilson

Gilson FC 203B Quick reference guide

Rothenberger Industrial RO-LASERMETER 35 operating manual

Rothenberger Industrial

Rothenberger Industrial RO-LASERMETER 35 operating manual

YOKOGAWA 701940 user manual

YOKOGAWA

YOKOGAWA 701940 user manual

Titan TTS-TJ Series user manual

Titan

Titan TTS-TJ Series user manual

manuals.online logo
manuals.online logoBrands
  • About & Mission
  • Contact us
  • Privacy Policy
  • Terms and Conditions

Copyright 2025 Manuals.Online. All Rights Reserved.