manuals.online logo
Brands
  1. Home
  2. •
  3. Brands
  4. •
  5. RIDGID
  6. •
  7. Analytical Instrument
  8. •
  9. RIDGID SeeSnake Compact User manual

RIDGID SeeSnake Compact User manual

Other manuals for SeeSnake Compact

1

This manual suits for next models

1

Other RIDGID Analytical Instrument manuals
RIDGID 55898 User manual

RIDGID

RIDGID 55898 User manual

RIDGID SeeSnake STANDARD User manual

RIDGID

RIDGID SeeSnake STANDARD User manual

RIDGID micro CA-25 User manual

RIDGID

RIDGID micro CA-25 User manual

RIDGID micro LM-400 User manual

RIDGID

RIDGID micro LM-400 User manual

RIDGID SeeSnake Micro User manual

RIDGID

RIDGID SeeSnake Micro User manual

RIDGID micro CA-25 User manual

RIDGID

RIDGID micro CA-25 User manual

RIDGID seeSnake DVD Pak User manual

RIDGID

RIDGID seeSnake DVD Pak User manual

RIDGID SeeSnake Mini User manual

RIDGID

RIDGID SeeSnake Mini User manual

RIDGID micro CA-330 User manual

RIDGID

RIDGID micro CA-330 User manual

RIDGID SeeSnake DVDPak2 User manual

RIDGID

RIDGID SeeSnake DVDPak2 User manual

RIDGID micro CA-300 User manual

RIDGID

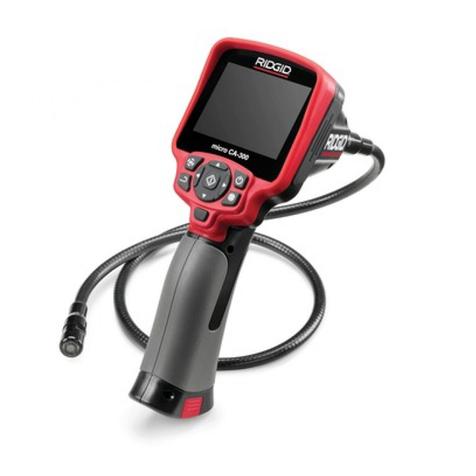
RIDGID micro CA-300 User manual

RIDGID SeeSnake MINI PRO User manual

RIDGID

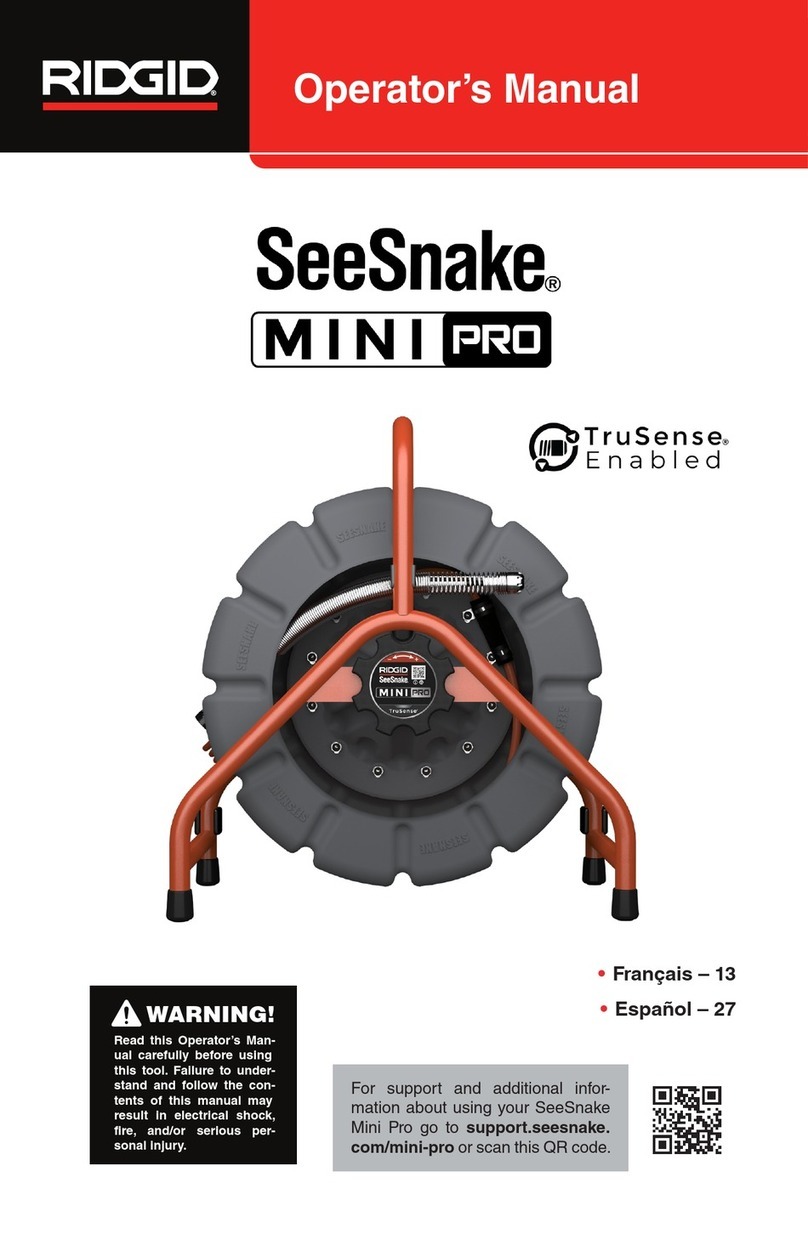
RIDGID SeeSnake MINI PRO User manual

RIDGID SeeSnake microReel User manual

RIDGID

RIDGID SeeSnake microReel User manual

RIDGID micro CA-150 User manual

RIDGID

RIDGID micro CA-150 User manual

RIDGID SeeSnake Micro User manual

RIDGID

RIDGID SeeSnake Micro User manual

RIDGID SeeSnake microReel User manual

RIDGID

RIDGID SeeSnake microReel User manual

RIDGID microEXPLORER Technical manual

RIDGID

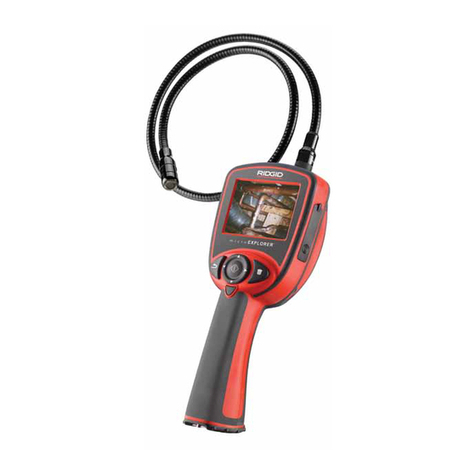
RIDGID microEXPLORER Technical manual

RIDGID SeeSnake Micro User manual

RIDGID

RIDGID SeeSnake Micro User manual

RIDGID SeeSnake Compact C40 User manual

RIDGID

RIDGID SeeSnake Compact C40 User manual

RIDGID micro CA-100 User manual

RIDGID

RIDGID micro CA-100 User manual
RIDGID micro LM-400 User manual

RIDGID

RIDGID micro LM-400 User manual

RIDGID SeeSnake NanoReel User manual

RIDGID

RIDGID SeeSnake NanoReel User manual

RIDGID SEESNAKE CS6X User manual

RIDGID

RIDGID SEESNAKE CS6X User manual

RIDGID micro CA-350 User manual

RIDGID

RIDGID micro CA-350 User manual
Popular Analytical Instrument manuals by other brands

Fieldmann FDLM 1050 user manual

Fieldmann

Fieldmann FDLM 1050 user manual

Dewetron DEWE-30-16 Technical reference manual

Dewetron

Dewetron DEWE-30-16 Technical reference manual

Cocraft NLT04 Original instructions

Cocraft

Cocraft NLT04 Original instructions

EXTOL PREMIUM 8820043 Translation of the original user manual

EXTOL PREMIUM

EXTOL PREMIUM 8820043 Translation of the original user manual

M&C GENTWO PMA1000 instruction manual

M&C

M&C GENTWO PMA1000 instruction manual

MICRO-EPSILON optoncdt 1700 instruction manual

MICRO-EPSILON

MICRO-EPSILON optoncdt 1700 instruction manual

CONDTROL XP4 PRO user manual

CONDTROL

CONDTROL XP4 PRO user manual

Extech Instruments BR200 user manual

Extech Instruments

Extech Instruments BR200 user manual

Teledyne 3000PA operating instructions

Teledyne

Teledyne 3000PA operating instructions

Olympus IPLEX FX Series instructions

Olympus

Olympus IPLEX FX Series instructions

Bosch GLM 50 C Professional Original instructions

Bosch

Bosch GLM 50 C Professional Original instructions

Reflecta DigiEndoscope instruction manual

Reflecta

Reflecta DigiEndoscope instruction manual

Chinavision CVACZ-G696 Use manual

Chinavision

Chinavision CVACZ-G696 Use manual

Fuji Electric ZKMA instruction manual

Fuji Electric

Fuji Electric ZKMA instruction manual

Teledyne 3300TA operating instructions

Teledyne

Teledyne 3300TA operating instructions

Würth MASTERVISION MINI REC operating instructions

Würth

Würth MASTERVISION MINI REC operating instructions

AMI 2001LC manual

AMI

AMI 2001LC manual

Steelman PRO 78823 user guide

Steelman

Steelman PRO 78823 user guide

manuals.online logo
manuals.online logoBrands
  • About & Mission
  • Contact us
  • Privacy Policy
  • Terms and Conditions

Copyright 2025 Manuals.Online. All Rights Reserved.

Centering Guides
Installing the SeeSnake®
Star-Type Centering Guides
Centering guides can improve the picture by bringing the
camera closer to the pipe’s center, allowing the camera
to see an equal amount of the pipe wall in all direc-
tions. Centering guides also help by raising the camera
out of sludge that is often found below the water line. This
helps keep the lens cleaner, longer, reduces wear and
tear on the LED Ring (
Figure 18).
We recommend using centering guides whenever pos-
sible, but if you are having trouble pushing the camera in
a particular pipe, try it without the guides.
Figure 18 – Centering Guides improve vision by allow-
ing the camera to see an equal amount of
pipe wall in all directions and by raising the
camera out of sludge. They also reduce wear
on the LED ring.
Whether or not you use guides, how many you use,
and where you place them on the spring causes the
camera to behave differently. The best advice is to ex-
periment and decide what’s best for the given job.
One centering guide near the front end of the camera
may bias the camera head upward. This could be bene-
ficial if you need to see the top of the pipe during your
inspection.
Move the guide back a little and the camera head may
bias downward when you push and upward as you pull
back. This could help you see the top and bottom of
larger pipes more easily.
Two centering guides will tend to keep the camera head
aimed toward the center of the pipe, allowing you to
see more of the pipe at once.
Centering guides should be pre-stressed prior to use for
increased flexibility. To do this, slowly bend the spikes
back and forth from the tip (not the base) a few times be-
fore use (
Figure 19)
.
Figure 19 – Pre-stress tabs by placing your finger at the
top of the spike and slowly pushing the spike
90 degrees. Repeat in the other direction.
Star-type centering guide assembly consists of two parts -
two steel c-ring and the plastic centering guide
(Figure 20).
Figure 20 – Star-Type Centering Guide Components. You
may use from one to three guides.
SeeSnake®Compact and Color Compact
99 Washington Street
Melrose, MA 02176
Phone 781-665-1400
Toll Free 1-800-517-8431
Visit us at www.TestEquipmentDepot.com
SeeSnake®Compact and Color Compact
Installing Star-Type Centering Guides
1. Position a centering guide and two c-rings over the
spring, with the centering guide between the c-rings
(Figure 21).
Figure 21 – Guide and C-Rings Positioned On Spring
Assembly.
2. Position the opening in the centering guide 180 de-
grees opposite the opening in the c-rings (
Fi-
gure 22).
3. Press the c-rings into the grooves on each side of
the centering guide until the c-rings snap into place.
It’s easiest if you place the closed portion of the c-
ring into the groove and work toward the open end
(Figure 22).
Figure 22 – Press the c-rings into the grooves on the
centering guide. Make sure the openings in
the c-rings are 180 degrees opposite the
opening in the pipe guide.
Removing Star-Type Centering Guides
1. Pry off each c-ring with the tip of a flat blade screw-
driver inserted near the open end of the ring and
the base of the spikes
(Figure 23).
Figure 23 – Place flat tip of screwdriver between c-ring
and base of spike and pry c-ring out of
groove.
2. Slide the c-rings and centering guide over the camera
head.
Installing the SeeSnake®Compact, and
FlatPack Ball-Type Centering Guides
Ball-type centering guides consists of two halves that are
pre-assembled at the factory, and two steel clips that
hold the guide in place on the spring.
Figure 24 – Centering guides improve vision by allow-
ing the camera to see an equal amount of
pipe wall in all directions and by raising the
camera out of sludge. They also reduce
wear on the LED window.
Figure 25 – Retaining Rings in Locked Position
Retaining Rings
Locked
Open Side of Guide
Closed Side
of Rings
C-Rings
Figure 26 – Unlock Retaining Rings by pulling them up
with a flat-bladed screwdriver.
Figure 27 – Slide Ball Guide over spring and push Retain-
ing Rings down to lock the guides in place.
SeeSnake®Compact and Color Compact
Retaining Rings
Unlocked
Test Equipment Depot - 800.517.8431 - 99 Washington Street Melrose, MA 02176
FAX 781.665.0780 - TestEquipmentDepot.com