4Brine Master®
English
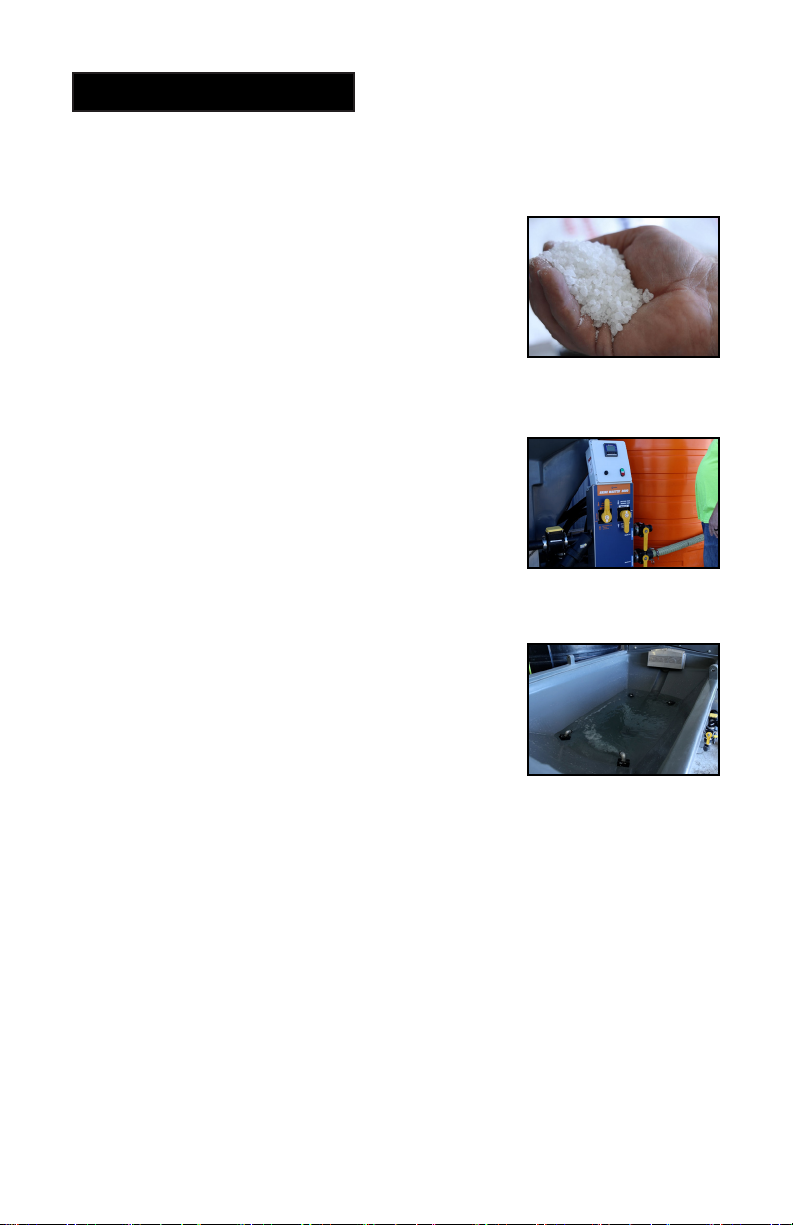
WARNINGS
1. To ensure your own safety and that of others, you must
comply with all relevant environmental, work place health,
safety legislation and codes of practice.
2. Select and wear appropriate Personal Protection
Equipment in accordance with the label of the product
you intend to use.
3. Once the mixing operation has been completed,
decontaminate the tank and spray accessories.
Dispose of tank rinsing’s in compliance with current
environmental, work place health and safety regulations.
4. Improper or careless use of this brine maker can cause
serious injury. Minors should never be allowed to use this
brine maker. This brine maker should not be used when
bystanders or animals are in the area. This brine maker
should never be used while children are in the area.
5. Never leave the brine maker unattended without turning
o the pump and relieving any line pressure.
6. You must be in good mental health to operate this brine
maker and not be under the inuence of alcohol or any
drugs that could impair your vision, physical strength,
dexterity, judgment, or other mental capacity.
7. No modications and/or alterations may be made to this
brine maker. Any such modications not only void the
warranty but can make the unit dangerous to anyone
operating the pump.
8. Always inspect hoses and piping to avoid burst injuries
!