Cane Creek Double Barrel User manual

1
Congratulations on the purchase of your Cane
Creek Double Barrel rear shock. The Double
Barrel brings revolutionary suspension technology
to the bicycle market. Based on a foundation of
precision quality and cutting-edge innovation, our
rear shocks represent the pinnacle of high-perfor-
mance bicycle suspension systems. Cane Creek
technology offers the broadest adjustment range
available giving you the control to tune your shock,
your way, for your bike.
This owner’s manual is your reference guide to
understanding and tuning your Double Barrel rear
shock. It also provides important information about
proper installation, set-up and maintenance of your
shock. If you have questions, visit canecreek.com
or contact the Cane Creek Customer Service Team
ready to help you at 800-234-2725.
Register your shock online at
The Lounge - www.canecreek.com/lounge
INTRODUCTION

2
Getting Started
3 Safety Warnings
6 Shock Installation
DB
inline
7 Product Anatomy Chart
DB
air
/DB
air XV
8 Product Anatomy Chart
DB
air
CS/DB
air
CS XV
10 Product Anatomy Chart
Air Shock Installation
13 Check Clearance
14 Sag Adjustment
16 Air Volume Adjustment
21 How CS Works
DB
coil
22 Product Anatomy Chart
23 Check Clearance
24 Spring Selection & Installation
25 Sag Adjustment
General Information
27 Service, Maintenance & Cleaning
32 Website Resources
33 Warranty
TABLE OF CONTENTS

3
SAFETY WARNINGS
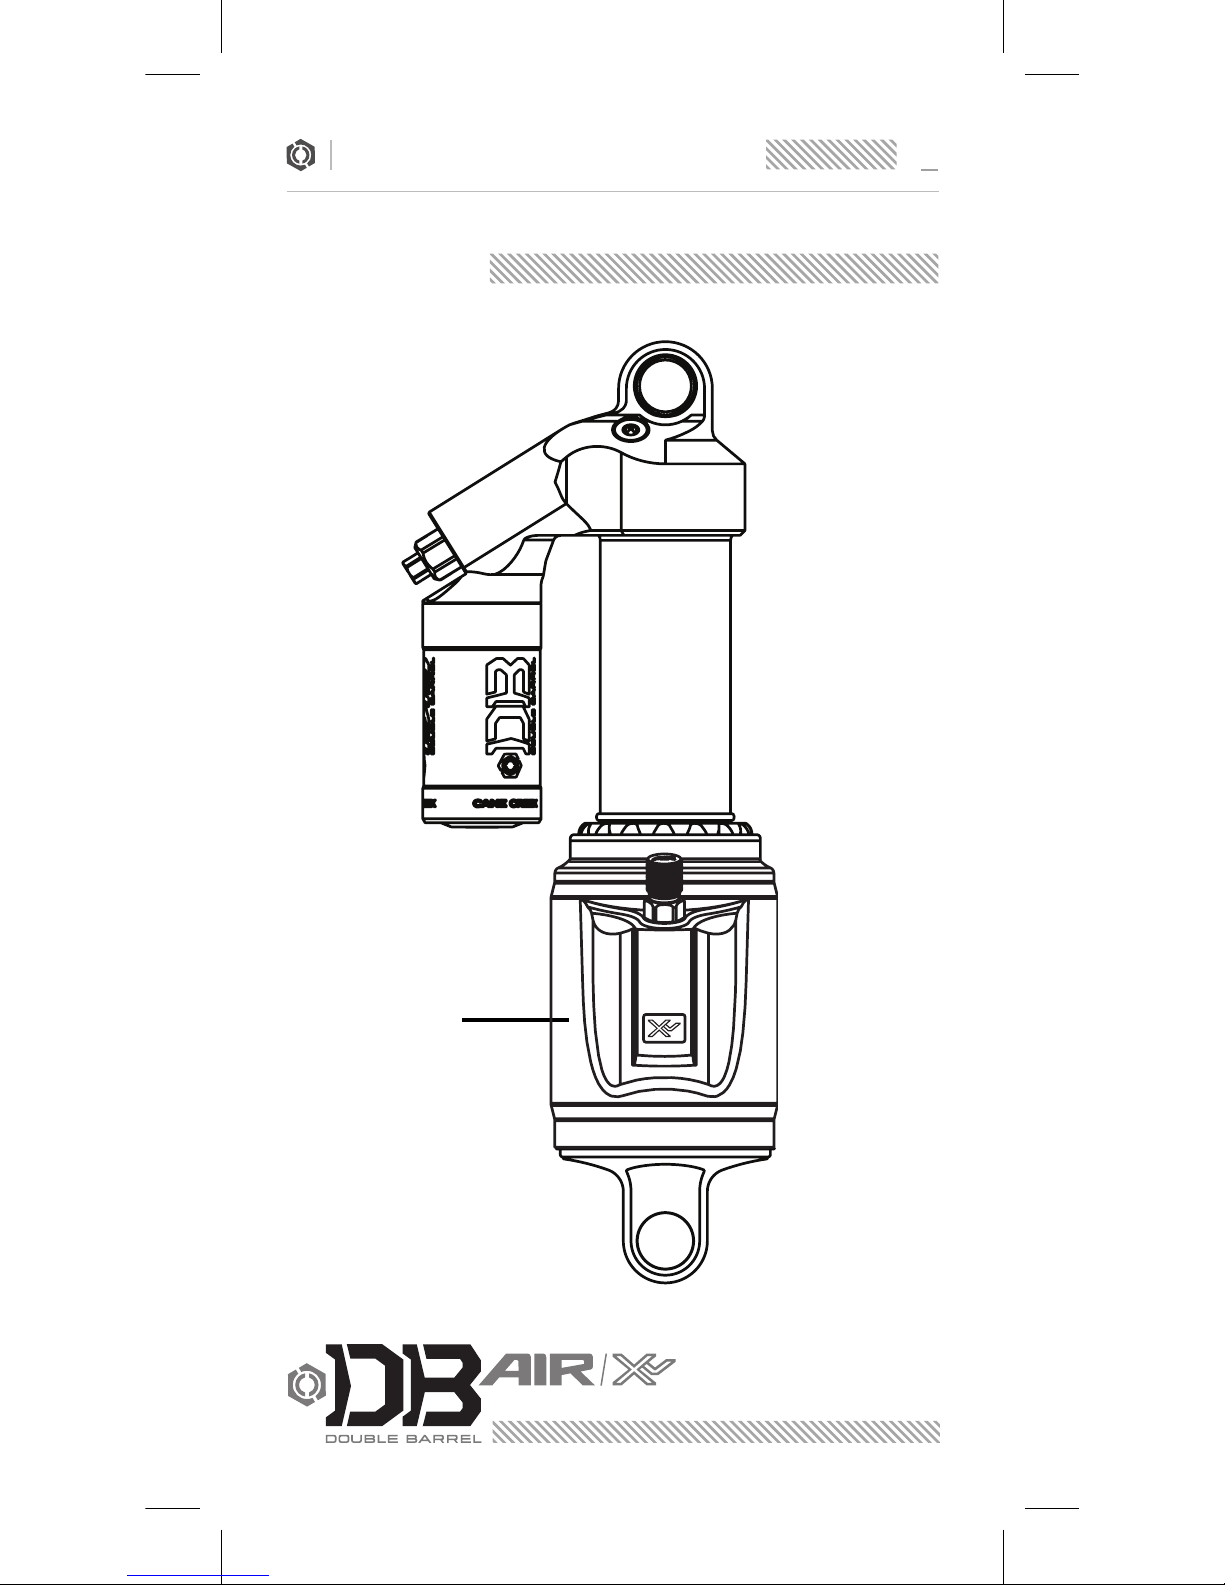
The rear shock is an important part of your bike.
Before installing and using your new rear shock,
carefully read this owner’s manual to learn the correct
installation and adjustment procedures of the shock.
Improperly installed and/or adjusted shocks can
cause serious harm or death and may severely
damage your bike.
A broken or malfunctioning shock may cause loss
of vehicle control and result in SERIOUS INJURY
OR DEATH. If the shock ever loses oil, air or makes
unusual noises, stop riding and have the shock
inspected by a Cane Creek Authorized Suspension
Service Center or call the Cane Creek Customer
Service Team.
Modification, improper service or use of aftermar-
ket replacement parts voids the warranty and may
cause the shock to malfunction, resulting in loss of
vehicle control and SERIOUS INJURY OR DEATH.
Do not modify your bike frame or shock. Use only
genuine Cane Creek Double Barrel parts.
Follow service maintenance recommendations.
Shock service should be performed by Cane Creek
Cycling Components or a Cane Creek Authorized
Suspension Service Center. Visit www.canecreek.
com or contact us at 800-234-2725 to locate a
Cane Creek Authorized Suspension Service Center.
WARNING
WARNING
WARNING

4
Cane Creek rear shocks contain a nitrogen charge
in the reservoir. Opening a nitrogen pressurized
shock is dangerous and can result in SERIOUS
INJURY OR DEATH. The shock should only be
opened by a Cane Creek Authorized Suspension
Service Center.
Cane Creek rear shocks are manufactured ex-
clusively for the bike model for which they are
ordered. Switching units between different bikes
may not only decrease the shocks performance but
might also cause damage to the bike and can result
in SERIOUS INJURY OR DEATH. Always contact
Cane Creek or Cane Creek Authorized Suspen-
sion Service Center to verify compatibility before
switching a shock from one bike to another.
Any improper servicing procedure with a Cane
Creek shock with “stuck down” condition can
lead to SERIOUS INJURY OR DEATH. Contact
Cane Creek or an Authorized Suspension Service
Center for repair.
SAFETY WARNINGS
WARNING
WARNING
WARNING

5
SAFETY WARNINGS
Never attempt to pull apart, open, disassemble or
service a Cane Creek shock that is in a stuck down
position. Stuck down is a result of a failure of the
dynamic air seal (located between the positive and
negative air chambers within the shock sleeve) that
causes the negative chamber to retain a higher air
pressure than the positive chamber. To determine if
a shock is stuck down:
a. Deflate the shock completely.
b. If the shock body retracts into the air sleeve
to a nearly bottomed-out position after the
air is released from the positive air chamber,
attach an air pump and inflate the shock to
200 psi (13.8 bar).
c. If the shock does not fully extend, it is in a
stuck down condition.
WARNING
When backing-out your Low Speed
adjuster, BE CAREFUL NOT TO
OVER-TORQUE. When you feel
resistance - STOP. Turning further
WILL DAMAGE YOUR SHOCK.
WARNING
When backing out your Low Speed adjuster, BE
CAREFUL NOT TO OVER-TORQUE. When you feel
resistance - STOP. You won’t feel a hard stop, you
will feel resistance. Turning farther WILL DAMAGE
YOUR SHOCK.

6
INSTALLATION
4 Make sure bolt
is secure and
no side-to-side
play exists.
3 Install both
mounting bolts
before tighten-
ing either bolt.
Then torque the
mounting bolts
to the frame
manufacturer’s
suggested
specifi cation.
1 Press axle
into shock
eyelet and
end eyelet.
2 Slide spacers
provided by
Cane Creek
over axle in
the order
below.
Outer spacer w/ O-Ring
Spacers vary by frame
Rubber seal (varies)
Mounting Hardware – Your Cane Creek rear shock
is equipped with exclusive high-performance, low-
friction bushings and comes with mounting hard-
ware specifi c to your bike’s frame specifi cations.
Axle
Installation - All shocks

7
PRODUCT ANATOMY
Air Can
Air Valve
Valve Body
Shaft Wiper 3mm Allen
Wrench
End Eyelet
15mm Bushing
Travel Indicator
O-Ring
[DBAIR INLINE]
HSC Adjuster HSR Adjuster
Climb Switch
LSR Adjuster
LSC Adjuster
Low Speed Compression
High Speed Compression High Speed Rebound
Low Speed Rebound
Shock Eyelet
15mm Bushing
Volume
Adjustment
Spacer

8
PRODUCT ANATOMY
[DBAIR]
Air Can
Air Valve
Cylinder Head
Compression
& Rebound
Adjusters
Shock
Reservoir
Shaft Wiper
Volume
Adjustment
Spacer
Shock Eyelet
14.7mm Bushing
Travel Indicator
O-Ring
Adjustment Tool
End Eyelet
14.7mm Bushing
3mm Allen
Wrench

9
PRODUCT ANATOMY
[DBAIR Xv]
Extra Volume
Air Can

10
PRODUCT ANATOMY
[DBAIR CS]
Volume
Adjustment Spacer
Air Can
Cylinder Head
Air Valve
Shock
Reservoir
Shaft Wiper
3mm
Allen Wrench
Shock Eyelet
14.7mm Bushing
End Eyelet
14.7mm Bushing
Climb Switch
Travel Indicator
O-Ring

11
PRODUCT ANATOMY
LSR AdjusterLSC Adjuster
Low Speed Compression
High Speed Compression
Low Speed Rebound
High Speed Rebound
HSC Adjuster HSR Adjuster
[DBAIR CS]
Climb Switch

12
PRODUCT ANATOMY
[DBAIR CS Xv]
Extra Volume
Air Can

13
1 Remove air by
pressing air valve.
2 Carefully cycle
shock through
full travel check-
ing for any frame
interference.
If there is any
impediment, see
canecreek.com
or contact Cus-
tomer Service.
3 Refi ll shock to
desired air pres-
sure. Reinstall air
valve cap.
Check Frame & Shock Clearance
AIR SHOCK INSTALLATION
Before your fi rst ride it is important to verify
fi tment by following the steps below.

14
SAG ADJUSTMENT
2 Dressed in full riding gear, mount your
bicycle and assume your normal riding
position. Dismount and measure the
distance the O-ring has moved. This
measurement is your sag. You can
fi nd recommended sag on the Base
Tune card provided with your bike or
at: canecreek.com/products/suspension.
1 Infl ate shock to starting pressure;
20 psi less than your weight (with
gear) is a good starting point.
Setting Sag - DB
AIR/DBAIR CS/
DB
INLINE
Sag = Distance from air can to O-ring.

15
SAG ADJUSTMENT
3 Cycle the shock to charge the
negative air spring. Recheck sag,
adjust air and repeat until you
have the desired measurement.

16
As an additional tuning tool, the spring rate of your
air shock can be adjusted using the included air
volume spacers (see Anatomy chart on pages 8-11).
This is independent of the air pressure adjust-
ment. Air pressure should be used to achieve the
correct sag value (see Base Tune, Tuning Field
Guide, or canecreek.com). If the bike bottoms out
harshly or too frequently, an air volume spacer
can control how progressive the shock is.
More air volume spacers will provide a more pro-
gressive air spring. A more progressive spring will
prevent harsh bottom-outs, since the spring will be
“stiffer” as the bike gets closer to full travel.
Fewer air volume spacers will provide a more
linear (less progressive) air spring. A less progres-
sive air spring will make it easier to use the full
travel of the bike.
AIR VOLUME ADJUSTMENT
Tuning Air Volume

17
As air volume spacers are added to make the air
spring more progressive, adding additional High
Speed Rebound (HSR) will keep the bike from
“bucking”. A good rule of thumb is 1/4 turn of ad-
ditional HSR for each large volume spacer added.
AIR VOLUME ADJUSTMENT
Do not over torque the adjuster past its limit stop.
You won’t feel a hard stop, you will feel resistance.
When you feel resistance - STOP.
WARNING

18
1 Remove air valve
cap. Press valve
to remove air
from air can.
After riding your
shock, if you need
to change the air
volume, install or
remove air volume
spacers:
2 Remove shock
from frame by
loosening and
removing mount-
ing hardware.
3 DB
AIR
- Use thumb
and fi nger to
unseat o-ring/clip
ring and remove it.
DB
INLINE
- Hold clip
ring in place with
your hand and
carefully pry out
the clip ring.
4 Place end eyelet
of shock in vise
with padded jaws.
AIR VOLUME ADJUSTMENT
WARNING
Failure to remove air pressure
before opening the shock body
can result in serious injury.
DB
AIR
DB
INLINE

19
5 Mount rubber
strap wrench.
Twist while
pushing down to
remove air can.
6 Remove shock
from vise and
slide air can off
the end of the
shock.
7 Remove the
inner o-ring.
8 Slide air volume
reduction spacer
onto shock and
push to the top.
AIR VOLUME ADJUSTMENT

20
9 Replace inner
o-ring and apply
grease. Replace
air can and align
air valve so that
it doesn’t hit the
frame and/or
shock.
10 Clamp shock in
padded vise.
Use rubber
strap wrench to
install air can.
There should be
no gap between
the air can and
the locating
shoulder.
11 Remove shock
from vise, and
replace lower
o-ring or clip ring.
12 Re-install shock
on bike. See
page 7.
AIR VOLUME ADJUSTMENT
DB
AIR
DB
INLINE
Table of contents
Other Cane Creek Bicycle Accessories manuals

Cane Creek
Cane Creek Thudbuster LT User manual

Cane Creek
Cane Creek AngleSet EC44 User manual

Cane Creek
Cane Creek CANE CREEK THUDBUSTER User manual

Cane Creek
Cane Creek AD-12 Shock User manual

Cane Creek
Cane Creek CANE CREEK AD5 REAR SHOCK User manual

Cane Creek
Cane Creek Helm MKII User manual

Cane Creek
Cane Creek THUDBUSTER ST User manual

Cane Creek
Cane Creek DB Kitsuma User manual

Cane Creek
Cane Creek EC Operating and maintenance instructions

Cane Creek
Cane Creek 100 Classic User manual