Intended Use
1. Intended Use - High level disinfection of exible immersible endoscopes.
2. Operator Safety Overview - Appropriate PPE - mask, gown, gloves, eye protection.
Guidelines for Reliable Disinfection
1. Detergent Solution - (Optional) used in the pre-wash cycle. Must be low-foaming, free-rinsing, neutral in pH and used
according to label instructions.
2. Disinfectant Solution - Required for high-level disinfection cycle.
3. OLYMPUS, PENTAX, FUJIFILM, KARL STORZ - Endoscope cleaning and disinfection guidelines.
4. SGNA, ASGE, ASTM, APIC and AORN - Endoscope cleaning and disinfection guidelines.
5. SGNA approved reprocessing steps - Endoscope bedside pre-cleaning, leak testing, manual cleaning,
high-level disinfection, nal drying and storage standards and guidelines.
INTENDED USE AND GUIDELINES
Endoscope Reprocessor Components and their Functions
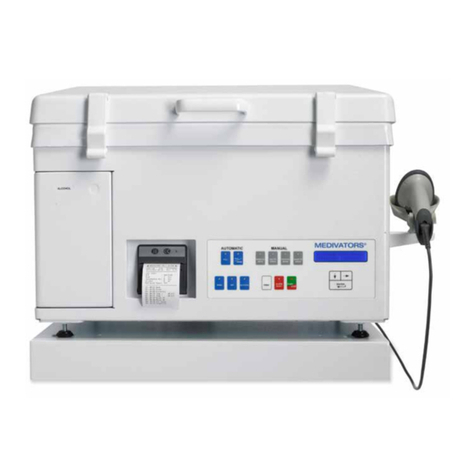
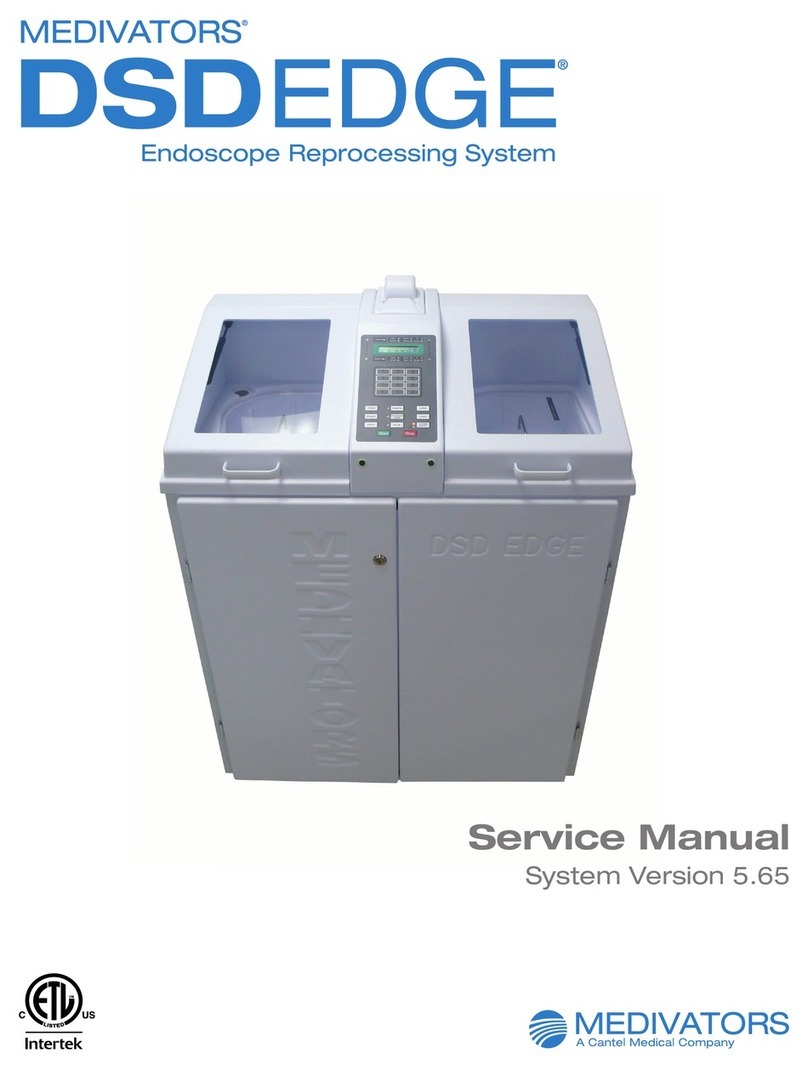
1. Basin Components: Lid, basin/station A&B, uid inlet, basin connector, drain, overow.
2. Control Panel: Keypad, function keys, LCD and LED indicators.
3. Rear Components: Incoming water, water lters, drain line, external water pressure regulator.
4. Interior Components: Water regulator, temperature control, chemical loading switch, transfer pump, air tank.
5. Fluid Reservoirs: Alcohol reservoir, disinfectant reservoir, detergent reservoir.
6. Filters: Disinfectant lter, air lter, water lter internal: 0.2 micron, external: 0.45 micron and 1 micron lters.
7. Passive vapor management system (if applicable).
8. Active (charcoal) vapor management system (if applicable).
9. Printer, paper and ribbon (if applicable).
Fluids and Test Strips
1. High-Level Disinfectant (HLD): RAPICIDE™ OPA or Glutaraldehyde.
2. Detergent: Recommended detergent is INTERCEPT™ Detergent.
3. Alcohol (70% Isopropyl): Used to dry inside of endoscope channels.
4. Test Strips: Used to test the concentration of the HLD prior to each cycle.
PRODUCT FAMILIARIZATION
OPERATOR CONTROLS
Control Panel
1. LED Indicators - Alerts operator to system functions and errors. Status, Station, Cycle Phase, and Warning.
2. LCD Screen - Displays system messages and prompts during system set up.
3. Numeric Keypad - Allows operator to enter numeric information.
4. Function Keys - Control the operation of the reprocessor. ID Data, Program Select, Add Air, Heater On, Disinfectant Dump,
Set up, Enter, Station Select, Start, Stop, Cancel.
Program Set up and Functions
1. Program cycle time documentation.
2. Review time remaining function (Set up 17).
3. Display disinfectant cycle count (Set up 16).
4. Check basin temperature setting (Set up 13).
5. Printing set ups (Set ups 33, 21 & 25).
6. Clear printer log (Set up 10) Perform for both A and B Station.
7. Water line auto disinfection process (Set up 6).
High-Level Disinfectant (HLD), Detergent and Alcohol
1. Amount of HLD required: 4 gallons.
2. Load disinfectant from basin or internal transfer pump.
3. Disinfection cycle count (set-up 16) cycle warning/override (Set-up 7).
4. Draining HLD (dump) automatically or with internal transfer pump.
5. Cleaning of disinfectant reservoir tank with lint-free cloth and water.
6. Replacing disinfectant lters - at every disinfectant dump/load procedure.
7. Perform a Set-up 16 to verify cycle count has reset to zero. Clearing cycle count (Set-up 11).
8. Load detergent and alcohol (if applicable).
FLUID LOADING AND UNLOADING
Start-up
1. Verify power is on.
2. Open incoming water line and verify water supply pressure into pre-ltration system is minimum of 40 psi.
3. If heat is required for HLD, allow 2 hours for reservoirs to reach proper temperature.
Daily Service
1. Check external pre-lters when unit is in operation and review lter log. Verify external water pressure regulator is
delivering water at 35-40 psi during ush cycle. If not, check lters for replacement.
2. Check detergent and alcohol reservoirs uid levels and rell if necessary.
3. Check HLD expiration date and temperature.
4. Inspect hookups for wear.
Prepare Endoscope for Reprocessing
1. Place endoscope in basin with control section in right rear of basin, light guide in left front, distal tip tucked and knob up.
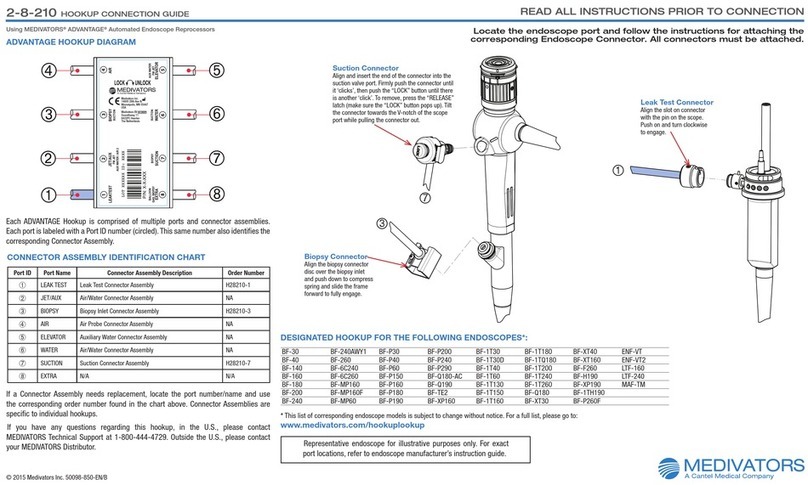
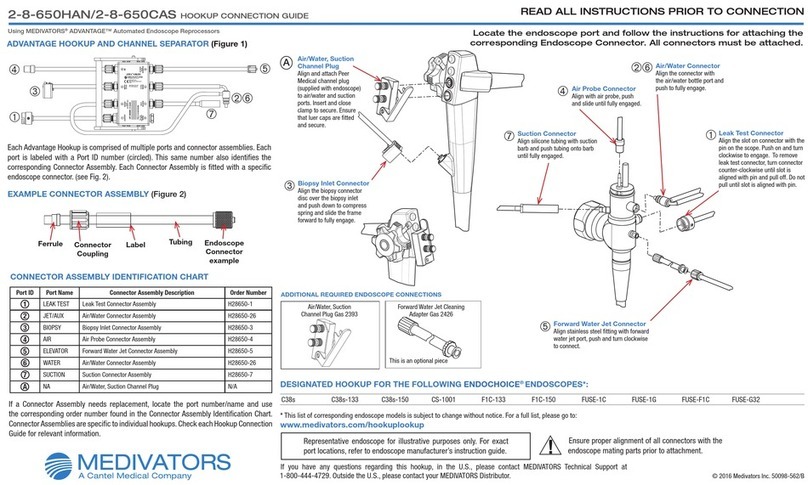
2. Locate proper hookup and connect-hookup to endoscope ports and basin connection.
3. Place accessory bag into basin away from drain.
4. Attach leak tester hookup (if applicable).
Endoscope Reprocessing Cycle Summary
1. Cycle Start-up Phase - Monitoring of system sensors. Leak tester will inate and monitor endoscope.
2. Soak Phase - Water and detergent (if applicable) ll basin for soak and ush through channels.
3. Disinfectant Phase - Endoscope is ushed and soaked with high-level disinfectant (HLD).
4. Rinse Phase - Basins ll with fresh water and channels are ushed with water, the number of rinses programmed is
based on the HLD manufacturer’s Instructions-For-Use.
5. Alcohol Phase - Alcohol is injected into channels, followed by air to assist in drying.
6. Air Purge Phase - Air is purged through channels to aid in drying.
SYSTEM OPERATION

