7
HOLD button All buttons are disabled if you switch HOLD button to “LOCK”
position.
This is helpful when you are doing sports, like walking, jogging, etc.
RESET hole & Microphone
You can reset the system setup of your MP3 player by pressing the RESET hole.
It is used for recording the outside voice or FM radio while the player is playing record
function.
Earphone jack There is an earphone jack on the top of the player.
ChargingLi–polymerbatterysafely
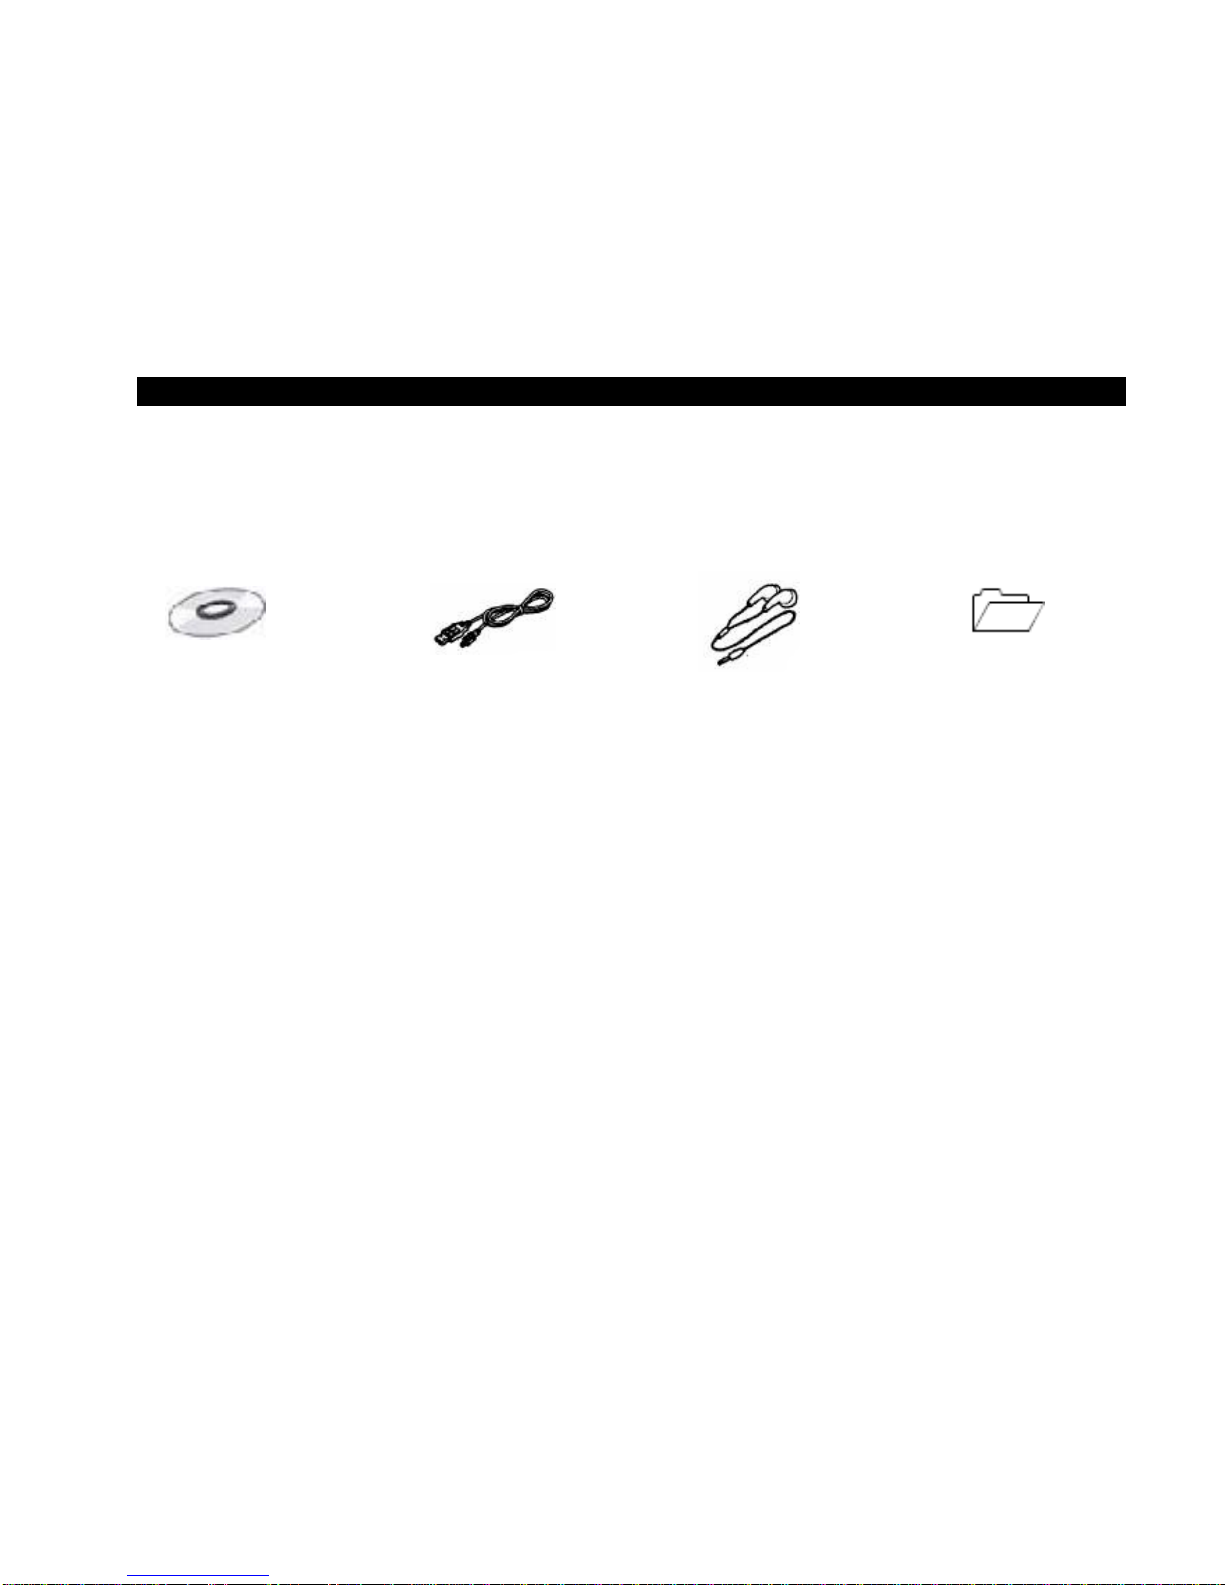
1. Connect the PC USB port and the MP3 USB port with the provided USB cable.
2. The power sign is shown dynamically when charging, once full charged, the power
sign will stop blinking, power is full, please shut off the power. The charging time is
approximately 2 hours.
3. The unit could not be used during charge.
4. To stop recharging, disconnect the USB cable.
Notes:
zBefore your first time use, please recharge your MP3 player.
zYour computer must be turned on while connected to your MP3 for charging.
CAUTION:
1. Danger of explosion if battery is incorrectly replaced. Replace only with the same
or equivalent type.
2. Do not disassemble, crush, short-circuit or incinerate your battery as it may cause
fire, injury, burns, or other hazards.