Cardionics SimulScope User manual

a
Operator’s Manual
SimulScopeBedside Auscultation System
Cardionics
910 Bay Star Blvd.
Webster, Texas 77598 USA
Telephone: 281-488-5901
Fax: 281-488-3195
Email: info@cardionics.com
Web site: www.cardionics.com
Copyright 2012 Cardionics
All rights reserved
Manual p/n: : 014-7003 Rev: C
Revised:April 25, 2012

b
SAFETY PRECAUTIONS
Please read this information before using the SimulScope Bedside Auscultation System. It applies to the
basic System as well as any optional equipment that may be used with the System. In this manual,
WARNINGS describes precautions necessary to prevent injury or loss of life. CAUTIONS describes those
precautions, procedures, techniques, etc. which are considered essential to emphasize.
WARNING
SHOCK HAZARD: A shock hazard may exist if this System is not properly grounded. The System is
designed to operate with an integral rechargeable DC battery or a 3-wire AC power system containing a
separate ground wire. The ground wire must not be removed or defeated.
WARNING
SHOCK HAZARD: Do not remove protective covers on any components of the SimulScope System;
hazardous voltages may be present. All internal adjustments, replacements and initializations must be
made by an authorized, qualified technician.
WARNING
CLEANING AND CARE: As a general safety precaution, the System should be turned off and the power
(including batteries) disconnected before performing any cleaning procedures.
CAUTION
CONNECTORS: Do not immerse any of the connectors used in the System in any fluid.
TRADEMARKS
SimulScope, HeartMan, CardioSim, Cardionics and E-Scope are registered trademarks
SAM, PneumoSim are trademarks of Cardionics, Webster ,Texas USA

c
Contents
Page No.
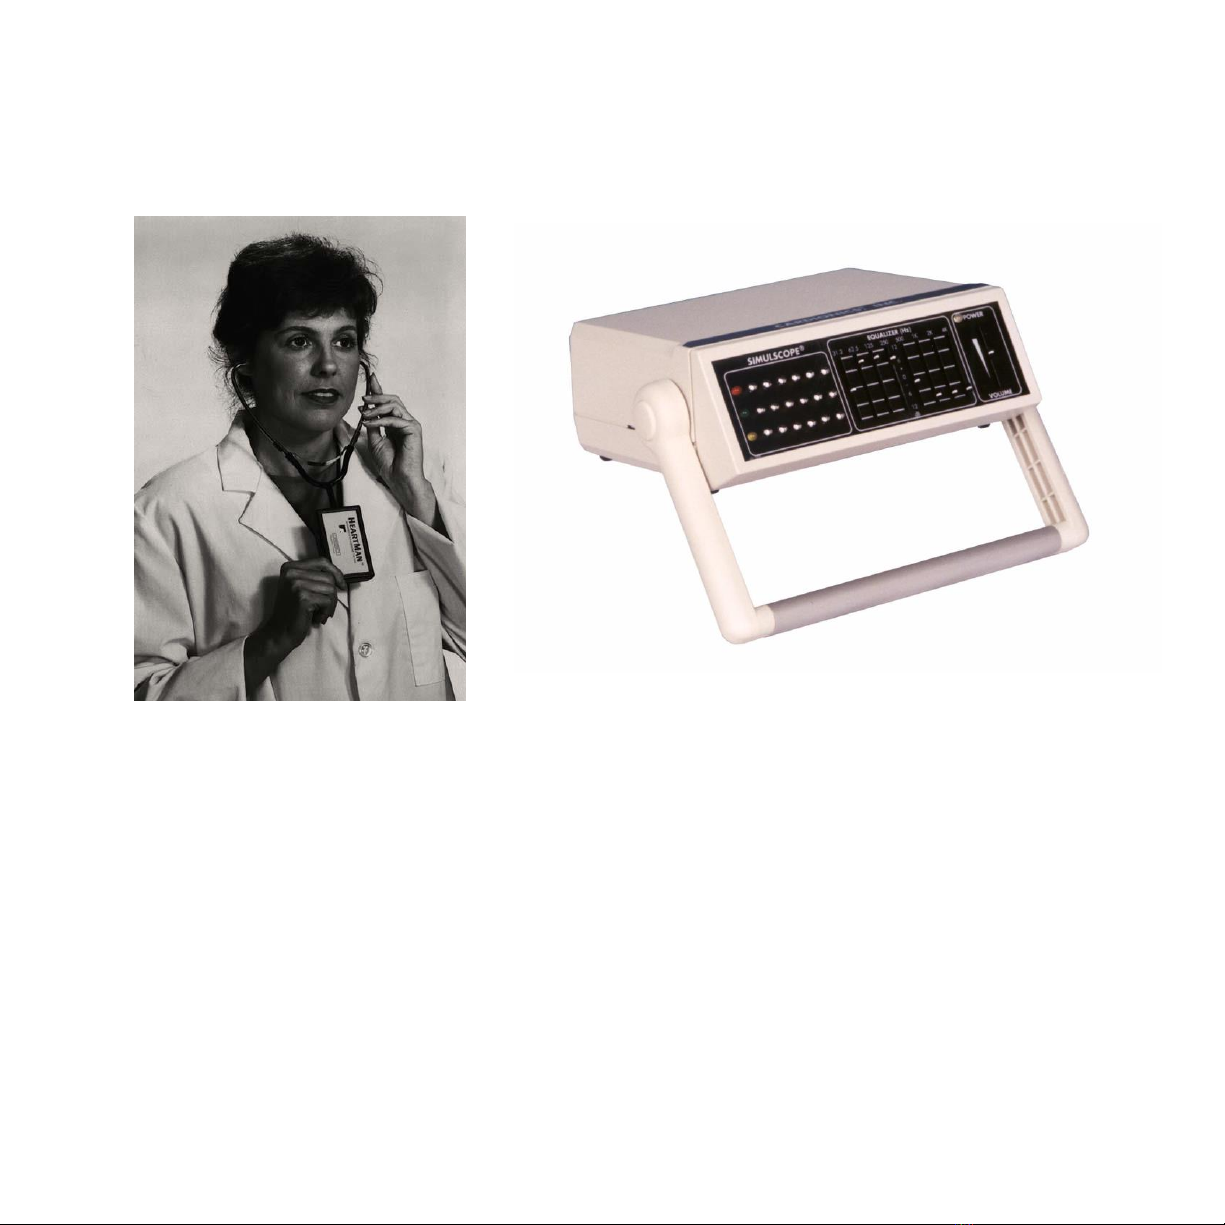
1.0 PRODUCT DESCRIPTION ..................................................................................................................................................4
2.0 SET UP FOR TEACHING....................................................................................................................................................7
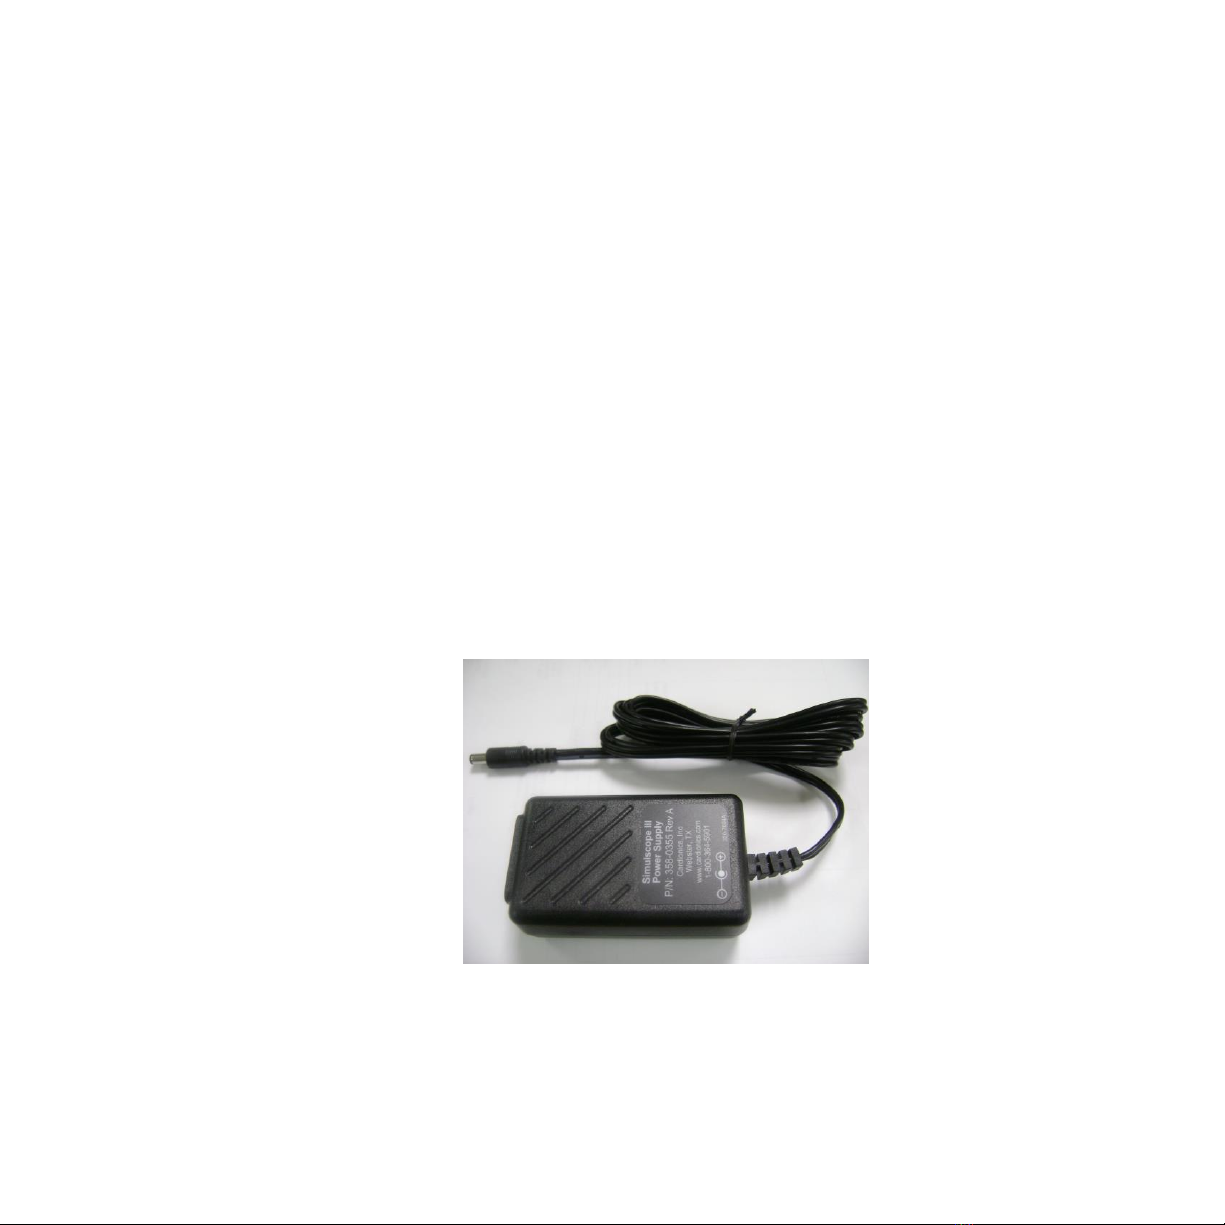
2.1 Charging the battery or Using the Wall Transformer............................................................................................................7
2.2 CONNECTING THE STETHOSCOPE ASSEMBLY. ........................................................................................................................8
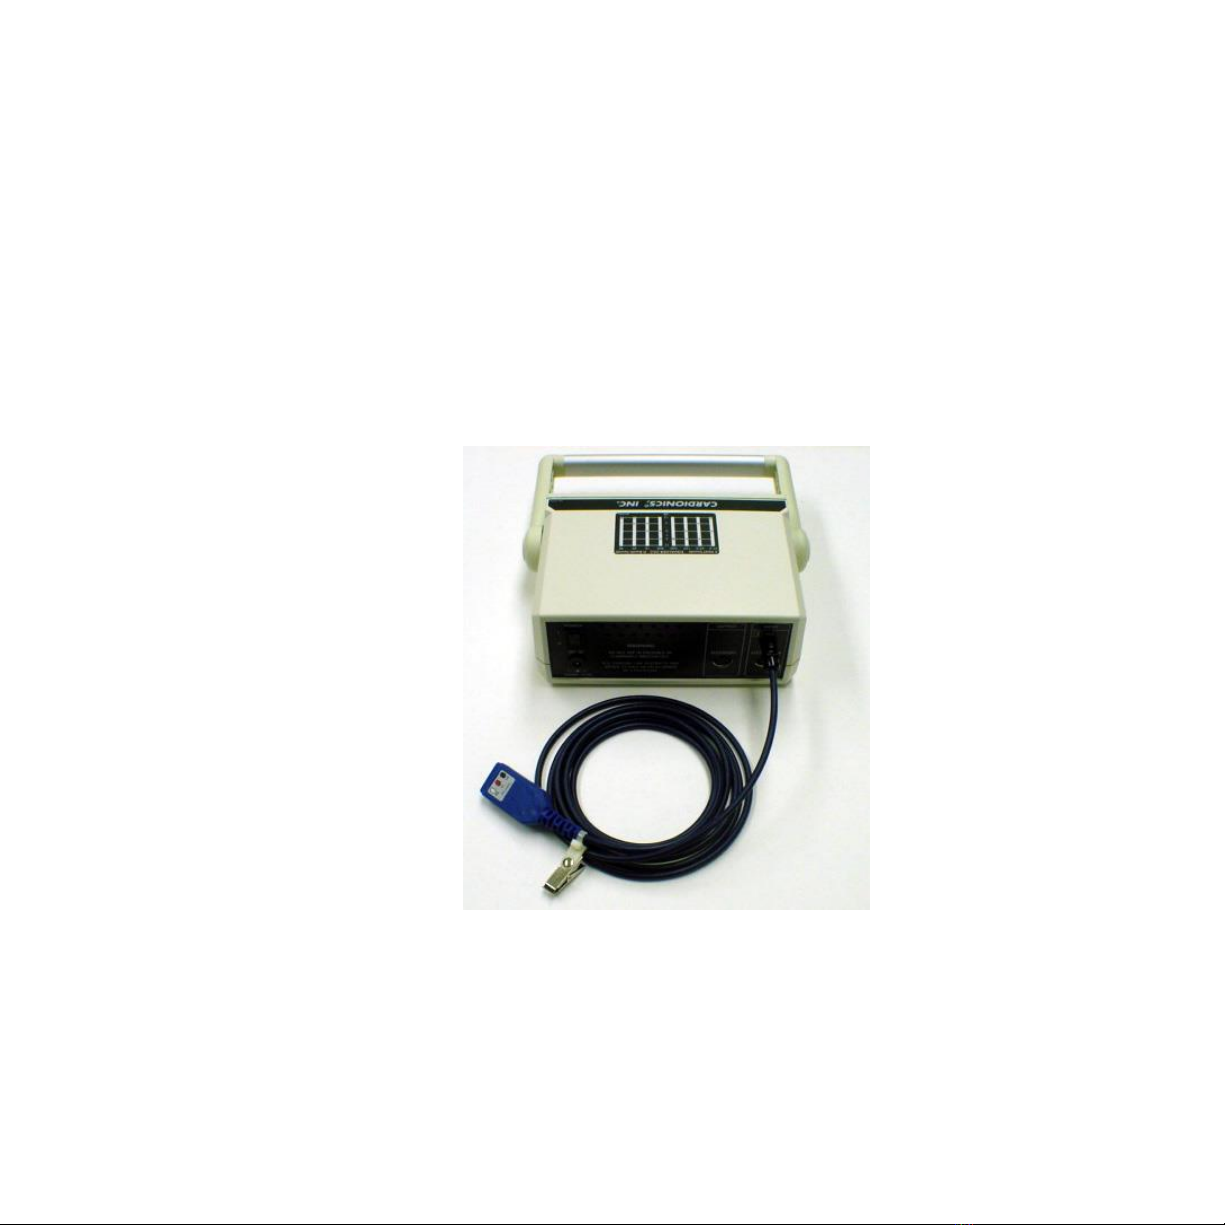
2.3 CONNECTING THE ECG CABLE (SEE FIGURE 8) ......................................................................................................................8
2.4. RECORDING SOUNDS ............................................................................................................................................................10
2.4.2 Using the HeartMan Wireless PC Receiver with the SimulScope…………………………………………………...8
2.5 PLAYBACK OF RECORDED SOUNDS. ......................................................................................................................................11
2.6 Recording and Playback of Sounds and ECG……………………………………………………………………………….9
2.7 Using SimulScope as a Classroom Infrared Emitter with
CardioSim………………………………………………………10
3.0 USING THE SIMULSCOPE FOR TEACHING. ..............................................................................................................15
3.1 Using the HeartMan Infrared Headphone……………………………………………………………………….………...12
3.2 FOR BEDSIDE TEACHING .......................................................................................................................................................15
3.3 FOR CLASSROOM TEACHING .................................................................................................................................................16
3.3.1 USING THE SIMULSCOPE WITH SAM, THE STUDENT AUSCULTATION MANIKIN ..........................................................17
3.3.2 USING THE SIMULSCOPE WITH HARVEY,THE CARDIOLOGY PATIENT MANIKIN.........................................................18
4.0 SIMULSCOPE FOR TELEMEDICINE.....................................................................................................................19
APPENDIX A –SUGGESTED USES........................................................................................................................................20
APPENDIX B - SIMULSCOPE PARTS LIST..........................................................................................................................21
APPENDIX C - TROUBLESHOOTING...................................................................................................................................22
APPENDIX D RECORDING TECHNIQUES..................................................................................................................24
SPECIFICATIONS......................................................................................................................................................................26
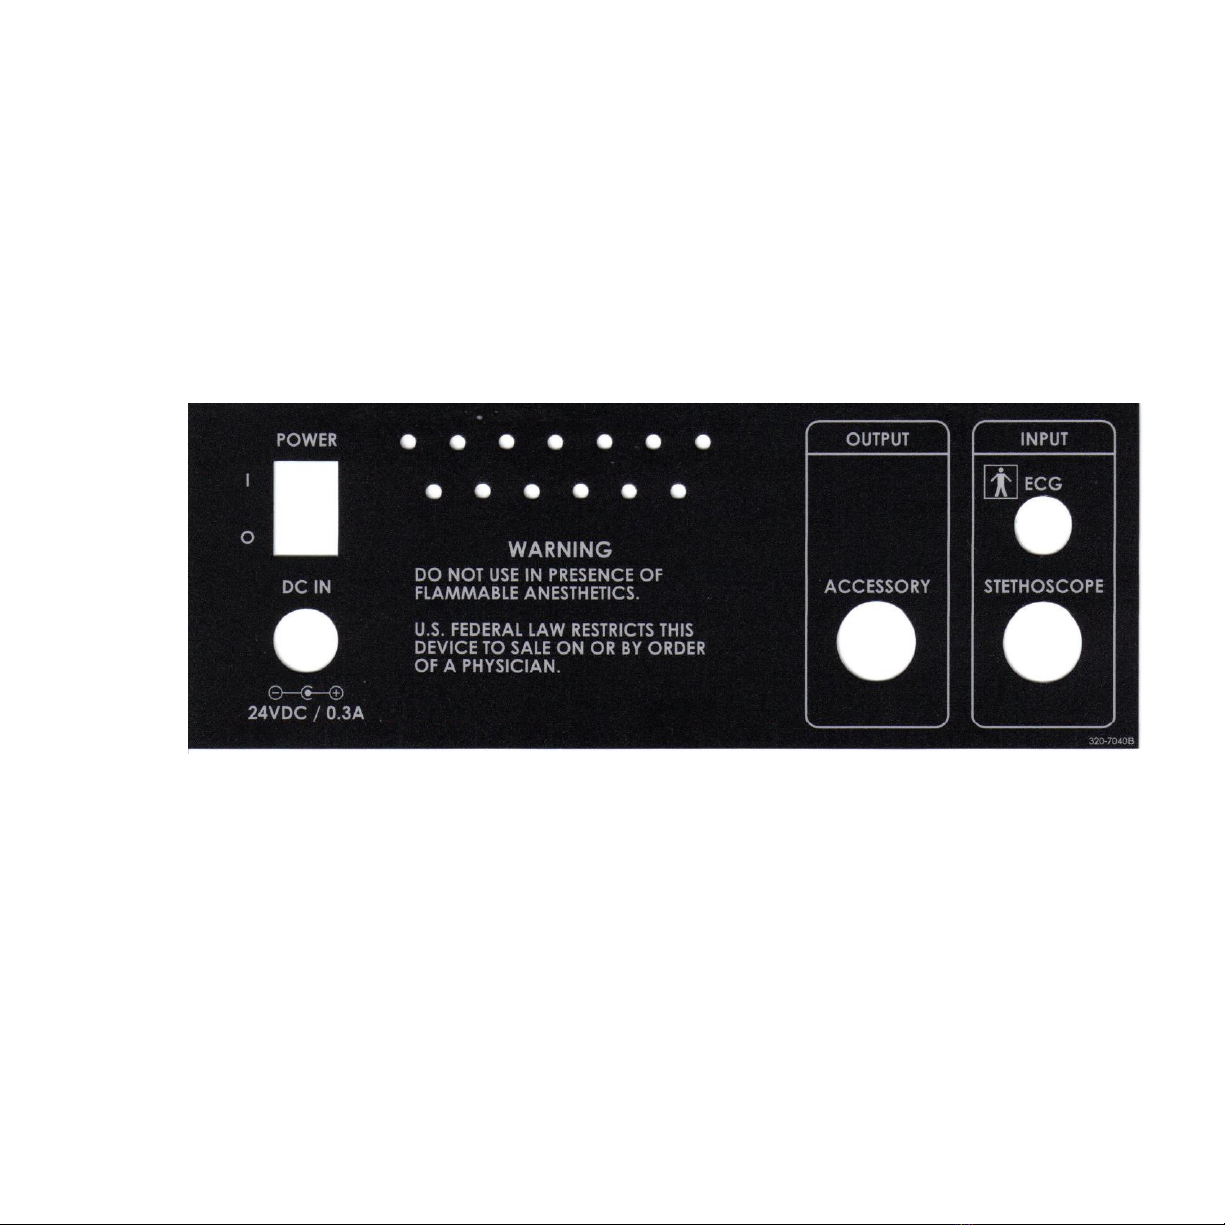
REAR PANEL PIN OUTS ...............................................................................................................................................................27
APPENDIX F –LIMITED WARRANTY.................................................................................................................................28
APPENDIX G - LIST OF FIGURES ........................................................................................................................30

4
1.0 Product Description
The SimulScope System is used for teaching heart, breath and bowel sounds and sending/receiving
the same sounds over various Telemedicine systems. For a description of its use in Telemedicine, see
Section 4.0, page 14.
The SimulScope is a small, portable, battery-operated, (or line operated) wireless infrared
transmitter that picks up heart and lung sounds and transmits them via infrared energy to
wireless HeartmanInfrared Headphones worn by each listener.
Figure 1 Bedside teaching with SimulScope
The Heartman Infrared Headphone (Figure 2) senses the infrared signal and converts it into an audible
sound. Each headphone has its own volume control and automatically shuts off when removed. To
conserve battery power, the Heartman control box contains a "tilt switch" that turns off the
headphone whenever the control box in a horizontal position (e.g. removed form the listener's
ears and placed on a table top or other horizontal surface).
The SimulScope System consists of the SimulScope infrared transmitter (Figure 3), built-in rechargeable
battery, Heartmaninfrared headphones each with a 9V. battery (Figure 2), stethoscope/transducer
assembly, a wall charger/power supply (called a wall transformer).

5
The sounds are picked up by the stethoscope and connected to the SimulScope by a cable. A bank of
infrared diodes (Figure 3) on the face of the SimulScope transmits the sounds as infrared energy to each
HeartMan Infrared Headphone.
Figure 2 Heartman Infrared Headphone Figure 3 Front panel SimulScope Infrared Diodes
A system of adjustable filters (Figure 4 & 5) built into the SimulScope allows the user/instructor
to accentuate or attenuate very narrow frequency ranges (i.e. faint A.I. murmur or fine crackles)
for emphasis.

6
Figure 4 - Front panel of SimulScope
Figure 5 Graphic Equalizer Detail
The above settings are considered normal for heart sounds. The X settings are for normal heart sounds
and the 0 settings for breath sounds. Move the filters upward to accentuate and downward to attenuate.

7
The SimulScope is powered either from the AC line by use of the wall transformer or by the
internal rechargeable battery.
The SimulScope battery is rechargeable and will operate approximately 2.5 hours continuously
when fully charged. The green power light on the SimulScope will turn orange to indicate a low
battery condition. The SimulScope will operate for about 30 minutes after the low battery is indicated.
A fully discharged battery will recharge overnight (13-16 hours) when connected to the wall
transformer. See 2.1 below.
The Heartman Infrared Headphones are also battery-operated (standard or alkaline 9V.) and will operate
continuously for 150 or more hours at which time the battery should be replaced. A low battery indicator
flashes when it is time to change the headphone battery.
2.0 Set up
2.1 Charging the battery or Using the Wall Transformer
The SimulScope is charged by using the supplied wall transformer. To use, insert the wall transformer
into a 120V AC (or 220-240V. if outside US) wall socket and the insert the cable into the DC IN port on
the rear panel of the SimulScope. The SimulScope also can be operated in this manner with a depleted
battery or without a battery. The battery charger operates on either 110V or 220V.
Figure 6 Power Supply (110V and 220V)

8
The SimulScope batteries are shipped without a charge. Before using, charge the batteries as
described above in section 2.1. Charging time for the SimulScope battery is approximately 13-16
hours.
A quick charge of one hour will be enough to last through a single bedside teaching session. The
wall transformer can be used to power the SimulScope as well as charge the batteries.
2.2 Connecting the Stethoscope Assembly.
The SimulScope is equipped with a Specialist Diaphragm stethoscope. A Specialist Pediatric Bell, cat.
No. 360-7755, is available as an option. Attach the stethoscope into the receptacle on the INPUT
section of the rear panel of the SimulScope marked “Stethoscope”.
Figure 7 –Rear Panel of SimulScope
2.3 Connecting the ECG cable (see Figure 8)
If you do not have the SimulScope with ECG (SimulScope "R"), skip this section and go to Section
2.4. Some SimulScope models (SimulScope "R", p/n: 718-7006) are equipped with an ECG board
that causes one of the LEDs on the front panel to flash each time a QRS wave is detected.
To connect the ECG cable:

9
1. Use standard disposable electrodes.
2. Prepare the patient by placing the three electrodes in the standard configuration for a 3-lead ECG
(right arm, left arm, left leg).
3. Connect the ECG leads to the snap on each of the three electrodes. The end of the electrode lead
is labeled with proper placement on the patient. Connect each of the ECG leads to the connector end of
the supplied patient cable labeled R, B and W respectively.
4. Connect the connector of this cable to the INPUT section of the rear panel of the SimulScope
labeled ECG.
Figure 8 Connecting the ECG cable

10
2.4 Set up for recording
We recommend reviewing Appendix D-Recording Techniques prior to recording.
2.4.1 Recording sounds with a laptop computer.
Connect the Accessory output of the SimulScope to the Sounds input on the laptop.
Cardionics will supply you with a cable for connecting.
2.4.2 Using the HeartMan PC Wireless Receiver, Cat. no. 718-7041. The HeartMan Wireless
PC Receiver is a variation of the HeartMan Infrared Headphone. It’s purpose is to wirelessly
connect the SimulScope to a PC. This allows the user to not only send heart and lung sounds
from the patient or SAM, the Student Auscultation Manikin, but also to a PC. No wires or
cables are needed. See Figure 10
Set up. 1. Connect the HeartMan Wireless PC Receiver to the Mic-In on the side of the
laptop. 2. Open the StethView Digital Recording Software which has been installed on your
PC. 3. Turn the HeartMan Wireless PC Receiver ON by use of the thumbwheel switch on the
side. 4. Stand this unit upright. Note: It has a tilt switch and will turn off if in the horizontal
position. 5. Adjust the amplitude of the phonocardiogram using the thumbwheel switch.

11
Figure 10
SimulScope with HeartMan Wireless PC Receiver
2.5 Playback of recorded sounds.
2.5.1 Playback from a laptop computer.
Connect the Sounds Output on the laptop to the Stethoscope IN on the SimulScope. All listeners
must be wearing a Heartman Infrared Headphone. Begin playing sounds from the laptop. Turn
the SimulScope ON, then the Heartman headphones. Adjust the volume as needed using the
VOL control on the headphones and the graphic equalizers on the SimulScope.
2.6 Recording and playback of Sounds and ECG
Set Up for Recording. To record and playback both heart sounds and ECG, you will need an Audio
Interface Module, UA-1ex, (see figure 11). As shown in the below diagram, connect the stethoscope to
the Stethoscope output on the rear panel of the SimulScope. Then connect the Accessory Output on the
rear panel of the SimulScope to the inputs on the Audio Interface Module. Adjust the amplitude to the
traces by using the Input Volume knob on the bottom of the Audio Interface Module.
Attach 3 lead electrodes patches to the patient in the normal manner. Then attach the ECG cable to the
electrodes with the distal end connected to the rear panel of the SimulScope.

12
With the StethView Digital Recording System installed on a PC or laptop, set the system for two channels.
Refer to Section 2.4 of the StethView Operator’s Manual. On the Main Menu of the StethView, locate the
Options tab. There is a Pull-Down Menu. Select “Number of Channels”. Select two (2) channels.
Set up for Play back.
Refer to the Playback section of Figure 11. Connect the Audio Interface Module to the Stethoscope input
on the rear panel of the SimulScope. Using the StethView Digital Recording System software, play the
sounds and ECG. You will hear the sounds while wearing a HeartMan Infrared Headphone (supplied with
the SimulScope) and view the ECG on the PC or laptop from the StethView screen.

13
Figure 11
2.7 Using the SimulScope as a Classroom Infrared Emitter with the CardioSim
Digital Heart Sound Teaching System.
To use the SimulScope as a classroom infrared emitter with the CardioSim Digital Heart Sound Teaching
System, connect the Stethoscope IN of the SimulScope to the Infrared Array on the rear

14
panel of the CardioSim VII control module by use of a cable. Then use the CardioSim in the
normal manner. Turn the CardioSim speaker volume OFF and listen using Heartman Infrared
Headphones. Use Cardionics cable, Cat. No. 711-7780 (not supplied).
Connect Stethoscope IN
to CardioSim Infrared Array
Figure 12 Connecting SimulScope to CardioSim

15
3.0 Using the SimulScope for Teaching.
3.1 Using the Heartman Infrared headphone
Locate the Heartman infrared headphones, Cat. No. 718-7040 (Figure 12).
The headphone has an individual volume control that should
be in the OFF position when not in use. The battery has a long life
and does not require charging. The headphone will turn itself off
automatically when placed in a horizontal position. The battery
shelf life is approximately three years.
The battery will operate for over 150 hours. Additional batteries can
be obtained locally or from Cardionics. A standard 9V. alkaline battery
is recommended as a replacement.
Figure 13- Heartman
Infrared Headphone
3.2 For bedside teaching
The SimulScope is designed for bedside teaching, but can also be used in the classroom with the
CardioSim Digital Heart Sound System, or with SAM, the Student Auscultation Manikin.
At the bedside, attach the stethoscope to the Stethoscope INPUT on the rear panel, then turn the
volume control ON. We recommend that the volume control be moved to full volume position and
the sound volume level adjusted in the headphones. When the volume control is ON, a green light
should glow brightly and three LEDs on the front panel (red, green and yellow) will also be lit. If
any of these LEDs are not lit, the SimulScope should be returned for repair. It can still be used on
an interim basis, but when convenient return to Cardionics for repair.
Adjust the graphic equalizers controls as shown in Figure 13 for normal sounds. The Xindicates normal
heart sounds and the Oindicated normal breath sounds. A label for the graphic equalizer adjustments is
located on the top panel of the SimulScope. Moving the filter controls upward will accentuate a frequency
and moving them downward will attenuate a sound frequency.

16
Figure 14 Graphic Equalizer detail
Slide the volume control of the SimulScope to the full position. The patient's heart and/or
lung sounds should now be heard. If a click is heard on the first heart sound, reduce the volume
on the SimulScope by moving the VOL downward until it disappears.
The SimulScope, with a fully charged battery, will run for approximately 2.5 to 3 hours.
Tips on successful use.
The SimulScope should be aimed at the students. The instructor can stand behind the SimulScope,
if desired. If for any reason, the reception is not sufficient, try aiming the SimulScope at a mirror.
NOTE: There are some florescent lights that interfere with infrared transmission. If sound is not clear, try
dimming or turning off the florescent lights.
3.3 For classroom teaching
For classroom use, we recommend using the wall transformer. This transformer will run the
SimulScope and charge the battery simultaneously. If desired, the SimulScope will operate with the wall
transformer only.

17
The transformer cable should be inserted into the DC IN port on the rear panel of the SimulScope.
When used as a classroom infrared emitter, the SimulScope is used in the same manner as at the
bedside except that the wall transformer will be used.
3.3.1 Using the SimulScope with SAM, the Student Auscultation Manikin
Set up SAM, the Student Auscultation Manikin following instructions in the SAM Operator's manual.
Place the stethoscope of the SimulScope on SAM as you would a live patient.
You may listen to heart sounds at the pulmonic, tricuspid, aortic or mitral areas. You may listen to
breath sounds at the anterior or posterior upper or lower part of the chest. You may listen to bowel
sounds at the right and left abdomen or the carotid pulse bruit on the right side of the neck.
Figure 15 Using the SimulScope with SAM, the Student Auscultation Manikin

18
3.3.2 Using the SimulScope with Harvey, the Cardiology Patient Manikin (a product of the
University of Miami).
Connect the sounds output of Harvey, located on the lower right side of the Harvey cabinet to the
Stethoscope Input of the SimulScope located on the rear panel of the SimulScope. Use Cardionics cable,
Cat. No,. 711-0254 Turn ON a sound from Harvey, then turn the SimulScope ON and operate it as you
would with a patient.
Figure 16 Frequency of sounds in Hertz

19
4.0 SimulScope for Telemedicine.
4.1 Product description - SimulScope in Telemedicine
Telemedicine is the branch of medicine that allows sound, data and video to be transmitted
and received over high quality telephone lines for remote diagnosis.
There are always at least two stations - a sending station or location and a receiving station.
4.1 Using the SimulScope with Polycom or Tandberg Teleconferencing Systems.
For sending, connect the output of the SimulScope to the audio input of the Tandberg or Polycom
Teleconferencing System. Use Cardionics cable, Cat. No. 711-0248.
For receiving, connect the audio output of the Tandberg or Polycom Teleconferencing System to the
Stethoscope IN on the rear panel of the SimulScope using Cardionics cable, Cat. No. 711-0246.

20
Appendix A –Suggested Uses
Telemedicine
The SimulScope has been shown to be very effective in sending and receiving diagnostic
quality heart and breath sounds in a Telemedicine clinic.
Teaching
Bedside Auscultation.
The SimulScope is ideal for use at the bedside and will transmit through glass or plastic
partitions in an ICU/CCU or nursery. The stethoscope can be used as a microphone
to communicate to students/listeners on the other side of the glass enclosure.
Classroom Use
With the CardioSim Digital Heart Sound Teaching System
The SimulScope may be attached to the IR output of the CardioSim and used as a
classroom infrared emitter.
With the PneumoSim Digital Breath Sound Teaching System
The SimulScope will transmit sounds produced by the Cardionics PneumoSim digital
Breath Sound Teaching System.
With SAM, the Student Auscultation Manikin.
The SimulScope may be used with SAM, the Student Auscultation Manikin to broadcast
sounds to a classroom of students with each listener wearing a Heartman Infrared
headphone.
Auditorium use.
By use of an auxiliary infrared emitter, the Auditorium Infrared Sound System,
Cat. No. 718-4006, any large auditorium can be completely equipped
for infrared sound transmission without wiring. Call Cardionics for details.
Telephone: 281-488-5901.
Table of contents
Other Cardionics Medical Equipment manuals
Popular Medical Equipment manuals by other brands

Durr Dental
Durr Dental CAS 1 Installation and operating instructions

Stryker
Stryker Isolibrium 2971 Operation manual

BMB MEDICAL
BMB MEDICAL I-MOVE user manual

Huntleigh
Huntleigh Sonicaid FM800 Series Instructions for use

Medifa
Medifa 63000 1 Series user manual

Smiths Medical
Smiths Medical Surgivet Advisor Quick reference guide

Otto Bock
Otto Bock Challenger 1E95 Instructions for use

Welch Allyn
Welch Allyn 53 Service manual

Apollo Healthcare Technologies Limited
Apollo Healthcare Technologies Limited Apollo 5 Plus APHos2 user manual

Confycare
Confycare FIX-MT2 Assembly instruction

ACP
ACP OMNIVERSA user manual

FUTURA MOBILITY
FUTURA MOBILITY ST7 Quick Resource Guide