PHOTO 7
FOTO 7
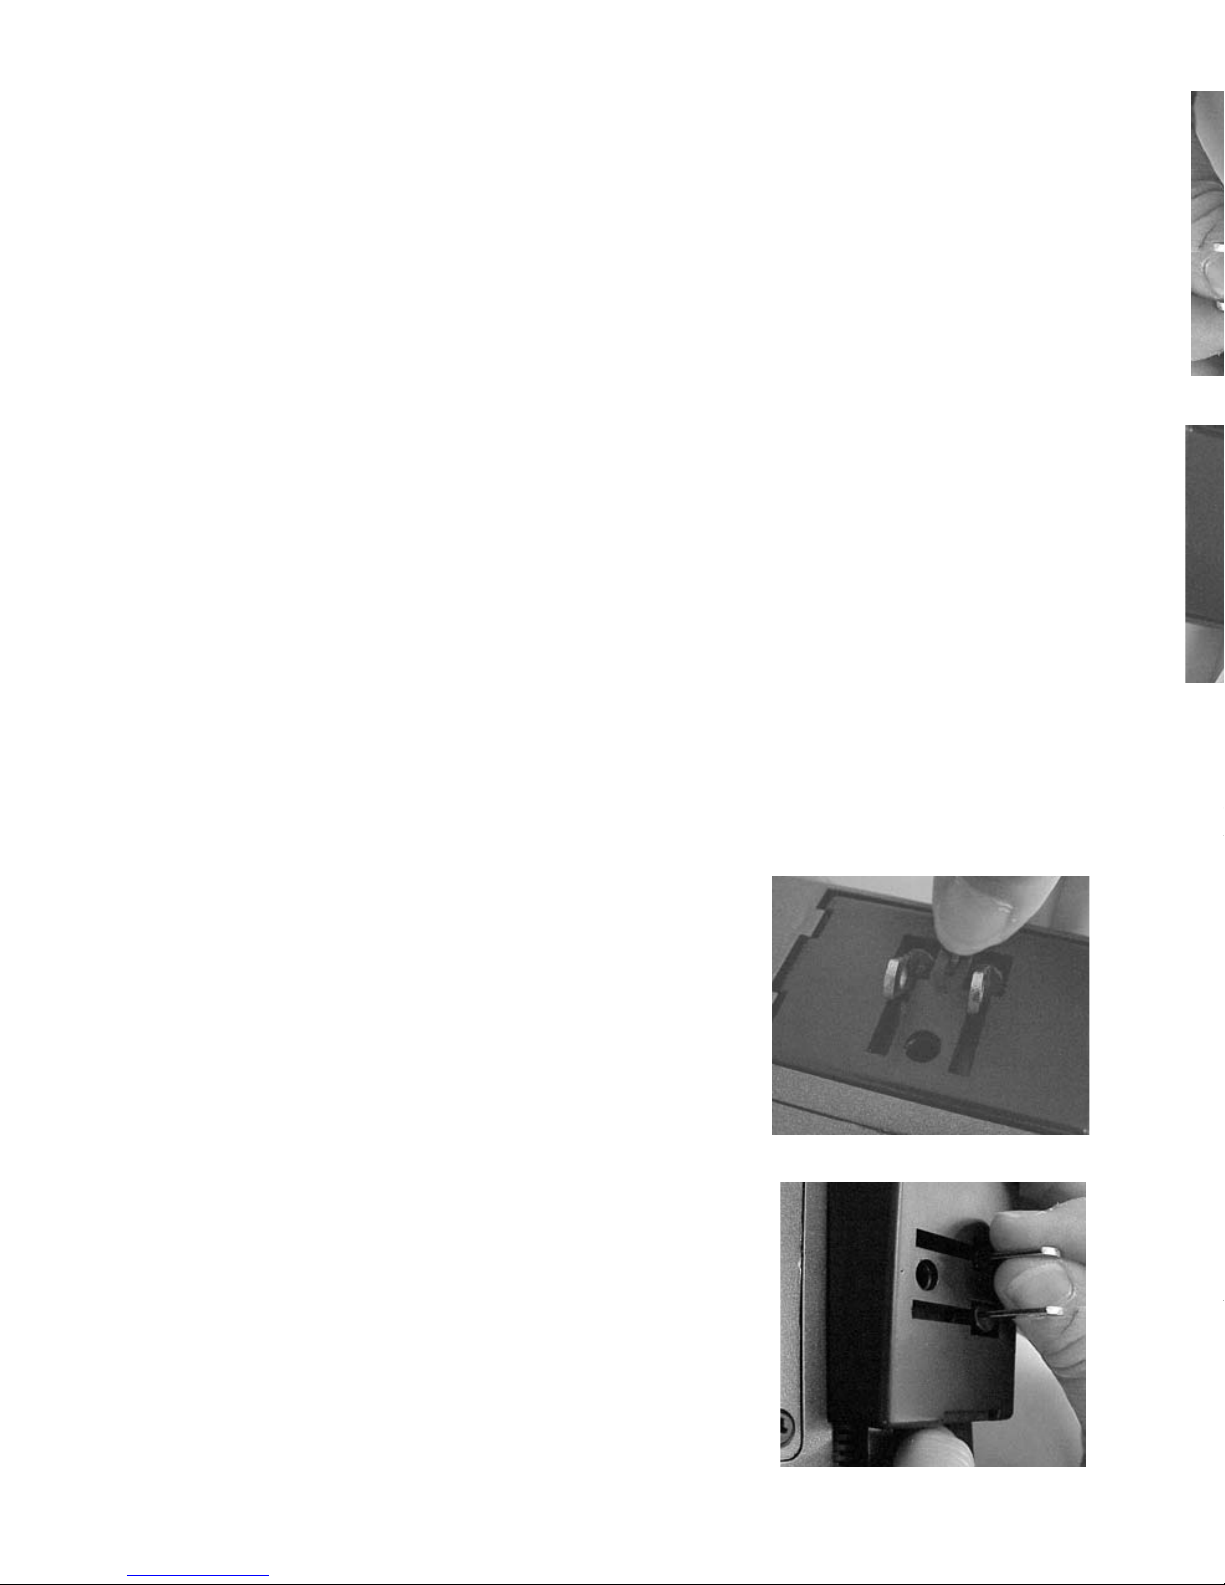
PHOTO 8
FOTO 8
4
Instrucciones para su uso:
Para operar su Deodorizador de Aire “Ultra”, los adaptadores A/C o D/C deben estar
enchufados en el punto de entrada (#6 en la foto 4). Utilice el enchufe retractable del adap-
tador A/C (#9 en la foto 5) para conectar directamente el Deodorizador de Aire “Ultra”
al toma corriente A/C de 110V o 120V. Una vez que el adaptador esté conectado al toma
corriente, presione el botón de on/off (#3 en la foto 2). Esto le dará acceso a la primera
opción (#4a en la foto 2). En está opción el Deodorizador de Aire “Ultra”,· automática-
mente se prenderá y apagará en intervalos 15 min. respectivamente.
Para la segunda opción de 2 horas (#4b en la foto 2) presione dos veces el botón de on/off.
Si presiona el botón tres veces, entonces le dará la opción de 4 horas (#4c en la foto 2).
Finalmente, al presionar 4 veces el botón obtendrá la opción #4 de 24 horas. Después que
cada ciclo termine, la unidad se apagará automáticamente. Por favor no olvide que cada
vez que presione el botón de on/off cambiará de opción. Cuando el botón es presionado
6 veces la unidad se apagará.
Utilize el botón (#5 en la foto 3 ) para determinar el rendimiento de la unidad en Bajo o
Alto (low/high).
Para utilizar el Deodorizador de Aire “Ultra” en el automóvil, bote, vehículo recreacional
o cualquier lugar donde tengan corriente directa (D/C), utilize el adpatador de 12 Voltios
D/C y siga las instrucciones arriba mencionadas.
Precaución: Las personas tienen diferentes niveles de sensitividad al ozono ("oxígeno
activado") ya sea generado o natural. El utilizar el Deodorizador de Aire “Ultra” respon-
sablemente es de suma importancia. No utilize el Deodorizador de Aire “Ultra” en
lugares encerrados por largos periodos de tiempo, especialmente si están habitados. La
unidad se puede utilizar mejor si el espacio no está habitado.
Montadura en la Pared:
Su Deodorizador de Aire “Ultra” puede ser montado
en la pared fácilmente si hay algún enchufe de 110V o
120V cerca para conectar el adaptador A/C. Utilizando
su dedo pulgar levante el enchufe (foto #7) y quite el
adaptador de la parte de atrás del Deodorizador de Aire
“Ultra”. Utilizando su dedo pulgar de nuevo, suelte el
pasador (foto # 8) y con la otra mano hale el adapta-
dor A/C tomándolo de las puntas. Deje el cable ench-
ufado (foto 6). Después de que se determina la
locación, note las ranuras en la parte de atrás (#10 en
la foto 5). Instale la unidad según las instrucciones en
una superficie plana en la pared utilizando los tornillos
o clavos adecuados que permitan que la parte de atrás
de la unidad pueda deslizarse fácilmente y al mismo
tiempo quede asegurada. No se recomienda montarlo
de en ninguna otra forma ya que esta unidad está di-
señada para colocarse sobre una mesa, escritorio o
estante.
Operating Instructions:
To operate your Ultra Air Deodorizer, the A/C or the D/C Adapters must be plugged into
the power input port (#6 in photo 4). You use the Flip Plug of the A/C Adapter (#9 in photo
5) to plug the Ultra Air directly into a 110V or 220V A/C power source (photo 6). Once
the adapter is connected to the 110V or 220V power source, simply press the on/off but-
ton (#3 in photo 2). This will access the first setting (#4a in photo 2). On this setting, the
Ultra Air will operate on a 15 minutes on/15 minutes off cycle.
To access the 2 hour (#4b in photo 2) run time press the on/off button a second time. Press
it a third time and you will access the 4 hour (#4c in photo 2) run time. The 24 hour (#4d
in photo 2) run time is accessed by pressing the on/off button the fourth time. Once the 2
or 4 or 24 run time settings complete their run time, the Ultra Air will automatically shut-
off. Please note that each time the on/off button is pressed, it passes through each of the
settings. When the on/off button is pressed five times you will have passed through the run
time settings cycle and on the sixth press, the Ultra Air Deodorizer will shut off.
Use switch (#5 in photo 3 ) to set the Ultra Air’s output on a Hi or Lo operation setting.
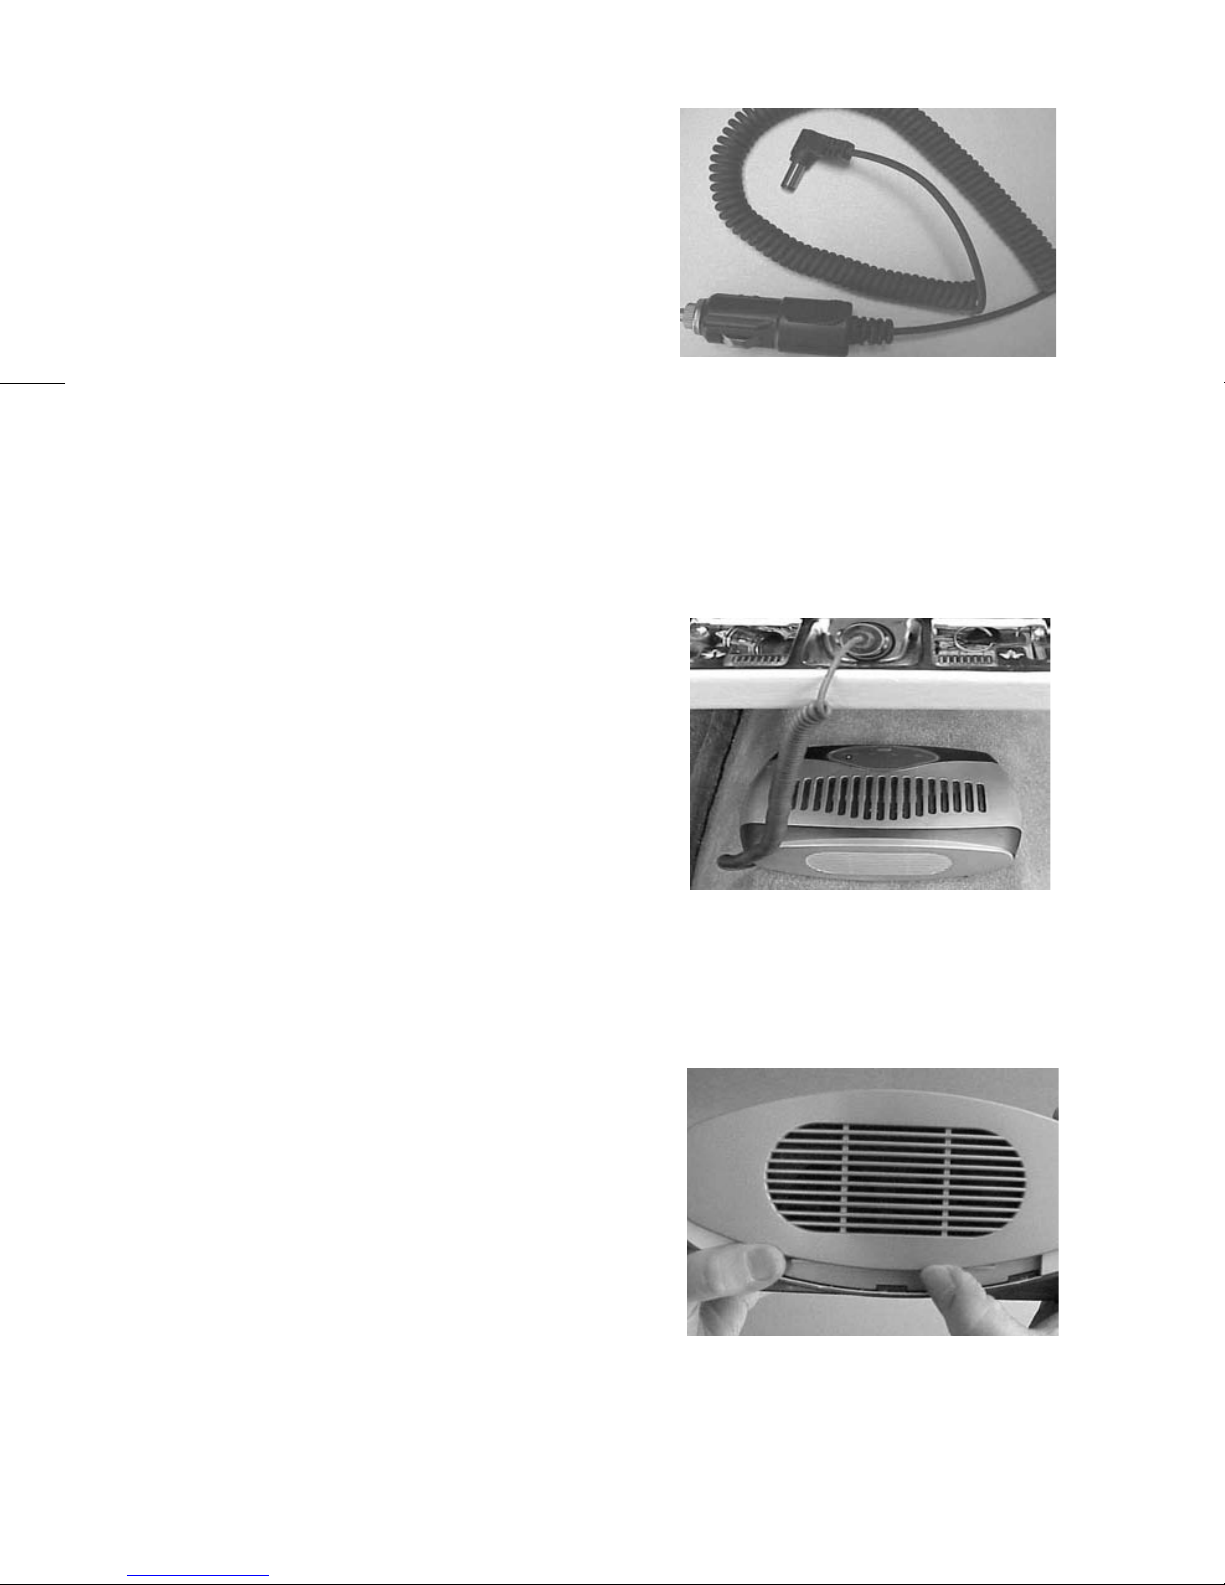
To operate Ultra Air in an automobile, boat, RV, or any other location powered by DC cur-
rent, you must use the 12V D/C Auto Adapter provided (photo 9) and then follow the same
operating instructions shown above.
Caution: People have different levels of sensitivity to ozone ("activated oxygen")
whether it is naturally occurring or generated. Using the Ultra Air Deodorizer responsi-
bly should be of uppermost consideration. Do not operate the Ultra Air in confined spaces
for long periods of time, especially when that space is being occupied. It is best to use
Ultra Air when the space is unoccupied.
Wall Assembly:
Your Carico Ultra Air Deodorizer can be mounted onto
a wall surface providing there is a 110V or 220V power
supply source outlet close enough to plug in the A/C
Adapter. Using your thumb, lift the Flip Plug and
remove the A/C Adapter (photo 7) from the back of the
Ultra Air. By using your thumb again, release the latch
clip (photo 8) and with the other hand gently pull the
A/C Adapter out by grasping one of the plug’s prongs .
Leave the cord plugged into the power supply port (#6
photo 4). Once the wall surface location is determined,
note the slotted fittings on the underside of the unit
(#10 in photo 5). Follow the template instructions pro-
vided and mount Ultra Air onto a flat wall surface using
the sized screw heads provided or nail heads that allow
the slotted fittings to slide over them easily and yet stay
securely affixed to the wall surface location selected.
Plug the A/C Adapter into the wall outlet to operate
your Ultra Air. No other assembly is otherwise recom-
mended since the unit is designed to sit on a tabletop, a
desk or a shelf.
4