2
Features
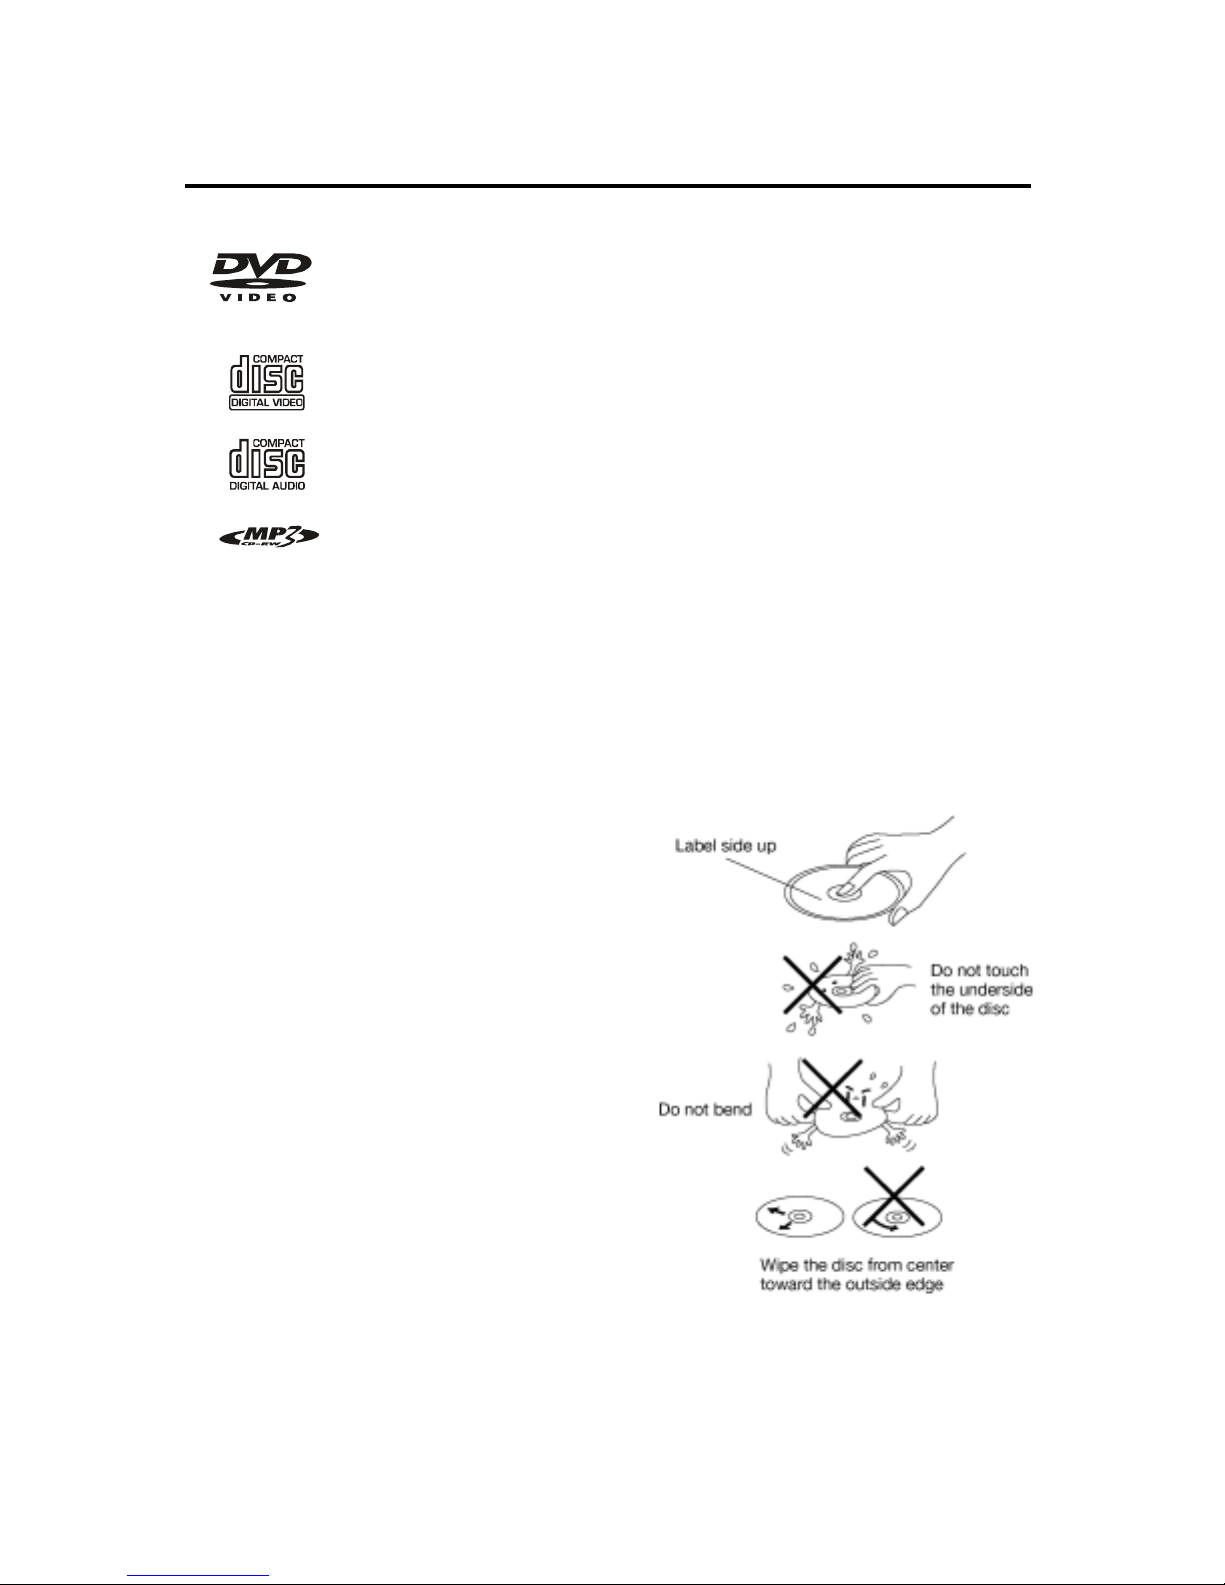
Compatible with NTSC DVD (Video
CD) and PAL DVD (Video CD)
This player can play discs recorded in
either NTSC or PAL format.
A single LSI chip now integrates all
major DVD playback circuit functions
including MPEG2 decoder, video D/A
converter, and audio decoders.
L/R stereo analog audio outputs for
connection to existing head unit aux
inputs. Video output is composite
video.
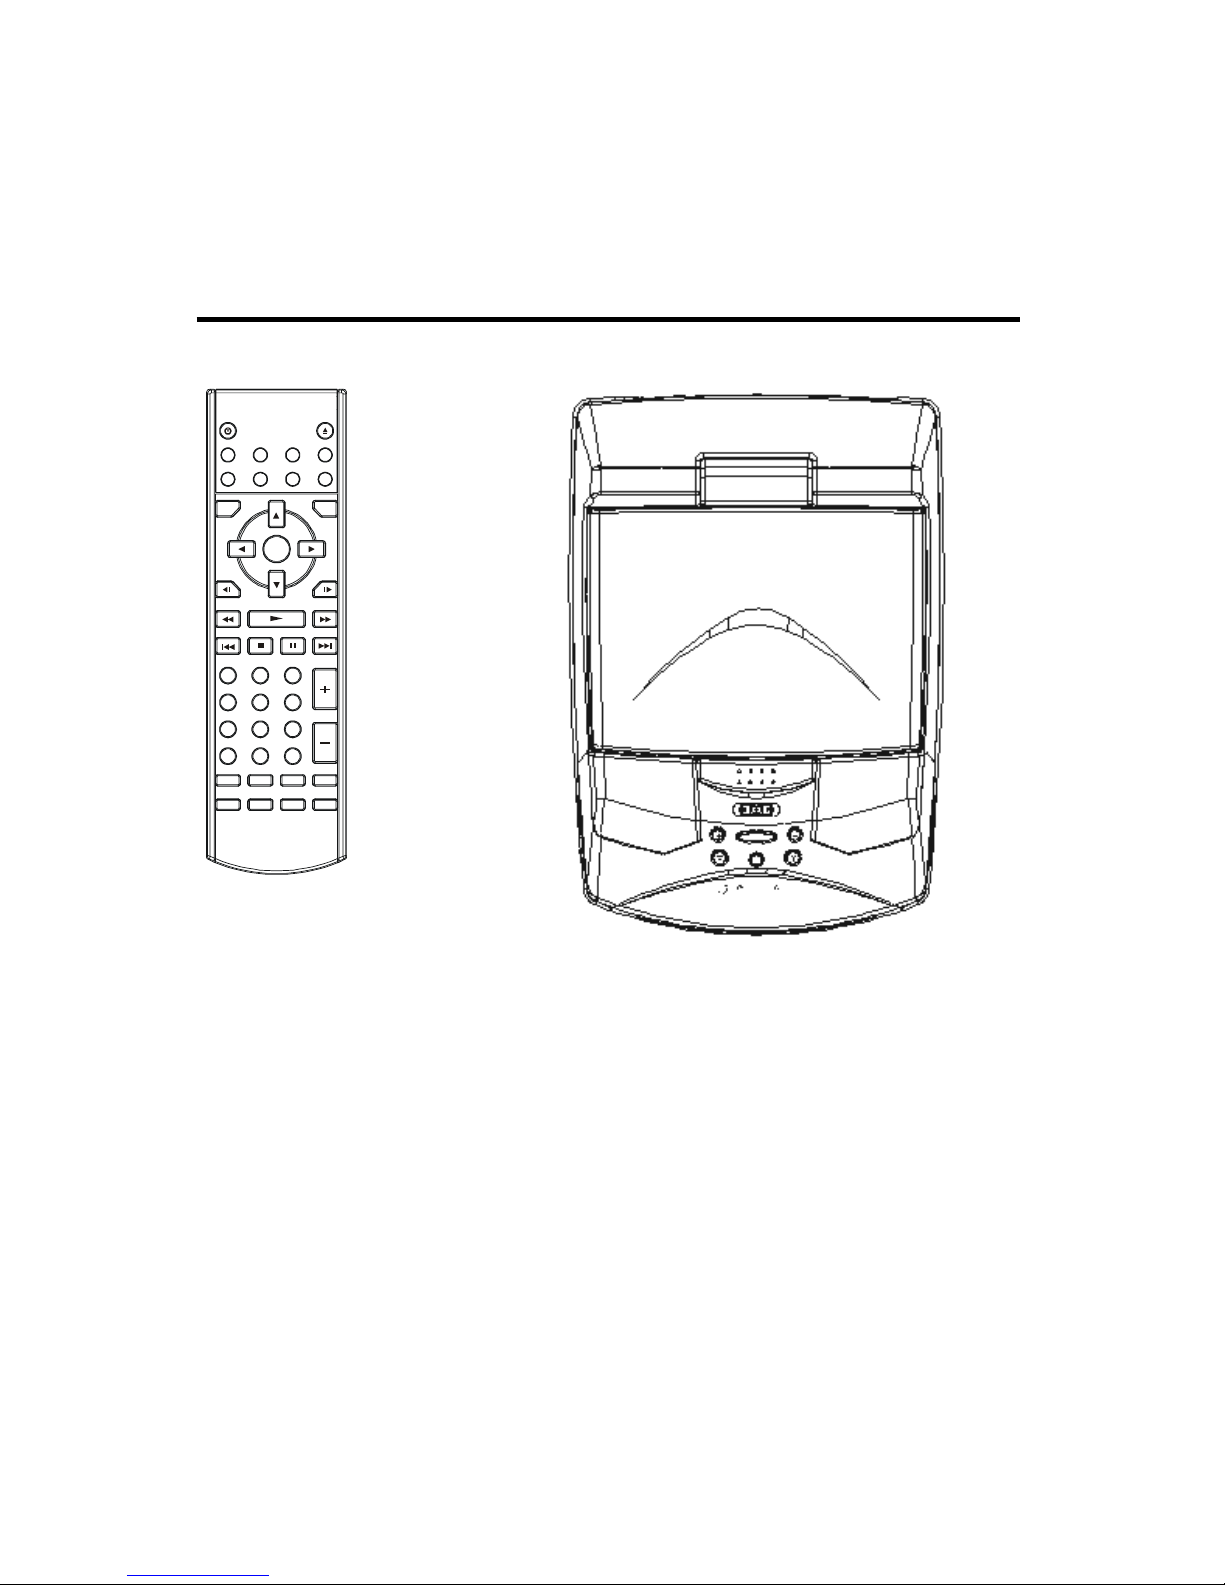
Supplied remote handles
multi-function software
(multi-language audio-track/subtitle,
multi-angle, multi-story, etc.), plus all
basic functions.
Use This Product Safely
When Driving
Keep the volume level low enough to be
aware of road and traffic conditions.
When Car Washing
Do not expose the product to water or
excessive moisture. This could cause
electrical shorts, fire or other damage.
When Parked
Parking in direct sunlight can produce
very high temperatures inside your
vehicle. Give the interior a chance to
cool down before starting playback.
Use the Proper Power Supply
This product is designed to operate with
a 12 volt DC, negative ground battery
system the regular system in a North
American car).
Protect the Disc Mechanism
Avoid inserting any foreign objects into
the slot of this player.
Failure to observe this may cause
malfunction due to the precise
mechanism of this unit.
Use Authorized Service Centers
Do not attempt to disassemble or adjust
this precision product as it will void the
warranty. Please contact your Car Show
Authorized Dealer directly for service
assistance.
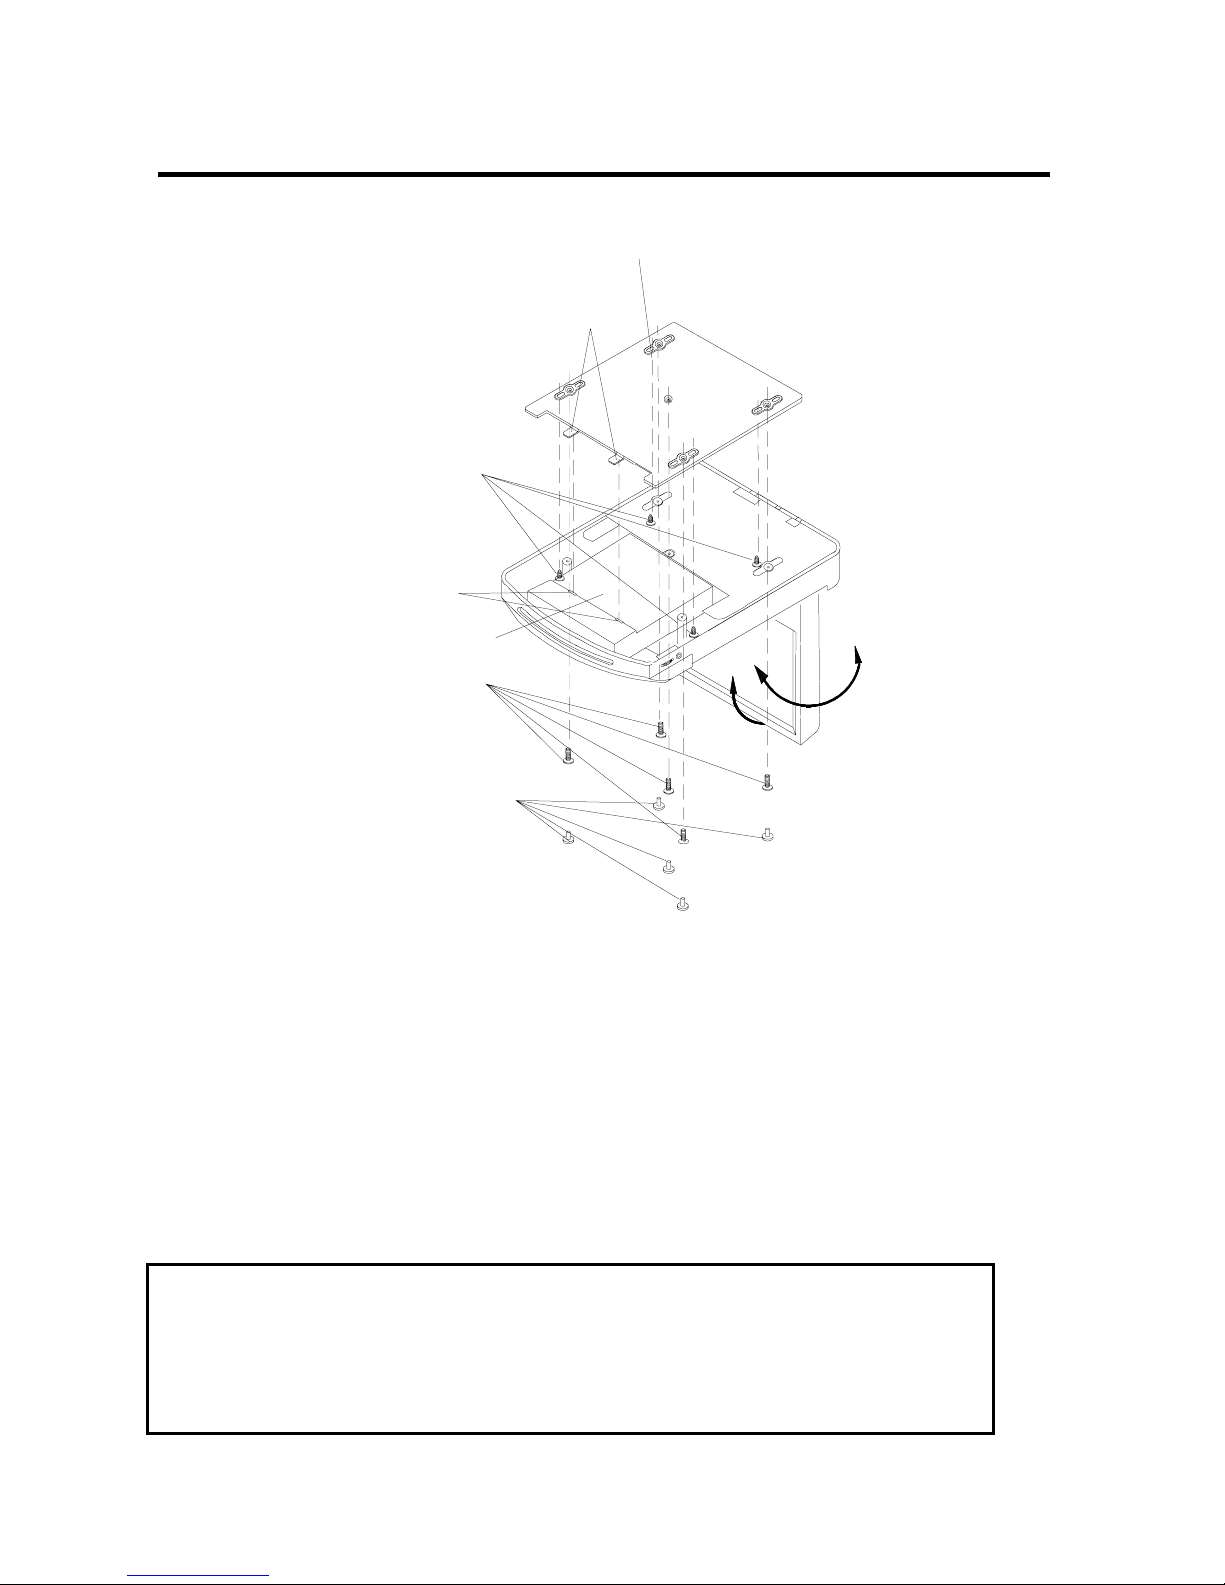
For Installation
The unit should be installed in a
horizontal position with the front end up
at a convenient angle, but not more
than 300.
NOTICE OF INTENDED USE
ROSEN ENTERTAINMENT SYSTEMS ARE DESIGNED
TOENABLE VIEWING OF VIDEO RECORDINGS ONLY
FOR REAR-SEATOCCUPANTS. MOBILE VIDEO
PRODUCTS ARE NOT INTENDED FOR VIEW-ING BY
THE DRIVER WHILE THE VEHICLE IS IN MOTION.
SUCH USE MAY DISTRACT THE DRIVER OR
INTERFERE WITH THE DRIVER’S SAFE OPERATION OF
THE VEHICLE, AND THUS RESULT IN SERIOUS INJURY
OR DEATH. SUCH USE MAY ALSO VIOLATE STATE
LAW. ROSEN ENTERTAINMENT SYSTEMS DISCLAIMS
ANY LIABIL-ITY FOR ANY BODILY INJURY OR
PROPERTY DAMAGE THAT MAY RESULT FROM ANY
IMPROPER OR UNINTENDED USE.
About the Registered Marks This product incorporates
copyright protection technology that isprotected by method
claims of certain U.S. patents and otherintellectual property
rights owned by Macrovision Corporation andother rights
owners. Use of this copyright protection technology mustbe
authorized by Macrovision Corporation, and is intended for
home and other limited viewing uses only unless otherwise
authorized byMacrovision Corporation. Reverse engineering
or disassembly is prohibited.