manuals.online logo
Brands
  1. Home
  2. •
  3. Brands
  4. •
  5. CaryMart
  6. •
  7. Remote Control
  8. •
  9. CaryMart 0020757 User manual

CaryMart 0020757 User manual

SHENZHEN GUIYUAN INDUSTRY DEVELOPMENT CO.,LTD
Http://www.carymart.com E-Mail: sale@carymart.com
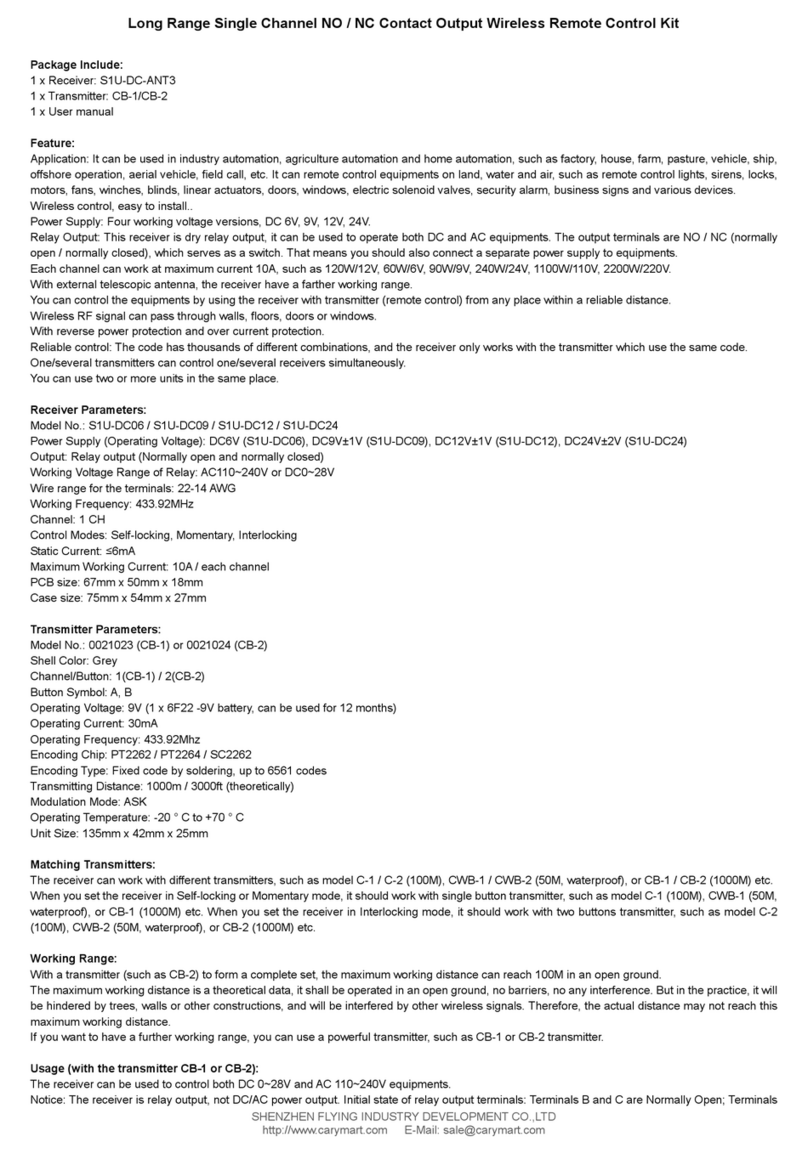
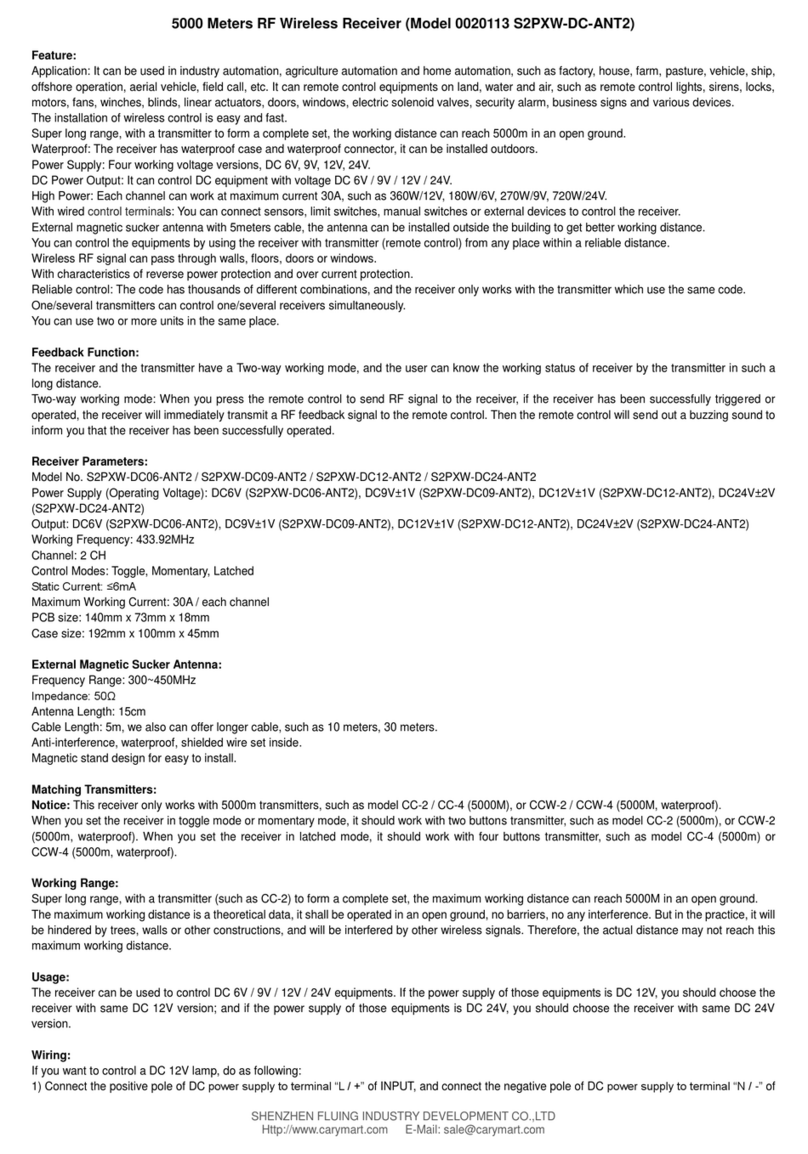
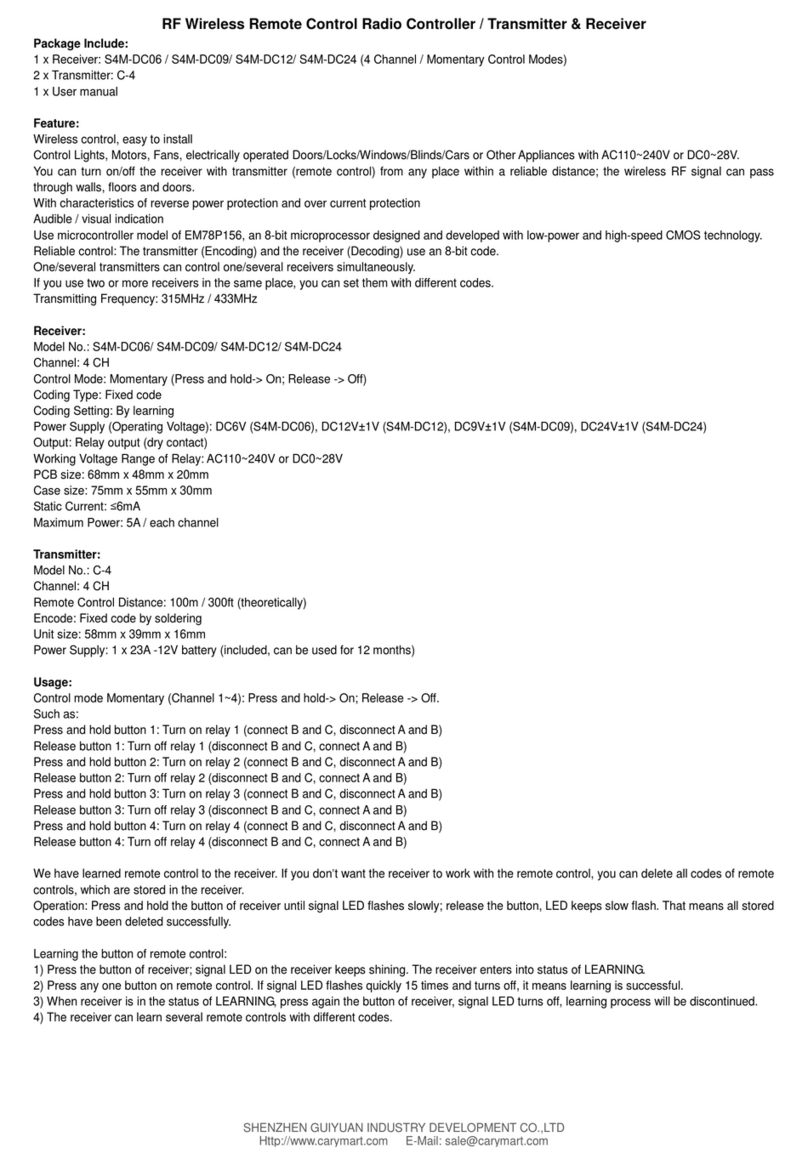
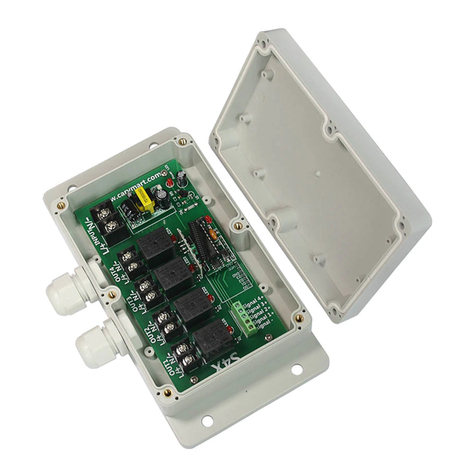
RF Wireless Remote Control Kit (Model 0020757 6S2PXB-AC220+1CV-12)
The receiver is designed for one-transmitter-many-receivers system. Use a 12 buttons transmitter to control 6 receivers.
Package Include:
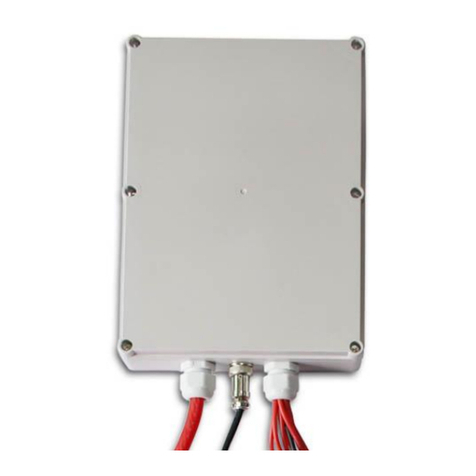
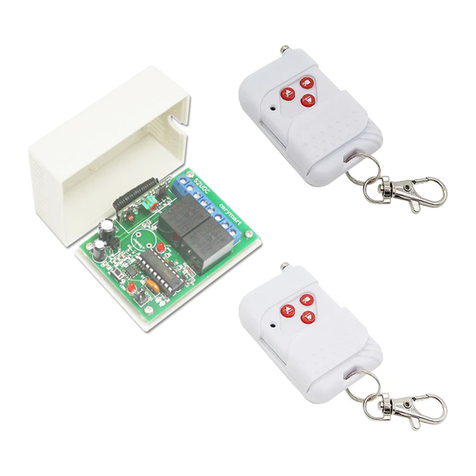
6 x Receiver: S2PXB-AC220
1 x Transmitter: CV-12
1 x User manual
Feature:
Application: It can be used in industry automation, agriculture automation and home automation, such as factory, house, farm, pasture, vehicle, ship,
offshore operation, aerial vehicle, field call, etc. It can remote control equipments on land, water and air, such as remote control lights, sirens, locks,
motors, fans, winches, blinds, linear actuators, doors, windows, electric solenoid valves, security alarm, business signs and various devices.
Wireless control, easy to install.
Waterproof: The receiver has waterproof case and waterproof connector, it can be installed outdoors.
Universal input: Support voltage of AC110V (100V~120V), widely used in US, Canada... and voltage of AC220V (200V~240V), used in UK, France...
AC Power Output: It can control AC equipment with voltage 110V / 120V / 220V / 240VAC.
High Power: Each channel can work at maximum current 30A, such as 3000W/110V, 6000W/220V.
With wired control terminals: You can connect sensors, limit switches, manual switches or external devices to control the receiver.
You can turn on/ off the receiver with transmitter (remote control) from any place within a reliable distance.
Wireless RF signal can pass through walls, floors, doors or windows.
With reverse power protection and over current protection.
Reliable control: The receiver only works with the transmitter which use same code.
One/several transmitters can control one/several receivers simultaneously.
You can use two or more units in the same place.
Receiver Parameters:
Model No.: S2PXB-AC220
Power Supply (Operating Voltage): AC100~240V (110V/120V/220V/240V)
Output: AC100~240V (110V/120V/220V/240V)
Working Frequency: 315MHz / 433MHz
Channel: 2 CH
Control Modes: Toggle, Momentary, Latched, Momentary + Toggle
Static Current: ≤6mA
Maximum Working Current: 30A / each channel
PCB size: 140mm x 73mm x 18mm
Case size: 192mm x 100mm x 45mm
Work with Fixed code transmitters.
Transmitter:
Model No.: CV-12
Channel/Button: 12
Button Symbol: 1, 2, 3, 4, 5, 6, 7, 8, 9, 10, 11, 12
Operating Voltage: 12V (1 x 23A -12V battery, can be used for 12 months)
Operating Current: 15mA
Operating Frequency: 315 MHz/ 433Mhz
Encoding Chip: PT2262/PT2264/SC2262
Encoding Type: Fixed code by soldering, up to 6561 codes
Transmitting Distance: 500m / 1500ft (theoretically)
Modulation Mode: ASK
Operating Temperature: -20 °C to +70 °C
Unit Size: 110mm x 50mm x 18mm
Matching Transmitters:
The receiver can work with different transmitters, such as model CV-12 (500M), or CB-12 (1000M) etc.
Working Range:
With a transmitter (such as CV-12) to form a complete set, the maximum working distance can reach 500M in an open ground.
The maximum working distance is a theoretical data, it shall be operated in an open ground, no barriers, no any interference. But in the practice, it will
be hindered by trees, walls or other constructions, and will be interfered by other wireless signals. Therefore, the actual distance may not reach this
maximum working distance.
If you want to have a further working range, you can install an external antenna to the receiver, and you also can use a powerful transmitter, such as
CB series transmitters.
Usage:
The receiver can be used to control AC 110~240V equipments.
SHENZHEN GUIYUAN INDUSTRY DEVELOPMENT CO.,LTD
Http://www.carymart.com E-Mail: sale@carymart.com
Wiring:
If you want to control an AC 220V lamp, do as following:
1) Connect the live wire of AC power supply to terminal “L / +”, and connect the neutral wire of AC power supply to terminal “N / -”.
2) Connect one side of AC lamp to terminal “A(L)" of OUTPUT, and connect another side ofAC lamp to terminal "B(N)" of OUTPUT.
Setting different control modes:
We have set the receiver as Toggle control mode before delivery. If you want to use other control modes, do as following operation:
Setting control mode Toggle: Only connect Jumper-2.
Control mode Toggle (with transmitter CV-12): Press -> On; Press again -> Off.
Press button 1: Terminal A and B of OUT1 of Receiver 1 output AC power, the lamp 1 is on.
Press button 1 again: Terminal A and B of OUT1 of Receiver 1 stop outputting, the lamp 1 is off.
Press button 2: Terminal A and B of OUT2 of Receiver 1 output AC power, the lamp 2 is on.
Press button 2 again: Terminal A and B of OUT2 of Receiver 1 stop outputting, the lamp 2 is off.
…
Press button 11: TerminalA and B of OUT1 of Receiver 6 outputAC power, the lamp 11 is on.
Press button 11 again: Terminal A and B of OUT1 of Receiver 6 stop outputting, the lamp 11 is off.
Press button 12: TerminalA and B of OUT2 of Receiver 6 outputAC power, the lamp 12 is on.
Press button 12 again: TerminalAand B of OUT2 of Receiver 6 stop outputting, the lamp 12 is off.
Setting control mode Momentary: Only connect Jumper-1.
Control mode Momentary (with transmitter CV-12): Press and hold -> On; Release -> Off.
Press and hold button 1: Terminal A and B of OUT1 of Receiver 1 output AC power, the lamp 1 is on.
Release button 1: Terminal A and B of OUT1 of Receiver 1 stop outputting, the lamp 1 is off.
Press and hold button 2: Terminal A and B of OUT2 of Receiver 1 output AC power, the lamp 2 is on.
Release button 2: Terminal A and B of OUT2 of Receiver 1 stop outputting, the lamp 2 is off.
…
Press and hold button 11: Terminal A and B of OUT1 of Receiver 6 output AC power, the lamp 11 is on.
Release button 11: Terminal A and B of OUT1 of Receiver 6 stop outputting, the lamp 11 is off.
Press and hold button 12: Terminal A and B of OUT2 of Receiver 6 output AC power, the lamp 12 is on.
Release button 12: Terminal A and B of OUT2 of Receiver 6 stop outputting, the lamp 12 is off.
Setting control mode Latched: Do not connect Jumper-1 and Jumper-2.
Control mode Latched (with transmitter CV-12): Press -> On, other relays Off; Press another button -> Off.
Press button 1: Terminal A and B of OUT1 of Receiver 1 output AC power, the lamp 1 is on.
TerminalA and B of OUT2 of Receiver 1 stop outputting, the lamp 2 is off.
Press button 2: Terminal A and B of OUT2 of Receiver 1 output AC power, the lamp 2 is on.
TerminalA and B of OUT1 of Receiver 1 stop outputting, the lamp 1 is off.
…
Press button 11: TerminalA and B of OUT1 of Receiver 6 outputAC power, the lamp 11 is on.
Terminal A and B of OUT2 of Receiver 6 stop outputting, the lamp 12 is off.
Press button 12: TerminalA and B of OUT2 of Receiver 6 outputAC power, the lamp 12 is on.
Terminal A and B of OUT1 of Receiver 6 stop outputting, the lamp 11 is off.
Setting control mode Momentary +Toggle (with transmitter CV-12): connect Jumper-1& Jumper-2
1) Control mode Momentary (Channel 1 of Receiver 1, 2, 3, 4, 5, 6): Press and hold -> On; Release -> Off.
Press and hold button 1: Terminal A and B of OUT1 of Receiver 1 output AC power, the lamp 1 is on.
Release button 1: Terminal A and B of OUT1 of Receiver 1 stop outputting, the lamp 1 is off.
…
Press and hold button 11: Terminal A and B of OUT1 of Receiver 6 output AC power, the lamp 11 is on.
Release button 11: Terminal Aand B of OUT1 of Receiver 6 stop outputting, the lamp 11 is off.
2) Control mode Toggle (Channel 2 of Receiver 1, 2, 3, 4, 5, 6): Press -> On; Press again -> Off.
Press button 2: Terminal A and B of OUT2 of Receiver 1 output AC power, the lamp 2 is on.
Press button 2 again: Terminal A and B of OUT2 of Receiver 1 stop outputting, the lamp 2 is off.
…
Press button 12: Terminal A and B of OUT2 of Receiver 6 output AC power, the lamp 12 is on.
Press button 12 again: TerminalAand B of OUT2 of Receiver 6 stop outputting, the lamp 12 is off.
Wired control terminals:
The receiver has manual control terminals, you can connect external devices, sensors, or manual switches to control the receiver.
1) Signal input:
You can connect external devices (with low level output signal) to manual terminals 1 (Signal +), terminal 2 (Signal +) and terminal 3 (Signal -), then
the external device’s output signal can control the receiver.
When the external device outputs low level signal to terminal 1 and 3,Terminal A and B of OUT1 output AC power, the lamp 1 is on.
And when disconnect terminals 1 and 3, TerminalA and B of OUT1 stop outputting, the lamp 1 is off.
When the external device outputs low level signal to terminal 2 and 3,Terminal A and B of OUT2 output AC power, the lamp 2 is on.
SHENZHEN GUIYUAN INDUSTRY DEVELOPMENT CO.,LTD
Http://www.carymart.com E-Mail: sale@carymart.com
And when disconnect terminals 2 and 3, TerminalA and B of OUT2 stop outputting, the lamp 2 is off.
2) The manual switches:
You can connect manual switches to manual terminals 1, 2 and 3, then you can use manual switches to control the receiver.
When connect terminals 1 and 3, Terminal A and B of OUT1 output AC power, the lamp 1 is on.
And when disconnect terminals 1 and 3, TerminalA and B of OUT1 stop outputting, the lamp 1 is off.
When connect terminals 2 and 3, Terminal A and B of OUT2 outputAC power, the lamp 2 is on.
And when disconnect terminals 2 and 3, TerminalA and B of OUT2 stop outputting, the lamp 2 is off.
How to pair the transmitter to the receiver:
1) Press the learning button of receiver for 1- 2 seconds; signal LED on the receiver is on. The receiver enters into status of LEARNING.
2) Press any one singular number on transmitter. If signal LED flashes quickly 15 times and turns off, it means learning is successful.
3) When receiver is in the status of LEARNING, press again the learning button, signal LED turns off, learning process will be discontinued.
4) The receiver can learn several remote controls with different codes.
Delete all transmitters:
We have learned remote control to the receiver. If you don’t want the receiver to work with the remote control, you can delete all codes of remote
controls, which are stored in the receiver.
Operation: Press and hold the learning button of receiver until signal LED flashes slowly; release the button, LED keeps slow flash. That means all
stored codes have been deleted successfully.
Control AC Lamp
AC Power supply
Power LED
Signal LED
Learning Button
Manual
Terminals
1
3
2
1
2
3
Relay1
Relay2
Lamp 2
Lamp1
A
B
A
Status LED 2
Status LED 1
B
OUT2
2
OUT1
Jumper-2
Jumper-1
RF module
Antenn
a
Live wire
Neutral wire
L/+
N/-
IC

This manual suits for next models

1

Other CaryMart Remote Control manuals

CaryMart S1FU-DC06 User manual

CaryMart

CaryMart S1FU-DC06 User manual

CaryMart S2DA-DC09 User manual

CaryMart

CaryMart S2DA-DC09 User manual

CaryMart 2S4UB-AC220+1CV-8 User manual

CaryMart

CaryMart 2S4UB-AC220+1CV-8 User manual

CaryMart 0020524 User manual

CaryMart

CaryMart 0020524 User manual

CaryMart S2U-AC110 User manual

CaryMart

CaryMart S2U-AC110 User manual

CaryMart S1FA-DC12/24 User manual

CaryMart

CaryMart S1FA-DC12/24 User manual

CaryMart S2XC-AC110 User manual

CaryMart

CaryMart S2XC-AC110 User manual

CaryMart S2U-DC06-ANT3 User manual

CaryMart

CaryMart S2U-DC06-ANT3 User manual

CaryMart 0020740 User manual

CaryMart

CaryMart 0020740 User manual

CaryMart S1MU-DC06 User manual

CaryMart

CaryMart S1MU-DC06 User manual

CaryMart 0020284 User manual

CaryMart

CaryMart 0020284 User manual

CaryMart S1XC-AC110 User manual

CaryMart

CaryMart S1XC-AC110 User manual

CaryMart S4U-DC12+2C-4L User manual

CaryMart

CaryMart S4U-DC12+2C-4L User manual

CaryMart S4PX-DC09 User manual

CaryMart

CaryMart S4PX-DC09 User manual

CaryMart 0020389 User manual

CaryMart

CaryMart 0020389 User manual

CaryMart 0020346 User manual

CaryMart

CaryMart 0020346 User manual

CaryMart S2PX-AC220-ANT2 User manual

CaryMart

CaryMart S2PX-AC220-ANT2 User manual

CaryMart 0020221 User manual

CaryMart

CaryMart 0020221 User manual

CaryMart 0020425 User manual

CaryMart

CaryMart 0020425 User manual

CaryMart S1US-DC User manual

CaryMart

CaryMart S1US-DC User manual

CaryMart 0020739 User manual

CaryMart

CaryMart 0020739 User manual

CaryMart 0021052 User manual

CaryMart

CaryMart 0021052 User manual

CaryMart 0020217 User manual

CaryMart

CaryMart 0020217 User manual

CaryMart S1XB-DC06 User manual

CaryMart

CaryMart S1XB-DC06 User manual

Popular Remote Control manuals by other brands

LG PQRCVSL0 Owners & installation manual

LG

LG PQRCVSL0 Owners & installation manual

Spectrum DX6i quick start guide

Spectrum

Spectrum DX6i quick start guide

Control All Wireless 4DP2L0EFA installation instructions

Control All Wireless

Control All Wireless 4DP2L0EFA installation instructions

Chamberlain LiftMaster 361LM user manual

Chamberlain

Chamberlain LiftMaster 361LM user manual

SENSORMETRIX Neon 100 user manual

SENSORMETRIX

SENSORMETRIX Neon 100 user manual

EVS Multicam LSM Operation manual

EVS

EVS Multicam LSM Operation manual

ESX VMR303C owner's manual

ESX

ESX VMR303C owner's manual

Defiant 748-178 Use and care guide

Defiant

Defiant 748-178 Use and care guide

GRAUPNER S1024 Reference manual

GRAUPNER

GRAUPNER S1024 Reference manual

SkyLink MM-318-1 user manual

SkyLink

SkyLink MM-318-1 user manual

Map KF150 Programming instructions

Map

Map KF150 Programming instructions

Simpnic R1 Quick installation guide

Simpnic

Simpnic R1 Quick installation guide

Mi-Light T1 User instruction

Mi-Light

Mi-Light T1 User instruction

RCA RCU500 user guide

RCA

RCA RCU500 user guide

walimex WR-100 instruction manual

walimex

walimex WR-100 instruction manual

Logitech Cordless Presenter Setup

Logitech

Logitech Cordless Presenter Setup

Chamberlain 412HMC manual

Chamberlain

Chamberlain 412HMC manual

nologo SMART-CB manual

nologo

nologo SMART-CB manual

manuals.online logo
manuals.online logoBrands
  • About & Mission
  • Contact us
  • Privacy Policy
  • Terms and Conditions

Copyright 2025 Manuals.Online. All Rights Reserved.