manuals.online logo
Brands
  1. Home
  2. •
  3. Brands
  4. •
  5. Casio
  6. •
  7. Watch
  8. •
  9. Casio 2630 User manual

Casio 2630 User manual

USER’S GUIDE 2630
1
MA0605-EB
About This Manual
•Button operations are indicated using the letters shown
in the illustration.
•Each section of this manual provides you with the
information you need to perform operations in each
mode. Further details and technical information can be
found in the “Reference” section.
(Light)
Timekeeping
Use the Timekeeping Mode to set and view the current
time and date. You can also use the Timekeeping Mode to
select either audible beeper or vibration alert for alarms.
To set the time and date
1. In the Timekeeping Mode, hold down Auntil the
seconds start to flash, which indicates the setting
screen.
2. Use Cto move the flashing in the sequence shown
below to select other settings.
Seconds Hour Minutes 12/24-Hour
Format
Day Year
Month
General Guide
•Press Cto change from mode to mode.
•In any mode, press Lto illuminate the display.
(Light)
Timekeeping Mode Basic Data Input Mode Exercise Stopwatch Mode Recall Mode Alarm Mode Stopwatch Mode
Press
C.
Important!
•Basic data should be changed whenever your stride length or weight changes, or
before a different person uses the watch’s Exercise Stopwatch Mode.
•See “To input your basic data”for information about inputting your stride length and
current weight information.
•You need to perform both of the following steps before you can change your basic
data settings (stride length, current weight, weight unit).
The Exercise Stopwatch must be reset to zero. See “To reset the Exercise
Stopwatch to all zeros”for the zero reset procedure.
Exercise Stopwatch record memory must be empty. See “To clear all Exercise
Stopwatch records”for information about how to delete Recall Mode data.
Weight
You can specify either pounds (Lb) or kilograms (KG) as the weight unit. The range
and increment for each unit are shown below.
Screen
50
p10:58
6-30
To do this:
Reset the seconds to 00.
Change the hour or minutes.
Toggle between 12-hour ( ) and 24-hour
() timekeeping.
Change the year.
Change the month or day.
Do this:
Press E.
Use E(+) and B(–).
Press E.
Use E(+) and B(–).
Day of week
PM
indicator Target graph
Week graph
Month – Day
Hour : Minutes Seconds
3. When the setting you want to change is flashing, use Eand Bto change it as
described below.
Vibration alert on
indicator
Weight Unit
Pounds (Lb)
Kilograms (KG)
Setting Range
66 to 330
30 to 150
Setting Increment
2
1
Stride Length
You can specify either inches (IN) or centimeters (CM) as the stride length unit. The unit
you specify for the stride length unit also determines the unit of measurement used for
the distance value in the Exercise Stopwatch Mode and Recall Mode, as shown below.
•The following examples illustrate how you can calculate values for this setting.
372 steps required to cover 330 yards.
330 (yards)
÷
372 (steps)
X
36 = 31.94 (approximately 32 inches)
372 steps required to cover 300 meters.
300 (meters)
÷
372 (steps) = 0.806 (approximately 80 cm)
To input your basic data
1. Enter the Basic Data Input Mode.
•Note that the Basic Data Input Mode has four screen
types, indicating targets for time (TIME), calories
(CAL), distance (DIST), or number of steps (STEP).
You can input basic data regardless of the screen
type that is currently on the display.
•For information about setting a target value, see
“Setting Target Values”.
2. Hold down Auntil the current input value starts to
flash, which indicates the setting screen.
3. Use Cto select the stride length setting or weight setting.
Stride length
(CM or IN)
Weight
(KG or Lb)
Target Value
(time, calories, distance, number of steps)
•The weight setting is selected when WEIGHT is on
the display, and the stride length setting is selected
when STRIDE is on the display.
4. While the stride length or weight setting is selected, use
E(+) and B(–) to change the displayed value.
•While the weight or stride length setting is selected,
you can switch between measurement units (pounds
(Lb) and kilograms (KG) for the weight, centimeters
(CM) and inches (IN) for the stride length) by pressing
D.
Note
•If you find that you cannot change the weight unit or
stride length unit, press Ato exit the setting screen.
Next, reset the Exercise Stopwatch to all zeros, and
then clear all Exercise Stopwatch records. After that,
you should be able to change the weight unit and
stride length unit.
5. Press Ato exit the setting screen.
Measurement unit
Input valu
e
Data type indicator
(indicates tar
g
et t
y
pe)
Stride Length Unit
Inches (IN)
Centimeters (CM)
Setting Range
14 to 76
40 to 160
Setting Increment
1
2
Distance Unit
Miles (MI)
Kilometers (KM)
•Pressing Ewhile the seconds are in the range of 30 to 59 resets them to 00 and
adds 1 to the minutes. In the range of 00 to 29, the minutes are unchanged.
4. Press Ato exit the setting screen.
•The 12-hour/24-hour timekeeping format you select in the Timekeeping Mode is
applied in all modes.
•The day of the week is automatically displayed in accordance with the date (year,
month, and day) setting.
Vibration Alert
When Vibration Alert is turned on, the watch vibrates instead of sounding a beeper.
This lets you use the watch without disturbing others with beeping sounds.
•Vibration Alert can be used to replace alarm sounds.
•For information about selecting vibration alert or beeper alert in the Timekeeping
Mode, see “To switch between vibration alert and beeper alert”.
•For information about target alerts in the Exercise Stopwatch Mode, see “Exercise
Stopwatch”.
•For information about the daily alarm and hourly time signal alerts, see “Alarms”.
•Watches with a metal band may produce a noise when a vibration operation is
performed. This is due to vibration of the metal band, and does not indicate
malfunction of the watch.
To switch between vibration alert and beeper alert
In the Timekeeping Mode, hold down Dfor about two
seconds to toggle between vibration alert (VIB displayed)
and beeper alert (VIB not displayed).
•The vibration alert on indicator (VIB) is displayed in all
modes.
Inputting Basic Data
Before you can measure walking data with this watch, you
first need enter the Basic Data Input Mode and input
information about your stride length and current weight.
•You can also use the Basic Data Input Mode to specify a
daily target in terms of time, calories, distance, or
number of steps. See “Setting Target Values”for more
information.
•Basic Data is used for calculation of exercise data in the
Exercise Stopwatch Mode.
•All of the operations in this section are performed in the
Basic Data Input Mode, which you enter by pressing C.
Basic Data
The term “basic data”refers to information about your
stride length, and current weight.
USER’S GUIDE 2630
2
Setting Target Values
In addition to configuring basic data, you can also use the
Basic Data Input Mode to specify targets in terms of time,
calories, distance, or number of steps. You can select any
one of the targets you set when performing an Exercise
Stopwatch Mode measurement operation. The watch will
perform an alert operation (beeper or vibration) to let you
know when you reach the selected target.
•The following shows the setting range and units for each
of the available target values.
•The Exercise Stopwatch elapsed time operation will stop automatically when the
time value reach 20 hours.
About the Pacer Signal
The pacer signal of this watch beeps in accordance with a pacer value (rate) set by
you. You can use the pacer signal to maintain a constant pace while walking.
•The pacer value you set specifies the number of steps per minute.
•
Turning on the pacer signal causes the watch to beep at the rate specified by the pacer value.
•The pacer signal will not sound if you have vibration alert turned on. If you want to
use the pacer signal, use the procedure “To switch between vibration alert and
beeper alert”to turn off vibration alert.
To set the pacer value
1. In the Exercise Stopwatch Mode, press E.
•This displays the current pacer value setting.
2. Start walking. As you walk, press the Ebutton each
time your foot hits the ground, for seven steps.
•
After the seventh press of
E
, the watch will calculate
an average pace and display the appropriate pacer value.
•Next, the pacer signal sounds in accordance with the
displayed value for about 15 seconds. You can stop the
pacer signal by pressing any button other than E.
•If the message ERR appears, it means that the
average pace calculated by the watch is outside the
range of 80 to 180 steps per minute.
•The ERR message will remain on the display for
about two seconds. After that, the current pacer signal
will appear as in step 1 of this procedure. Repeat step
2 to set a new pacer value.
3. To exit the pacer value screen, press any button
besides Eand L.
To sound the pacer signal
In the Exercise Stopwatch Mode, press Ato sound the pacer signal. The pacer signal
sounds for about 15 seconds, or until you stop it by pressing any button.
•The pacer signal will not sound if you have vibration alert turned on. If you want to
use the pacer signal, use the procedure “To switch between vibration alert and
beeper alert”to turn off vibration alert.
To perform an Exercise Stopwatch operation
1. In the Exercise Stopwatch Mode, press Bto start the
Exercise Stopwatch operation.
2. To stop the Exercise Stopwatch operation, press B.
•You can press Bagain to restart the Exercise
Stopwatch operation, if you want.
•You can use the Dbutton during an Exercise
Stopwatch operation to scroll through the data screens
shown below.
Targets
Time (MIN)
Calorie (Kcal)
Distance (KM)
(MI)
Number of Steps
Setting Range
0 to 500 minutes
0 to 2,000.00 kcal
0 to 50.00 km
0 to 50.0 mi
0 to 50,000
Setting Increment
10
50
0.50 km
1.0 mi
500
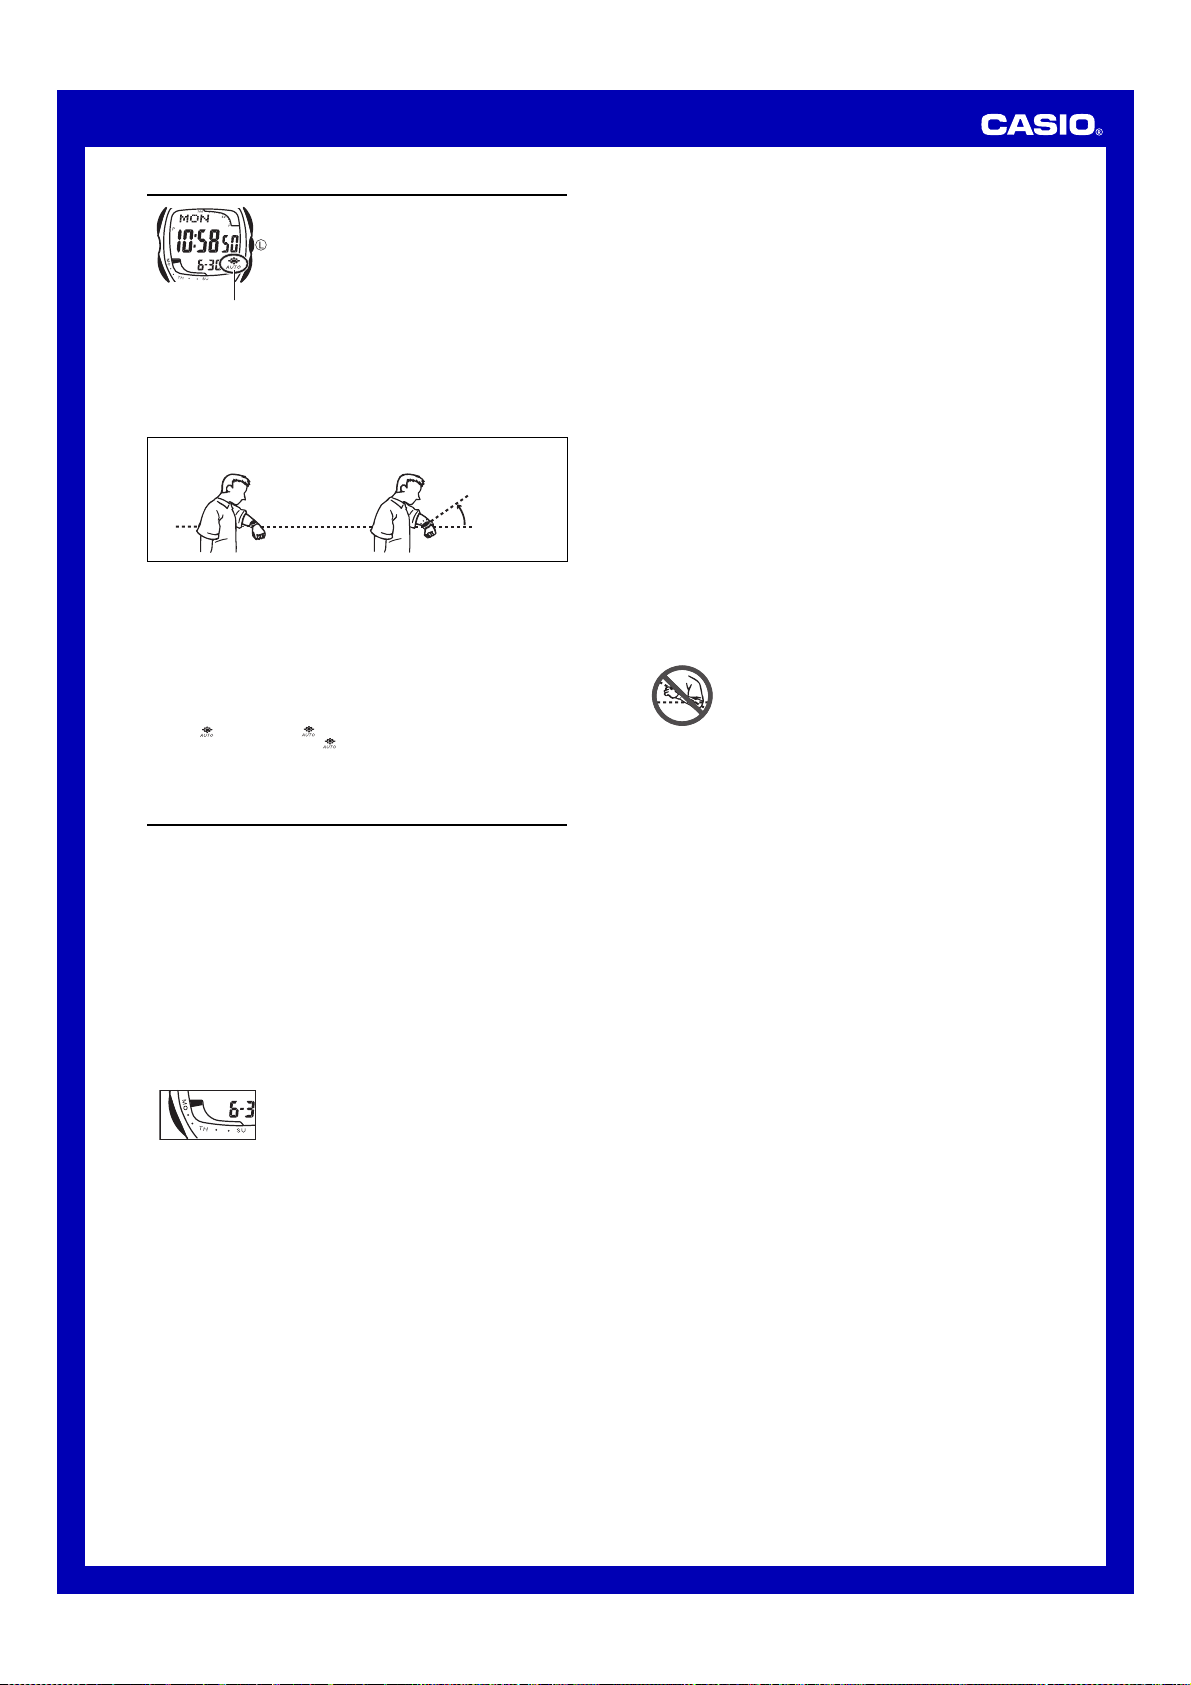
To set a target value
1. In the Basic Data Input Mode, press Dto scroll through the target screens as
shown below, and display the one whose setting you want to change.
Data type indicator (indicates target type)
•The Distance screen shown above, which indicates distance in kilometers (KM)
appears when you have centimeters selected as the stride length unit. If you have
inches selected as the stride length unit, the Distance screen indicates distance in
miles (MI).
•One of the target value screens always contains a target value, and all of the
other screens show “xx”in place of the target value. Setting a target value on a
screen that currently shows “xx”, causes the target value that is currently set on
another screen to change to “xx”.
•The initial default target value setting is “60”(minutes) on the Time (TIME)
screen.
2. Hold down Auntil the current input value starts to flash,
which indicates the setting screen.
•At this point, you could use Cto select other setting
screen settings in the sequence shown below.
Stride length
(CM or IN)
Weight
(KG or Lb)
Target Value
(time, calories, distance, number of steps)
•The stride length setting is selected when CM or IN is
shown for the measurement unit. The weight setting is
selected when KG or Lb is shown for the
measurement unit.
•For information about changing the stride length and
weight settings, see “Basic Data”.
3. While the target value is selected, use E(+) and B(–) to change it.
•You can have a target value set for only one target type (time, calories, distance, or
number of steps) at a time. Setting a target value on a screen that currently shows
“xx”, causes the target value that is currently set on another screen to change to
“xx”.
4. Press Ato exit the setting screen.
Exercise Stopwatch
If you input basic data and use the 15-second pacer
signal, the Exercise Stopwatch Mode will not only
measure the amount of time you spend walking, it will
also calculate the number of calories you burn and the
distance you cover, and even count the number of steps
you take. If you have a target value specified, the
Exercise Stopwatch will even perform an alert operation
to let you know when you reach your goal.
•All of the operations in this section are performed in the
Exercise Stopwatch Mode, which you enter by pressing
C.
Measurement unit
Elapsed time
(Hour : Minutes Seconds)
Timekeeping
Mode time
Data type
indicator
Target graph
Week graph
How the Exercise Stopwatch Works
Note that you must perform the following steps first before the Exercise Stopwatch
Mode will measure and calculate data, and store it in memory.
1. Set your basic data. See “Inputting Basic Data”.
2. Configure the pacer signal. See “About the Pacer Signal”.
Note
•In order to obtain accurate calorie and distance calculations, and step counts, you
must set accurate values for your weight and stride length, and keep your pace in
accordance with the 15-second pacer signal emitted by the watch.
•Exercise Stopwatch values are automatically stored in the watch’s memory and
cleared to zeros at midnight (12:00 a.m.) each day.
•If the time reaches midnight while an Exercise Stopwatch elapsed time operation is
in progress, the current elapsed time value at midnight is stored in watch memory.
The elapsed time operation continues from zero with the start of the new day.
•The following are the measurement and calculation ranges for each value.
Item
Time
Calorie
Distance (KM)
(MI)
Number of Steps
Range
0 to 20 hours
0 to 9,999.99 kcal
0 to 99.99 km
0 to 99.9 mi
0 to 999,999
Unit
1 second
0.01 kcal
0.01 km
0.1 mi
1
Screen Refresh Interval
1 second
10 seconds
1 pacer signal beep
1 pacer signal beep
Press in
time with
7 steps.
Pacer value
Counts number
of presses
(steps)
Exercise Stopwatch
elapsed time screen
Data type indicator
•Note that the Exercise Stopwatch operation continues, even if you exit the Exercise
Stopwatch Mode.
•If you perform an Exercise Stopwatch Mode operation while you have a target value
specified, the watch will perform an alert operation (beep or vibration) for about five
seconds to let you know when you reach your target.
To reset the Exercise Stopwatch to all zeros
1. Enter the Exercise Stopwatch Mode.
2. Make sure that Exercise Stopwatch operation is stopped.
3. Hold down Duntil the watch beeps.
•This causes CLR to flash on the display for about two seconds. After that, the
Exercise Stopwatch elapsed time display resets to zero, which completes the reset
operation.
Note
•Note that the Exercise Stopwatch data cleared using the above procedure is not
stored to watch memory.
Time Calories Number of StepsDistance
USER’S GUIDE 2630
3
•Daily records
Contents: One record per day for seven days (MON through SUN)
When stored: Daily at midnight (12:00 a.m.)
•Weekly records
Contents: One record per week for up to 10 weeks (#01 through #10)
When stored: Every Monday morning at midnight (12:00 a.m.)
•Cumulative record
Contents: Cumulative totals of all measurements since the last all-zero reset (TOTAL)
When stored: Daily at midnight (12:00 a.m.)
•You cannot use the Recall Mode to view records for the current date (those that
have not been stored yet).
•When a daily record is saved, it replaces the previous week’s memory data for the
same day of the week.
•Even if you do not perform any Exercise Stopwatch operation during the day, the
watch automatically stores zero for all record entries at midnight.
•If a weekly record is stored while there are already 10 weekly records in memory,
the oldest data in memory is deleted automatically to make room for the new data.
•Note that Recall Mode operations use the Timekeeping Mode current date (year,
month, day) settings. If you change the Timekeeping Mode date setting, it will cause
all daily record data in watch memory to be cleared. Already stored weekly record
and cumulative record data is not cleared.
To recall Exercise Stopwatch records
1. In the Recall Mode, use Band Eto scroll through the title screens, until the one
for the type of data you want is displayed.
Date
(Month –Day) From date
(Monday)
To date
(Sunday)
Week graph
Day of week
Number of days
target was attained
Cumulative Record
Title Screen
Target graph
Week
number
Press .
Press .
Weekly Record Title Screen
Daily Record Title Screen
•The Record screen that was displayed the last time you exited the Recall Mode
appears first the next time you enter the Recall Mode.
•There are seven Daily Record screens. This means you have to press Eseven
times to get from the MON Daily Record screen to the #01 Weekly Record screen.
•There can be up to 10 Weekly Record screens. This means you have to press E
up to 10 times to get from the #01 Weekly Record screen to the Cumulative Record
screen.
2. After you select a title screen, press Dto scroll through the data in the sequence
shown below.
•The same types of data screens appear for Daily, Weekly, and Cumulative Records.
To clear all Exercise Stopwatch records
In the Recall Mode, hold down Auntil the watch beeps, and CLR stops flashing on
the display.
•This causes all Exercise Stopwatch records currently stored in watch memory to be
deleted.
Alarms
You can set up to five independent alarms with hour,
minutes, and day of the week. When an alarm is turned
on, an alert operation (beep or vibration) is performed
when the alarm time is reached.
You can also turn on an Hourly Time Signal that causes
the watch to beep or vibrate twice every hour on the hour.
•There are five alarm screens numbered1through 5.
The Hourly Time Signal screen is indicated by :00.
•You can configure alarm settings and Hourly Time
Signal settings in the Alarm Mode, which you enter by
pressing C.
Recall Mode
Use the Recall Mode to recall and delete Exercise
Stopwatch records.
•All of the operations in this section are performed in the
Recall Mode, which you enter by pressing C.
About Memory Management
The watch maintains three types of Exercise Stopwatch
records: daily, weekly, and cumulative. Each record
consists of a title screen, and four data screens showing
time, calorie, distance, and number of step data.
Alarm Types
The alarm type is determined by the settings you configure, as described below.
•Daily alarm
Set the hour and minutes for the alarm time. This type of setting causes alert
operation (beep or vibration) to be performed everyday at the time you set.
•Weekly alarm
Set the hour, minutes, and the day of the week for the alarm time. This type of
setting causes alert operation (beep or vibration) to be performed every week at the
time you set, on the day of the week you set.
To set an alarm time
1. In the Alarm Mode, press Dto display the alarm
screen.
2. Hold down Auntil the hour setting of the alarm time
starts to flash, which indicates the setting screen.
•At this time, the alarm is turned on automatically.
3. Press Cto move the flashing in the sequence shown
below to select other settings.
Hour Day of week
Minutes
Date Time Calories
Number of Steps Distance
Day of
week Alarm
number
Alarm time
(Hour : Minutes)
Timekeeping
Mode time
Week graph
Day of week
Hour
Minutes
Alarm on indicator
4. While a setting is flashing, use E(+) or B(–) to change it.
•To set an alarm that does not include a day of the week (daily alarm), set ---
for the day of the week. Press Eor Buntil the --- mark appears (between
SAT and SUN) while the day of the week setting is flashing.
•When setting the alarm time using the 12-hour format, take care to set the time
correctly as a.m. (no indicator) or p.m. (Pindicator).
5. Press Ato exit the setting screen.
Alarm Operation
The alert operation (beep or vibration) is performed at the preset time for about
10 seconds.
•Pressing any button stops the alert operation.
•The alarm and the hourly time signal operations (beep or vibration) are performed in
all modes except for the Timekeeping Mode setting screen.
To test the alarm
While in the Alarm Mode, hold down Dto sound the alarm.
To turn an alarm on and off
1. In the Alarm Mode, press Dto display the alarm
screen.
2. Press Bto toggle it on ( displayed) and off ( not
displayed).
•The alarm on indicator ( ) is displayed in all modes
except for the Timekeeping Mode setting screen.
To turn Hourly Time Signal on and off
1. In the Alarm Mode, press Dto display the Hourly Time
Signal screen.
2. Press Bto toggle it on ( displayed) and off ( not
displayed).
•The Hourly Time Signal on indicator ( ) is displayed in
all modes.
Stopwatch
The stopwatch lets you measure elapsed time, split times,
and two finishes.
Note
•The Stopwatch Mode and Exercise Stopwatch Mode are
independent of each other. Because of this, times you
measure in the Stopwatch Mode are not stored in
memory. Also, Stopwatch Mode times do not appear in
the records that are displayed in the Recall Mode.
•The display range of the stopwatch is 23 hours,
59 minutes, 59.99 seconds.
•The stopwatch continues to run, restarting from zero
after it reaches its limit, until you stop it.
•The stopwatch measurement operation continues even
if you exit the Stopwatch Mode.
•Exiting the Stopwatch Mode while a split time is frozen
on the display clears the split time and returns to
elapsed time measurement.
•All of the operations in this section are performed in the Stopwatch Mode, which you
enter by pressing C.
To measure times with the stopwatch
Elapsed Time
Start Stop Re-start Stop Clear
Start Split
(SPL displayed)
Split release Stop Clear
Start Split Stop Split release Clear
Split Time
Two Finishes
First runner
finishes.
Display time of
first runner.
Second runner
finishes.
Display time of
second runner.
Hourly time signal on
indicator
Minutes
Seconds
1/100 second
Hours
USER’S GUIDE 2630
4
Backlight
The backlight uses an EL (electro-luminescent) panel that
causes the entire display to glow for easy reading in the
dark. The watch’s auto light switch automatically turns on
the backlight when you angle the watch towards your
face.
•The auto light switch must be turned on (indicated by
the auto light switch on indicator) for it to operate.
•See “Backlight Precautions”for other important
information about using the backlight.
To turn on the backlight manually
In any mode, press Lto illuminate the display for about
two seconds.
•The above operation turns on the backlight regardless
of the current auto light switch setting.
About the Auto Light Switch
Turning on the auto light switch causes the backlight to turn on for about two seconds,
whenever you position your wrist as described below in any mode.
Moving the watch to a position that is parallel to the ground and then tilting it
towards you more than 40 degrees causes the backlight to turn on.
Warning!
•Always make sure you are in a safe place whenever you are reading the
display of the watch using the auto light switch. Be especially careful when
running or engaged in any other activity that can result in accident or injury.
Also take care that sudden illumination by the auto light switch does not
surprise or distract others around you.
•When you are wearing the watch, make sure that its auto light switch is turned
off before riding on a bicycle or operating a motorcycle or any other motor
vehicle. Sudden and unintended operation of the auto light switch can create
a distraction, which can result in a traffic accident and serious personal injury.
To turn the auto light switch on and off
In the Timekeeping Mode, hold down Lfor about two seconds to toggle the auto light
switch on ( displayed) or off ( not displayed).
•The auto light switch on indicator ( ) is on the display in all modes while the auto
light switch is turned on.
•In order to protect against running down the battery, the auto light switch
automatically turns off approximately five hours after you turn it on.
Reference
This section contains more detailed and technical information about watch operation.
It also contains important precautions and notes about the various features and
functions of this watch.
Week Graph
The week graph has seven segments, one for each day of the week.
Timekeeping Mode and Exercise Stopwatch Mode: Current date flashes, and
segments are darkened for all the days of the week during which the target was
attained.
Recall Mode
Daily record: The segment is darkened for the day of the week of the currently
recalled date, if the target was attained during that date.
Weekly record: Segments are darkened for all the days of the selected week during
which the target was attained.
Alarm Mode: Segments are darkened for the day of the week for which a weekly
alarm is set. In the case of a daily alarm, all segments are darkened.
•Weekly graph segments are not darkened and they do not flash on the cumulative
record screen of the Recall Mode or in the Stopwatch Mode.
•The following shows the abbreviations used for the day of the week in the week
graph.
Monday: MO
Tuesday: None
Wednesday: None
Thursday: TH
Friday: None
Saturday: None
Sunday: SU
Target Graph
The target graph consists of 10 elements, each representing 10% of a total target
value. The following explains what the target graph indicates in each mode.
Timekeeping Mode and Exercise Stopwatch Mode: Segments are darkened to
indicate the percentage of the target value attained during the current date.
Recall Mode
Daily record: Segments are darkened to indicate the percentage of the target value
attained during the currently recalled day of the week.
•Target graph segments are not darkened and they do not flash on the weekly record
screen or cumulative record screen of the Recall Mode, or in the Alarm Mode or
Stopwatch Mode.
Auto return features
If you leave a screen with flashing digits on the display for two or three minutes
without performing any operation, the watch automatically saves any settings you
have made up to that point and exits the setting screen.
Scrolling
The Band Ebuttons are used in various modes and setting screens to scroll
through data on the display. In most cases, holding down these buttons during a scroll
operation scrolls through the data at high speed.
Initial Screens
When you enter the Basic Data Input Mode, Recall Mode, or Alarm Mode, the data
you were viewing when you last exited the mode appears first.
Timekeeping
•With the 12-hour format, the P(PM) indicator appears on the display for times in the
range of noon to 11:59 p.m. and no indicator appears for times in the range of
midnight to 11:59 a.m.
•With the 24-hour format, times are displayed in the range of 0:00 to 23:59, without
any indicator.
•The year can be set in the range of 2000 to 2049.
•The watch’s built-in full automatic calendar makes allowances for different month
lengths and leap years. Once you set the date, there should be no reason to change
it except after you have the watch’s battery replaced.
Exercise Stopwatch
•The values for the number of calories produced by this watch show calories burned
while walking only.
•The number of calories consumed for a given amount of exercise differs from
individual-to individual (because of differences in levels of fitness, etc.) This watch
calculates its values based on general trends, and so the data it produces should be
regarded as a reasonable facsimile only.
Backlight Precautions
•The electro-luminescent panel that provides illumination loses power after very long
use.
•The illumination provided by the backlight may be hard to see when viewed under
direct sunlight.
•The watch may emit an audible sound whenever the display is illuminated. This is
due to vibration of the EL panel used for illumination, and does not indicate
malfunction.
•The backlight automatically turns off whenever an alarm operation (beep and
vibration) is performed.
•Frequent use of the backlight shortens the battery life.
Auto light switch precautions
•Avoid wearing the watch on the inside of your wrist. Doing so causes the auto light
switch to operate when it is not needed, which shortens battery life. If you want to
wear the watch on the inside of your wrist, turn off the auto light switch feature.
•The backlight may not light if the face of the watch is
more than 15 degrees above or below parallel. Make
sure that the back of your hand is parallel to the ground.
•The backlight turns off in about two seconds, even if you
keep the watch pointed towards your face.
•Static electricity or magnetic force can interfere with
proper operation of the auto light switch. If the backlight
does not light, try moving the watch back to the starting
position (parallel with the ground) and then tilt it back
toward you again. If this does not work, drop your arm
all the way down so it hangs at your side, and then bring
it back up again.
•Under certain conditions, the backlight may not light
until about one second after you turn the face of the
watch towards you. This does not necessarily indicate
malfunction of the backlight.
Auto light switch on
indicator
More than 40
°
Parallel to ground.
More than 15 degrees
too high

Other Casio Watch manuals

Casio QW-914 User manual

Casio

Casio QW-914 User manual

Casio 3179 User manual

Casio

Casio 3179 User manual

Casio 5634 User manual

Casio

Casio 5634 User manual

Casio Baby-G BG-72-2E User manual

Casio

Casio Baby-G BG-72-2E User manual

Casio G-SHOCK MTG-B2000PH-2A User manual

Casio

Casio G-SHOCK MTG-B2000PH-2A User manual

Casio 2707 User manual

Casio

Casio 2707 User manual

Casio 3274 User manual

Casio

Casio 3274 User manual

Casio QW-380 User manual

Casio

Casio QW-380 User manual

Casio S100X User manual

Casio

Casio S100X User manual

Casio 2606 User manual

Casio

Casio 2606 User manual

Casio HS-70W User manual

Casio

Casio HS-70W User manual

Casio 3034 User manual

Casio

Casio 3034 User manual

Casio 5035 User manual

Casio

Casio 5035 User manual

Casio 5276 User manual

Casio

Casio 5276 User manual

Casio 3377 User manual

Casio

Casio 3377 User manual

Casio 3469 User manual

Casio

Casio 3469 User manual

Casio 5472 User manual

Casio

Casio 5472 User manual

Casio 1565 User manual

Casio

Casio 1565 User manual

Casio 5184 User manual

Casio

Casio 5184 User manual

Casio QW-951 Configuration guide

Casio

Casio QW-951 Configuration guide

Casio 3100 User manual

Casio

Casio 3100 User manual

Casio 5085 User manual

Casio

Casio 5085 User manual

Casio 3481 Service manual

Casio

Casio 3481 Service manual

Casio WTP-150 User manual

Casio

Casio WTP-150 User manual

Popular Watch manuals by other brands

Louis Chevrolet CLASSIC 8 instruction manual

Louis Chevrolet

Louis Chevrolet CLASSIC 8 instruction manual

Cosmo JrTrack 2 user guide

Cosmo

Cosmo JrTrack 2 user guide

ISASWISS 8270 instruction manual

ISASWISS

ISASWISS 8270 instruction manual

WEEPLUG SB 18 Plus user manual

WEEPLUG

WEEPLUG SB 18 Plus user manual

Pulsar N021 manual

Pulsar

Pulsar N021 manual

Sami Wearable WS-2342 user manual

Sami Wearable

Sami Wearable WS-2342 user manual

Rip curl FUNCTION.3 HAND ANALOGUE DIGITAL WITH DUAL TIME, DATE, ALARM, STOPWATCH, LIGHT & SLEEP... manual

Rip curl

Rip curl FUNCTION.3 HAND ANALOGUE DIGITAL WITH DUAL TIME, DATE, ALARM, STOPWATCH, LIGHT & SLEEP... manual

AKOR Black Dune User guide and warranty conditions

AKOR

AKOR Black Dune User guide and warranty conditions

Jaeger-leCoultre Master Compressor Chronograph user guide

Jaeger-leCoultre

Jaeger-leCoultre Master Compressor Chronograph user guide

IWC Schaffhausen Ingenieur Double Chronograph Titanium operating instructions

IWC Schaffhausen

IWC Schaffhausen Ingenieur Double Chronograph Titanium operating instructions

Sigma iD.FREE user guide

Sigma

Sigma iD.FREE user guide

Junghans solar user manual

Junghans

Junghans solar user manual

Seiko S141A Parts catalogue /technical guide

Seiko

Seiko S141A Parts catalogue /technical guide

Christopher Ward C60 Sapphire manual

Christopher Ward

Christopher Ward C60 Sapphire manual

Garett Kids Cloud 4G user manual

Garett

Garett Kids Cloud 4G user manual

Blancpain 500 Fathoms GMT manual

Blancpain

Blancpain 500 Fathoms GMT manual

Bomberg BOLT-68 - Bayonet system user guide

Bomberg

Bomberg BOLT-68 - Bayonet system user guide

G-Shock GRAVITYMASTER GPW-1000 Quick operation guide

G-Shock

G-Shock GRAVITYMASTER GPW-1000 Quick operation guide

manuals.online logo
manuals.online logoBrands
  • About & Mission
  • Contact us
  • Privacy Policy
  • Terms and Conditions

Copyright 2025 Manuals.Online. All Rights Reserved.