Operation Guide 2763
4
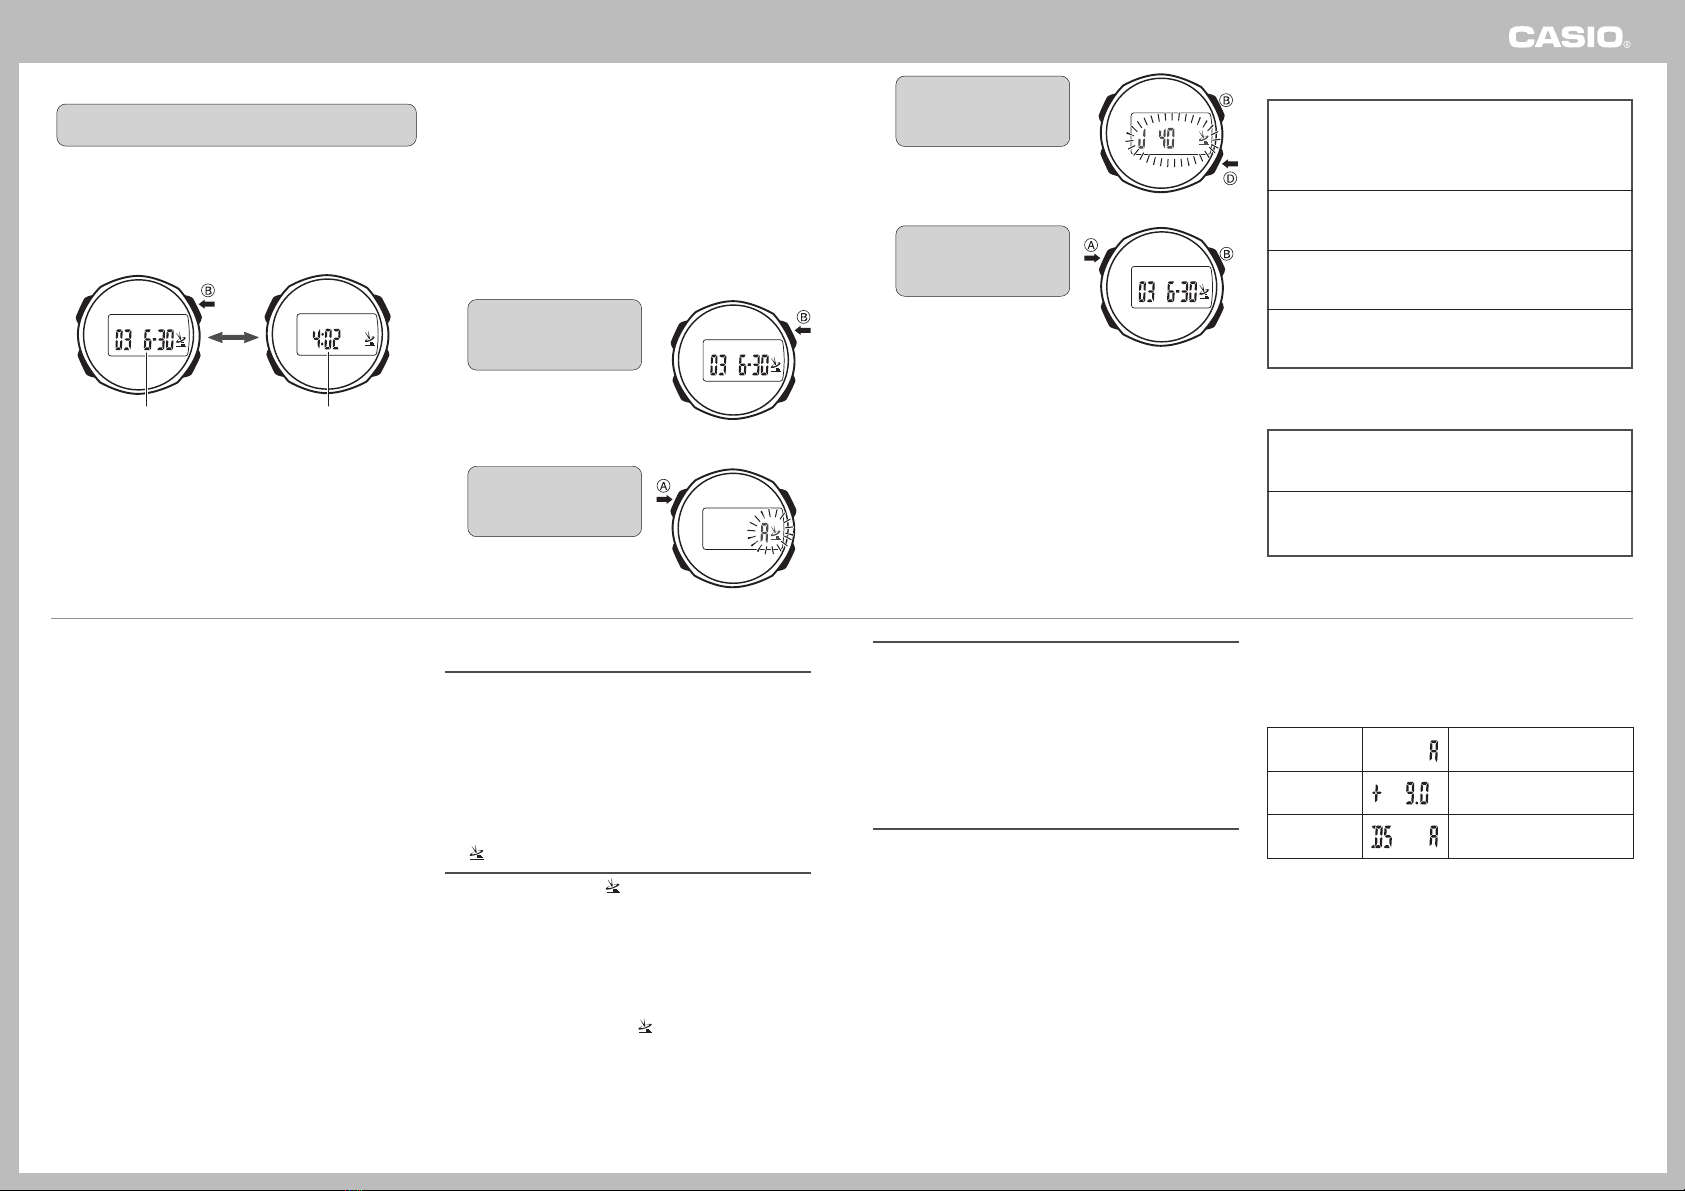
Configuring Signal Reception
Settings
Use the procedure below to turn auto calibration signal reception
on and off. When +9.0 (Tokyo) is selected as the time zone, you
can select either of two different Japanese transmitters for
reception.
•For information about selecting a Time Zone, see “Setting the
Time and Date Manually”.
•The initial factory default settings of the watch are +9.0 (Tokyo) for
the time zone, and A(auto select) for the transmitter selection
mode.
•You can perform the following procedure while the current time
zone setting is +9.0,–5.0,–6.0,–7.0 or –8.0.
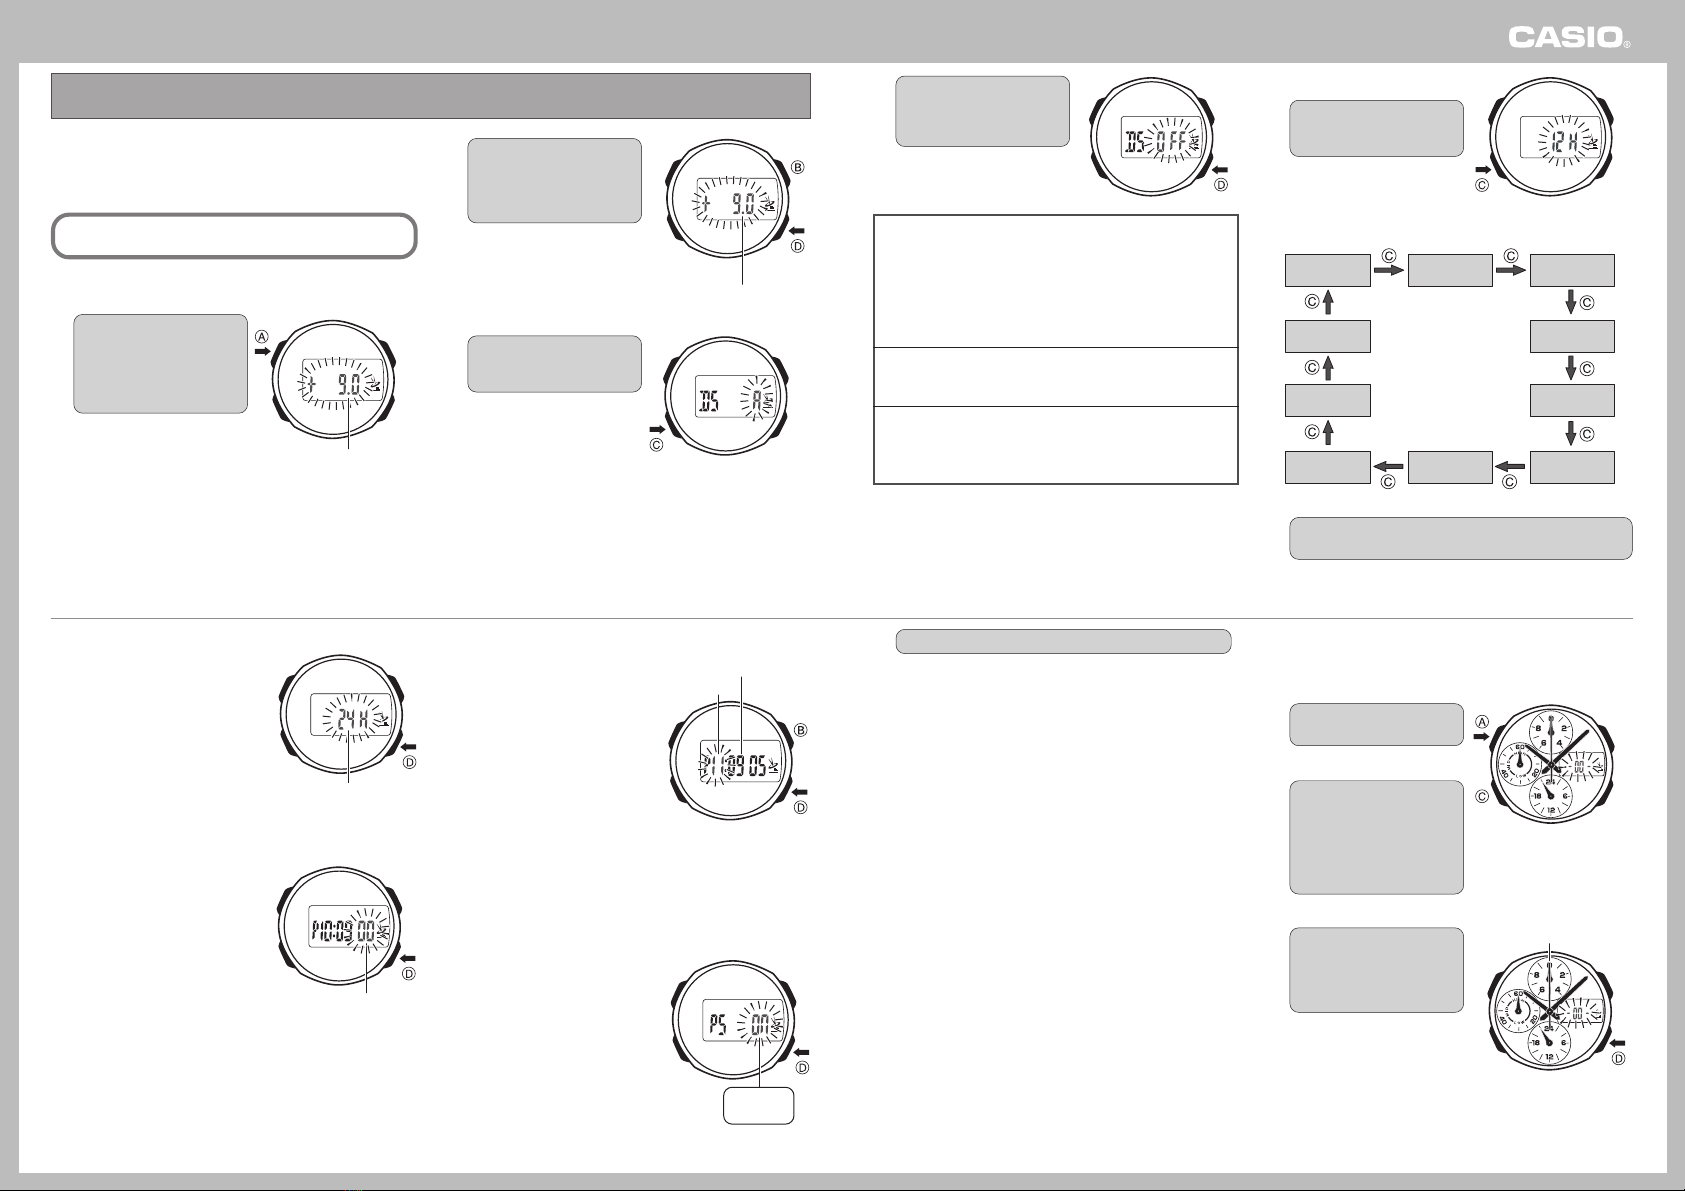
1. In the Timekeeping Mode,
press the BB
BB
Bbutton to
display the last reception
date and time screen.
•The display will return to the
normal timekeeping screen
automatically if you do not
perform any operation for
about one or two minutes.
2. Hold down the AA
AA
Abutton
for about two seconds
until the indicator starts to
flash.
•This is the signal reception
setting screen.
❚
Viewing the Last Reception Date and Time
In the Timekeeping Mode, press the
BB
BB
B
button. This displays
the date and time of the last successful signal reception.
•The display alternates between the reception date and reception
time at two-second intervals.
•To return to the Timekeeping Mode, press the Bbutton again.
•The display also returns to the normal timekeeping screen
automatically if you do not perform any operation for about one or
two minutes.
Reception
Date Reception
Time
2-second
interval
When the time zone setting is +9.0
•A (AUTO)
Selecting this setting turns on auto receive and auto
transmitter selection. The watch automatically selects either
the Mt. Otakadoya signal (40kHz) or the Mt. Hagane signal
(60kHz), whichever is strongest.
•J 40
Selecting this setting turns on auto receive. The watch always
receives the Mt. Otakadoya signal (40kHz).
•J 60
Selecting this setting turns on auto receive. The watch always
receives the Mt. Hagane signal (60kHz).
•OFF
Selecting this setting turns off auto receive and auto
transmitter selection.
When the time zone setting is –5.0, –6.0, –7.0, –8.0
•W 60
Selecting this setting turns on auto receive. The watch always
receives the Fort Collins, Colorado signal.
•OFF
Selecting this setting turns off auto receive and auto
transmitter selection.
3. Use the DD
DD
Dand BB
BB
Bbuttons
to cycle through the
available signal reception
settings.
4. After the setting is the way
you want, press the AA
AA
A
button to exit the setting
screen.
•Press the Bbutton to return
to the Timekeeping Mode.
•The display also will return to
the normal timekeeping
screen automatically if you do
not perform any operation for
about two or three minutes.
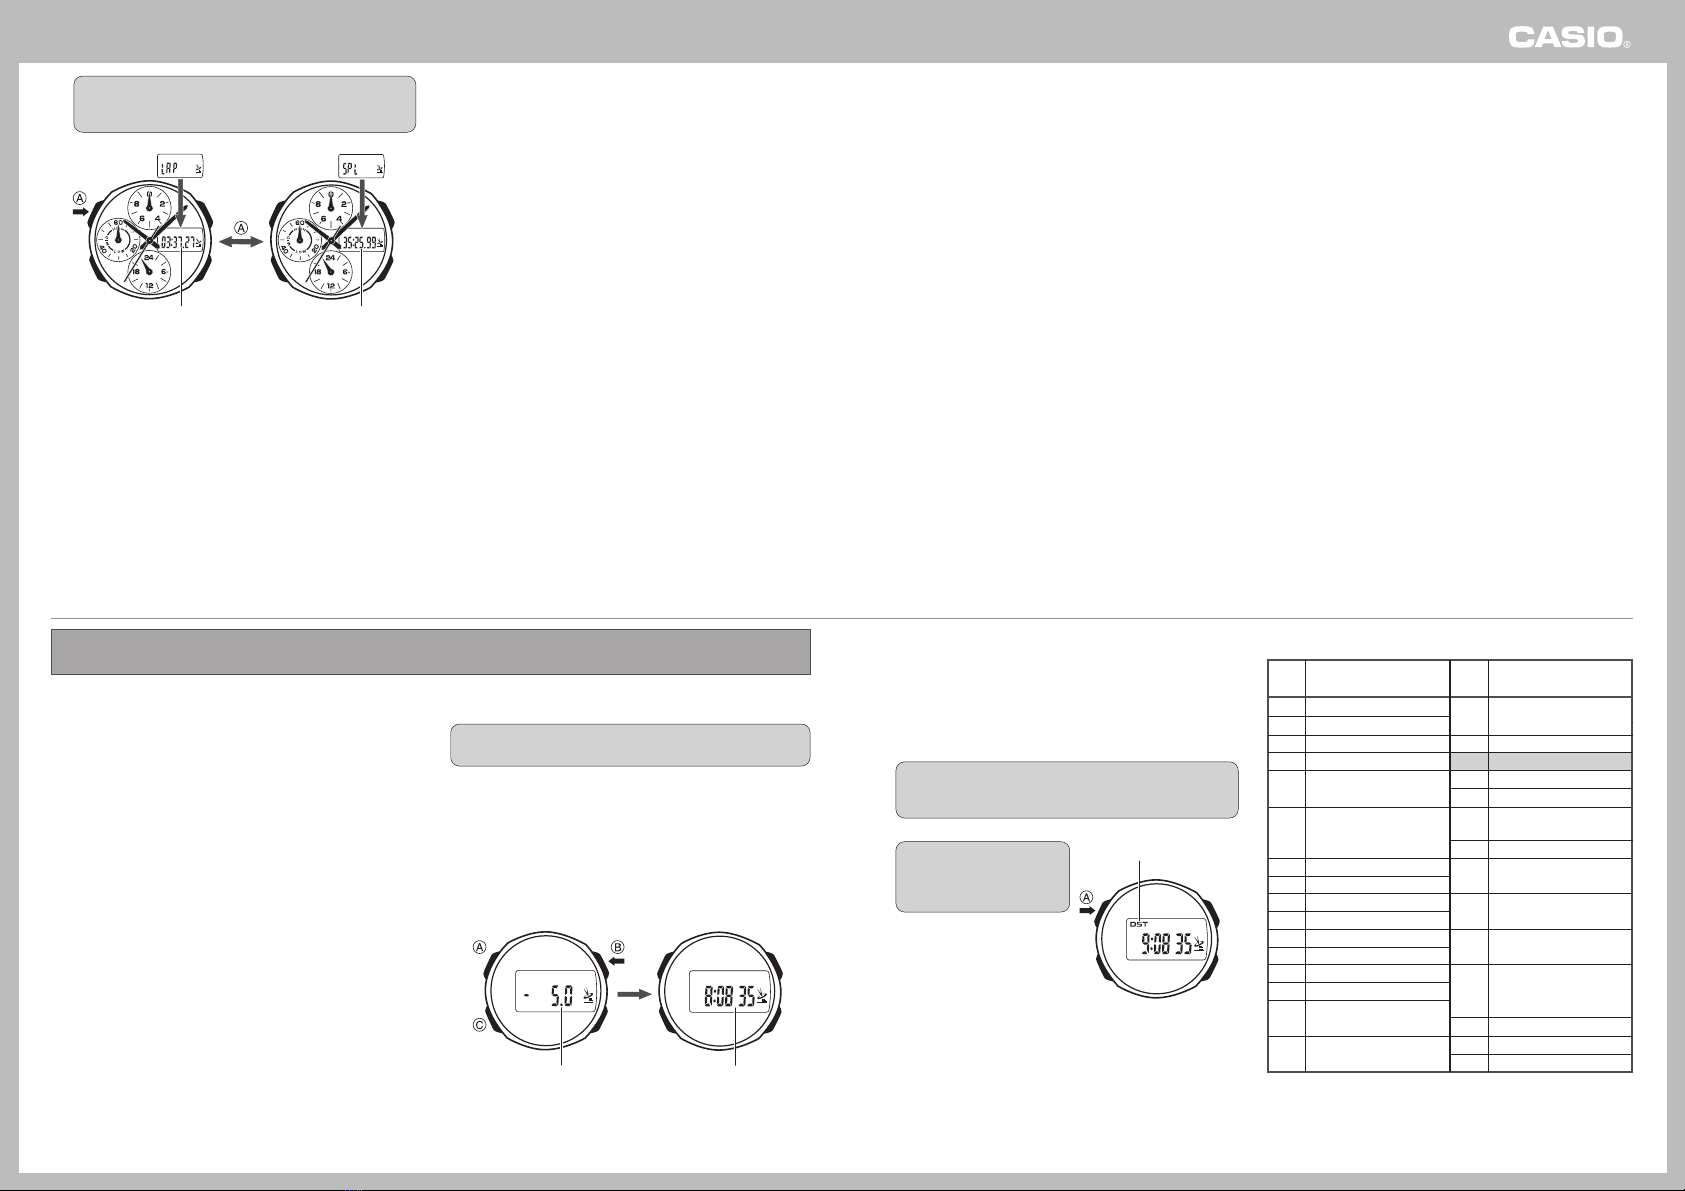
Time setting is incorrect following signal reception.
Cause: •Summer time is turned on or the wrong
time zone is selected.
Corrective Measures: •If the time is advanced by one hour, it
probably means that summer time
(indicated by the DST indicator on the
display) is turned on. If the time is off by
more than one hour, it probably means
that the wrong time zone is selected. Use
the procedure under “Setting the Time
and Date Manually” to correct the
applicable setting.
Cannot configure signal reception settings.
Cause: •Signal reception settings can be
configured only while the current time
zone setting is +9.0,–5.0,–6.0,–7.0 or
–8.0.
Corrective Measures: •Change the time zone setting to +9.0,
–5.0,–6.0,–7.0 or –8.0. For information
about selecting a time zone, see “Setting
the Time and Date Manually”.
Troubleshooting
Cannot perform manual reception.
Cause: •Manual receive can be performed in the
Timekeeping Mode only.
•Manual reception can be performed only
while the current time zone setting is
+9.0,–5.0,–6.0,–7.0 or –8.0.
Corrective Measures: •Perform manual receive in the
Timekeeping Mode.
•Change the time zone setting to +9.0,
–5.0,–6.0,–7.0 or –8.0. For information
about selecting a time zone, see “Setting
the Time and Date Manually”.
The icon is not on the display even though auto signal
reception is turned on.
Cause: •The icon appears after the watch
successfully receives the calibration
signal and adjusts the current time
setting.
•A single receive operation was not
successful.
•The watch is not in the Timekeeping
Mode or Dual Time Mode when an auto
receive time is reached.
•You performed manual reception, which
clears the icon from the display.
Corrective Measures: •Check to make sure the watch is in a
location where it can receive the signal.
•Place the watch in a location where
reception conditions are good.
•Make sure that the watch is in the
Timekeeping Mode or Dual Time Mode
during the auto receive times.
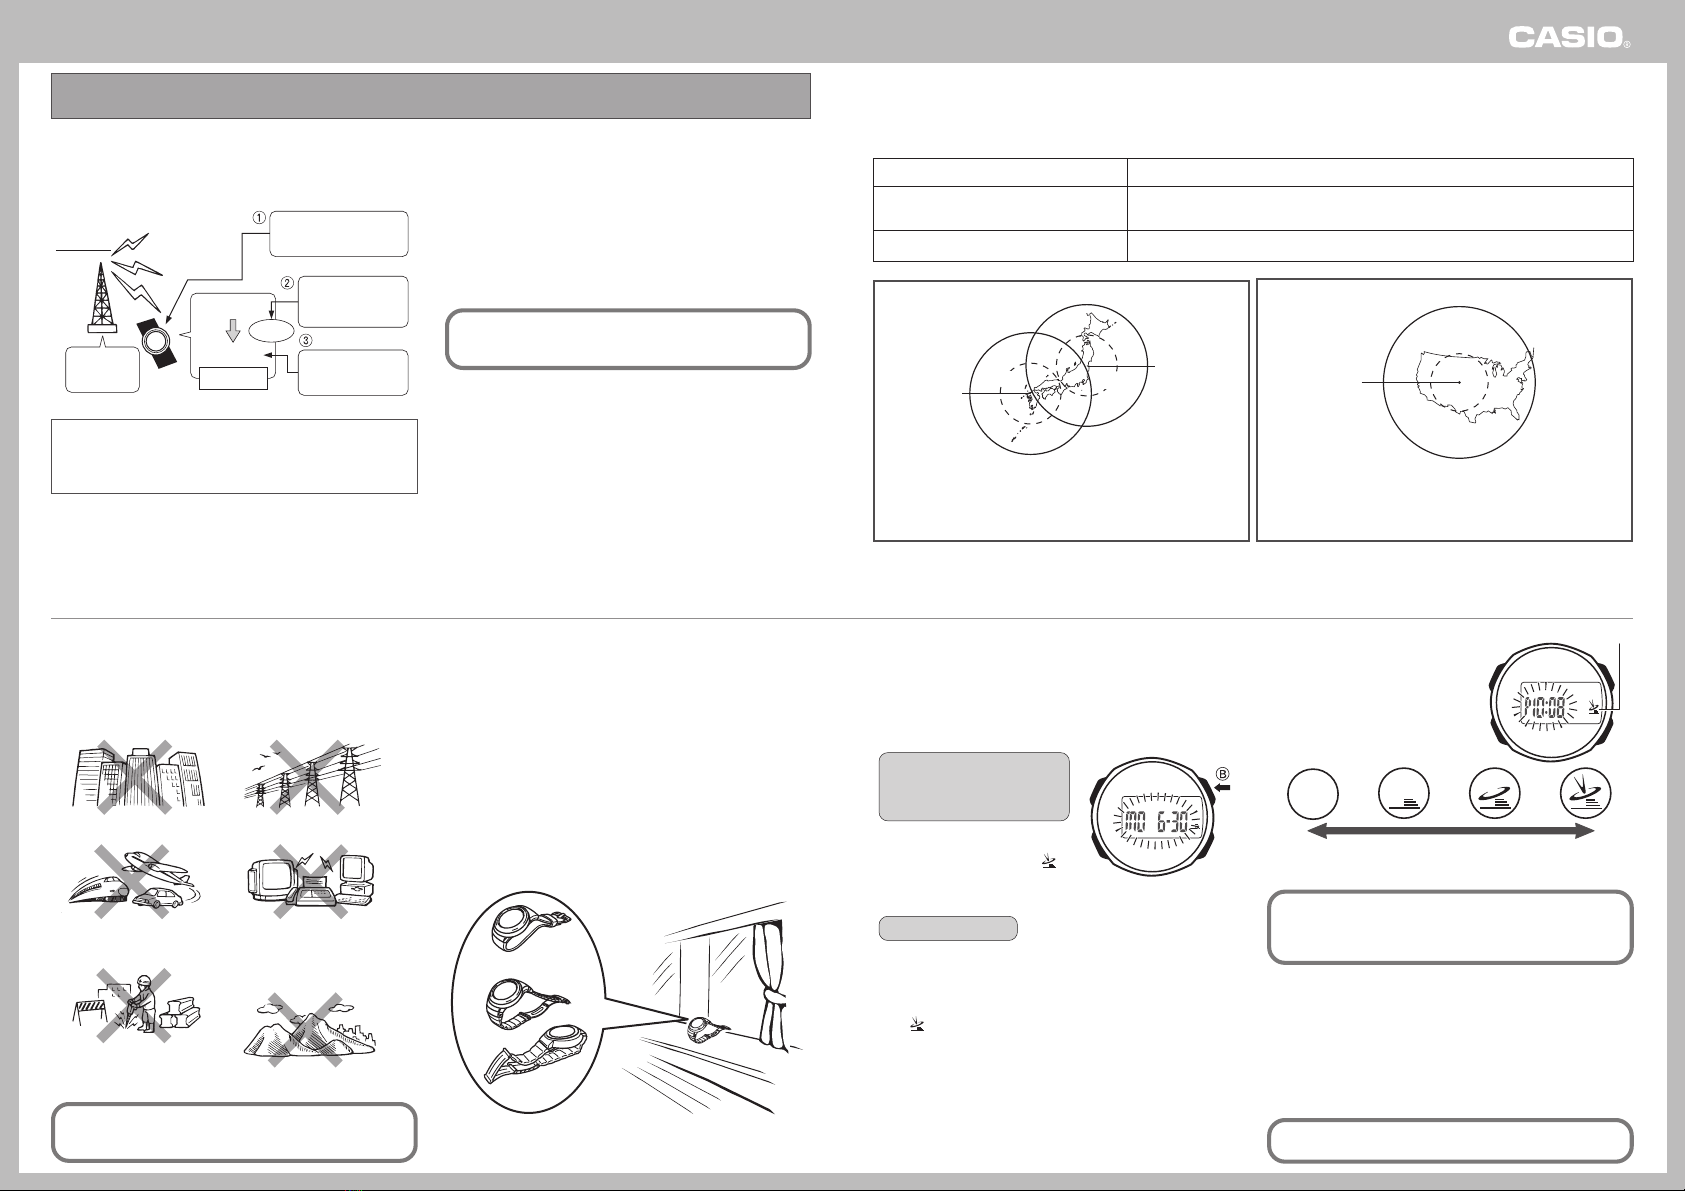
Calibration Signal Reception
Precautions
•Auto reception can be performed while the watch is in the
Timekeeping Mode or Dual Time Mode only.
•Receipt of a calibration signal causes the digital time to be
adjusted first, followed by adjustment of the analog time. In order
to ensure correct ajustment of the analog time, be sure to match
the analog time with the digital time before performing a signal
receive operation.
•Note that analog timekeeping is not performed during signal
reception, so the time indicated by the analog hands may be
wrong.
•Operating any button while auto reception is in progress will
cause the watch to beep and then exit the receive operation.
•Make sure you are within the range of the calibration signal
transmitter before performing the reception operation. Remember
that geographic contours, nearby buildings, the season, the time
of day, can make reception impossible even when you are within
range of the transmitter.
•Proper reception may be impossible if there is something blocking
the signal. If reception is unsuccessful, try again.
•This watch is designed to adjust its current time setting in
accordance with the calibration signal transmitted in Japan and
the United States only. Note that you will need to make your own
adjustments when using this watch outside of Japan or the United
States, or in any area that is outside the range of one of the
receivable time calibration signal transmitters.
•When the watch is unable to adjust its time signal using the
calibration signal for some reason, timekeeping accuracy is within
±15 seconds per month.
•Strong electrostatic charge can cause timekeeping error.
•Signal reception is canceled if an alarm starts to sound while it is
being performed.
•The watch’s calendar shows dates up to the year 2099.
Attempting a receive operation after that causes an error.
•If you cannot receive the calibration signal or if the current time
setting is incorrect after signal reception, check the current setup
of the watch.
•The following are the watch’s factory default settings, which
are configured automatically whenever you have the battery
of the watch replaced.
Transmitter
Time Zone
Summer Time Auto switching (according to
signal data)
Auto Japan transmitter select
(40kHz/ 60kHz)
Tokyo (Japan) time zone