Operation Guide 3451
E-49
•Note that the DST/Standard Time setting affects only the currently displayed city
code. Other city codes are not affected.
To swap your World Time City and Local Time City
1. In the World Time Mode, select the Local Time City you want.
•For information about selecting a Local Time City, see “To specify the Local Time
City” (page E-18).
2. Hold down Bfor at least four seconds.
•This will make the Local Time City (which you selected in step 1) your World
Time City. At the same time, it will change the World Time City you had selected
prior to step 2 to your Local Time City.
•After swapping the World Time City and Local Time City, the watch stays in the
World Time Mode with the city that was selected as the World Time City prior to
step 2 now displayed as the Local Time City.
E-48
To view the time in another city
In the World Time Mode, use D(east) to scroll through city codes (time zones).
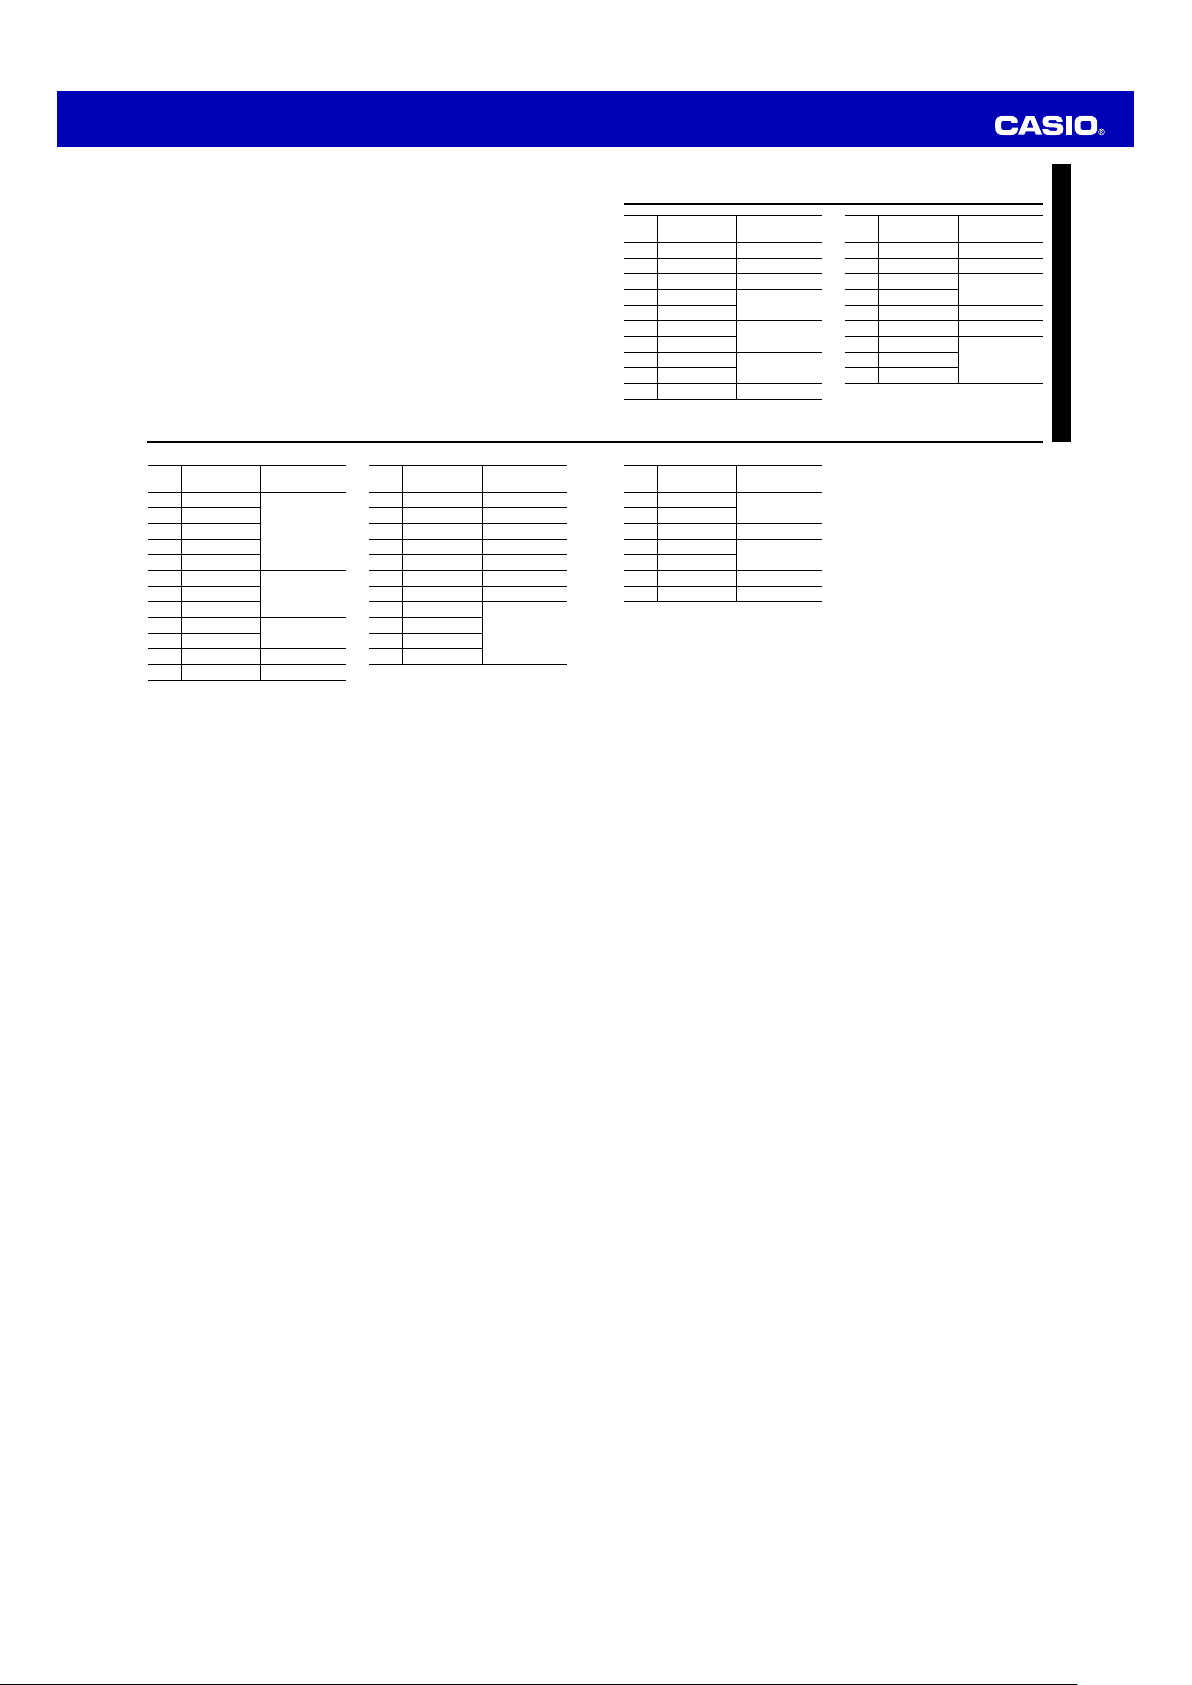
•For full information on city codes, see the “City Code Table” at the back of this
manual.
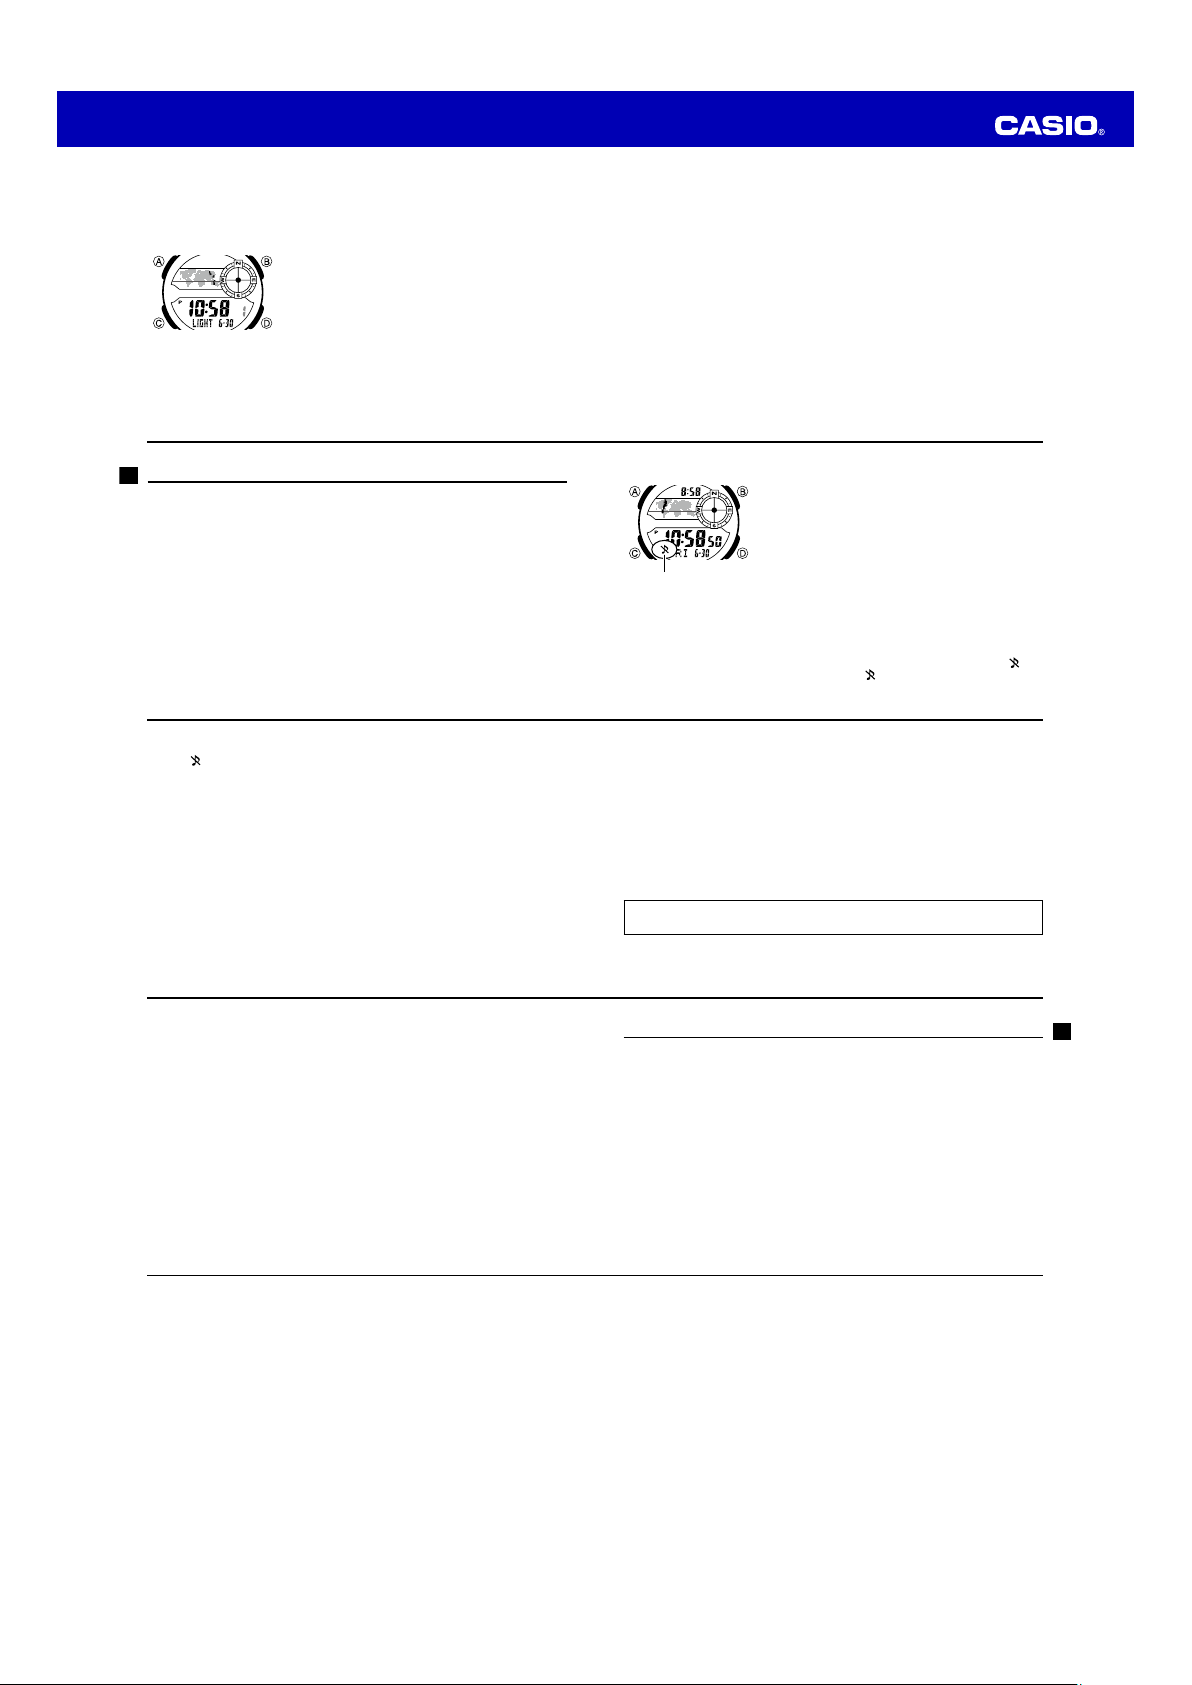
To toggle a city code time between Standard Time and Daylight Saving Time
1. In the World Time Mode, use D(east) to display the
city code (time zone) whose Standard Time/Daylight
Saving Time setting you want to change.
2. Hold down Ato toggle between Daylight Saving Time
(DST indicator displayed) and Standard Time (DST
indicator not displayed).
•The DST indicator appears on the display whenever
you display a city code for which Daylight Saving
Time is turned on.
•Note that you cannot switch between Standard Time
and Daylight Saving Time (DST) while UTC is
selected as your World Time City.
DST indicator
E-47
World Time
The World Time Mode lets you look up the current time in
a third city, which can be any one of 48 cities (31 time
zones) around the world, or the UTC. This is in addition to
your more commonly used Home City and Local Time City
times displayed in the Timekeeping Mode.
You can also use the World Time Mode to simultaneously
display the current time in your Home City, Local Time
City, and World Time City.
•If the current time shown for a city is wrong, check your
Home City time settings and make the necessary
changes (page E-12).
•You also can swap the current World Time City and
Local Time City in the World Time Mode (page E-49).
•All of the operations in this section are performed in the
World Time Mode, which you enter by pressing C
(page E-9).
Local Time
City time
World Time
City code
World Time
City time
Home City
time
E-46
To specify the temperature display unit
1. In the Digital Compass/Thermometer Mode, hold down
Auntil CAL starts to flash on the display.
2. Press Cthree times and the current temperature
display unit will flash on the display. This is the
temperature display unit setting screen.
3. Use Dto switch between Celsius (°C) and Fahrenheit
(°F).
•You will not be able to change the temperature
display unit if TYO (Tokyo) is selected as your Home
City.
4. Press Ato exit the setting screen.
E-45
To calibrate the temperature sensor
1. In the Digital Compass/Thermometer Mode, hold down
Auntil CAL starts to flash on the display.
2. Press Ctwice and the current temperature calibration
value will flash on the display. This is the temperature
sensor calibration screen.
3. Use D(+) and B(–) to change the calibration value.
•To return the temperature sensor to its factory default
calibration, press Dand Bat the same time.
4. To exit the calibration screen, press A.
Current temperature
calibration value
E-44
Important!
•Incorrectly calibrating the temperature sensor can result in incorrect readings.
Carefully read the following before doing anything.
– Compare the readings produced by the watch with those of another reliable and
accurate thermometer.
– If adjustment is required, remove the watch from your wrist and wait for
approximately 20 or 30 minutes to give the temperature of the watch time to
stabilize.
E-43
Important!
•Temperature measurements are affected by your body temperature (while you are
wearing the watch), direct sunlight, and moisture. To achieve a more accurate
temperature measurement, remove the watch from your wrist, place it in a well
ventilated location out of direct sunlight, and wipe all moisture from the case. It
takes approximately 20 to 30 minutes for the case of the watch to reach the actual
surrounding temperature.
Temperature Sensor Calibration
The temperature sensor built into the watch is calibrated at the factory, and normally
does not need any adjustment. However, if you feel that readings being produced by
the watch are not correct for some reason, you can calibrate the temperature sensor
to correct them.
E-42
To take a temperature reading
In the Digital Compass/Thermometer Mode, press D.
•This will display the temperature reading.
•After the first reading, the watch will continue to take
readings every two seconds for about 10 seconds.
•After the temperature reading is complete, the
temperature display will show “- -.-”.
•To perform temperature readings for another 10
seconds, press Dagain.
•The temperature is displayed in units of 0.1°C (or 0.2°F).
•The display range of the thermometer screen is –10.0°C
to 60.0°C (or 14.0°F to 140.0°F). The temperature
display will show “- -.-” if a temperature reading is
outside the allowable range.
Temperature
E-41
Storage
•The precision of the bearing sensor may deteriorate if the watch becomes
magnetized. Because of this, you should be sure to store the watch away from
magnets or any other sources of strong magnetism, including: permanent magnets
(magnetic necklaces, etc.) and household appliances (TVs, personal computers,
washing machines, freezers, etc.)
•Whenever you suspect that the watch may have become magnetized, perform one
of the calibration procedures under “Calibrating the Bearing Sensor” (page E-33).
Thermometer
The watch takes temperature readings automatically whenever you enter the Digital
Compass/Thermometer Mode.
•You can calibrate the temperature sensor (page E-43) if you think readings are wrong
for some reason.
•You can select either Celsius (°C) or Fahrenheit (°F) as the temperature unit (page
E-46).
E-40
Location
•Taking a direction reading when you are near a source of strong magnetism can
cause large errors in readings. Because of this, you should avoid taking direction
readings while in the vicinity of the following types of objects: permanent magnets
(magnetic necklaces, etc.), concentrations of metal (metal doors, lockers, etc.),
high tension wires, aerial wires, household appliances (TVs, personal computers,
washing machines, freezers, etc.)
•Accurate direction readings are impossible while in a train, boat, air plane, etc.
•Accurate readings also are impossible indoors, especially inside ferro-concrete
structures. This is because the metal framework of such structures picks up
magnetism from appliances, etc.