1382-2
Frankfurt
AUTO ON OFF
Press D
Press A
GMT
differential
Auto
Receive Language
DST Seconds
HourMinutesYearMonthDateCNT
12/24-Hour
format
L
C
A
D
B
P
Receive indicator
About the backlight
In any mode, press Lto illuminate the display for about two seconds.
•The backlight of the watch employs an electro-luminescent (EL) panel,
which loses illuminating power after very long use.
•The illumination provided by the backlight may be hard to see when viewed
under direct sunlight.
•The watch will emit an audible sound whenever the display is illuminated.
This is caused by a transistor that vibrates when the EL panel lights up. It
does not indicate malfunction of the watch.
•The backlight automatically turns off whenever an alarm sounds.
•The backlight remains lit for about two seconds from the point you press
L, even if it is already lit when you press L. If you keep Ldepressed for
about 15 seconds, the backlight will automatically turn off.
TIME CALIBRATION SIGNAL RECEPTION
This watch is designed to pick up a time calibration signal that is being
transmitted from Mainflingen, Germany and update its time setting in accord-
ance with the signal. There are two different methods you can use to receive
the signal: auto receive and manual receive. With auto receive, the watch
automatically receives the calibration signal twice each day and makes
appropriate adjustments. With manual receive, you perform a specific but-
ton operation to receive the calibration signal.
Important!
•If you are using the time calibration signal to set the time for this watch, be
sure to correctly set your home city. Otherwise, there is the chance that the
watch will not set the correct time. See the “To set your home city data” for
details.
•Time calibration reception is limited to specific geographic areas in Europe.
See “Time calibration signal reception precautions” for details.
•The current time setting in accordance with the time calibration signal takes
priority over any time settings you make.
•The watch is designed to automatically update the date and day of the week
for the period January 1, 1995 to December 31, 2039. Setting of the date by
the time calibration signal cannot be performed starting from January 1,
2040.
•This watch can receive signals that differentiate between leap years and
non-leap years.
•After the watch successfully receives time calibration signal data, it first
applies it to adjust the digital time setting and then adjusts the analog
setting to match the digital time. If, for any reason, the digital time does not
match the analog time, use the procedure described under “HAND
SETTING MODE” to match the analog setting with the digital display.
•Auto receive is turned on when the watch is shipped from the factory.
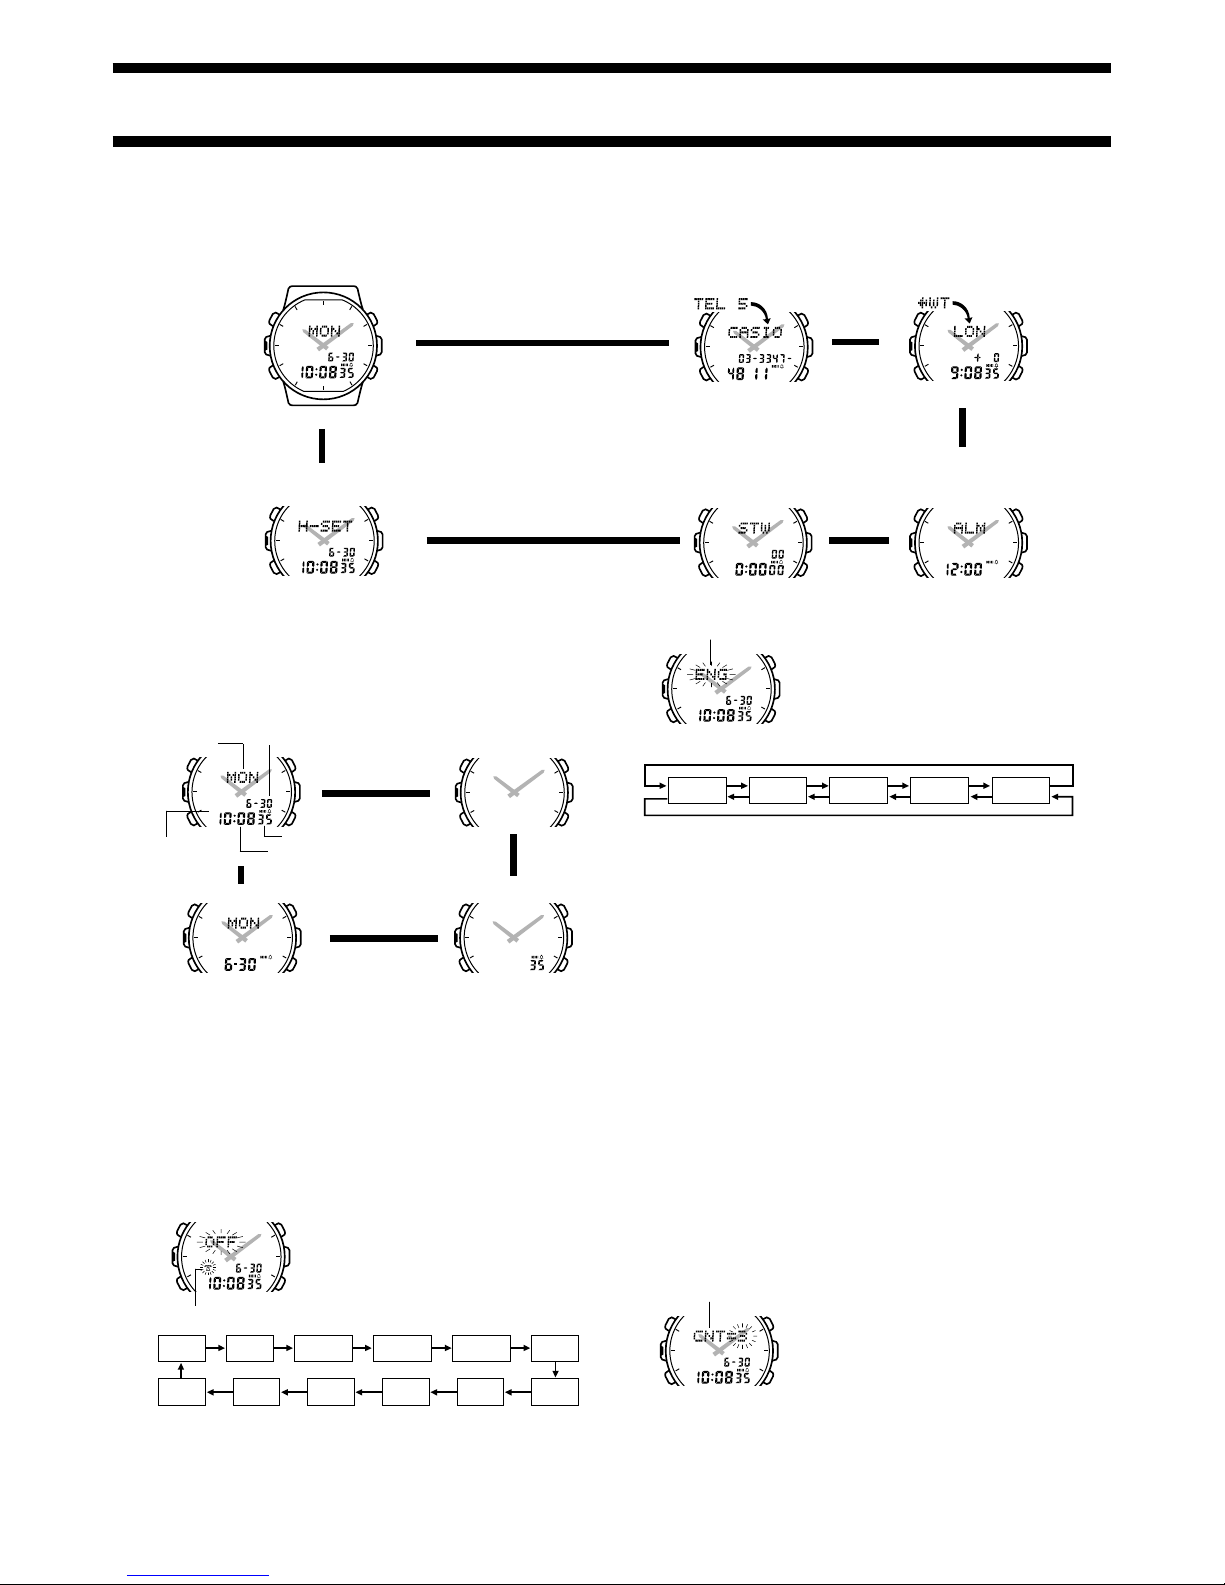
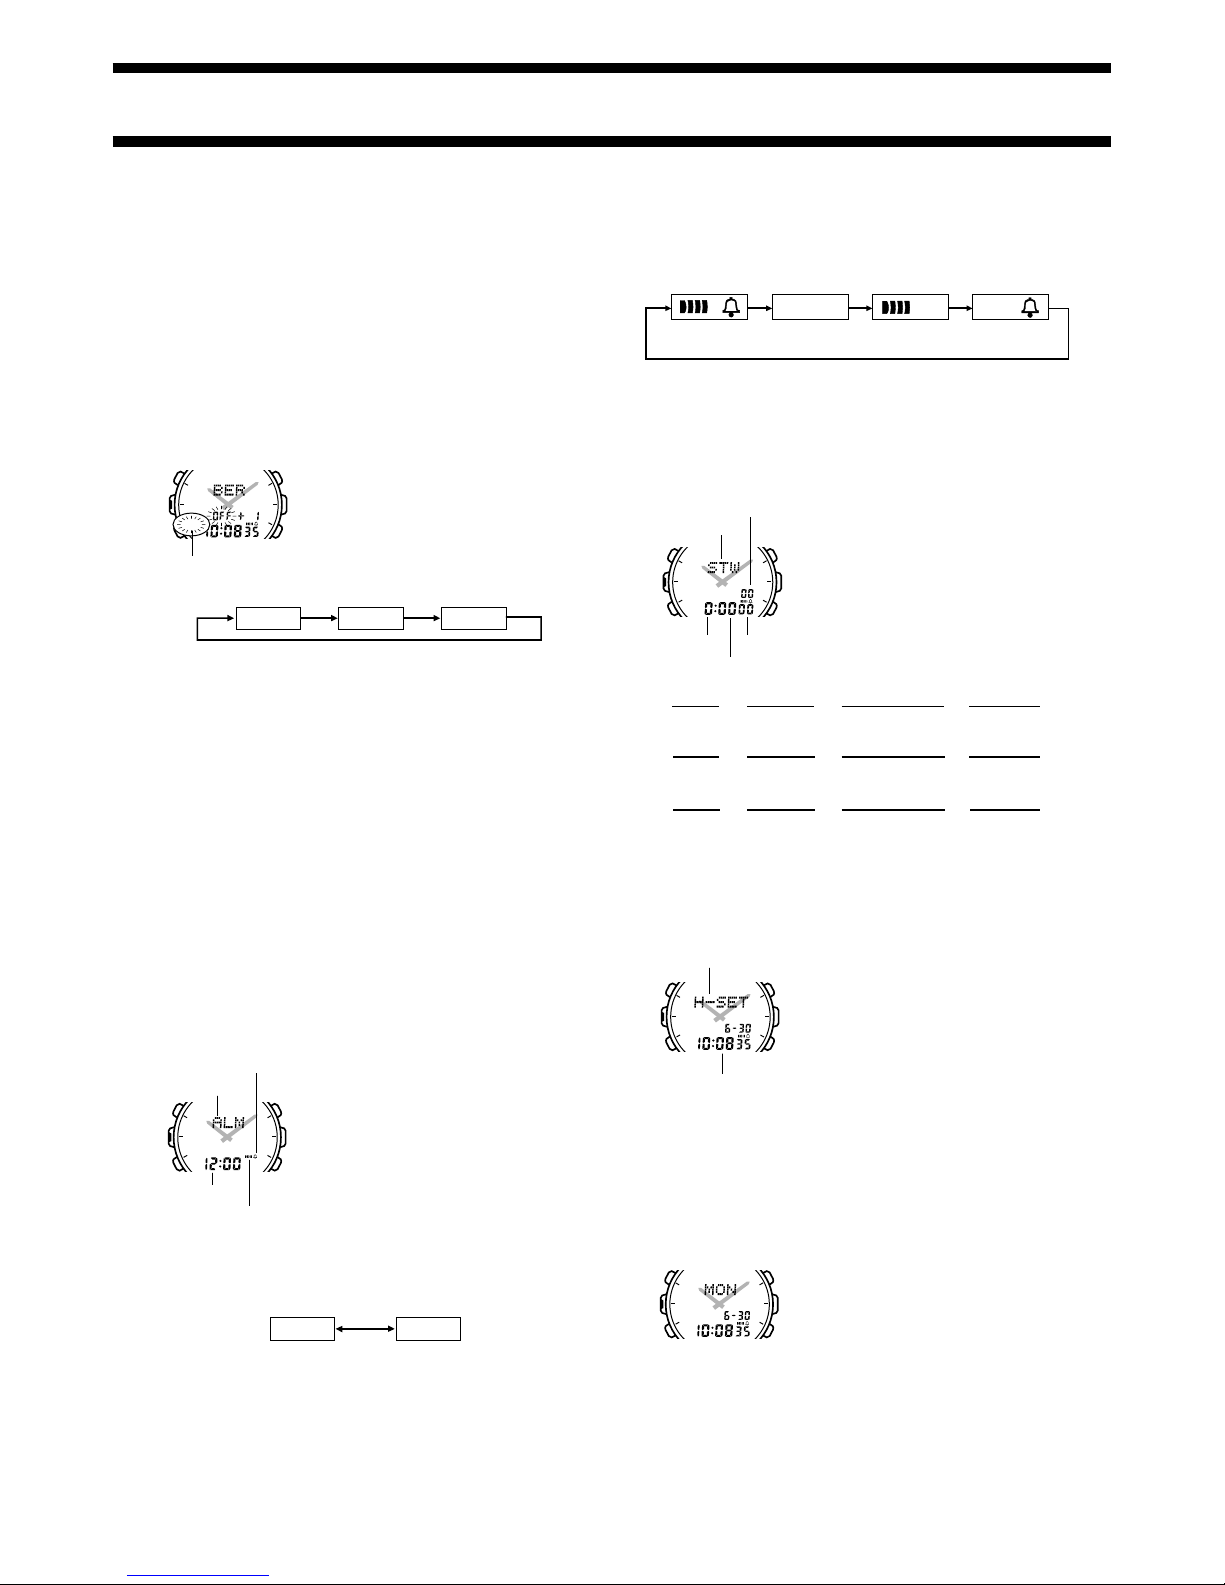
To set your home city data
You can make Auto Receive on/off, DST (daylight saving time), and GMT
differential settings for your home city (the city where you normally use the
watch). This data can be changed any time you move to another geographic
area. 1. Press Bwhile in the Timekeeping Mode.
The current Auto Receive on/off setting
flashes on the display because it is
selected
.
•The receive indicator flashes along with the
current on (ON) /off (OFF) setting.
2. Press Dto toggle Auto Receive on and off.
3. Pressing Cto changes to another
selection in the following sequence.
4. Press Cuntil the DST indicator is flashing on the display along with the
current auto receive setting (AUTO, ON, or OFF).
•AUTO Setting
Daylight saving time is activated and cancelled automatically in accordance
with time calibration signal data. Use this setting if you plan to use the
watch in an area where the daylight saving time period starts and ends on
the dates used in Germany.
•ON Setting
One hour is added to the current time indicated by the time calibration signal
and adjusted in accordance with the GMT time differential setting you make.
•OFF Setting
Daylight saving time is not applied.
5. Use the Aand Dbuttons to change the DST setting in the sequence
shown below.
6. After making the setting you want, press Cuntil the GMT indicator
appears on the display.
•The value to the right of the GMT indicator is the time differential from
Greenwich Mean Time. This value is based on standard times only, and it
does not allow for daylight saving time (summer time).
7. Use the Aand Dbuttons to change the GMT differential setting in the
sequence shown below.
8. After making all the home city settings you want, press Bto return to the
Timekeeping Mode.
Time calibration signal reception precautions
•This watch is able to receive the time
calibration signal being transmitted from
Mainflingen, Germany (located 25
kilometers southeast of Frankfurt). Signal
reception is possible within the area
represented by a circle with a radius of
about 1200 kilometers.
•Even when the watch is within the reception
range, signal reception is impossible if the
signal is blocked by mountains or other
geological formations between the watch
and signal source.
•Signal reception is affected by weather, atmospheric conditions, and
seasonal changes.
•At long distances that are out of the line of sight of the signal transmitter, the
signal is bounced off of the ionosphere. Because of this, such factors as
changes in the reflectivity of the ionosphere, as well as movement of the
ionosphere to higher altitudes due to seasonal atmospheric changes or the
time of day may change the reception range of the signal and make
reception temporarily impossible.
•This watch is designed to receive the signal
transmitted from Mainflingen. This means
that reception is best when the antenna built
into the 12 o’clock edge of the watch is
facing towards Mainflingen. Note, however,
that moving the watch while the time
calibration signal receive operation is taking
place will make stable reception impossible.
•Proper signal reception can be difficult or even impossible under the
conditions listed below. When receiving indoors, move to a location as near
as possible to a window. Think of the watch as acting like a TV or radio
when it is receiving the signal.
Nearby TVs, refrigerators, computers, or other household appliances
Far away from broadcasting stations, among ferro-concrete structures or
near mountains.
Underground, in tunnels or in ferro-concrete buildings.
Near high-tension wires, neon signs, or radio stations with interfering
frequencies.
Near railroads, highways or airports.
In trains or cars.
•Radio interference can cause incorrect signal reception.
•Strong electrostatic charge can result in the wrong time being set.
•The analog hands do not move during signal reception. The analog hand
setting is changed based on the digital time setting after the time calibration
signal is successfully received.
•The daily alarm and hourly time signal do not operate during signal
reception.
•The receive indicator ( ) flashes on the digital display while a signal
receive function is in progress.
•The watch initially changes the digital time setting to match the data
(German time) received in the time calibration signal. Next, it adjusts the
received time in accordance with the GMT differential setting. Finally, the
analog hands are adjusted in accordance with the digital time setting.
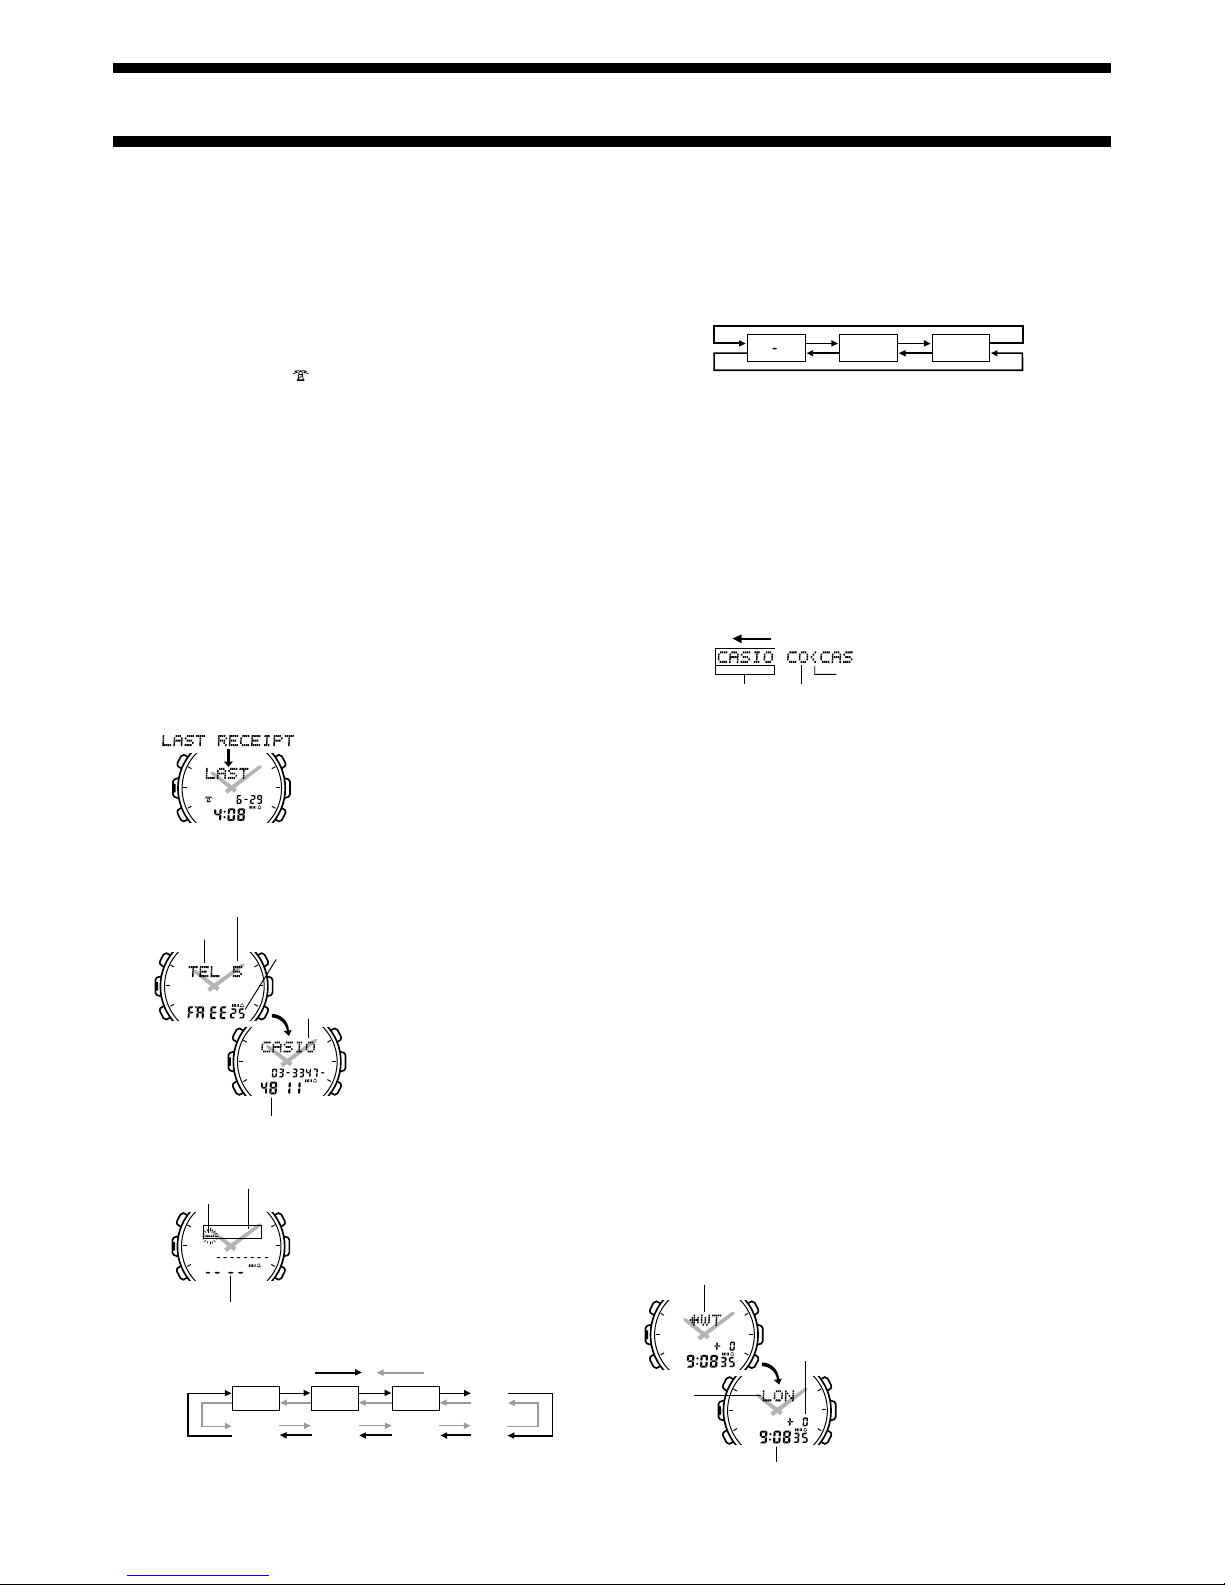
To perform manual time calibration signal reception
1. In the Timekeeping Mode, hold down A
until the figures in the digital display are
cleared (about three seconds).
2. Release Ato start time calibration signal
reception, which is indicated by the flashing
receive indicator.
•Time calibration signal reception takes from
8 to 15 minutes.
•When the receive operation is successful, the
message LAST RECEIPT appears on
the display together with the received time
and date for about one or two minutes. Next,
the watch returns to the Timekeeping Mode.
•When the receive operation is unsuccessful,
the message ERROR appears on the
display together with the date and time of
the last successful receipt for about one or
two minutes. Next, the watch returns to the
Timekeeping Mode.
•Pressing Awhile the LAST RECEIPT or ERROR message is on
the display returns to the Timekeeping Mode.
•To interrupt a receive operation and return to the Timekeeping Mode, press A.
GMT+1 GMT+2 GMT+0
Press D
Press A
L
C
A
D
B
Receive indicator


 User manual")


