Operation Guide 5163 (OC)
E-55
Specifications
Accuracy at normal temperature: ±15 seconds a month (with no signal calibration)
Digital Timekeeping: Hour, minutes, seconds, p.m. (PM), month, day, day of the week
Time format: 12-hour and 24-hour
Calendar system: Full Auto-calendar pre-programmed from the year 2000 to 2099
Other: Home City code (can be assigned one of 48 city codes); Standard Time/Daylight Saving Time
(summer time); Simultaneous Home Time City/Dual Time City indication
Analog Timekeeping: Hour, minutes (hand moves every 10 seconds)
Time Calibration Signal Reception: Auto receive 6 times a day (Remaining auto receives cancelled as
soon as one is successful) (five times for the China signal); Manual
receive
Receivable Time Calibration Signals: Mainflingen, Germany (Call Sign: DCF77, Frequency: 77.5 kHz);
Anthorn, England (Call Sign: MSF, Frequency: 60.0 kHz);
Fort Collins, Colorado, the United States (Call Sign: WWVB,
Frequency: 60.0 kHz); Fukushima, Japan (Call Sign: JJY,
Frequency: 40.0 kHz); Fukuoka/Saga, Japan (Call Sign: JJY,
Frequency: 60.0 kHz); Shangqiu City, Henan Province, China
(Call Sign: BPC, Frequency: 68.5 kHz)
World Time: 48 cities (29 time zones)/and Coordinated Universal Time
Other: Daylight Saving Time/Standard Time; Home City/World Time City Swapping
Stopwatch:
Measuring unit: 1/100 second
Measuring capacity: 23:59' 59.99"
Measuring modes: Elapsed time, split time, two finishes
E-54
Illumination Precautions
Illumination may be hard to see when viewed under direct sunlight.x
Illumination turns off automatically whenever an alarm sounds.x
Frequent use of illumination runs down the battery.x
Auto light switch precautions
Avoid wearing the watch on the inside of your wrist. Doing so causes the auto light switch to operatex
when it is not needed, which shortens battery life. If you want to wear the watch on the inside of your
wrist, turn off the auto light switch feature.
Illumination may not turn on if the face of the watch is more than 15 degrees
x
above or below parallel. Make sure that the back of your hand is parallel to the
ground.
Illumination turns off in about one second, even if you keep the watch pointed
x
towards your face.
Static electricity or magnetic force can interfere with proper operation of the
x
auto light switch. If illumination does not turn on, try moving the watch back to
the starting position (parallel with the ground) and then tilt it back toward you
again. If this does not work, drop your arm all the way down so it hangs at your
side, and then bring it back up again.
Under certain conditions, illumination may not turn on until about one second after you turn the face of
x
the watch towards you. This does not necessarily indicate malfunction of the auto light switch.
You may notice a very faint clicking sound coming from the watch when it is shaken back and forth.
x
This sound is caused by mechanical operation of the auto light switch, and does not indicate a
problem with the watch.
More than 15 degrees
too high
E-53
Auto Return Features
If you leave the watch with a flashing setting on the display for two or three minutes without performingx
any operation, the watch will exit the setting mode automatically.
The watch will return to the Timekeeping Mode automatically if you do not perform any operation forx
two or three minutes in the Alarm Mode.
High-Speed Movement
ThexDand Bbuttons are used to change the hand setting in various setting modes. In most cases,
holding down these buttons will start high-speed movement of the applicable hand(s).
Initial Screens
When you enter the World Time Mode or Alarm Mode, the data you were viewing when you last exited the
screen will appear first.
Timekeeping
Resetting the seconds toxwhile the current count is in the range of 30 to 59 causes the minutes to
be increased by 1. In the range of 00 to 29, the seconds are reset to without changing the minutes.
The year can be set in the range of 2000 to 2099.x
The watch’s built-in full automatic calendar makes allowances for different month lengths and leapx
years. Once you set the date, there should be no reason to change it except when battery power drops
to Level 5 (C: Charge) (page E-38).
The current time for all city codes in the Timekeeping Mode and World Time Mode is calculated in
x
accordance with the Coordinated Universal Time (UTC) for each city, based on your Home City time
setting.
E-52
Though this watch is designed to receive both time data (hour, minutes, seconds) and date data (year,x
month, day), certain signal conditions can limit reception to time data only.
If you are in an area where proper time calibration signal reception is impossible, the watch keeps thex
time with the precision noted in “Specifications”.
If you have problems with proper time calibration signal reception or if the time setting is wrong afterx
signal reception, check your current city code, and DST (Daylight Saving Time) settings (page E-46).
The Home City setting reverts to the initial default ofxTYO (Tokyo) whenever the battery power drops
to Level 5 (C: Charge) or when you have the rechargeable battery replaced. If this happens, change
the Home City to the setting you want (page E-11).
Transmitters
The time calibration signal received by this watch depends on the currently selected Home City (page
E-11).
When a U.S. time zone is selected, the watch receives the time calibration signal transmitted from the
x
United States (Fort Collins).
When a Japanese time zone is selected, the watch receives the time calibration signals transmittedx
from Japan (Fukushima and Fukuoka/Saga).
When a European time zone is selected, the watch receives the time calibration signals transmittedx
from Germany (Mainflingen) and England (Anthorn).
When a China time zone is selected, the watch receives the time calibration signal transmitted fromx
China (Shangqiu City).
When your Home City isxLIS, LON, MAD, PAR, ROM, BER, STO, ATH, MOW (which can receive
both the Anthorn and Mainflingen signals), the watch first tries to pick up the signal it last received
successfully. If that fails, it tries the other signal. For the first receive after you select your Home City,
the watch tries the nearest signal first (Anthorn for LIS, LON, Mainflingen for MAD, PAR, ROM, BER,
STO, ATH, and MOW).
E-51
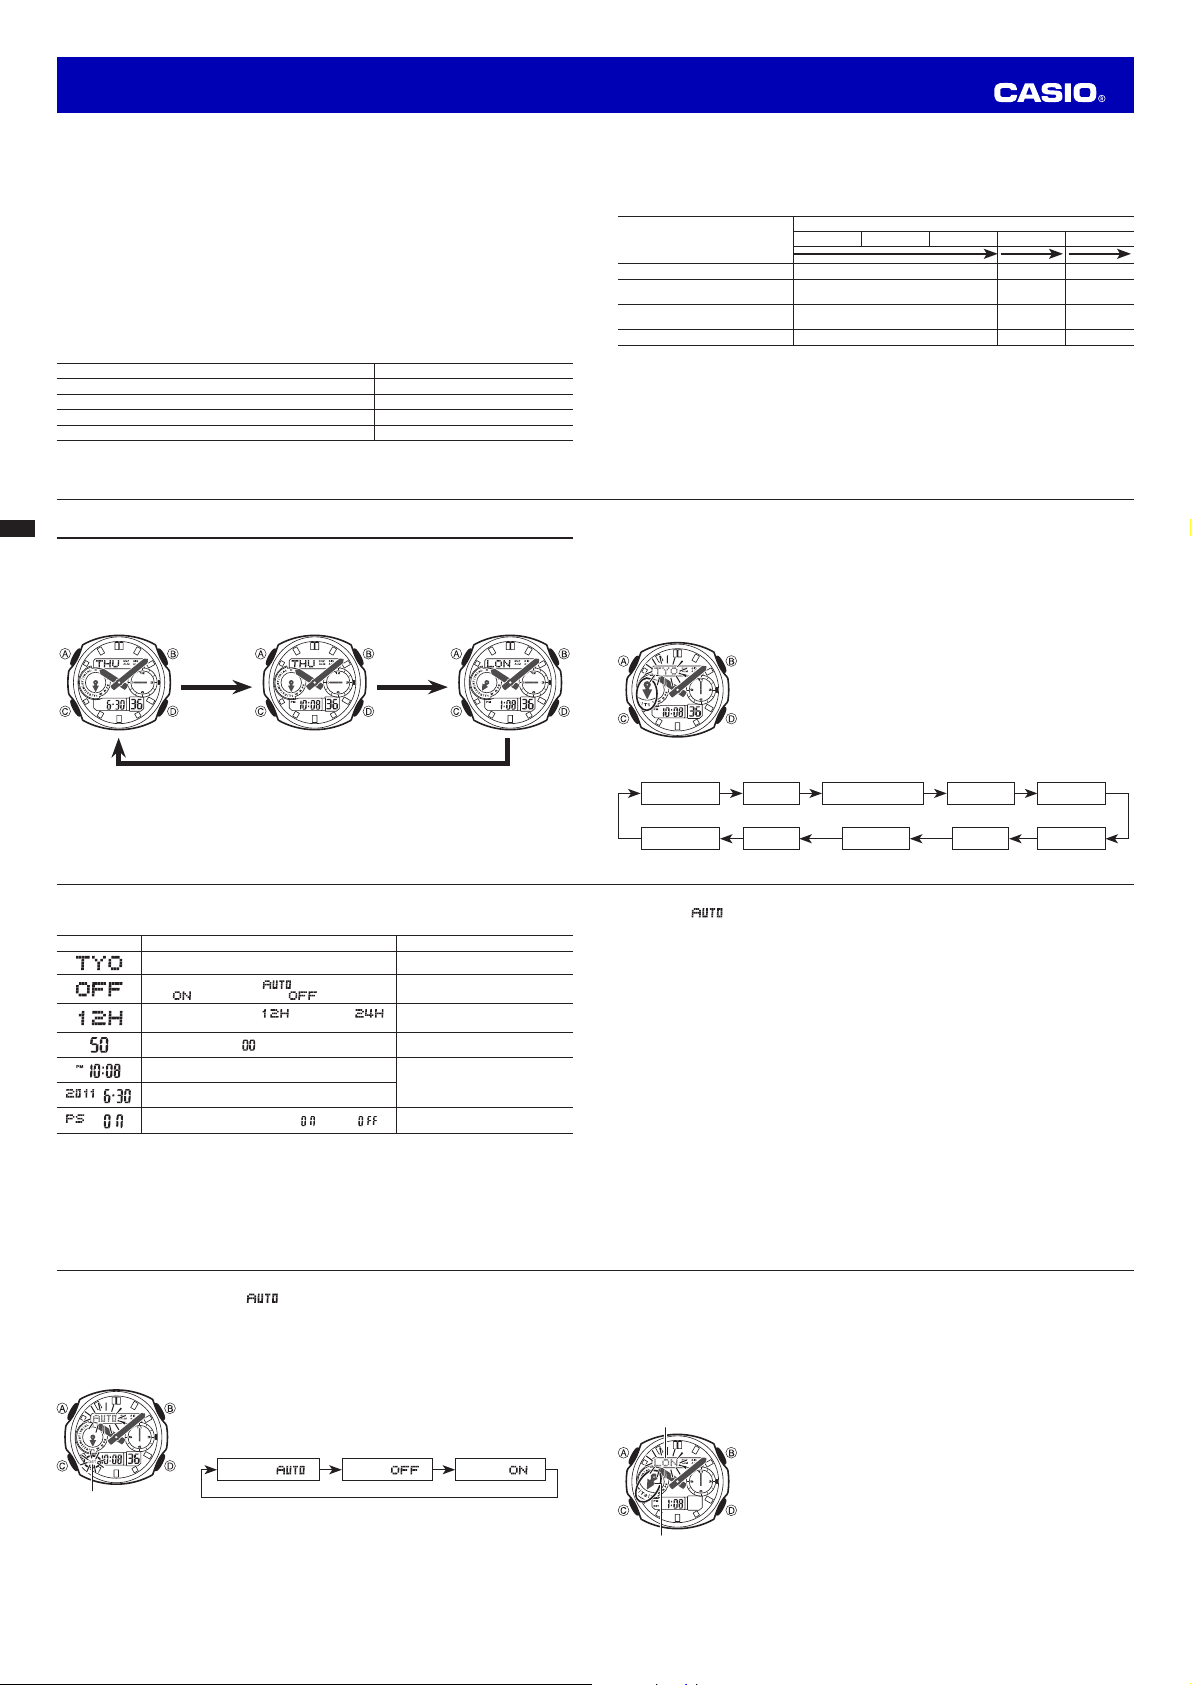
To turn Power Saving on and off
In the Timekeeping Mode, hold down1. Afor about five seconds until the left
dial hand points to T1 and the city code flashes on the upper display. This is
the setting mode.
Press2. Cnine times until PS appears in the upper display and a flashing or
appears in the lower display. This is the Power Saving / screen.
Press3. Dto toggle Power Saving on ( ) and off ( ).
Press4. Atwice to exit the setting mode.
Radio-controlled Atomic Timekeeping Precautions
Strong electrostatic charge can cause the time setting to be thrown off.x
The time calibration signal bounces off the ionosphere. Because of this, such factors as changes inx
the reflectivity of the ionosphere, as well as movement of the ionosphere to higher altitudes due to
seasonal atmospheric changes or the time of day may change the reception range of the signal and
make reception temporarily impossible.
Even if the time calibration signal is received properly, certain conditions can cause the time setting to
x
be off by up to one second.
The current time setting in accordance with the time calibration signal takes priority over any timex
settings you make manually.
The watch is designed to update the date and day of the week automatically for the period January 1,x
2000 to December 31, 2099. Setting of the date by the time calibration signal cannot be performed
starting from January 1, 2100.
This watch can receive signals that differentiate between leap years and non-leap years.
x
On/Off status
E-50
Reference
This section contains more detailed and technical information about watch operation.
It also contains important precautions and notes about the various features and functions of this watch.
Power Saving Function
When turned on, the Power Saving function enters a sleep state automatically
whenever the watch is left in an area for a certain period where it is dark. The
table below shows how watch functions are affected by the Power Saving
function.
Elapsed Time in Dark Hands and Display Operation
60 to 70 minutes
Left dial hand: PS; Right dial
hand: “12”; Other hands:
Normal; Display: Blank
All functions enabled,
except for displays
6 or 7 days
Left dial hand: PS; Other
hands: Stopped at 12 o’clock;
Display: Blank
Auto receive, beeper tone,
illumination, and display
disabled
Wearing the watch inside the sleeve of clothing can cause it to enter the sleep state.x
The watch will not enter the sleep state between 6:00 AM and 9:59 PM. If the watch is already in thex
sleep state when 6:00 AM arrives, however, it will remain in the sleep state.
To recover from the sleep state
Perform any one of the following operations.
Move the watch to a well-lit area.
x
Press any button.x
Angle the watch towards your face for reading (page E-35).x
E-49
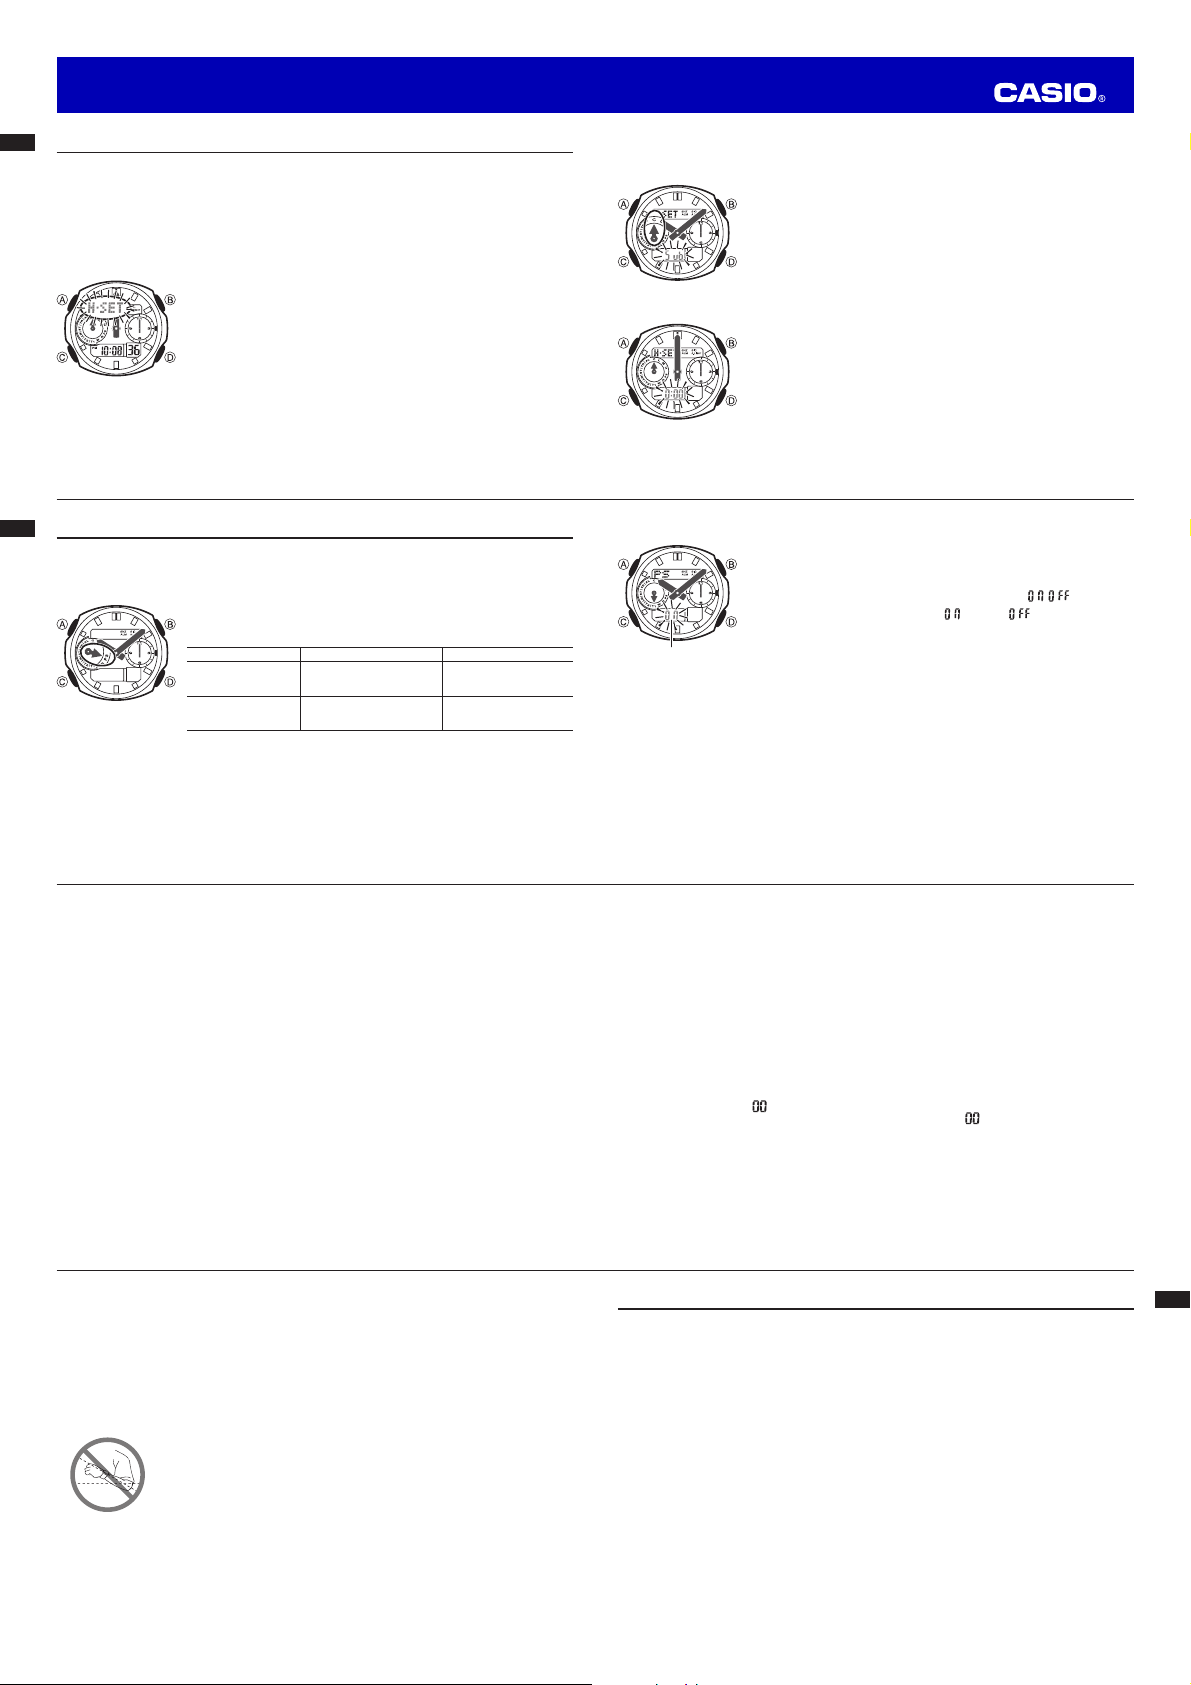
To adjust the home positions manually
In the Timekeeping Mode, hold down1. Dfor about three seconds, until
H-SET appears on the upper display and Sub starts to flash on the lower
display.
The dial hands are in their correct home positions when the long left dial
x
hand moves to C(Charge) and the right dial hand moves to 12. If they
don’t, use Bto adjust the left dial hand position and Dto adjust the right
dial hand position.
After confirming that both dial hands are in their correct home positions,2.
press C.
This will change to hour hand and minute hand home position manual
x
correction.
The hour and minute hands are in their correct home positions if they
x
are at 12 o’clock. If they are not, use D(+) and B(–) to adjust their
positions as required.
Pressing
xChere will return to the setting at the beginning of step 2.
After everything is the way you want, press3. Ato return to the Timekeeping
Mode.
After you complete the home position adjustment procedure, place the
x
watch in a location that allows for good time calibration signal reception,
and then perform a manual receive operation. See “To perform manual
receive” (page E-20) for more information.
Correct dial hand
positions
Correct hour and minute
hand positions
E-48
Correction of Hand Home Positions
The hour and minute hands of the watch can be thrown off by exposure to strong magnetism or impact.
The watch is designed to perform hour and minute hand correction automatically every hour in order to
correct variation within the range of –55 minutes to +5 minutes.
You can trigger auto hour and minute hand position correction manually, if you want (page E-48).x
If the variation is greater than –55 minutes to +5 minutes, you can trigger auto hand position correctionx
manually or perform correction of the hour and minute hand home positions manually (page E-49).
If the dial hands are off, you will need to correct their home positions manually (page E-49).x
To trigger auto correction of hand home positions
In the Timekeeping Mode, hold down Dfor about six seconds, until H-SET
starts flashing on the upper display.
Note that
xH-SET will appear on the upper display about three seconds after
you depress D, but you should not release the button until H-SET starts
flashing. The flashing H-SET indicates that auto hour and minute hand home
position correction has started.
Auto hour and minute hand home position correction takes about three and
x
a half minutes to complete. Do not perform any other watch operation during
that time.
The watch will return to the Timekeeping Mode automatically after auto correction is complete.
x
You will not be able to trigger auto correction while the watch is in the Countdown Timer Mode or whilex
a countdown timer operation is in progress.
To interrupt an ongoing auto correction, pressxD. This will return to the Timekeeping Mode.


 User manual")