Using the Watch in a Medical
Facility or Aircraft
Whenever you are in a hospital, on an aircraft,
or in any other location where auto time
calibration signal receive or connection with a
phone may cause problems, you can perform
the procedure below to disable such
operations. To re-enable auto time
adjustment, perform the same operation
again.
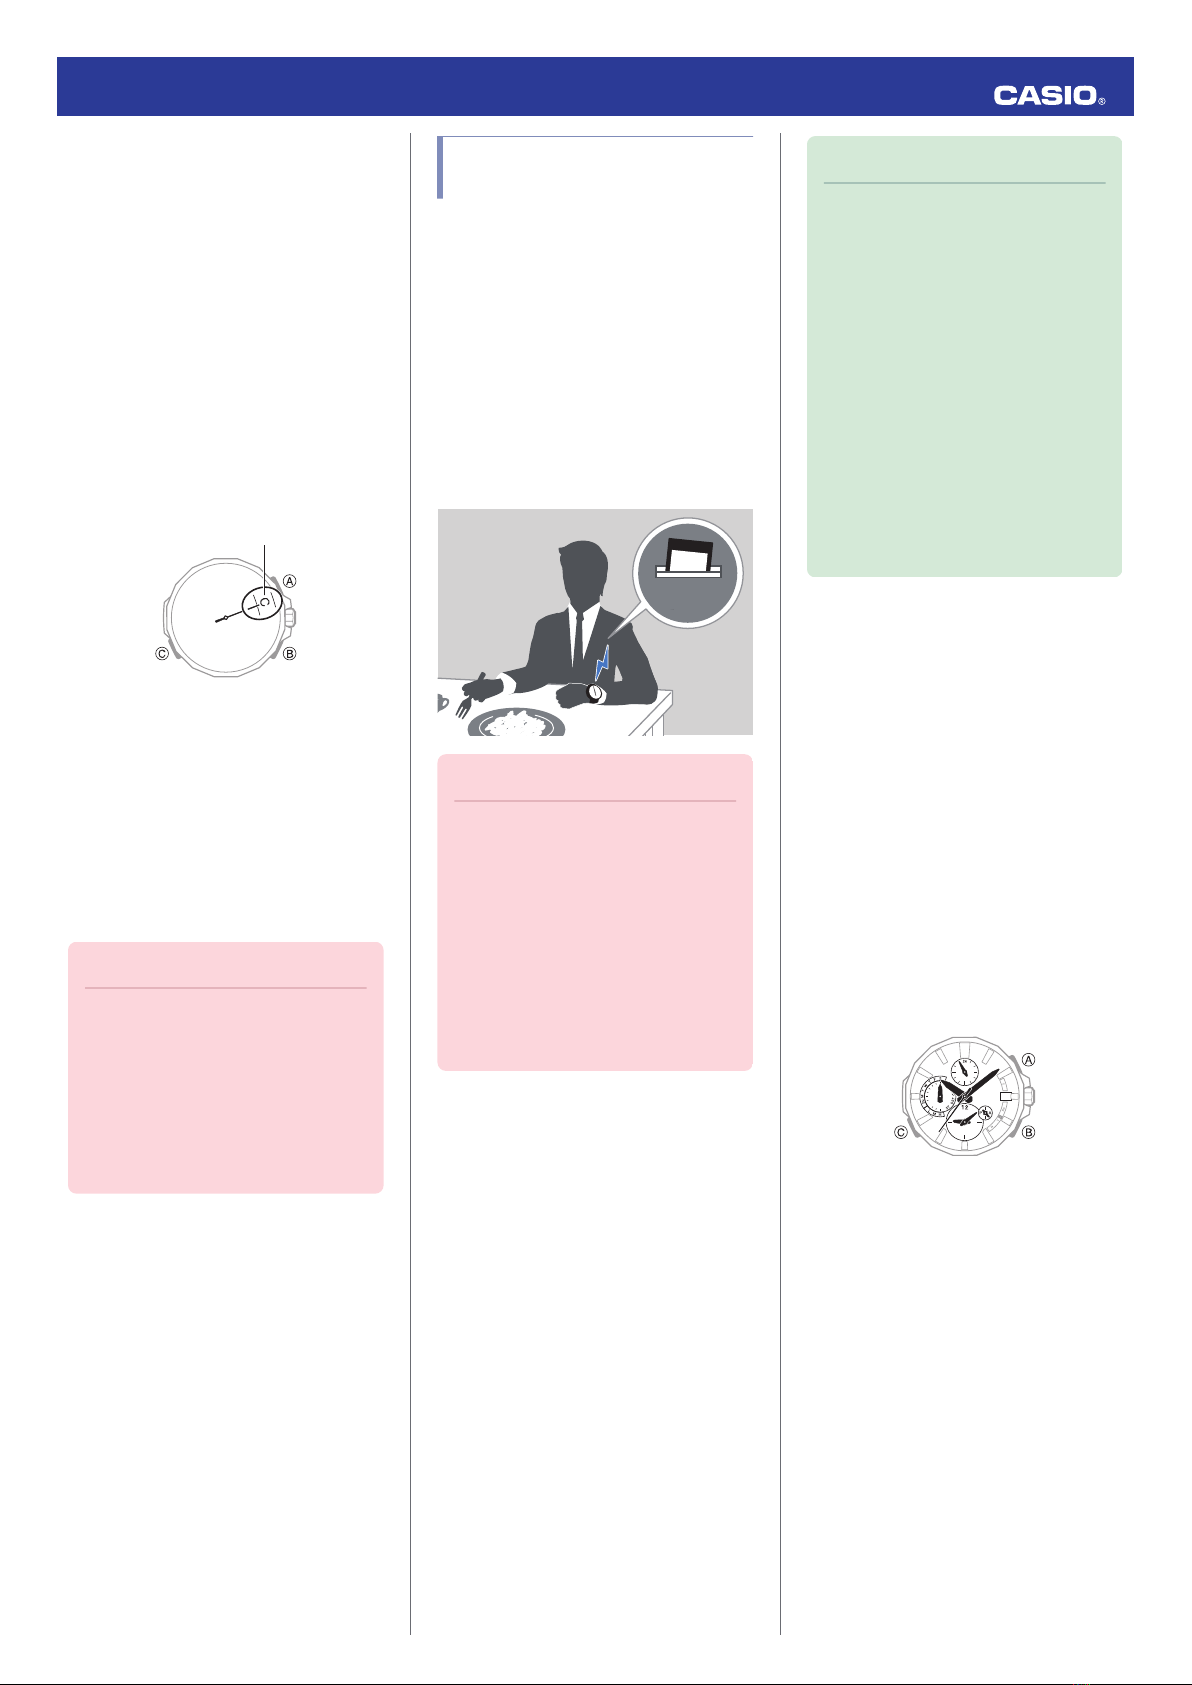
1. Enter the Timekeeping Mode.
lNavigating Between Modes
2. Press (B).
The second hand will indicate the last
receive result for nine or ten seconds.
3. Within 10 seconds after pressing (B)
above, pull out the crown to the first click.
●If more than 10 seconds elapse before
you pull out the crown after you press
(B), the second hand will return to
indicating seconds. If this happens,
press (B) again.
4. Rotate the crown to disable auto time
adjustment.
[Y(YES)]: Auto time adjustment enabled.
[N(NO)]: Auto time adjustment disabled.
5. Push the crown back in.
Note
●If the watch is paired with a phone,
OCEANUS Connected can be used to
disable auto time adjustment.
lUsing OCEANUS Connected to
Disable Auto Time Adjustment
Using Mobile Link with
a Mobile Phone
While there is a Bluetooth connection
between the watch and phone, the watch time
setting is adjusted automatically. You can also
change the watch’s other settings.
Note
●This function is available only while
OCEANUS Connected is running on
the phone.
●This section describes watch and
phone operations.
X : Watch operation
Y : Phone operation
Connection
Connecting with a Phone
This section explains how to establish a
Bluetooth connection with a phone that is
paired with the watch.
●If the watch is not paired with the phone you
want to connect with, refer to the information
below and pair them.
lC Pair the watch with a phone.
1. Move the phone close to (within one meter
of) the watch.
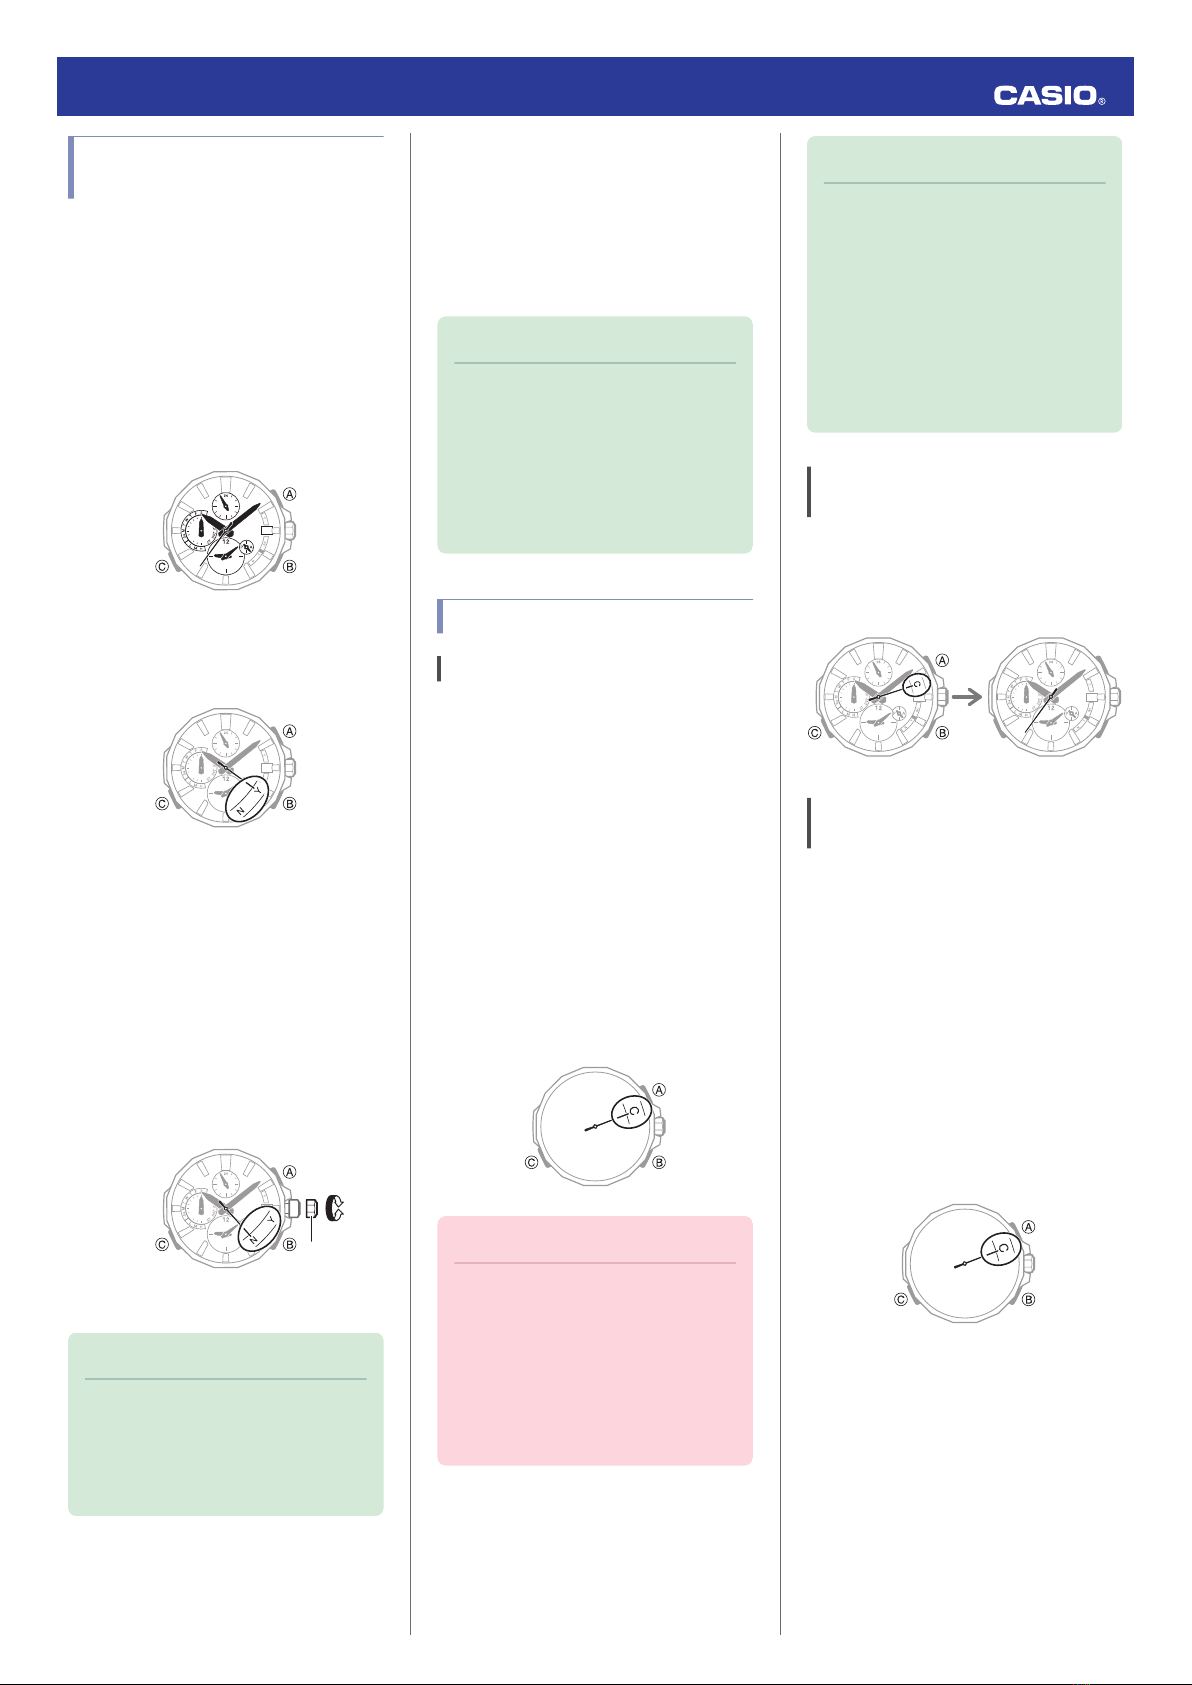
2. X While the second hand is not pointing to
[C], hold down (C) for about four seconds.
This causes the second hand to move to
[C] and establishes a connection between
the watch and phone.
Important!
●If you have problems establishing a
connection, it could mean that
OCEANUS Connected is not running
on the phone. On the phone’s home
screen, tap the “OCEANUS
Connected” icon. After the app starts
up, hold down the watch’s (C) button
for about four seconds.
Note
●The connection will be terminated if
you do not perform any operation on
the watch or phone for a fixed amount
of time.
To specify the connection limit time,
perform the following operation with
OCEANUS Connected: “Watch
settings”n“Connection time”. Next,
select a setting of 3 minutes, 5 minutes,
or 10 minutes.
Canceling a Connection with a
Phone
Pressing any button terminates the Bluetooth
connection and returns the second hand to its
normal operation.
3030
DisconnectedConnected
Using the Watch in a Medical Facility
or Aircraft
Whenever you are in a hospital, on an aircraft,
or in any other location where auto time
calibration signal receive or connection with a
phone may cause problems, you can perform
the procedure below to disable such
operations. To re-enable auto time
adjustment, perform the same operation
again.
1. Y Tap the “OCEANUS Connected” icon.
2. X Hold down (C) for about four seconds.
This causes the second hand to move to
[C] and establishes a connection between
the watch and phone.
3. Y Perform the operation shown on the
phone screen to enable or disable auto
time adjustment.
Operation Guide 5542
8


 User manual")