5
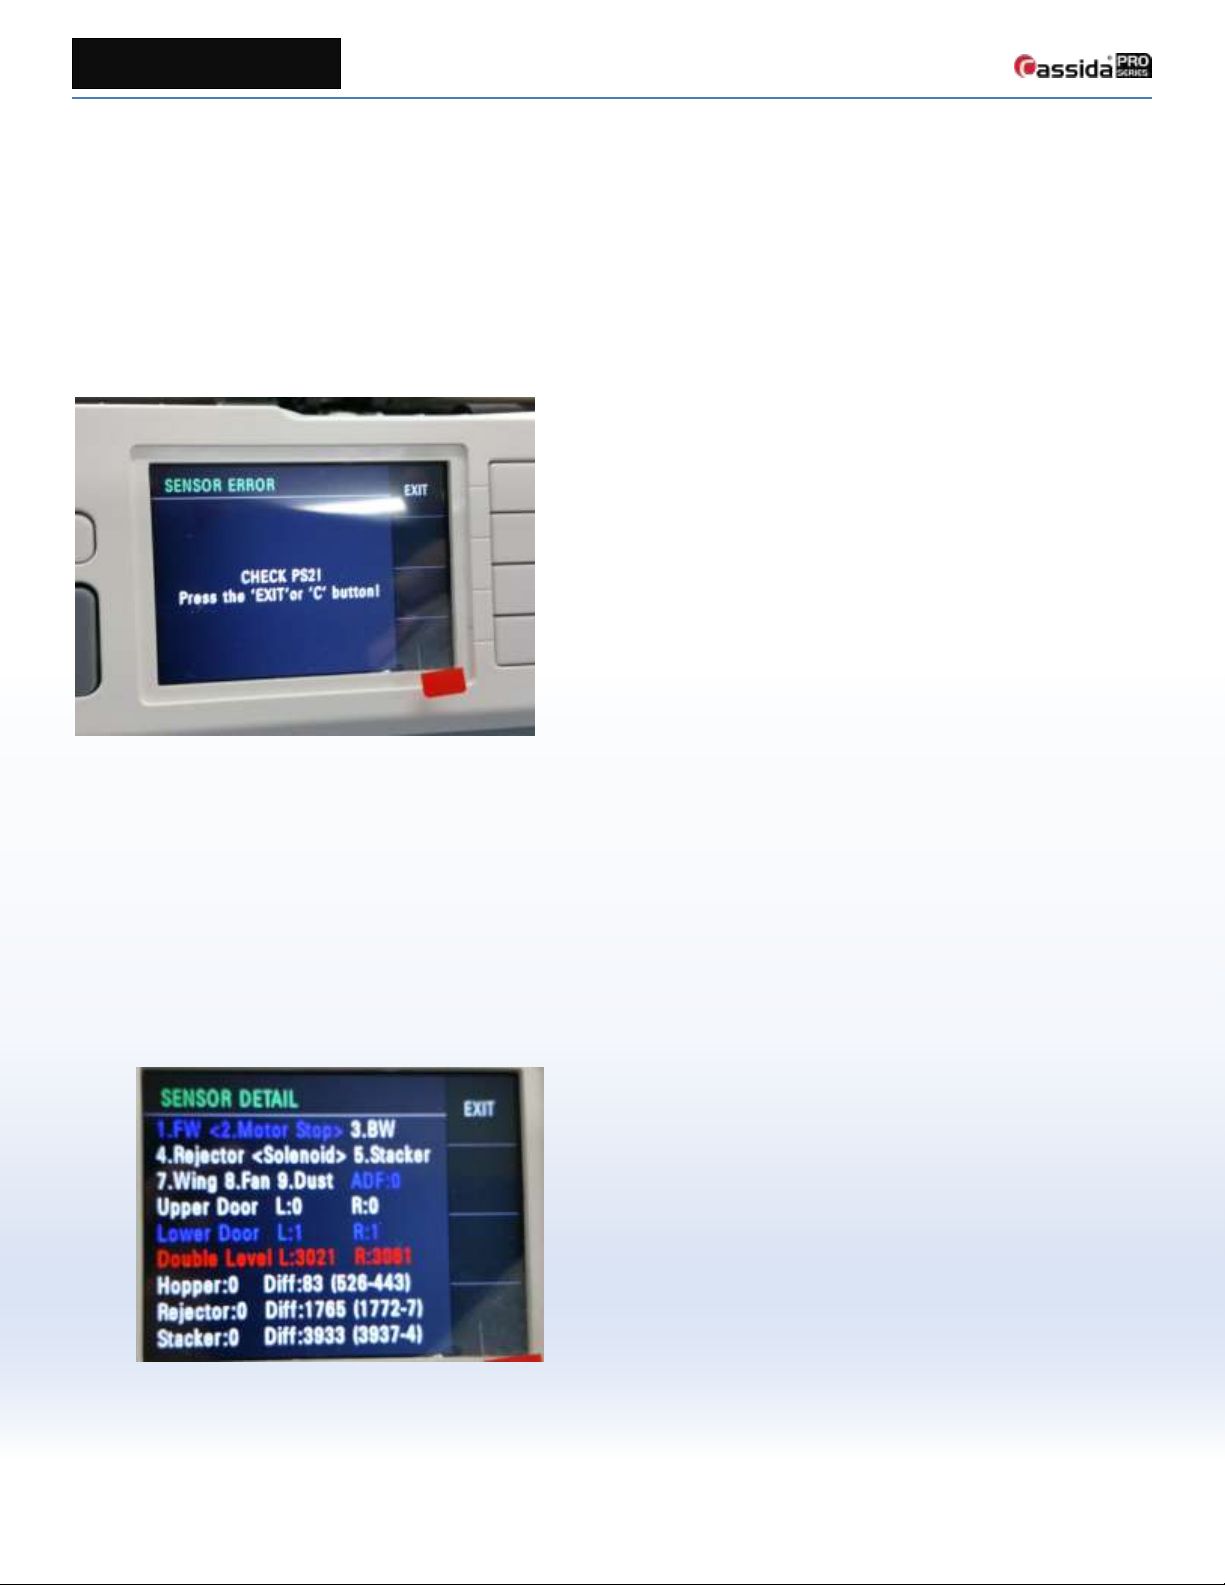
READ ERROR problem (Updated 3/17/2016)
Symptom and Reason
All bills are rejected as READ ERROR.
Worn bills can be rejected as READ ERROR, but if all notes are rejected as READ ERROR, it means that the system failed
to get the image of notes from the scanner (CIS sensor).
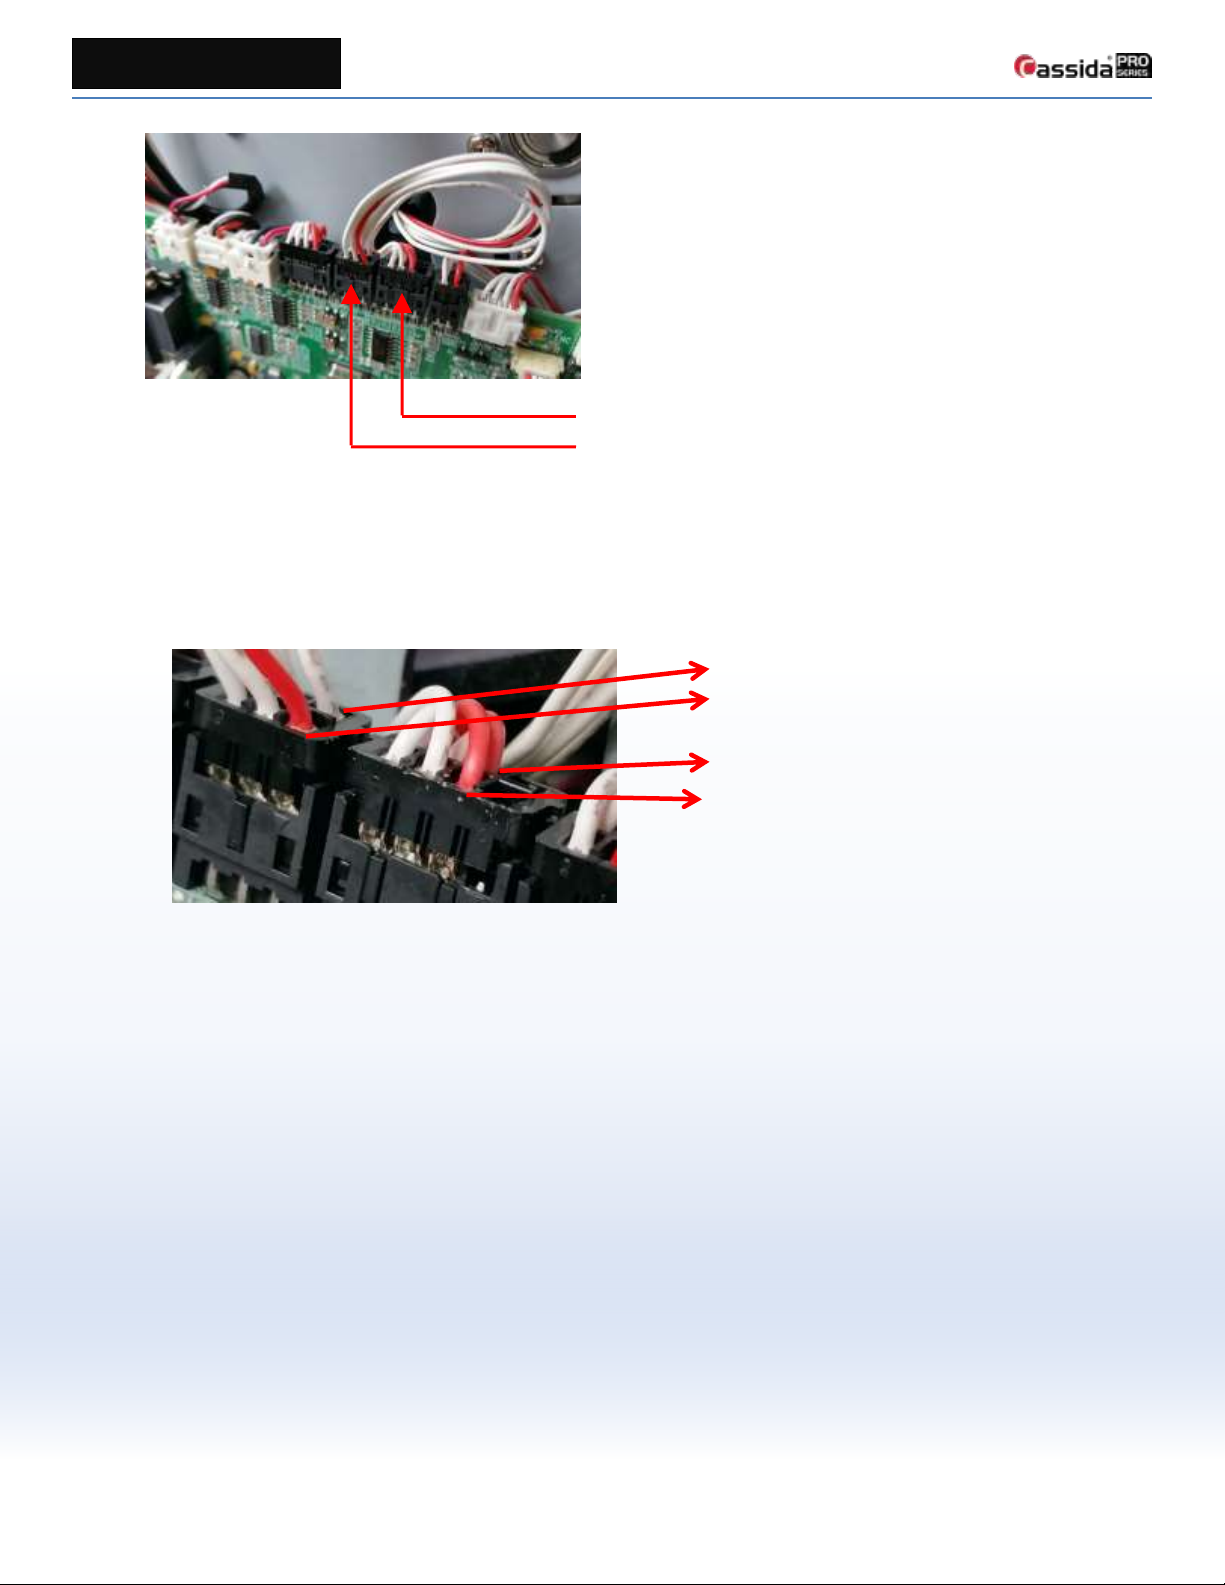
Causes and Solution
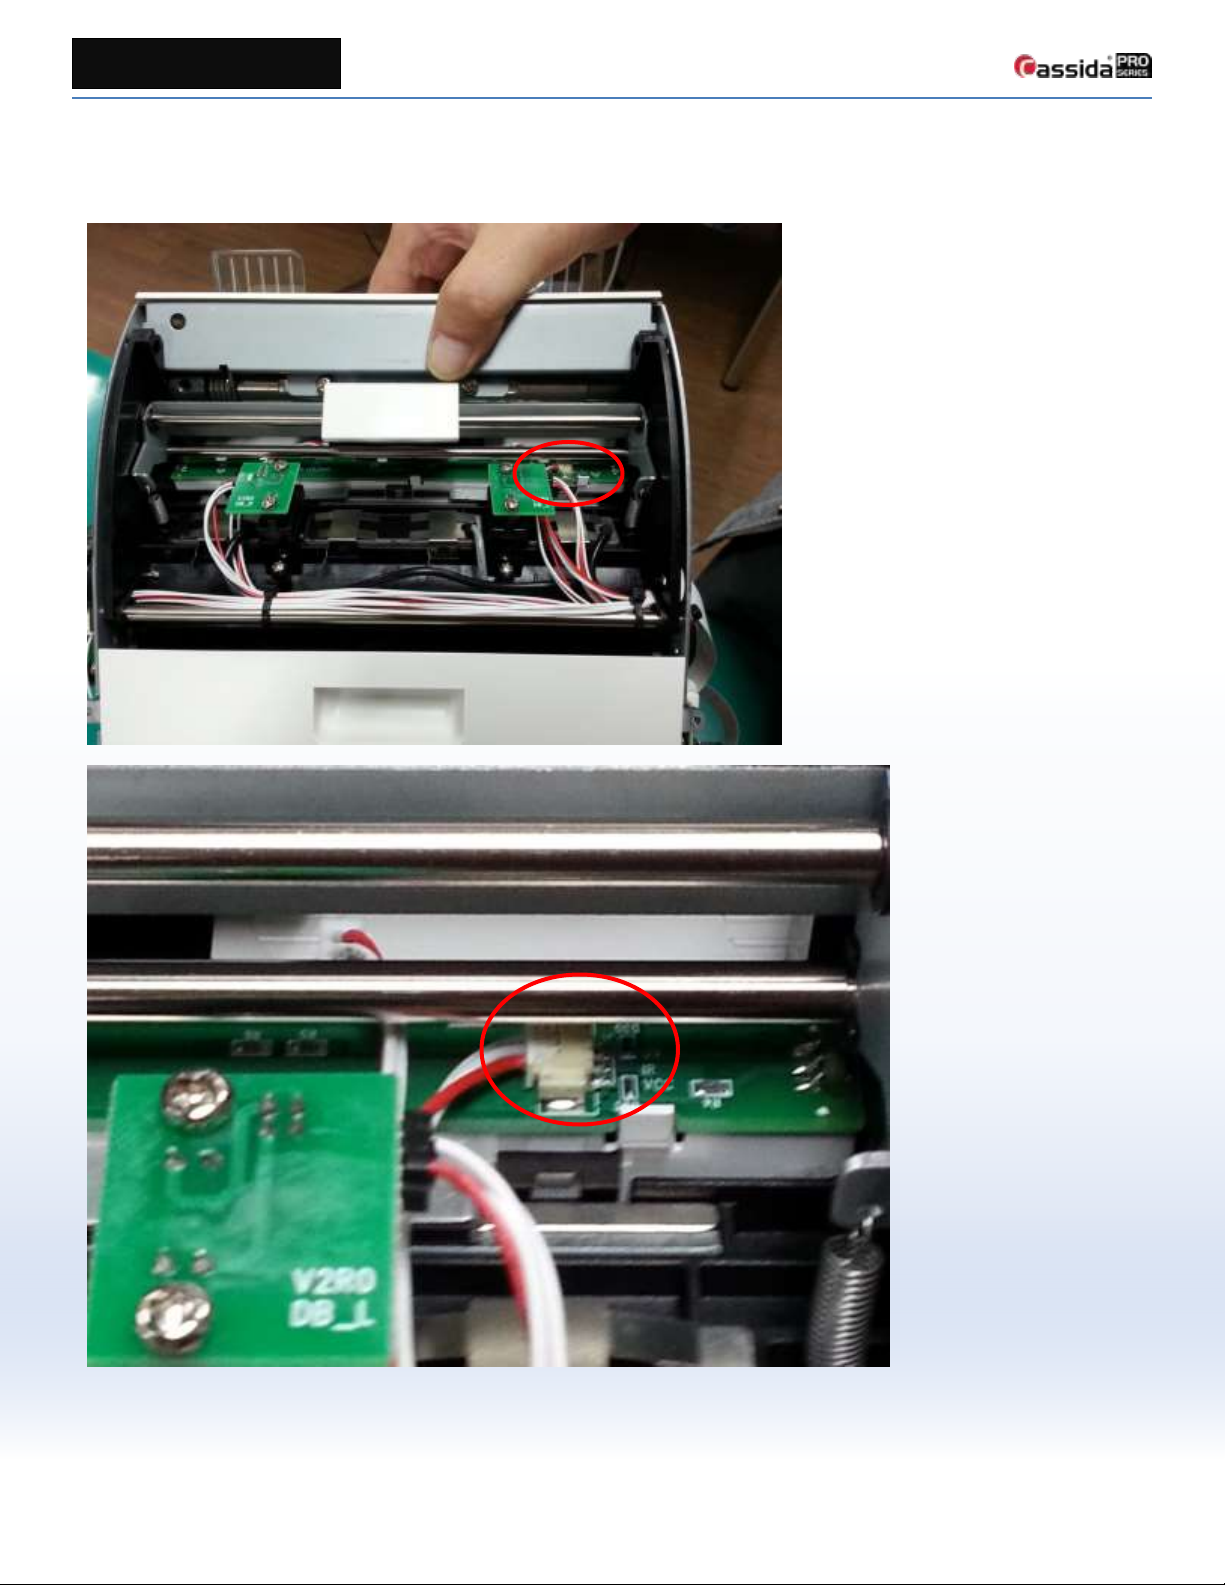
1. Bad LED Bar
This problem is related to the CIS sensor, LED bar (UV backlight) and Main board.
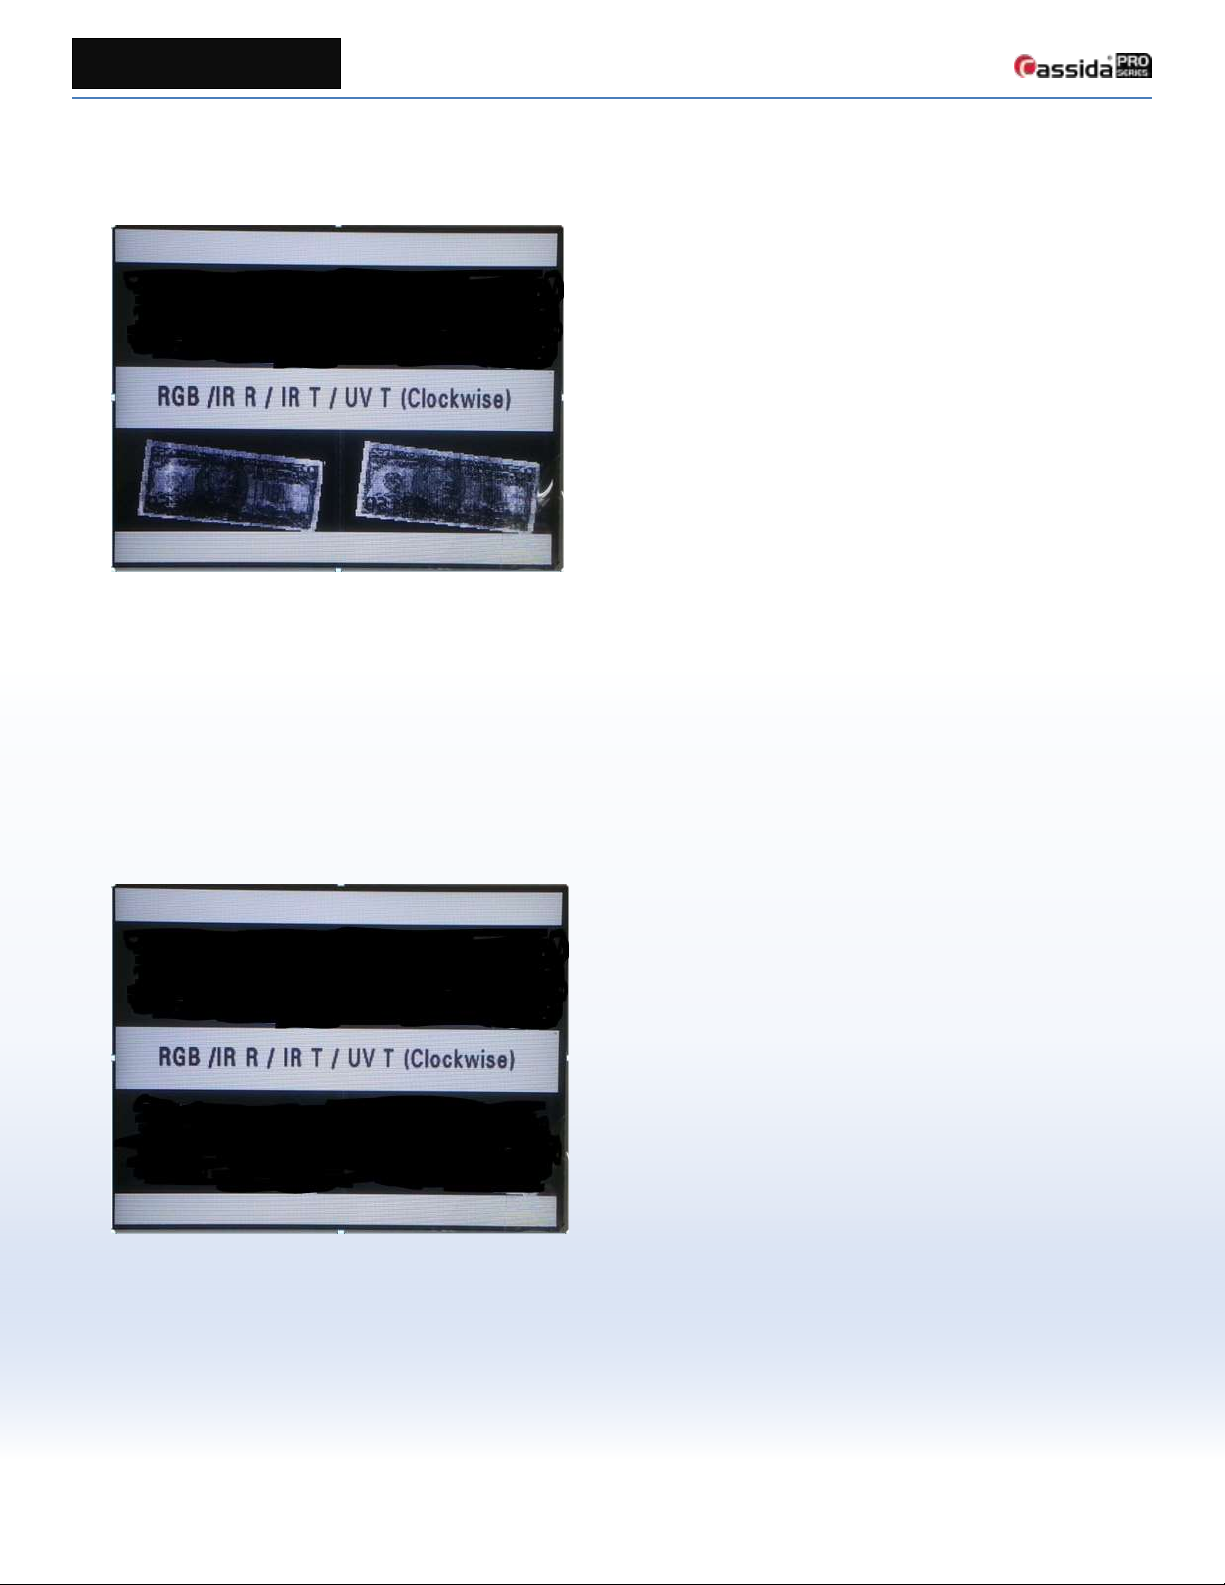
If the LED bar (UV backlight) is defective, then it is likely to reject all the notes as “IR SUSPECT”. [Fig. 1] shows
the scanner output when the LED bar is defective. IR T and UV T images are all black.
[Fig. 1]
To debug exactly which part failed, we recommend testing in the following order. The entire procedure should be
done in power off condition:
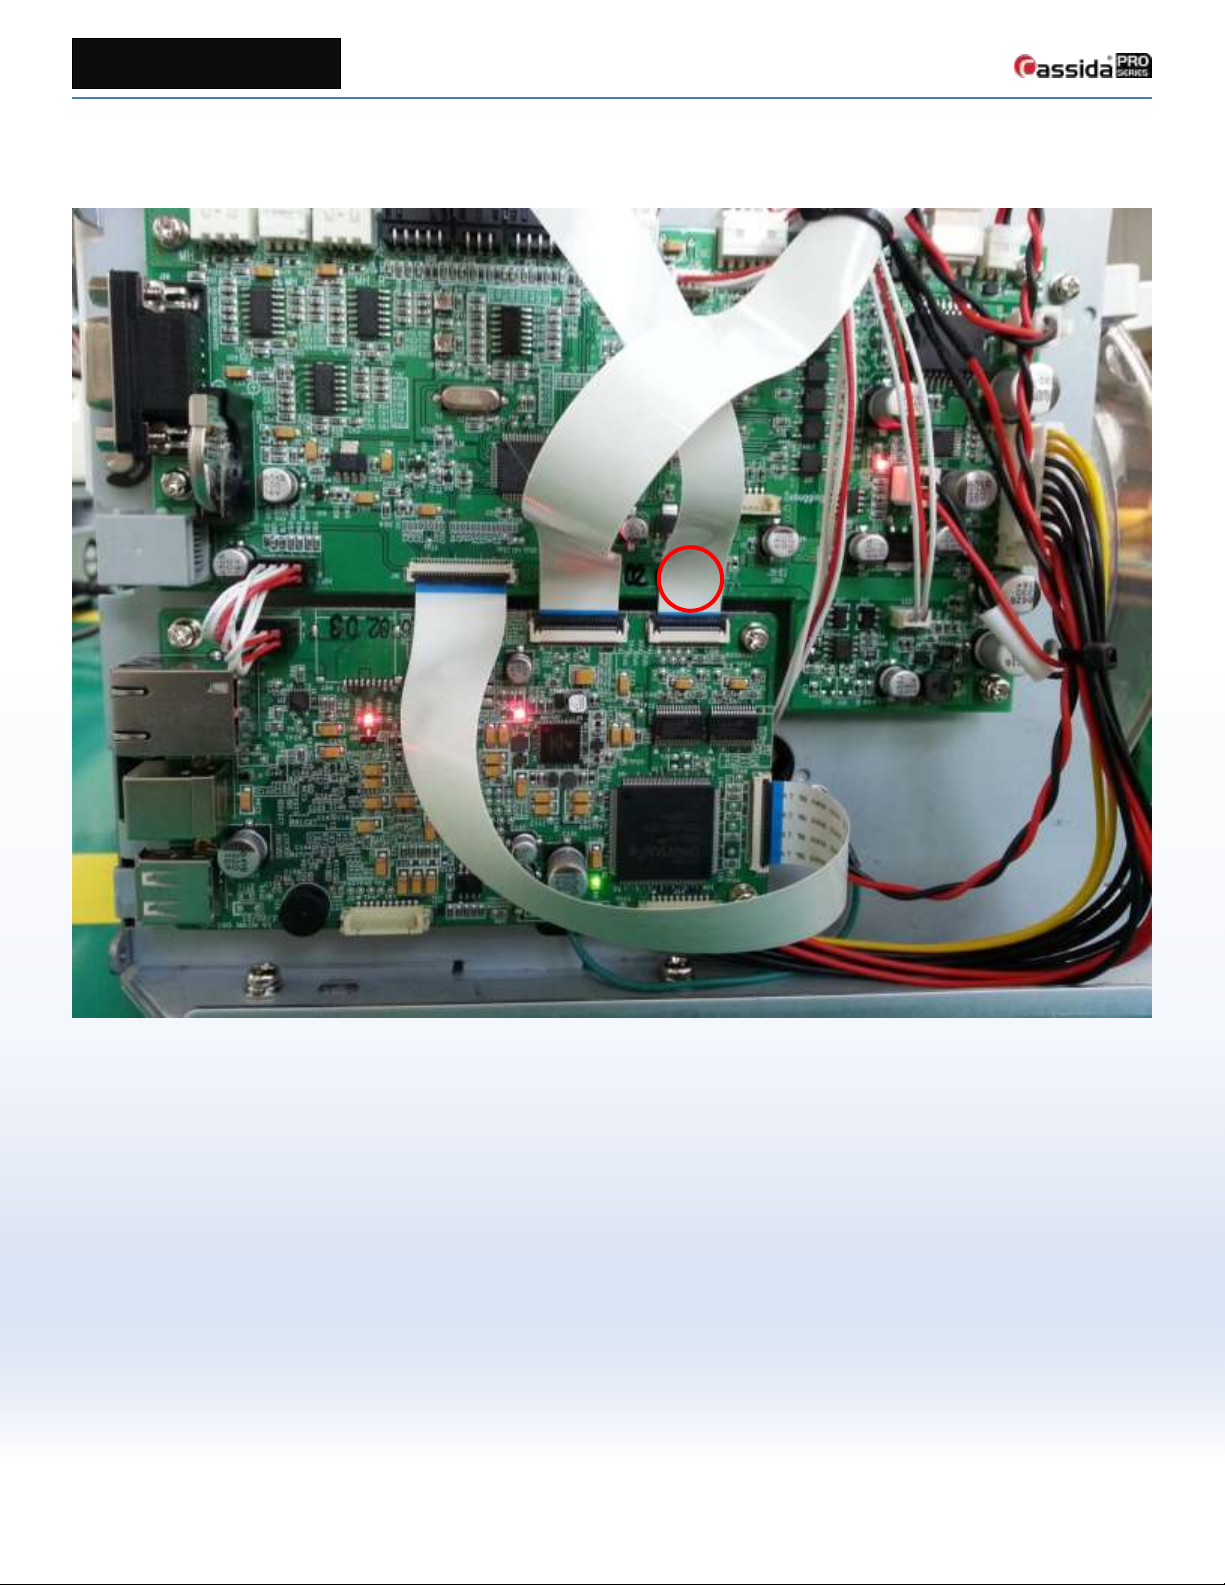
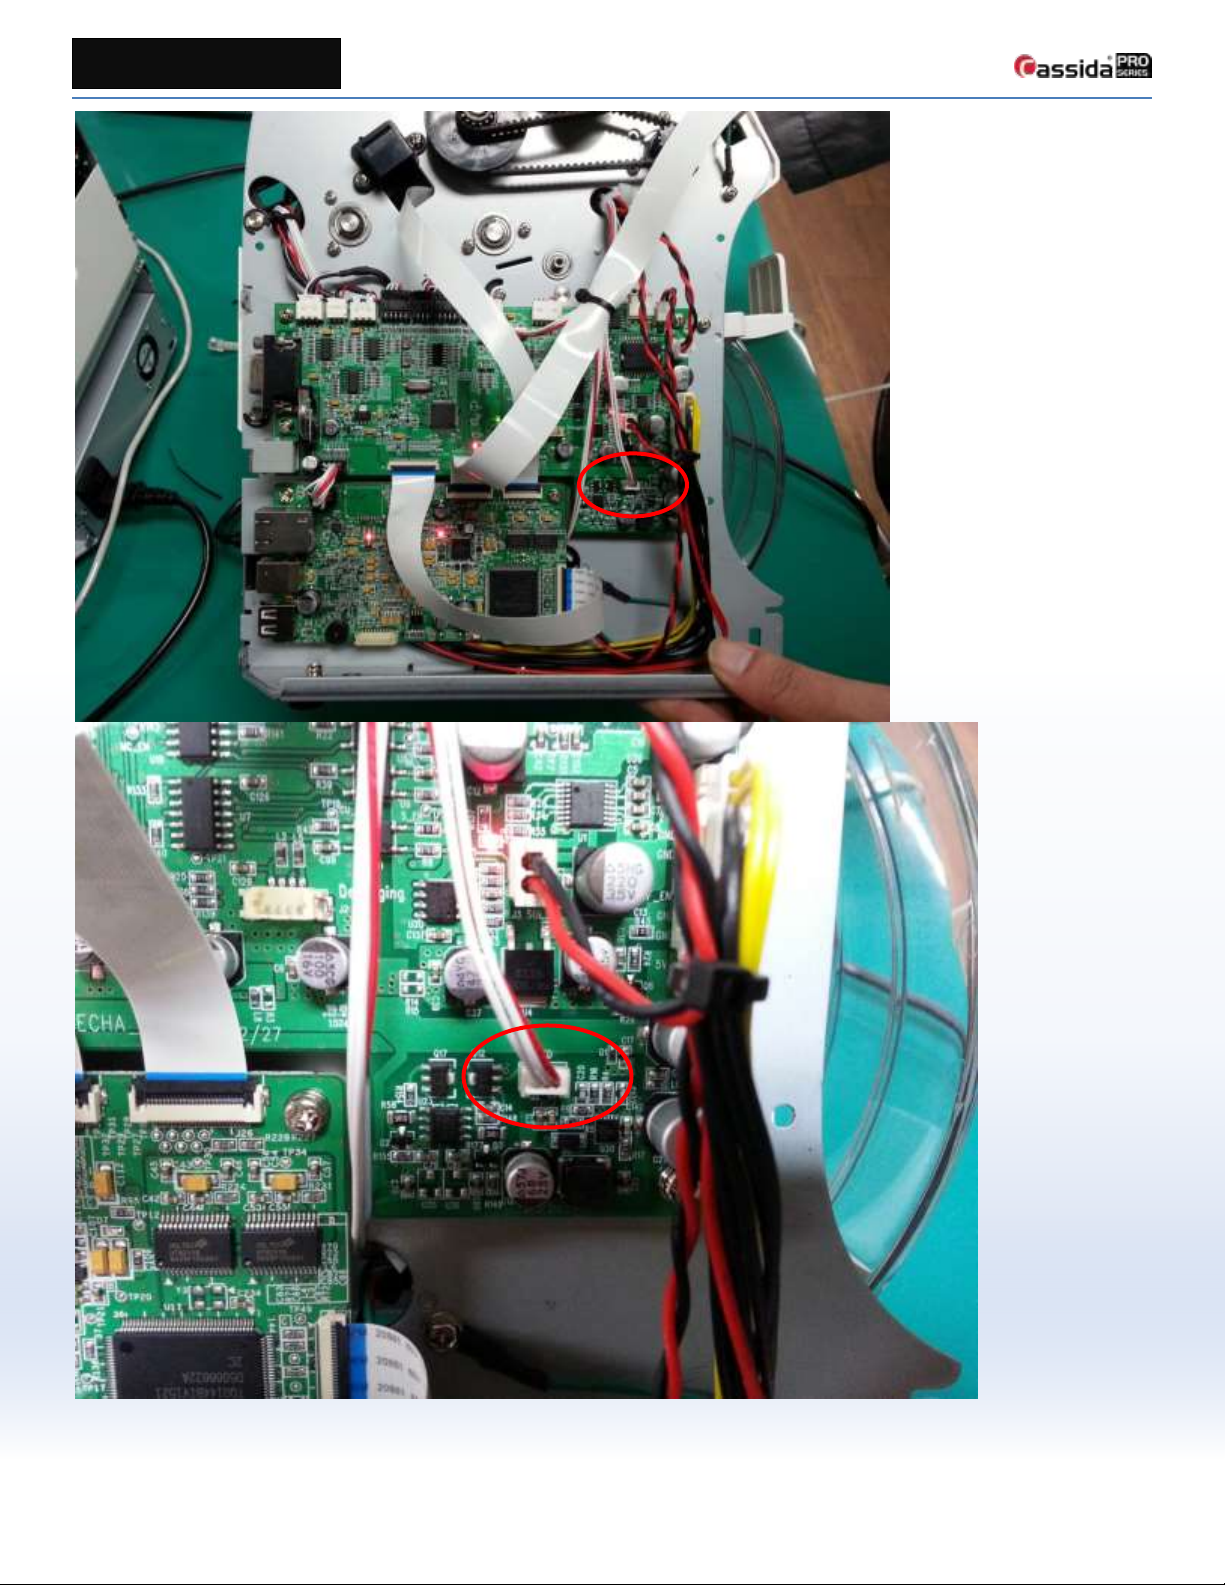
2. Check the harness between CIS and MAIN board
A bad connection can cause this problem. Take out the harness, marked 1 in [Fig. 5], from the connector and
reinsert it. Check the images in the test menu -> [1] -> [5] (Scanning quality) -> [4] (Scanned image). If all the
images are correctly received from the CIS sensor as in [Fig. 2], then test the machine with additional bills.
[Fig. 2]