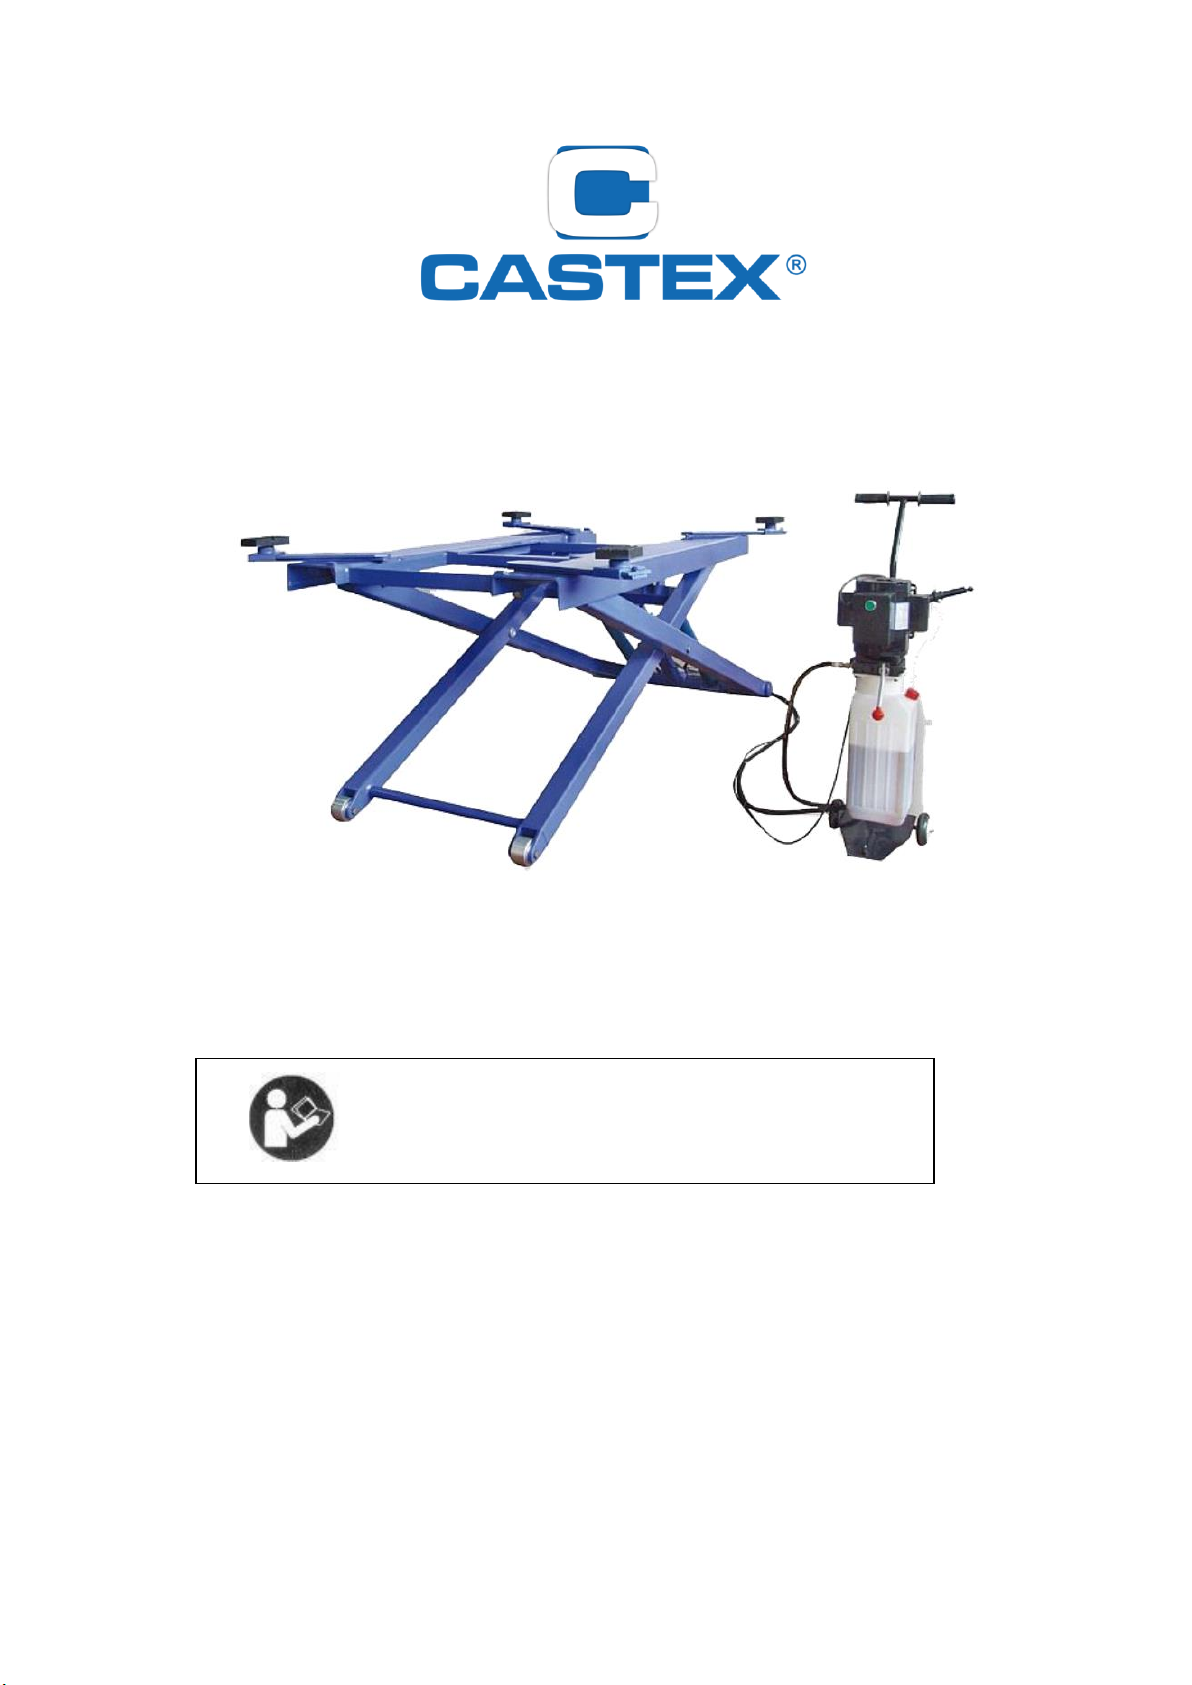
1.7 Specific safety rules
DANGER! Make sure you know the weight of the vehicle you
aregoing to lift before using the Scissor Lift. Do not exceed the maximum
liftcapacity(6,000)poundsat48” elevation)forthescissorlift.Overloading
the
Scissor Lift could cause personal injury and/or property damage. Be aware of
dynamic loading! If a weight suddenly falls onto the Scissor Lift, it may
create for a brief instant an excess load which may result in personal injury
and/or damage to the vehicle and Scissor Lift.
WARNING! Use the scissor lift only in well ventilated areas.
Carbonmonoxide exhausted from running vehicle engines is a colorless,
odorless fume that, if inhaled, can cause serious personal injury or death.
Make sure to read and understand all instructions and safety precautionsas
outlinedinthemanufacturer’s manualforthevehicleyouarelifting.Allfour
Rubber Saddles(39B) of the scissor lift must be used when lifting a vehicle.
Always use the manufacturer’s recommended lifting points.
Do not use the scissor lift on any asphalt surface. Make sure the scissor lift is
used on a dry, oil / grease free, flat, level, CONCRETE surface capable of
supporting the weight of the scissor lift, the vehicle being lifted, and any
additional tools and equipment. The concrete floor surface should have a
minimum thickness of 5”. The concrete must have a minimum strength of
4,000 PSL, and should be aged at least 30 days prior to use. Do not uses the
scissor lift on concrete expansion seems or on cracked, defective concrete.
Always examine the scissor lift for structural cracks, bends, damage to the
hydraulichosesandelectricalwiring,andanyotherconditionthatmayaffect
thesafeoperationof the lift.Donotusethescissorliftevenif minordamage
is detected.
IMPORTANT! Operation (raising or lowering) of the scissor lift can be
immediately stopped at any time by releasing pressure on the power
switch located on the motor(1A).
Make sure the oil tank (13A) is completely filled (approx. 6.5 quarts) witha
premium quality hydraulic oil prior to operating the scissor lift.
Always allow at least two seconds after the motor (1A) starts to raise or
lower the scissor lift. Failure to do so may cause the motor toburn out.
Prior to beginning a job, make sure the safety lock assembly (36B) and its
safety catches are in the proper position. Never work underneath a
vehicle without using additional safety support devices (i.e. jack stands) to
support the vehicle.
Attention should be paid of prevent electrical cables or hydraulic hoses been
pressed from load carrying elements during lowering operation.
Always keep hands, fingers, and feet away from the moving parts of
thescissor lift when applying or releasing a load. Remain clear of the scissor
lift when raising or lowering avehicle.