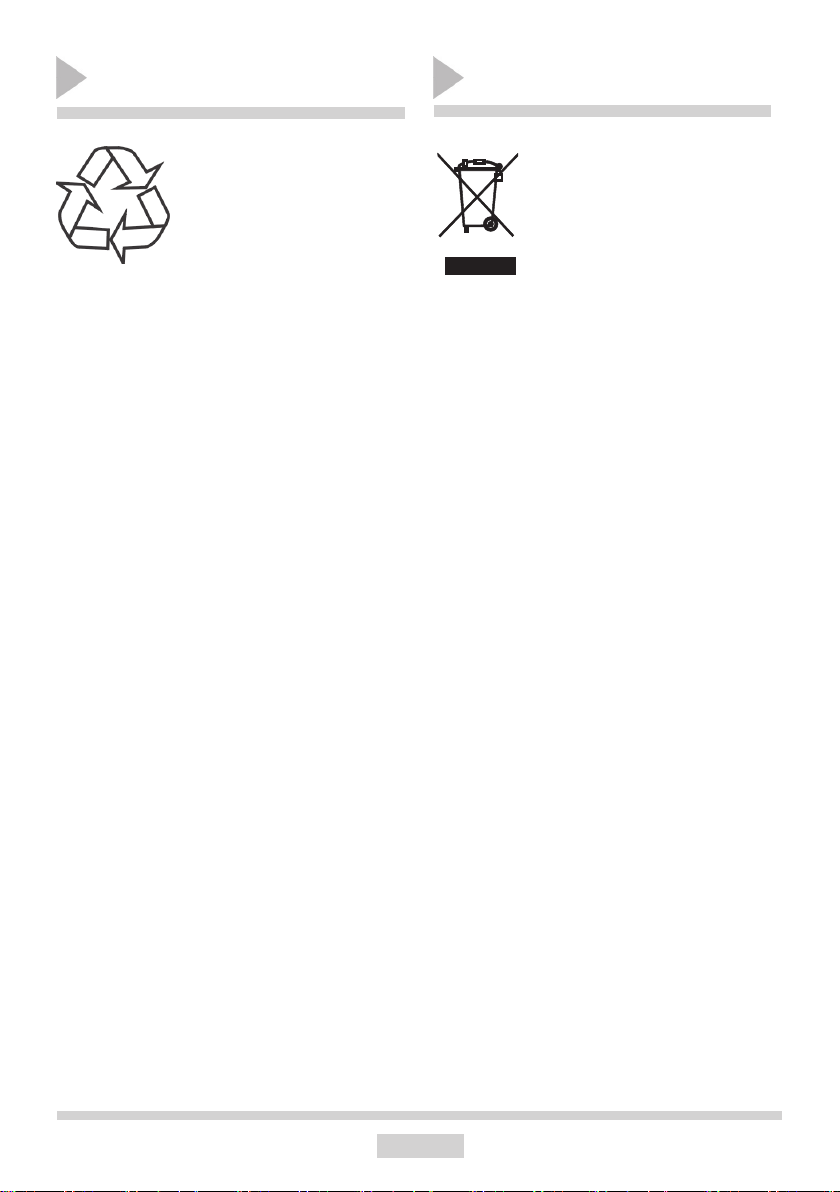
13
MENU –
<
> l
0
0
l
l
l
l
HASZNÁLAT
Elektronikus program funkciók
funkciók
funkció kiválasztógomb
< - „–” érzékelő
> - „+” érzékelő
Idő beállítása
Áramhoz való csatlakozás vagy áramszünet
utáni újracsatlakozás után a kijelzőn a követ-
kező ábra villog:
• Nyomjuk le hosszan a MENU gombot
(vagy érintsük egyszerre a <és > gom-
bokat), amíg a kijelzőn meg nem jelenik a
41
OPERATION
Electronic programmer
functions
MENU – function selection button
< - sensor “–”
> - sensor “+”
Setting the time
After connection to the mains or reconnec-
tion after a power cut the display shows ash
Timer
The timer can be activated at any time, re-
gardless of the status of other functions. The
timer can be set for from 1 minute to up to 23
hours and 59 minutes.
To set the timer you should:
lPress sensor MENU, then the display will
show ashing ,
00 00
00 00
lset the timer using sensors >and <.
The time set is shown on the display and the
signal function is on.
lPress sensor MENU , <or >in order to
switch o the signal, the signal function will go
out and the display will show the current time.
Caution!
If the alarm signal is not turned o manually,
it will be turned o automatically after approx.
7 minutes.
lTouch and hold MENU (or simultaneously
touch <and >) until you will see on the
display and the dot below the symbol is
ashing,
lTouch <or >within 7 seconds to set the
current time.
To store the new time setting, wait approxi-
mately 7 seconds after time has been set.
The dot below the symbol will stop ashing.
You can adjust the time later. To do this touch
< and >, simultaneously and adjust the cur-
rent time while the dot below the symbol
is ashing.
Caution!
If the correct time is not set then proper opera-
tion of the oven is not possible.
szimbólum, és az alatta lévő pont vil-
logni nem kezd,
• 7 másodpercen belül a < és > gombok
érintésével állítsuk be a pontos időt.
Az új időbeállítás elmentéséhez beállítás után
várjunk körülbelül 7 másodpercet. A
41
OPERATION
Electronic programmer
functions
MENU – function selection button
< - sensor “–”
> - sensor “+”
Setting the time
After connection to the mains or reconnec-
tion after a power cut the display shows ash
Timer
The timer can be activated at any time, re-
gardless of the status of other functions. The
timer can be set for from 1 minute to up to 23
hours and 59 minutes.
To set the timer you should:
lPress sensor MENU, then the display will
show ashing ,
00 00
00 00
lset the timer using sensors >and <.
The time set is shown on the display and the
signal function is on.
lPress sensor MENU , <or >in order to
switch o the signal, the signal function will go
out and the display will show the current time.
Caution!
If the alarm signal is not turned o manually,
it will be turned o automatically after approx.
7 minutes.
lTouch and hold MENU (or simultaneously
touch <and >) until you will see on the
display and the dot below the symbol is
ashing,
lTouch <or >within 7 seconds to set the
current time.
To store the new time setting, wait approxi-
mately 7 seconds after time has been set.
The dot below the symbol will stop ashing.
You can adjust the time later. To do this touch
< and >, simultaneously and adjust the cur-
rent time while the dot below the symbol
is ashing.
Caution!
If the correct time is not set then proper opera-
tion of the oven is not possible.
szim-
bólum alatti pont megszűnik villogni.
Később is beállíthatjuk az időt. Ehhez érint-
sük egyszerre a <és > gombokat, és állítsuk
be az időt, amíg a
41
OPERATION
Electronic programmer
functions
MENU – function selection button
< - sensor “–”
> - sensor “+”
Setting the time
After connection to the mains or reconnec-
tion after a power cut the display shows ash
Timer
The timer can be activated at any time, re-
gardless of the status of other functions. The
timer can be set for from 1 minute to up to 23
hours and 59 minutes.
To set the timer you should:
lPress sensor MENU, then the display will
show ashing ,
00 00
00 00
lset the timer using sensors >and <.
The time set is shown on the display and the
signal function is on.
lPress sensor MENU , <or >in order to
switch o the signal, the signal function will go
out and the display will show the current time.
Caution!
If the alarm signal is not turned o manually,
it will be turned o automatically after approx.
7 minutes.
lTouch and hold MENU (or simultaneously
touch <and >) until you will see on the
display and the dot below the symbol is
ashing,
lTouch <or >within 7 seconds to set the
current time.
To store the new time setting, wait approxi-
mately 7 seconds after time has been set.
The dot below the symbol will stop ashing.
You can adjust the time later. To do this touch
< and >, simultaneously and adjust the cur-
rent time while the dot below the symbol
is ashing.
Caution!
If the correct time is not set then proper opera-
tion of the oven is not possible.
szimbólum alatti pont
villog.
Vigyázat!
Amennyiben nem állítottuk be a pontos időt, a
sütő nem fog megfelelően működni.
Időzítő
Az időzítő bármikor bekapcsolható, a többi
funkció állapotától függetlenül. Az időzítőt 1
perctől 23 óra 59 percig terjedő időtartamra
lehet beállítani.
Az időzítő beállításához:
• Nyomjuk meg a MENU érzékelőt, majd
a kijelzőn megjelenik a villogó
41
OPERATION
Electronic programmer
functions
MENU – function selection button
< - sensor “–”
> - sensor “+”
Setting the time
After connection to the mains or reconnec-
tion after a power cut the display shows ash
Timer
The timer can be activated at any time, re-
gardless of the status of other functions. The
timer can be set for from 1 minute to up to 23
hours and 59 minutes.
To set the timer you should:
lPress sensor MENU, then the display will
show ashing ,
00 00
00 00
lset the timer using sensors >and <.
The time set is shown on the display and the
signal function is on.
lPress sensor MENU , <or >in order to
switch o the signal, the signal function will go
out and the display will show the current time.
Caution!
If the alarm signal is not turned o manually,
it will be turned o automatically after approx.
7 minutes.
lTouch and hold MENU (or simultaneously
touch <and >) until you will see on the
display and the dot below the symbol is
ashing,
lTouch <or >within 7 seconds to set the
current time.
To store the new time setting, wait approxi-
mately 7 seconds after time has been set.
The dot below the symbol will stop ashing.
You can adjust the time later. To do this touch
< and >, simultaneously and adjust the cur-
rent time while the dot below the symbol
is ashing.
Caution!
If the correct time is not set then proper opera-
tion of the oven is not possible.
,
• állítsuk be az időzítőt a <és > érzékelők
segítségével.
A beállított idő megjelenik a kijelzőn és foly-
tonosan világít a
41
OPERATION
Electronic programmer
functions
MENU – function selection button
< - sensor “–”
> - sensor “+”
Setting the time
After connection to the mains or reconnec-
tion after a power cut the display shows ash
Timer
The timer can be activated at any time, re-
gardless of the status of other functions. The
timer can be set for from 1 minute to up to 23
hours and 59 minutes.
To set the timer you should:
lPress sensor MENU, then the display will
show ashing ,
00 00
00 00
lset the timer using sensors >and <.
The time set is shown on the display and the
signal function is on.
lPress sensor MENU , <or >in order to
switch o the signal, the signal function will go
out and the display will show the current time.
Caution!
If the alarm signal is not turned o manually,
it will be turned o automatically after approx.
7 minutes.
lTouch and hold MENU (or simultaneously
touch <and >) until you will see on the
display and the dot below the symbol is
ashing,
lTouch <or >within 7 seconds to set the
current time.
To store the new time setting, wait approxi-
mately 7 seconds after time has been set.
The dot below the symbol will stop ashing.
You can adjust the time later. To do this touch
< and >, simultaneously and adjust the cur-
rent time while the dot below the symbol
is ashing.
Caution!
If the correct time is not set then proper opera-
tion of the oven is not possible.
jel funkció.
• Nyomjuk meg a MENU szenzort és a <
vagy > gombot a jelzés kikapcsolásá-
hoz. Ezáltal kialszik a jel funkció, a kijel-
zőn pedig a pontos idő jelenik meg.
Vigyázat!
Amennyiben a riasztójelzőt nem kapcsoljuk
ki manuálisan, az körülbelül 7 perc eltelté-
vel automatikusan kikapcsol.
41
OPERATION
Electronic programmer
functions
MENU – function selection button
< - sensor “–”
> - sensor “+”
Setting the time
After connection to the mains or reconnec-
tion after a power cut the display shows ash
Timer
The timer can be activated at any time, re-
gardless of the status of other functions. The
timer can be set for from 1 minute to up to 23
hours and 59 minutes.
To set the timer you should:
lPress sensor MENU, then the display will
show ashing ,
00 00
00 00
lset the timer using sensors >and <.
The time set is shown on the display and the
signal function is on.
lPress sensor MENU , <or >in order to
switch o the signal, the signal function will go
out and the display will show the current time.
Caution!
If the alarm signal is not turned o manually,
it will be turned o automatically after approx.
7 minutes.
lTouch and hold MENU (or simultaneously
touch <and >) until you will see on the
display and the dot below the symbol is
ashing,
lTouch <or >within 7 seconds to set the
current time.
To store the new time setting, wait approxi-
mately 7 seconds after time has been set.
The dot below the symbol will stop ashing.
You can adjust the time later. To do this touch
< and >, simultaneously and adjust the cur-
rent time while the dot below the symbol
is ashing.
Caution!
If the correct time is not set then proper opera-
tion of the oven is not possible.