manuals.online logo
Brands
  1. Home
  2. •
  3. Brands
  4. •
  5. Cateye
  6. •
  7. Bicycle Accessories
  8. •
  9. Cateye COMPACT OPTICUBE HL-EL400 User manual

Cateye COMPACT OPTICUBE HL-EL400 User manual

Other Cateye Bicycle Accessories manuals

Cateye CC-CL200 User manual

Cateye

Cateye CC-CL200 User manual

Cateye CC-TR200DW (V2c) User manual

Cateye

Cateye CC-TR200DW (V2c) User manual

Cateye HL-MH310 User manual

Cateye

Cateye HL-MH310 User manual

Cateye GE100 User manual

Cateye

Cateye GE100 User manual

Cateye ViZ300 User manual

Cateye

Cateye ViZ300 User manual

Cateye Loop 2 SL-LD140RC-R User manual

Cateye

Cateye Loop 2 SL-LD140RC-R User manual

Cateye Single Shot Plus HL-EL610RC User manual

Cateye

Cateye Single Shot Plus HL-EL610RC User manual

Cateye V2C - Instruction manual

Cateye

Cateye V2C - Instruction manual

Cateye HL-330 User manual

Cateye

Cateye HL-330 User manual

Cateye Velo Wireless User manual

Cateye

Cateye Velo Wireless User manual

Cateye VELO8 User manual

Cateye

Cateye VELO8 User manual

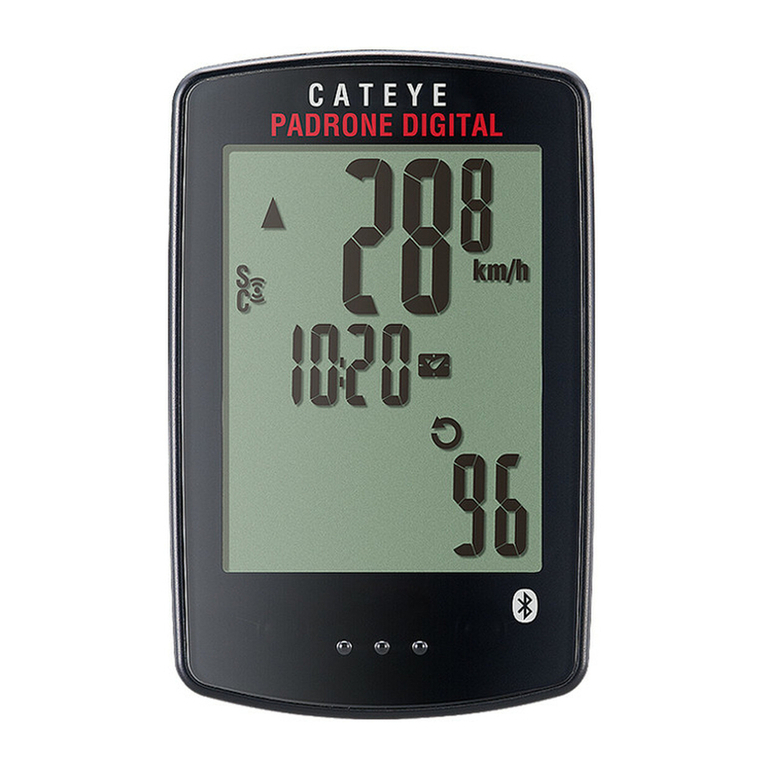
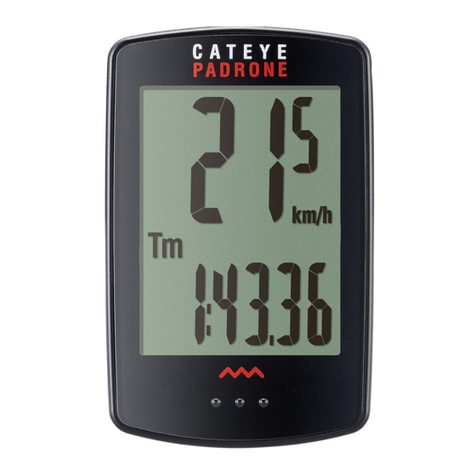
Cateye Padrone+ User manual

Cateye

Cateye Padrone+ User manual

Cateye OS 1.1 User manual

Cateye

Cateye OS 1.1 User manual

Cateye CC-RD310W Slim User manual

Cateye

Cateye CC-RD310W Slim User manual

Cateye CC-DU100 User manual

Cateye

Cateye CC-DU100 User manual

Cateye HL-EL500 POWER OPTICUBE User manual

Cateye

Cateye HL-EL500 POWER OPTICUBE User manual

Cateye VELO Wireless+ CC-VT235W User manual

Cateye

Cateye VELO Wireless+ CC-VT235W User manual

Cateye Econom HL-EL340 User manual

Cateye

Cateye Econom HL-EL340 User manual

Cateye ASTRALE User manual

Cateye

Cateye ASTRALE User manual

Cateye Vectra CC-VT100W User manual

Cateye

Cateye Vectra CC-VT100W User manual

Cateye TRIPLE SHOT PRO HL-EL830RC User manual

Cateye

Cateye TRIPLE SHOT PRO HL-EL830RC User manual

Cateye Padrone Smart CC-PA500B User manual

Cateye

Cateye Padrone Smart CC-PA500B User manual

Cateye CC-MT400 User manual

Cateye

Cateye CC-MT400 User manual

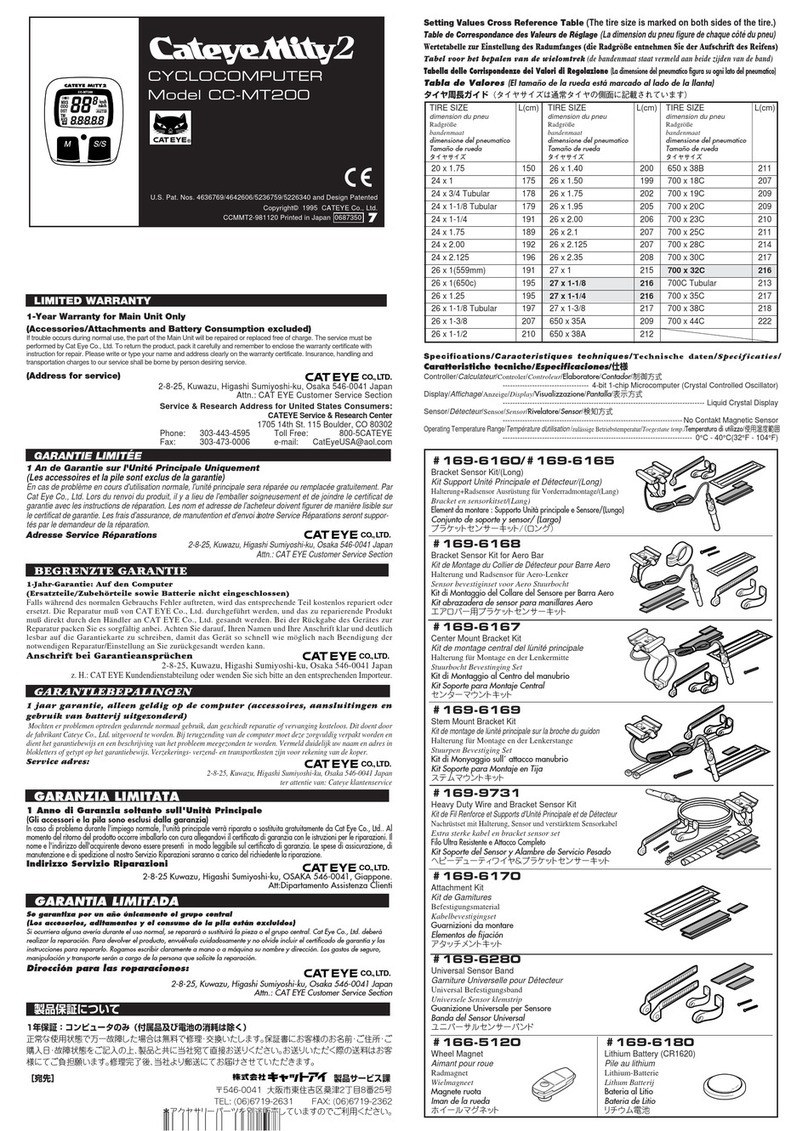
Cateye MITY 2 User manual

Cateye

Cateye MITY 2 User manual

Popular Bicycle Accessories manuals by other brands

Galeo Galeo user guide

Galeo

Galeo Galeo user guide

Shimano DURA-ACE FC-R9100 Dealer's manual

Shimano

Shimano DURA-ACE FC-R9100 Dealer's manual

BAFANG BT C01.340.UART Customer's manual

BAFANG

BAFANG BT C01.340.UART Customer's manual

Minshine T154 Series manual

Minshine

Minshine T154 Series manual

Navad Trail 200 Quick manual guide

Navad

Navad Trail 200 Quick manual guide

Specialized Elite CylcoComputer user manual

Specialized

Specialized Elite CylcoComputer user manual

Sigma BC 16.16 manual

Sigma

Sigma BC 16.16 manual

Playcore Dero Setbacks installation instructions

Playcore

Playcore Dero Setbacks installation instructions

VDO Cyclecomputing x3dw instruction manual

VDO Cyclecomputing

VDO Cyclecomputing x3dw instruction manual

buratti meccanica Clorofilla Trail Use and maintenance manual

buratti meccanica

buratti meccanica Clorofilla Trail Use and maintenance manual

Shimano SG-8R20 Service instructions

Shimano

Shimano SG-8R20 Service instructions

BOB YAK owner's manual

BOB

BOB YAK owner's manual

APLIC 303303/20190717TW012 user manual

APLIC

APLIC 303303/20190717TW012 user manual

Polini HI-SPEED E-BIKE quick start guide

Polini

Polini HI-SPEED E-BIKE quick start guide

SRAM AXS BlipBox user manual

SRAM

SRAM AXS BlipBox user manual

Shimano FD-RX810 Dealer's manual

Shimano

Shimano FD-RX810 Dealer's manual

Shimano SM-BB80 Service instructions

Shimano

Shimano SM-BB80 Service instructions

Syntace SUPERLOCK quick start guide

Syntace

Syntace SUPERLOCK quick start guide

manuals.online logo
manuals.online logoBrands
  • About & Mission
  • Contact us
  • Privacy Policy
  • Terms and Conditions

Copyright 2025 Manuals.Online. All Rights Reserved.

WARNING / AVERTISSEMENT
•Please be sure to securely attach the light to your
bicycle. If it becomes loose it may be dangerous.
 S’assurer de bien attacher la lumière au vélo. Il est
dangereux de rouler avec une lumière qui n’est pas
fixée solidement.
•Please do not mount the light where it may interfere
with any moving parts.
 S’assurer d’installer la lumière à un endroit qui
n’interfère pas avec aucune pièce mobile.
•Keep the light away from small children.
 Garder la lumière hors de portée des jeunes enfants
CAUTION / ATTENTION
•This product is waterproof up to 50m/165ft but is not
intended for diving.
 Ce produit est étanche jusqu’à 50/165ft. Cependant ce
produit n’est pas prévu pour la plongée.
•This product contains a magnet; please do not place
next to items that may be affected by magnets.
 Ce produit contient un aimant; S.V.P. ne pas placer la
lumière à proximité d’objets pouvant être affectés par
un aimant
•Please do not place this light next to any product that
use magnets.
 S.V.P. ne pas placer cette lumière à proximité d’objet
contenant un aimant.
•Please make sure this light does not interfere with
your riding.
 S.V.P. s’assurer que la lumière n’interfère pas avec la
conduite de votre vélo.
•Do not attempt to turn the light on or off while
riding.
 Ne pas essayer d’actionner l’interrupteur en roulant.
•We recommend using Alkaline AAA batteries.
 Nous recommandons l’utilisation de piles alcalines
AAA
•Do not mistake the plus or minus sides of the
batteries.
 Ne pas intervertir les pôles positifs et négatifs des
piles
•Please do not mix new and old batteries.
 S.V.P. ne pas utiliser des piles neuves et usagées en
même temps dans la lumière
•Be sure to keep the battery contacts clean in case
they become dirty.
 S’assurer de arder les contacts des piles le plus
propre que possible.
•If you plan to leave the light unused for a long
period of time, please remove the batteries, as they
may leak and damage the light over time.
 Si vous planifiez de ne pas utiliser la lumière pour
une longue période de temps, S.V.P. retirez les piles
pour ne pas qu’elles coulent et/ou endommagent
votre lumière.
•Please take care to keep the light and its parts clean.
 S.V.P. prendre soins de garder la lumière propre
•Do not forget to turn off the light when finished
exercising.
 Ne pas oublier d’éteindre la lumière après
utilisation.
CAUTION / ATTENTION
#533-9540
PARTS KIT
Kit d'accessoires
BATTERY REPLACEMENT / REMPLACEMENT DES PILES
1
Insert the batteries.
Insérer les piles.
2
Caution / Attention
Be sure to completely close the
unit to ensure that the light is
waterproof.
S’assurer de bien refermer le
boîtier pour que la lumière soit
étanche.
MOUNTING YOUR LIGHT
NSTALLATION DE LA LUMIÈRE
ON/OFF MARCHE/ARRÊT
Band Guide
Guide de courroie
Lens Unit
Compartiment
de la lentille
Light Body
Boîtier
Switch
Interrupteur
Inner Band
Courroie
interne
Outer Band
Courroie externe
Lengthen the outer band.
Allonger la courroie
externe.
Slide the band
guide down
Glisser le guide
de courroie
vers le bas
Return the guide,
enclosing both bands.
Remonter le guide en
entourant les
2 courroies.
Band Guide
Guide de
courroie
Band Guide
Guide de
courroie
Band
Courroie
Lever
Levier
Handlebar
Guidon
Slide / Glisser
Close the lever
Fermer le levier
Pull the belt tightly
Tirer fermement la courroie
Bracket
Fixation
Switch
Interrupteur
Flashing
Mode Flash
Constant
Mode constant
OFF
Fermeture
BELT ADJUSTMENT
AJUSTEMENT DE LA COURROIE
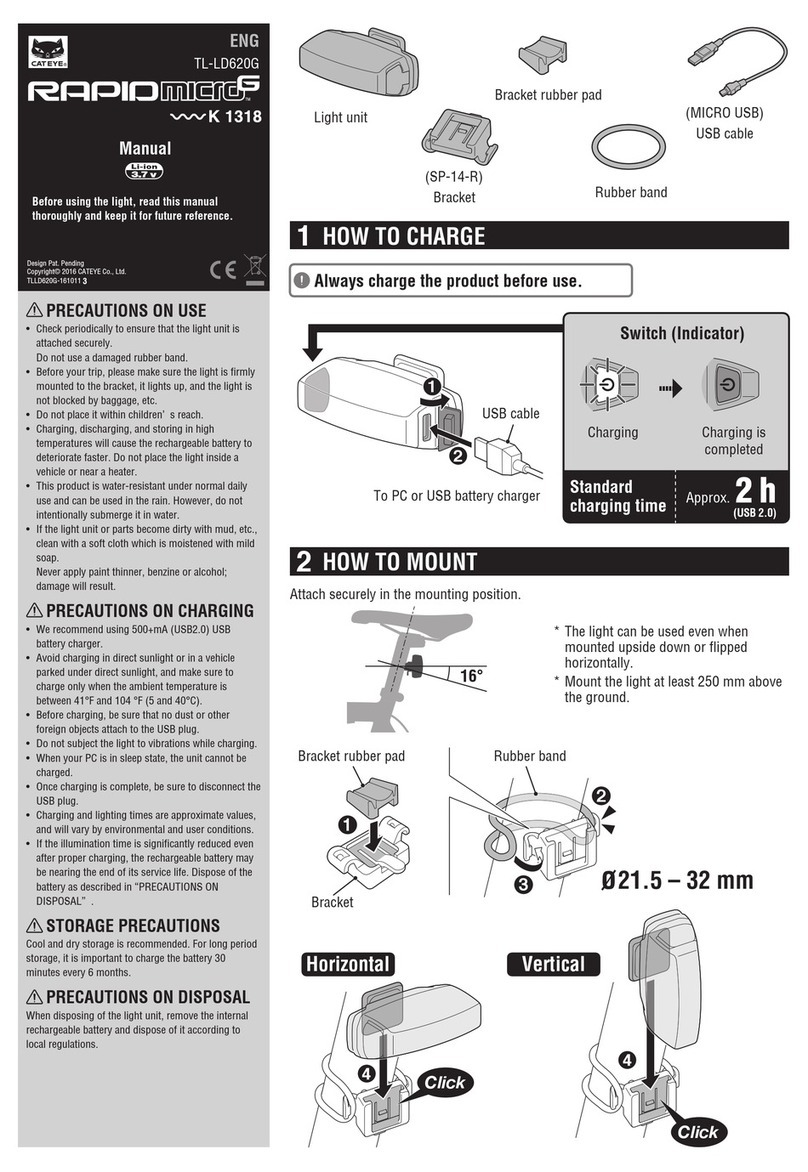
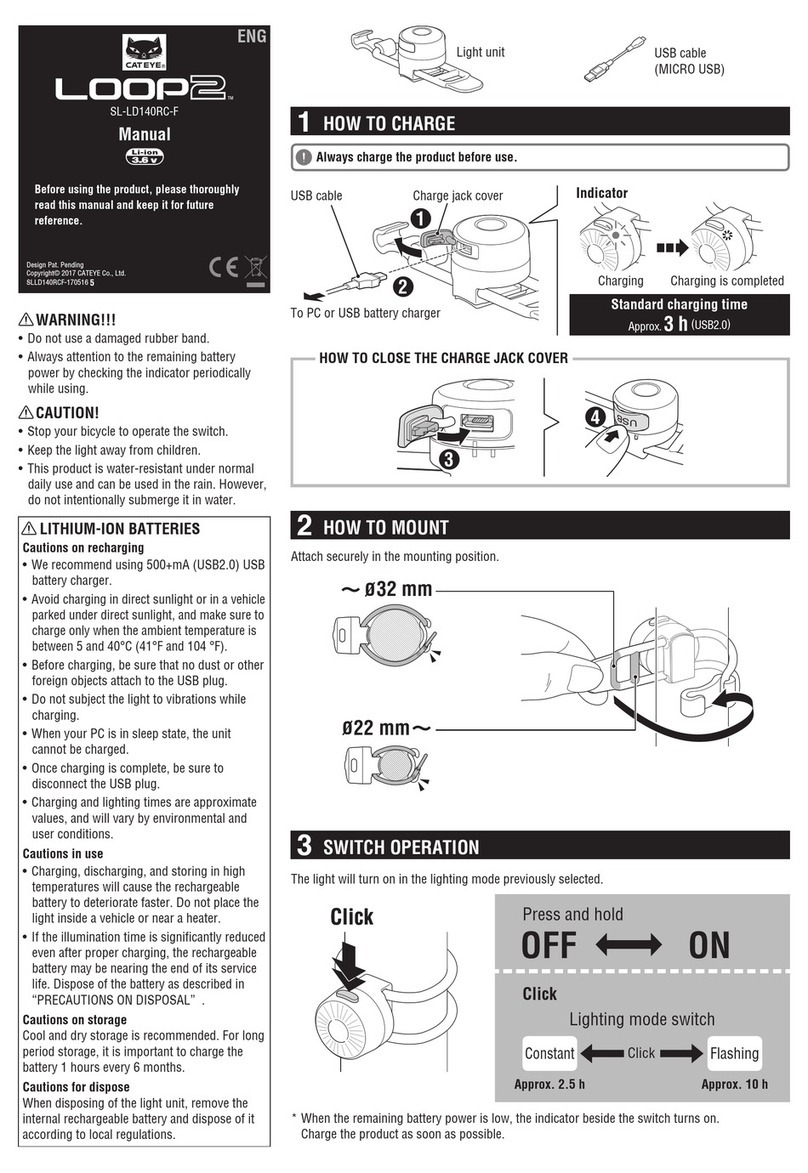
LAMP PARTS
COMPOSANTES DU FEU AVANT
1
1
2
3
2
3
066510702 V6
The lever should
be horizontal
Le levier devrait
être à
l’horizontale
As in the pictures below, route the outer band through
the lever. While pulling tightly on the band, close the
lever.
Insérer la courroie externe à travers le levier, tel
qu’illustrer ci-dessous. Maintenir la courroie tendue tout
en refermant le levier.
Unscrew the lens
30deg and remove
the lens unit.
Dévisser le
compartiment de
la lentille de
30degrés et tirer
pour ouvrir la
lumière.
When changing the battery,
open the light with the lens up
to prevent the batteries from
falling out.
Lors du remplacement des
piles, tenir la lumières avec la
lentille vers le haut pour éviter
d’échapper les piles.
170 x 90 mm 170 x 90 mm
90˚
90˚
Bracket
Fixation
®
COMPACT
OPTICUBE
HL-EL400
The light can rotate up
to 90deg in either
direction.
La lumière peut pivoter
jusqu’à 90˚ d’un côté
ou de l’autre.
HL-EL400説明紙
Align the guide on the
contact unit with the
groove inside the light
body.
Alignez le guide de
l'unité de contact avec
la rainure situé dans
le corps de la lampe.
Insert the lens unit
completely into the
lamp body.
Insérez complètement
la lentille dans le corps
de la lampe.
Push and turn the lens
unit clockwise 30
degrees.
Poussez et tournez la
lentille de 30 degrés
dans le sens des
aiguilles d'une montre.
4
®
®
®
Guide on contact unit
Guide sur l'unité
de contact
Groove
Rainure
The CATEYE mark
must facing up
Le logo CATEYE
doit se situe sur
le dessus de la
lampe.
3
Spare Accessories
Accessoires
de Montage
WARNING / AVERTISSEMENT
•Please be sure to securely attach the light to your
bicycle. If it becomes loose it may be dangerous.
 S’assurer de bien attacher la lumière au vélo. Il est
dangereux de rouler avec une lumière qui n’est pas
fixée solidement.
•Please do not mount the light where it may interfere
with any moving parts.
 S’assurer d’installer la lumière à un endroit qui
n’interfère pas avec aucune pièce mobile.
•Keep the light away from small children.
 Garder la lumière hors de portée des jeunes enfants
CAUTION / ATTENTION
•This product is waterproof up to 50m/165ft but is not
intended for diving.
 Ce produit est étanche jusqu’à 50/165ft. Cependant ce
produit n’est pas prévu pour la plongée.
•This product contains a magnet; please do not place
next to items that may be affected by magnets.
 Ce produit contient un aimant; S.V.P. ne pas placer la
lumière à proximité d’objets pouvant être affectés par
un aimant
•Please do not place this light next to any product that
use magnets.
 S.V.P. ne pas placer cette lumière à proximité d’objet
contenant un aimant.
•Please make sure this light does not interfere with
your riding.
 S.V.P. s’assurer que la lumière n’interfère pas avec la
conduite de votre vélo.
•Do not attempt to turn the light on or off while
riding.
 Ne pas essayer d’actionner l’interrupteur en roulant.
•We recommend using Alkaline AAA batteries.
 Nous recommandons l’utilisation de piles alcalines
AAA
•Do not mistake the plus or minus sides of the
batteries.
 Ne pas intervertir les pôles positifs et négatifs des
piles
•Please do not mix new and old batteries.
 S.V.P. ne pas utiliser des piles neuves et usagées en
même temps dans la lumière
•Be sure to keep the battery contacts clean in case
they become dirty.
 S’assurer de arder les contacts des piles le plus
propre que possible.
•If you plan to leave the light unused for a long
period of time, please remove the batteries, as they
may leak and damage the light over time.
 Si vous planifiez de ne pas utiliser la lumière pour
une longue période de temps, S.V.P. retirez les piles
pour ne pas qu’elles coulent et/ou endommagent
votre lumière.
•Please take care to keep the light and its parts clean.
 S.V.P. prendre soins de garder la lumière propre
•Do not forget to turn off the light when finished
exercising.
 Ne pas oublier d’éteindre la lumière après
utilisation.
CAUTION / ATTENTION
#533-9540
PARTS KIT
Kit d'accessoires
BATTERY REPLACEMENT / REMPLACEMENT DES PILES
1
Insert the batteries.
Insérer les piles.
2
Caution / Attention
Be sure to completely close the
unit to ensure that the light is
waterproof.
S’assurer de bien refermer le
boîtier pour que la lumière soit
étanche.
MOUNTING YOUR LIGHT
NSTALLATION DE LA LUMIÈRE
ON/OFF MARCHE/ARRÊT
Band Guide
Guide de courroie
Lens Unit
Compartiment
de la lentille
Light Body
Boîtier
Switch
Interrupteur
Inner Band
Courroie
interne
Outer Band
Courroie externe
Lengthen the outer band.
Allonger la courroie
externe.
Slide the band
guide down
Glisser le guide
de courroie
vers le bas
Return the guide,
enclosing both bands.
Remonter le guide en
entourant les
2 courroies.
Band Guide
Guide de
courroie
Band Guide
Guide de
courroie
Band
Courroie
Lever
Levier
Handlebar
Guidon
Slide / Glisser
Close the lever
Fermer le levier
Pull the belt tightly
Tirer fermement la courroie
Bracket
Fixation
Switch
Interrupteur
Flashing
Mode Flash
Constant
Mode constant
OFF
Fermeture
BELT ADJUSTMENT
AJUSTEMENT DE LA COURROIE
LAMP PARTS
COMPOSANTES DU FEU AVANT
1
1
2
3
2
3
066510702 V6
The lever should
be horizontal
Le levier devrait
être à
l’horizontale
As in the pictures below, route the outer band through
the lever. While pulling tightly on the band, close the
lever.
Insérer la courroie externe à travers le levier, tel
qu’illustrer ci-dessous. Maintenir la courroie tendue tout
en refermant le levier.
Unscrew the lens
30deg and remove
the lens unit.
Dévisser le
compartiment de
la lentille de
30degrés et tirer
pour ouvrir la
lumière.
When changing the battery,
open the light with the lens up
to prevent the batteries from
falling out.
Lors du remplacement des
piles, tenir la lumières avec la
lentille vers le haut pour éviter
d’échapper les piles.
170 x 90 mm 170 x 90 mm
90˚
90˚
Bracket
Fixation
®
COMPACT
OPTICUBE
HL-EL400
The light can rotate up
to 90deg in either
direction.
La lumière peut pivoter
jusqu’à 90˚ d’un côté
ou de l’autre.
HL-EL400説明紙
Align the guide on the
contact unit with the
groove inside the light
body.
Alignez le guide de
l'unité de contact avec
la rainure situé dans
le corps de la lampe.
Insert the lens unit
completely into the
lamp body.
Insérez complètement
la lentille dans le corps
de la lampe.
Push and turn the lens
unit clockwise 30
degrees.
Poussez et tournez la
lentille de 30 degrés
dans le sens des
aiguilles d'une montre.
4
®
®
®
Guide on contact unit
Guide sur l'unité
de contact
Groove
Rainure
The CATEYE mark
must facing up
Le logo CATEYE
doit se situe sur
le dessus de la
lampe.
3
Spare Accessories
Accessoires
de Montage