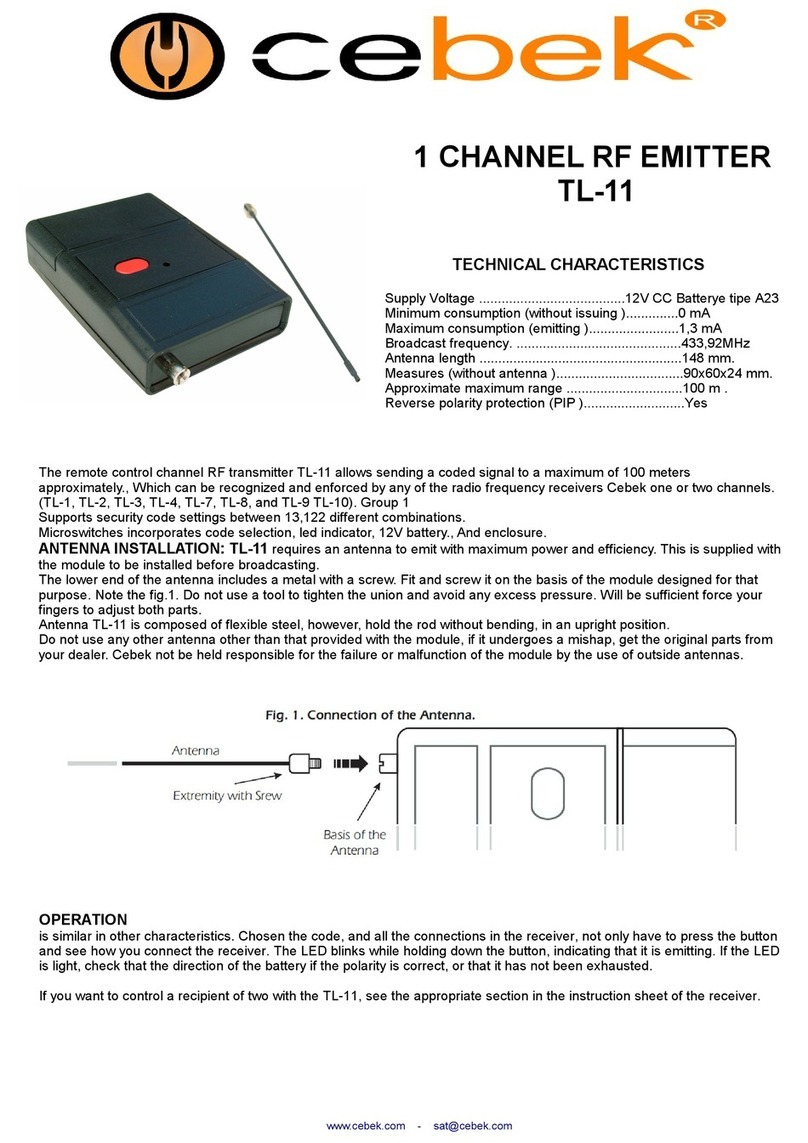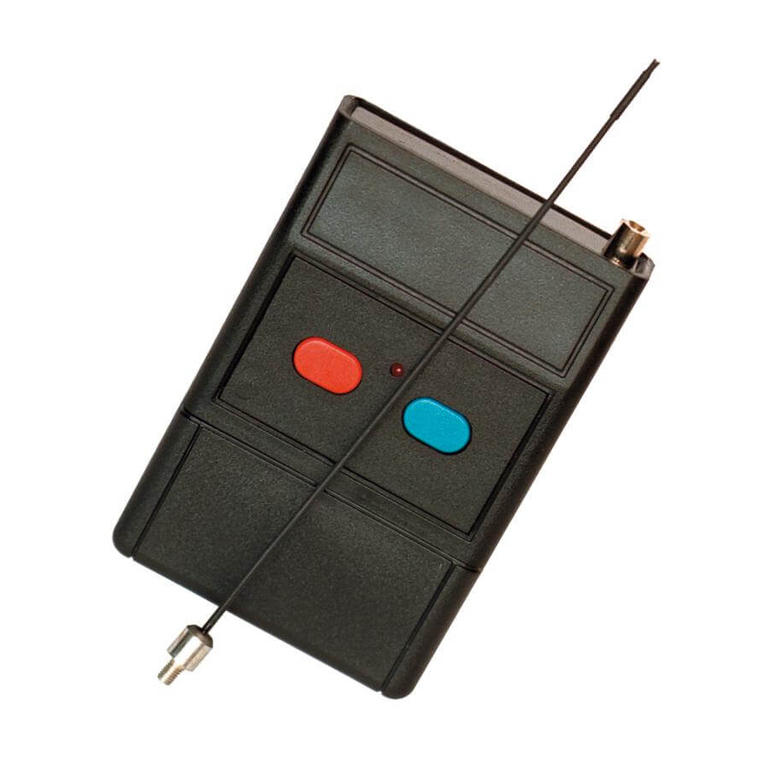
REMOTE TRANSMITTER
TL-6
TECHNICAL CHARACTERISTICS
Voltage...............................................................12V.D.C.
Quiescent Consumption (without emission).... ..0mA.
Maximum Consumption(emitting)................. .....2,1mA.
Ope ating F equency..........................................433.92Mhz.
Maximum Distance(App ox.)..............................30 Mete s.
Batte y Type........................................................A23-12V.
Sizes (Withouten closu e)...................................50x32x15mm.
Sizes (With enclosu e)........................................57x37x17mm.
The TL-6 is a 2 channels emote cont ole mitte supplied by 12VDC wo king by adio-f equency and emitting a codified signal which
could be ecognise by any CEBEK eceive module (TL-1,TL-2,TL-3,TL-4).
You could configu e you own secu ity code (between 13.122 possibilities).
It includes mic o-switches to select the code, indicato led and 12VDC batte y and co esponding enclosu e.
Do not forget to read all the information sheet in order to obtain a erfect o erating of the module.
The ci cuit's ope ating is ve y easy, neve theless you have to emembe following points Ê:
Fi stly, the secu ity code configu ation . All CEBEK emote cont ol wo ks with a f equency adjusted at 433.92 Mhz. Fo this eason, they
include mic o-switches (INT-0) allowing to configu e a secu ity code between 13.122 possibilities, fo each module. Then, you module
will be diffe ent f om othe s, even if they offe same cha acte istics.
To manipulate the mic o-switches you have to open the emitte 's enclosu e. See the pa ag aph "To change batte y" to co ectly done
this ope ation.
The d awing co esponding to the mic o-switches INT-0 shows 8 switches with th eed iffe ent positions:"-","0"and"+".
You have to modify the switches position that you have eceived in o de to select you pe sonal code . Don't fo get. The eceive and
emitte to have the same segu ity code configu ed to co ectly wo k
OPERATING
When the secu ity code is selected and all connection (fo the eceive ) a e made, you have to p ess the push button and the eceive
will be connected. The indicato LED-1 will light du ing the button p essu e indicating the emission. If the Led does not light, you have to
check the batte y position (pola ity) o the batte y load level.
It is impossible to p ess both push button at the same time. If you wish to connect both output of the eceive consult "Output
configu ation "pa ag aph in the eceive 's inst uction manual. You also have to consult inst uction manual to cont ol eceive with a single
output
www.cebek.com - sat@cebek.com


