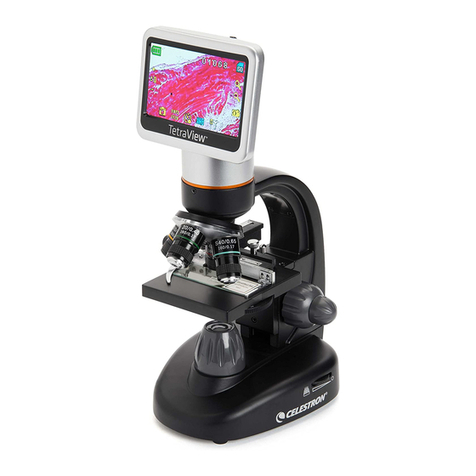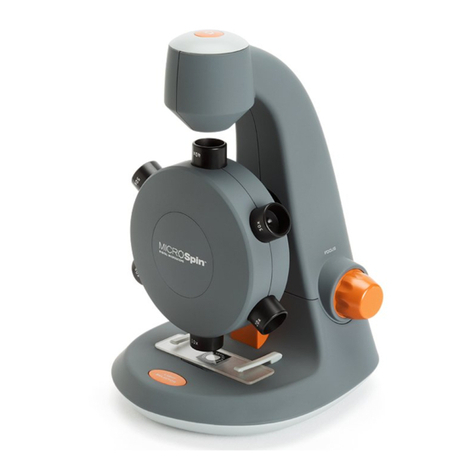
1. WHAT IS IN THE BOX
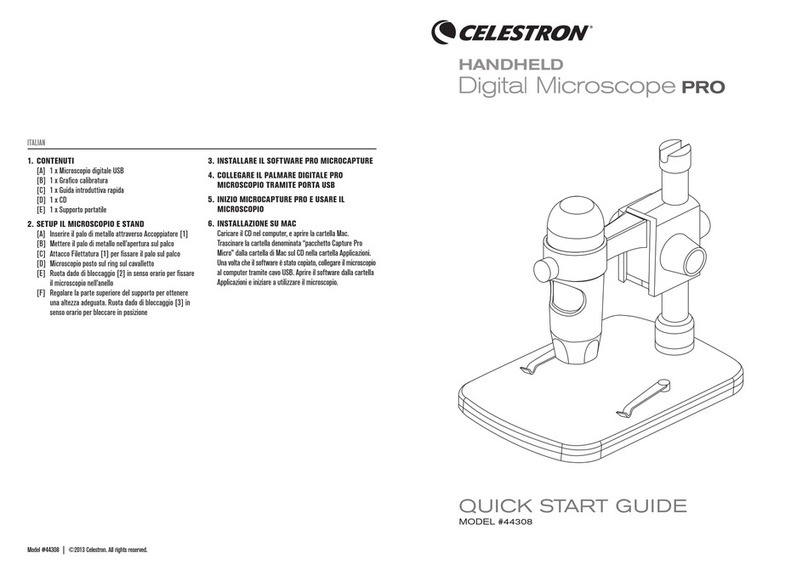
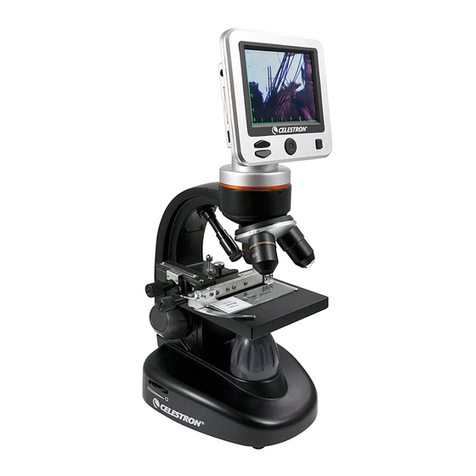
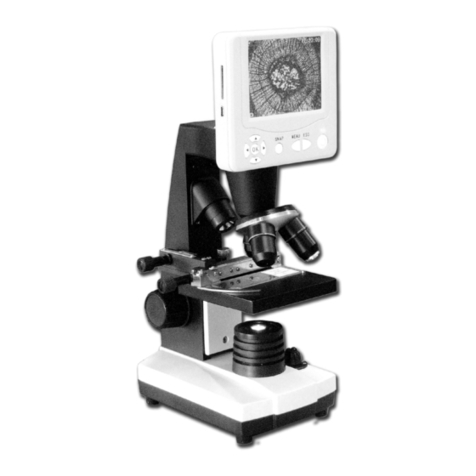
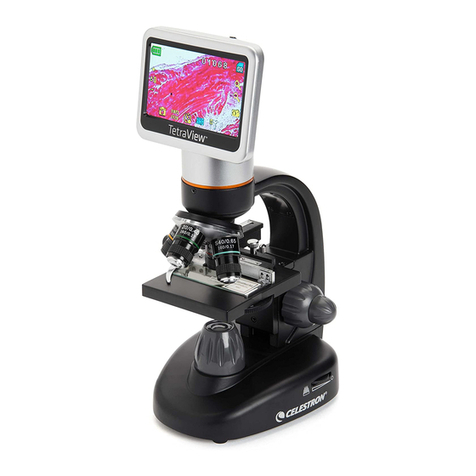
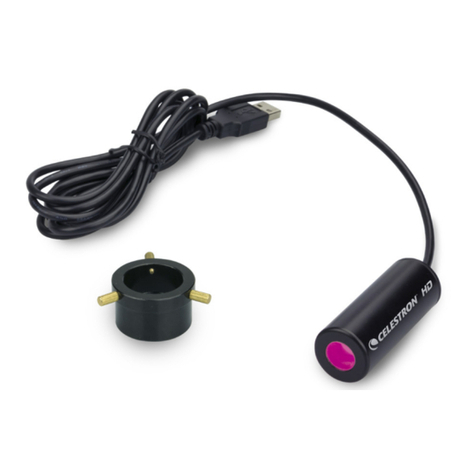
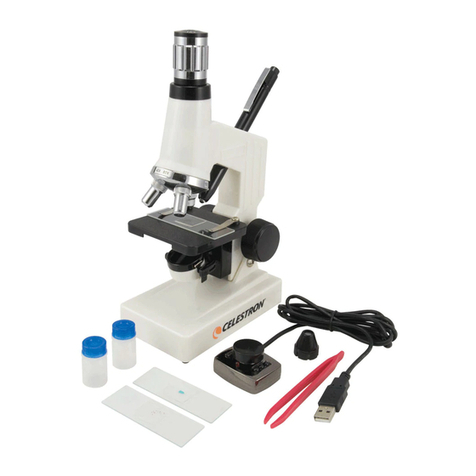
[A] 1 x MicroDirect®1080p HD Microscope
[B] 1 x Calibration Ruler
[C] 1 x Quick Start Guide
[D] 1 x Portable Stand
[E] 1 x HDMI Cable
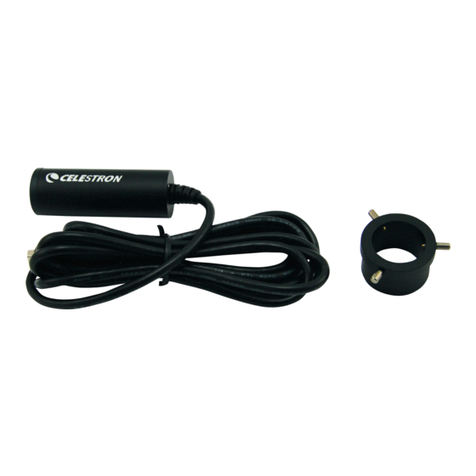
[F] 1 x USB Cable
2. SETUP THE MICROSCOPE AND STAND
- Carefully remove all components from the box.
- The microscope holder assembly (19) should be connected
to the support shaft (18) in the box. If it is not, connect it now.
- Attach complete assembly (17, 18, 19) to the base threads
and tighten.
- Insert the microscope into the microscope holder and
tighten the microscope holder lock nut (14) in place.
NOTE: The microscope can be used in handheld mode as well-
without the stand.
3. CONNECT HDMI AND USB TO MONITOR OR PROJECTOR
- Connect the included HDMI cable to the microscope and to the
open HDMI port on the monitor or projector.
- Plug the USB cable into the microscope and then into an open
USB 2.0 port on your monitor or projector (if available).
NOTE: If the monitor or projector you are connecting to does not
have a standard 2.0 USB plug- with power, you must use an alternative
power source. Suggestions are:
- Plug into any 5v-1A to 2.1A plug and plug into 120V outlet.
- Use a 5V power bank, like Celestron Elements series, with an
open USB port.
www.celestron.com/elements
4. TURN MICRODIRECT®1080P HD MICROSCOPE ON
- Press the ON/OFF button on the microscope.
For the complete instruction manual go to this product’s page at
www.celestron.com and click on the SUPPORT section.
ENGLISH GERMAN
FRENCH SPANISH
1. CONTENU DE LA BOÎTE
[A] 1 x Microscope MicroDirect® 1080p HD
[B] 1 x Règle de Calibration
[C] 1 x Guide de Démarrage Rapide
[D] 1 x Pied
[E] 1 x Câble HDMI
[F] 1 x Câble USB
2. INSTALLER LE MICROSCOPE ET LE PIED
- Retirez avec précaution tous les composants de la boîte.
- L’ensemble de support du microscope (19) doit être
connecté à la colonne de support (18) dans la boîte.
Si cela n’est pas le cas, faites-le maintenant.
- Attachez l’ensemble complet (17, 18, 19) aux pas de vis
du pied et serrez.
- Insérez le microscope dans le support du microscope puis
serrez le boulon de t (14) pour le fixer solidement.
NOTE: Le microscope peut être utilisé à la main également- sans le pied.
3. CONNEXION VIA HDMI ET USB À UN MONITEUR
OU PROJECTEUR
- Branchez le câble HDMI fourni au microscope et au port
ouvert HDMI sur le moniteur ou un projecteur.
- Branchez le câble USB dans le microscope , puis dans un
port ouvert USB 2.0 sur votre moniteur ou un projecteur (si
disponible).
NOTE: Si le moniteur ou le projecteur que vous connectez ne comporte pas
un port USB 2.0 standard, utilisez une alimentation alternative. Nous suggérons:
- De brancher un câble 5v-1A à une prise 2,1A puis de le
brancher à une prise murale 120V.
- D’utiliser une banque d’alimentation 5V, comme un dispositif
de la séries Celestron Elements, comportant un port USB libre.
www.celestron.com/elements
4. ALLUMEZ MICROSCOPE MICRODIRECT®1080P HD
- Appuyez sur le bouton ON / OFF sur le microscope.
Pour le mode d’emploi complet aller à ce produit de page à la
www.celestron.com et cliquez sur la section SUPPORT.
1. LIEFERUMFANG
[A] 1 x MicroDirect® 1080p HD-Mikroscop
[B] 1 x Kalibrierungslineal
[C] 1 x Kurzanleitung zur Installation
[D] 1 x Ständer
[E] 1 x HDMI-Kabel
[F] 1 x USB-Kabel
2. MIKROSKOP UND STÄNDER AUFBAUEN
- Entnehmen Sie vorsichtig alle Bauteile aus dem Karton.
- Die Halterungsbaugruppe des Mikroskops (19) sollte an
den Stützschaft (18) in der Schachtel angeschlossen sein.
Falls nicht, jetzt anschließen.
- Bringen Sie die gesamte Baugruppe (17, 18, 19) am Sockel
an, Schrauben anziehen.
- Führen Sie das Mikroskop in die Mikroskophalterung ein und
ziehen Sie die Verriegelungsmutter an (14), um es zu fixieren.
HINWEIS: Das Mikroskop kann mit und ohne Ständer verwendet werden.
3. HDMI- UND USB AN EINEN BILDSCHIRM ODER
PROJEKTOR ANSCHLIESSEN
- Schließen Sie das mitgelieferte HDMI -Kabel mit dem Mikroskop
und mit dem offenen HDMI-Anschluss am Monitor oder Projektor.
- Stecken Sie das USB-Kabel in das Mikroskop und dann in
einen freien USB 2.0-Anschluss an Ihrem Monitor oder Projektor
(falls vorhanden).
HINWEIS: Verfügt Ihr Bildschirm oder Projektor nicht über eine
standardmäßigen 2.0 USB-Stecker mit Stromversorgung, müssen Sie
eine alternative Stromquelle nutzen. Empfohlen werden:
- An einen beliebigen 5V-1A- bis 2,1 A-Stecker und an eine
120-V-Steckdose anschließen.
- Eine 5V-Powerbank, wie von Celestron Elements, und einen
freien USB-Port verwenden.
www.celestron.com/elements
4. SCHALTEN SIE MICRODIRECT®1080P HD-MIKROSKOP
- Drücken Sie die ON / OFF-Taste auf dem Mikroskop.
Für die komplette Bedienungsanleitung gehen Sie zu diesem Produkt
Seite an www.celestron.com und klicken Sie auf den Support-Bereich.
1. CONTENIDO DE LA CAJA
[A] 1 x Microscopio MicroDirect®1080p HD
[B] 1 x Regla de Calibración
[C] 1 x Guía de Inicio Rápido
[D] 1 x Soporte
[E] 1 x Cable HDMI
[F] 1 x Cable USB
2. INSTALACIÓN DEL MICROSCOPIO Y EL SOPORTE
- Retire cuidadosamente todos los componentes del embalaje.
- La estructura del soporte del microscopio (19) debería
conectarse al eje del soporte (18) en la caja.
Si no está conectada, conéctela ahora.
- Fije la estructura completa (17, 18, 19) a las estrías
de la base y apriétela.
- Introduzca el microscopio en el soporte y fije la rosca
del soporte del microscopio (14) para fijarlo en posición.
NOTA: El microscopio puede usarse en modo manual - sin el soporte.
3. CONECTAR HDMI Y USB A UN MONITOR O PROYECTOR
- Conecte el cable HDMI incluido para el microscopio y al puerto
HDMI abierta en el monitor o proyector.
- Enchufe el cable USB en el microscopio y luego en un puerto
abierto USB 2.0 en su monitor o proyector (si está disponible).
NOTA: Si el monitor o proyector que esté conectando no tiene una
toma USB 2.0 estándar- con alimentación, debe usar una fuente de
alimentación alternativa. Recomendamos:
- Conecte a cualquier toma de 5V - 1A a 2,1A y enchufe a una
toma de corriente de 120V.
- Use un banco de alimentación de 5V, como la serie Celestron
Elements, con un puerto USB disponible.
www.celestron.com/elements
4. ENCIENDA EL MICROSCOPIO MICRODIRECT®1080P HD
- Pulse el botón ON / OFF en el microscopio.
Para el manual de instrucciones completo ir a este producto de página
en www.celestron.com y haga clic en la sección de soporte.
4
USB
HDMI
3
5V Plug
