SKU 95844 For technical questions please call 1-800-444-3353. Page 3
REPLACEMENT PARTS AND ACCESSORIES. When servicing, use only identical
replacement parts. Only use accessories intended for use with this product. Approved
accessories are available from Harbor Freight Tools.
MAINTAIN PRODUCT WITH CARE. Keep this product clean and dry, and moving parts
lightly lubricated for better performance. Keep the Handle dry, clean and free from oil,
grease, and solvents.
USE THE RIGHT PRODUCT FOR THE RIGHT JOB. Do not attempt to force a small
tool or attachment to do the work of a larger industrial tool. There are certain applica-
tions for which this tool was designed. It will do the job better and more safely at the
rate for which it was intended. Do not modify this tool and do not use this tool for any
purpose other than which it was intended.
CAUTION: WHEN WORKING WITH THE ANVIL, DO NOT STRIKE WITH A HARD-
ENED TOOL. It could chip the Anvil.
UNPACKING
When unpacking, check to make sure all parts shown on the Parts List (page 6) are in-
cluded. If any parts are missing or broken, please call Harbor Freight Tools at the number
shown on the cover of this manual as soon as possible.
10.
11.
12.
13.
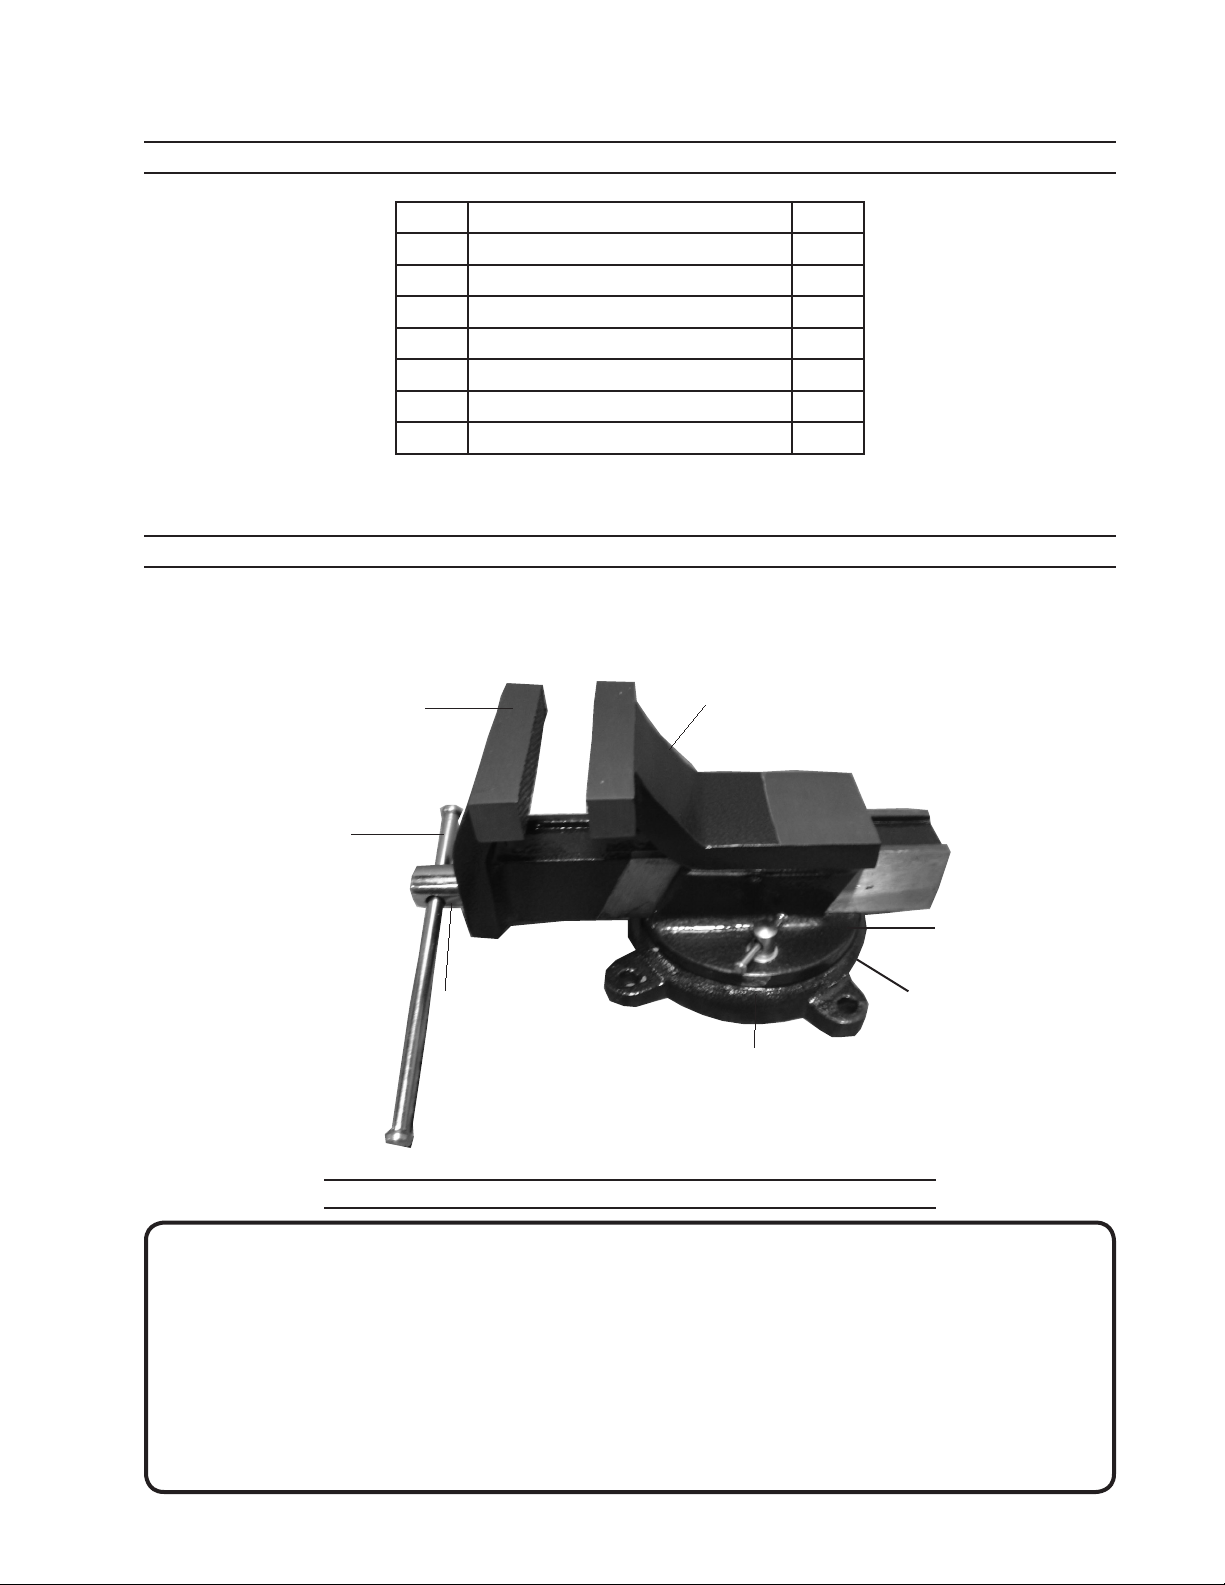
SET UP
NOTE: All parts below refer to the parts listed on page 6 of this manual. Use appropri-
ate diameter and length of bolts when mounting your Vise. Bolts, Lock Washers and Nuts
for mounting are NOT provided. You can mount the Vise or use it in a portable manner,
depending on what product you are working on or with.
Use the mounting holes on the Vise Fixed Base (5) as a template. Set the Vise flat on
the workbench and, with a pencil, mark the points at which to fasten the Vise onto the
workbench. Set the Vise aside.
Drill holes of the appropriate size (where previously marked with a pencil) through the
top of the workbench. Caution: Before drilling holes, check for hidden electrical wires
or cords in drilling path.
Carefully set the Fixed Base of the Vise with the Mounting Holes corresponding to the
holes previously drilled through the top of the workbench.
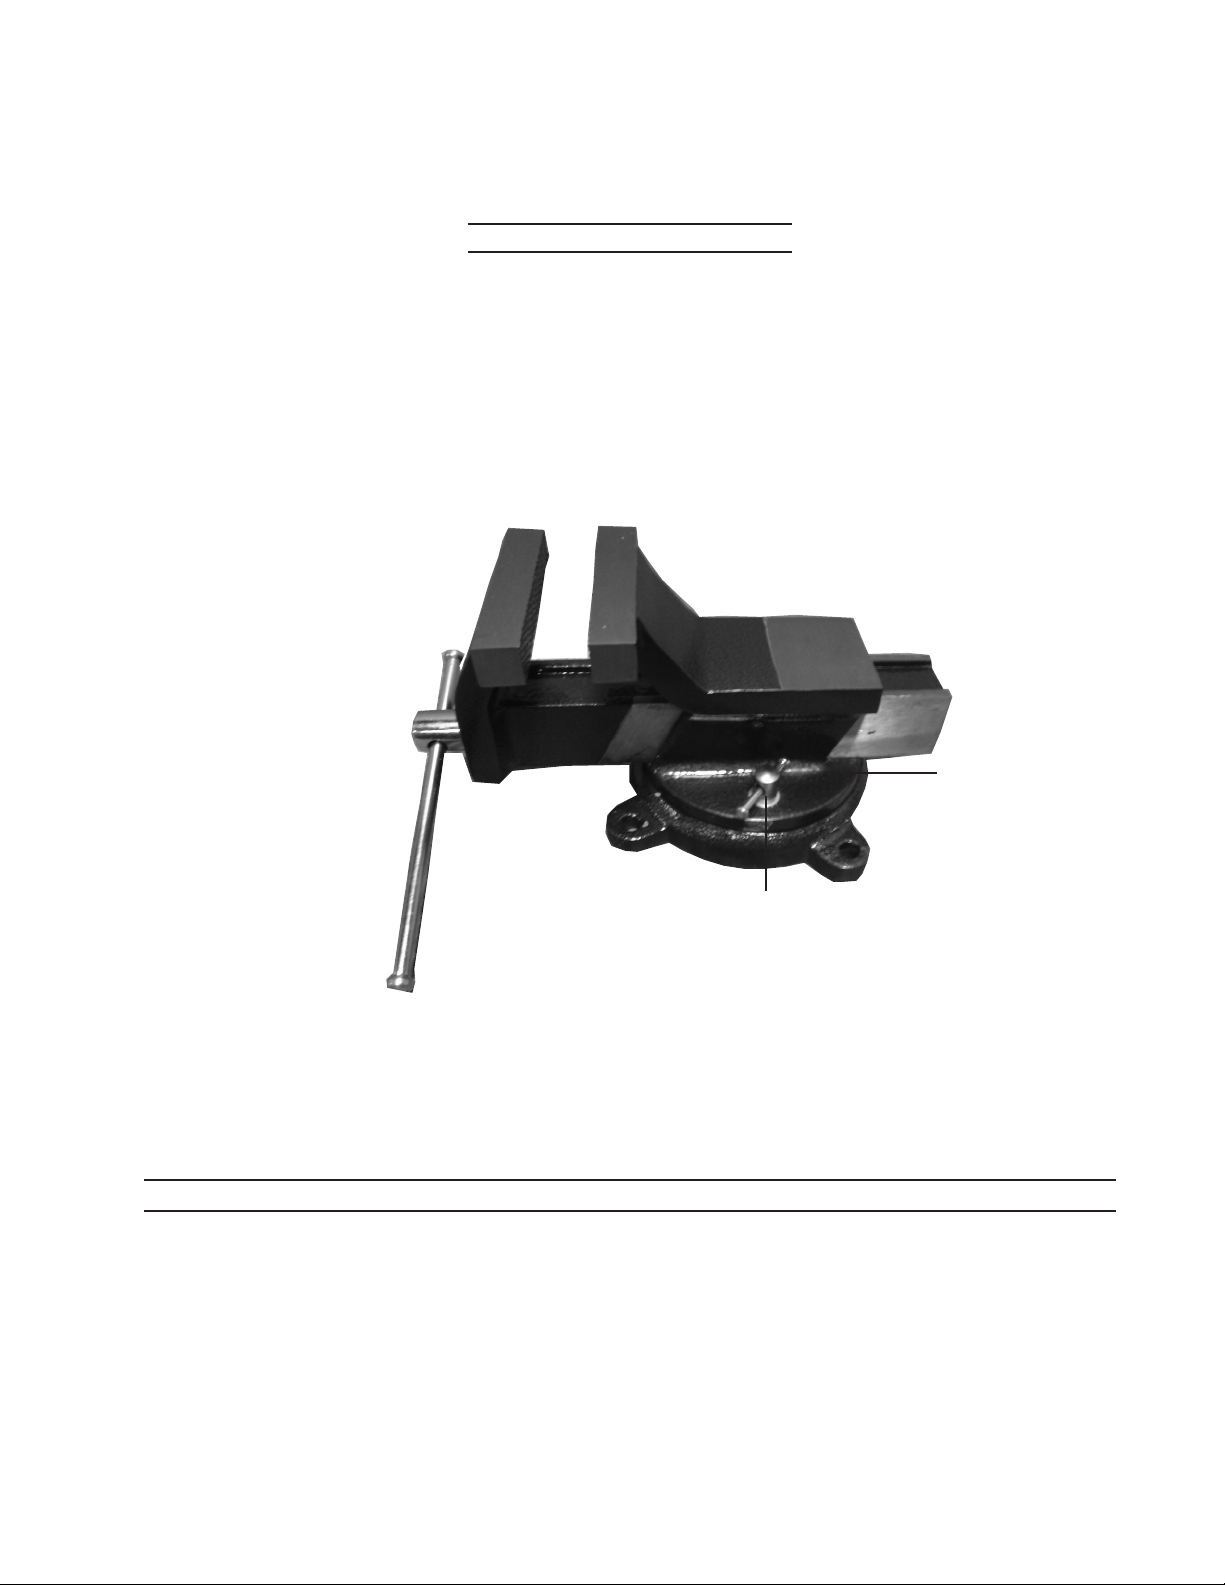
See Figure 1 next page.
Insert hardened steel bolts (not provided), of the appropriate diameter (to fit 1/2” diam-
eter mounting holes) downward through the Fixed Base and through the workbench.
The length of the mounting bolts will be determined by the thickness of the workbench.
Secure the mounting bolts in place with the appropriate washers and nuts.
1.
2.
3.
4.