manuals.online logo
Brands
  1. Home
  2. •
  3. Brands
  4. •
  5. Cequent
  6. •
  7. Automobile Accessories
  8. •
  9. Cequent Rola Vortex LTVX User manual

Cequent Rola Vortex LTVX User manual

Product Code:
Product Name:
www.rola.com.au
LTVX
Vortex Luggage Tray
Page 1
WARNING: The Maximum basket content weight capacity is 60 Kg.
DO NOT EXCEED the lowest of vehicle manufacturer’s cross bar rating or basket content weight limit
of 60 Kg.
WARNING: Not for transport of people, animals, or flammable liquids.
WARNING: Distribute your load evenly inside the basket.
WARNING: Securely fasten load to cargo carrier. Make sure all bolts, screws, straps and plastic knobs are firmly
attached before every trip and check regularly during the trip.
WARNING: Check security of all cargo carrier attachments and load at fuel and rest stops.
WARNING: Check for clearance between sunroof and cargo carrier before operating sunroof. (if equipped)
WARNING: Do not carry any loads wider than your vehicle.
WARNING: Do not drill or weld to this product.
TOOLS REQUIRED:
Phillips Screwdriver
Tape Measure
LOAD RATING LIMITS:
-Basket Weight (17 Kg)
=Cargo Carrier
Weight Limit
(A)
(B)
(C)
(D)
(E)
(F)
(H)
PARTS LIST:
Vehicle Manufacturer’s cross bar rating
4Rubber WasherH
4Screw, #10-32 (Self Tapping)G
4U-BoltF
4Spacer BlockE
4Top Mounting BracketD
8Plastic KnobC
1Air DeflectorB
1Cargo Carrier BasketA
QTY.DESCRIPTIONPART
(G)
Please read all instructions carefully before assembly, installation and/or use of this product.
LTVX Rev B 26-3-07 pg 1 of 4 598
Product Code:
Product Name:
www.rola.com.au
1
ATTACH AIR DEFLECTOR
• Line up the holes in air deflector with the four holes in the front cross tubes of cargo carrier basket. Install four #10 self-
tapping screws with rubber washers as shown. Tighten screws until the rubber washers start to compress – DO NOT
OVER TIGHTEN!
Vortex Luggage Tray
LTVX
Page 2
2POSITION CROSS BARS
• Adjust your cross bars to one of (4) four
available settings:
• 953mm center to center
• 857mm center to center
• 762mm center to center
• 667mm center to center – Minimum
•NOTE: It is recommended to use the
widest setting for optimum load
distribution.
• Leave cross bars loose at this step.
cross bars
Rubber Washer
Screw, #10-32 (Self Tapping)
Please read all instructions carefully before assembly, installation and/or use of this product.
LTVX Rev B 26-3-07 pg 2 of 4 598
Product Code:
Product Name:
www.rola.com.au
3INSERT SPACER BLOCKS
• Insert the spacer blocks into cargo basket in the position that matches the cross bar spacing set in step 3:
• POSITION 1 (953mm)
• POSITION 2 (857mm)
• POSITION 3 (762mm)
• POSITION 4 (667mm)
•NOTE: Locate the spacer blocks in the widest position possible.
(The location of spacer blocks varies by vehicle.)
•WARNING: The minimum fore/aft distance between the spacer blocks is 667mm.
Vortex Luggage Tray
LTVX
Page 3
The spacer blocks
snap onto bars.
4LOAD BASKET ONTO VEHICLE CROSS BARS
• Center basket over your vehicle’s cross bars
so that the spacer blocks rest on top of cross
bars.
• Check and adjust cross bars so they are
centered with spacer blocks.
• Adjust the side-to-side position of spacer
blocks so that they are centered in the cargo
basket and a minimum of 635mm apart (see
diagram above).
• DO NOT locate spacer blocks on top of cross
bar brackets (if applicable).
13mm
Do not locate spacer
blocks on top of
cross bar brackets.
cross bar centered
635mm MIN.
Do not attach
mounting brackets
in shaded area
Please read all instructions carefully before assembly, installation and/or use of this product.
LTVX Rev B 26-3-07 pg 3 of 4 598
Product Code:
Product Name:
www.rola.com.au
5ATTACH MOUNTING CLAMPS
• Place mounting brackets on top of each
spacer block. The square holes in
brackets must engage the squares on
spacer blocks.
• Install u-bolts around cross bars and into
slots in mounting brackets.
• Install plastic knobs onto u-bolts.
• Tighten all plastic knobs firmly and evenly.
WARNING: There must be a minimum of
12mm of threads engaged on u-bolt on all
plastic knobs.
Vortex Luggage Tray
LTVX
Page 4
CAUTION:
• As with any metal equipment it is recommended that you keep the units clean and remove road salt and debris.
• Do not allow harsh chemicals, road salt, or mud to accumulate on the product for an extended period of time.
• Wash the product with mild soap and water only and a non-abrasive cloth.
CHECK INSTALLATION
• Check clearance between cargo carrier and
your vehicle’s hatch.
• With vehicle cross bars loose, position the
carrier to clear hatch.
• Tighten vehicle’s cross bars.
• Make sure installation is secure by pulling side-
to-side and fore and aft on basket.
NOTE: The cargo carrier should not move on
cross bars when plastic knobs are
tightened properly.
6
Plastic Knob
Mounting
Bracket
Spacer Block
cross bar
U-Bolt
CAUTION: Interference may be unavoidable on some vehicles.
Basket
For questions regarding replacement parts, the compatibility, fitting and/or use of this rack, please call your nearest ROLA™
authorized retail dealer or Cequent Consumer Products Customer Service.
INCORRECT
CORRECT
Refer to Supplementary fitting
instructions
•Longer loads, such as canoes or kayaks,
must be tied down to the front and rear of
vehicle.
Please read all instructions carefully before assembly, installation and/or use of this product.
LTVX Rev B 26-3-07 pg 4 of 4 598

Other Cequent Automobile Accessories manuals
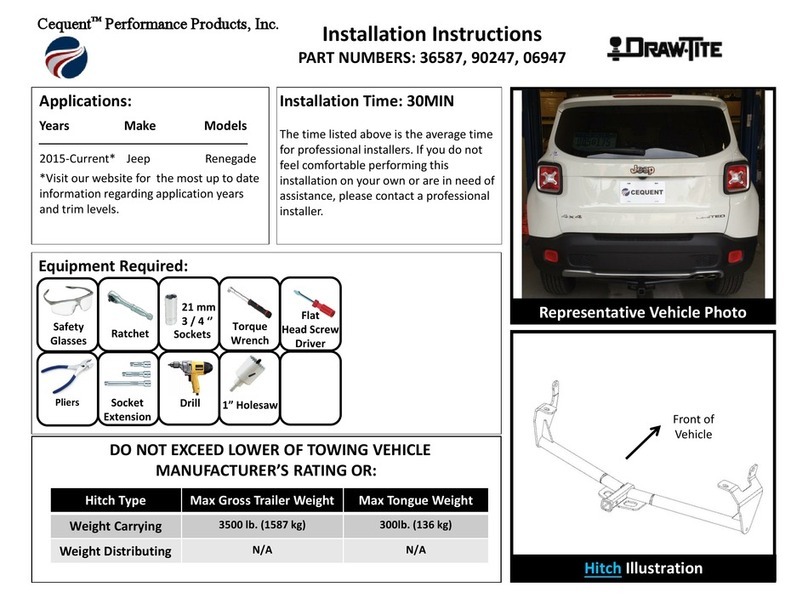
Cequent Rainproof Cargo Tray Bag User manual

Cequent

Cequent Rainproof Cargo Tray Bag User manual

Cequent PRO Series User manual

Cequent

Cequent PRO Series User manual

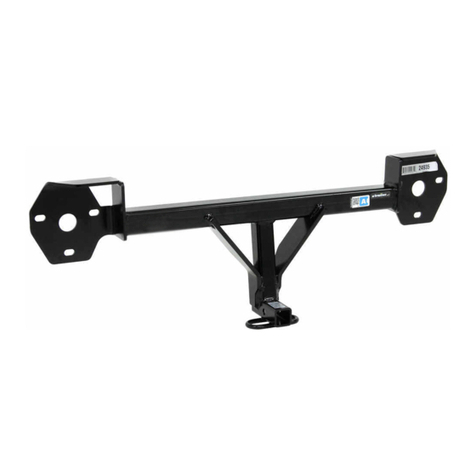
Cequent 24935 User manual

Cequent

Cequent 24935 User manual

Cequent Draw-Tite 76026 User manual

Cequent

Cequent Draw-Tite 76026 User manual

Cequent 24930 User manual

Cequent

Cequent 24930 User manual

Cequent Draw-Tite 36587 User manual

Cequent

Cequent Draw-Tite 36587 User manual
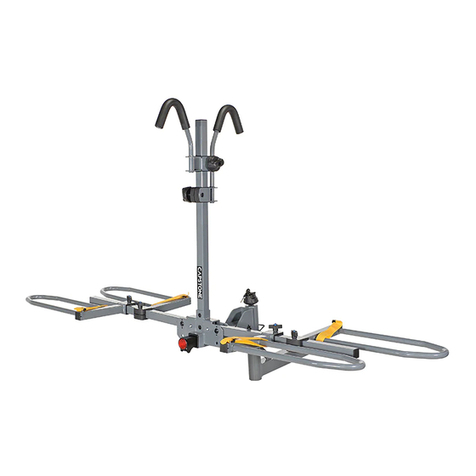
Cequent 77949 User manual

Cequent

Cequent 77949 User manual

Cequent 75679 User manual

Cequent

Cequent 75679 User manual

Cequent 36596 User manual

Cequent

Cequent 36596 User manual

Cequent PRO 63138 User manual

Cequent

Cequent PRO 63138 User manual

Cequent 75234 User manual

Cequent

Cequent 75234 User manual

Cequent Reese Explore CQT63144 User manual

Cequent

Cequent Reese Explore CQT63144 User manual

Cequent Draw-Tite CQT24938 User manual

Cequent

Cequent Draw-Tite CQT24938 User manual

Cequent GearCage 5800200 Installation instructions

Cequent

Cequent GearCage 5800200 Installation instructions

Cequent TOW READY 63131 Operating and installation instructions
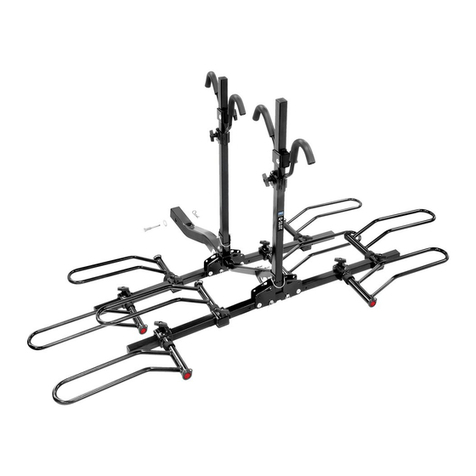
Cequent

Cequent TOW READY 63131 Operating and installation instructions

Cequent PRO Series User manual

Cequent

Cequent PRO Series User manual
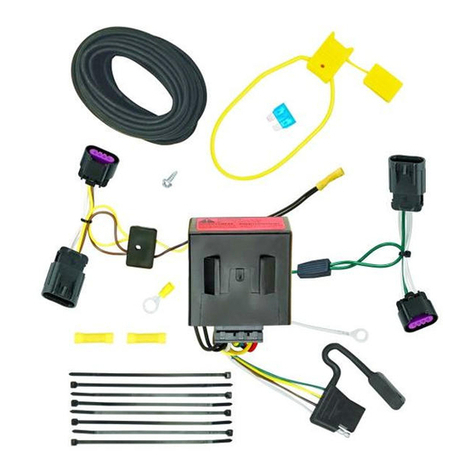
Cequent Rola 59504 User manual

Cequent

Cequent Rola 59504 User manual

Cequent 24942 User manual

Cequent

Cequent 24942 User manual

Cequent CQT24934 User manual

Cequent

Cequent CQT24934 User manual

Cequent Reese Elite User manual

Cequent

Cequent Reese Elite User manual

Cequent Tow Ready 63132 User manual

Cequent

Cequent Tow Ready 63132 User manual

Cequent 76076 User manual

Cequent

Cequent 76076 User manual

Cequent 76112 User manual

Cequent

Cequent 76112 User manual
Cequent 76022 User manual

Cequent

Cequent 76022 User manual

Popular Automobile Accessories manuals by other brands

Rugged Ridge 13510.10 manual

Rugged Ridge

Rugged Ridge 13510.10 manual

Brodit ProClip 852502 quick start guide

Brodit

Brodit ProClip 852502 quick start guide

Whispbar K436 Fitting instructions

Whispbar

Whispbar K436 Fitting instructions

APS iArmor IA-S926H manual

APS

APS iArmor IA-S926H manual

SooPii WR07 instruction manual

SooPii

SooPii WR07 instruction manual

Atera SIGNO User information

Atera

Atera SIGNO User information

Whelen Engineering Company LED Traffic Advisor TAM83 series installation guide

Whelen Engineering Company

Whelen Engineering Company LED Traffic Advisor TAM83 series installation guide

SLX Extreme Series Fitting instructions

SLX

SLX Extreme Series Fitting instructions

Metra Electronics 99-3305 installation instructions

Metra Electronics

Metra Electronics 99-3305 installation instructions

Sealey MR360 instructions

Sealey

Sealey MR360 instructions

ERKUL SKI CARRIER Assembly instructions

ERKUL

ERKUL SKI CARRIER Assembly instructions

Arbor Technology FPC-9000-V1 user manual

Arbor Technology

Arbor Technology FPC-9000-V1 user manual

Metra Electronics 95-7504 installation instructions

Metra Electronics

Metra Electronics 95-7504 installation instructions

travall TDG 1616 Fitting instructions

travall

travall TDG 1616 Fitting instructions

Dobinsons BU19-3542 installation guide

Dobinsons

Dobinsons BU19-3542 installation guide

Ranger design C10-PC installation guide

Ranger design

Ranger design C10-PC installation guide

Brodit ProClip 852947 manual

Brodit

Brodit ProClip 852947 manual

FVC SP0105B installation guide

FVC

FVC SP0105B installation guide

manuals.online logo
manuals.online logoBrands
  • About & Mission
  • Contact us
  • Privacy Policy
  • Terms and Conditions

Copyright 2025 Manuals.Online. All Rights Reserved.