manuals.online logo
Brands
  1. Home
  2. •
  3. Brands
  4. •
  5. Chamberlain
  6. •
  7. Control Unit
  8. •
  9. Chamberlain LiftMaster Professional Security+ 395LM User manual

Chamberlain LiftMaster Professional Security+ 395LM User manual

To prevent possible SERIOUS INJURY or DEATH from electrocution
or fire, the light control is ONLY for indoor use.
WARNING
CAUTION
WARNING
WARNING
ATTENTION
AVERTISSEMENT AVERTISSEMENT
AVERTISSEMENT
RATING
Resistive Load . . . . . . . . . . . . . . . . . . . . . . . . . . . . . .10 Amps
Motor Load . . . . . . . . . . . . . . . . . . . . . . . . . . . . . . . . . .1/3 HP
Incandescent Lamp . . . . . . . . . . . . . . . . . . . . . . . . .600 Watts
The Remote Light Control is designed to operate lights
according to the rating chart shown. Please read the
instructions and power limitations carefully to ensure proper use
and maximum safety. NOT recommended for use with toasters,
coffee pots, florescent or halogen lighting systems.
The Light Control can be operated by any 315MHz
SECURITY✚®remote control and/or Keyless Entry.
The Remote Light Control receiver needs to learn the
remote control code. Follow the instructions below:
• Plug the light control into a 120Vac polarized outlet. The plug
contacts are designed for polarized outlets only.
• Press and release the “learn” button on the Light Control with
a pen or pencil tip. The learn indicator
light will glow steadily for 30 seconds.
• Within 30 seconds, press and hold the
button on the hand-held remote.
• Release the remote control push button.
Code setting is now complete.
The remote control push button must be held down until the
receiver indicator light flashes for the light control to learn the
remote control's code.
ERASING CODES
If the receiver LEARN button is pressed and held until the
yellow indicator light alongside goes out (in about 6 seconds),
all memorized codes will be erased.
OPERATING INSTRUCTIONS
If two or more light controls are installed, they must be located
at least 10 feet apart to prevent electronic interference.
• First, plug the lamp into a wall outlet and turn it ON.
• With the lamp still in the ON position, plug it into polarized
outlet on the light control. Plug the Light Control into a 120Vac
polarized outlet. The bulb will not light.
• TO TEST: Press and release the light control actuator. The
light should turn ON. Press the remote control push button.
The light should turn OFF.
If the remote control does not activate the light, check to be sure:
• You are pressing the remote control push button selected to
operate the light control.
• The remote control battery has power. Refer to the remote
control instructions for battery changing information.
Select a
push button
NOTICE: To comply with FCC and/or Industry Canada (IC) rules, adjustment or
modifications of this receiver and/or transmitter are prohibited, except for changing the
code setting or replacing the battery. THERE ARE NO OTHER USER SERVICEABLE PARTS.
Pour éviter les risques de BLESSURE GRAVE ou de MORT causés
par l’électrocution ou l’incendie, la commande d’éclairage doit être
utilisée UNIQUEMENT pour l’intérieur.
WARNING
CAUTION
WARNING
WARNING
ATTENTION
AVERTISSEMENT
AVERTISSEMENT AVERTISSEMENT
AVERTISSEMENT
Model 395LM Security
✚
®Remote Light Control
Modèle N° 395LM Security
✚
®Télecommande d’eclairage
Modelo 395LM Security
✚
®Control Remoto de luz
Para prevenir LESIONES GRAVES O LA MUERTE posibles de
electrocución o incendio, el control de luz es para uso interior
SOLAMENTE.
PRECAUCIÓN
ADVERTENCIA
ADVERTENCIA
ADVERTENCIA
ADVERTENCIA
Learn Button
Bouton LEARN
Botón "APRENDER" (Learn) Learn Indicator Light
Voyant indicateur d’apprentissage
Luz indicadora de aprendizaje
Light Control Actuator
Commutateur de commande d’éclairage
Actuador de control de luz
Antenna
Antenne
Antena
OWNER’S INSTRUCTIONS ENGLISH
La télecommande d’éclairage est conçue pour faire fonctionner des
appareils d’éclairage, conformément aux caractéristiques nominales
indiquées ci-dessous. Veuillez lire attentivement les instructions et
vérifier les limites de puissance permises pour vous assurer que la
commande fonctionne correctement et de façon sécuritaire. N’est PAS
recommandée pour être utilisée avec les toasteurs, les cafetières, les
systèmes d’éclairage fluorescent ou à halogène.
Les commandes d’éclairage peuvent être actionnées par les
télécommandes sur 315MHz SECURITY✚®.
Le code de la télécommande doit être réglé sur le récepteur de la
télecommande d’éclairage. Pour ce faire, suivez les instructions
données ci-dessous:
• Branchez la commande d’éclairage sur une prise de courant alternatif
120 V correctement polarisée. Les contacts de la fiche sont conçus
de façon à ne pouvoir être branchés que sur une prise polarisée.
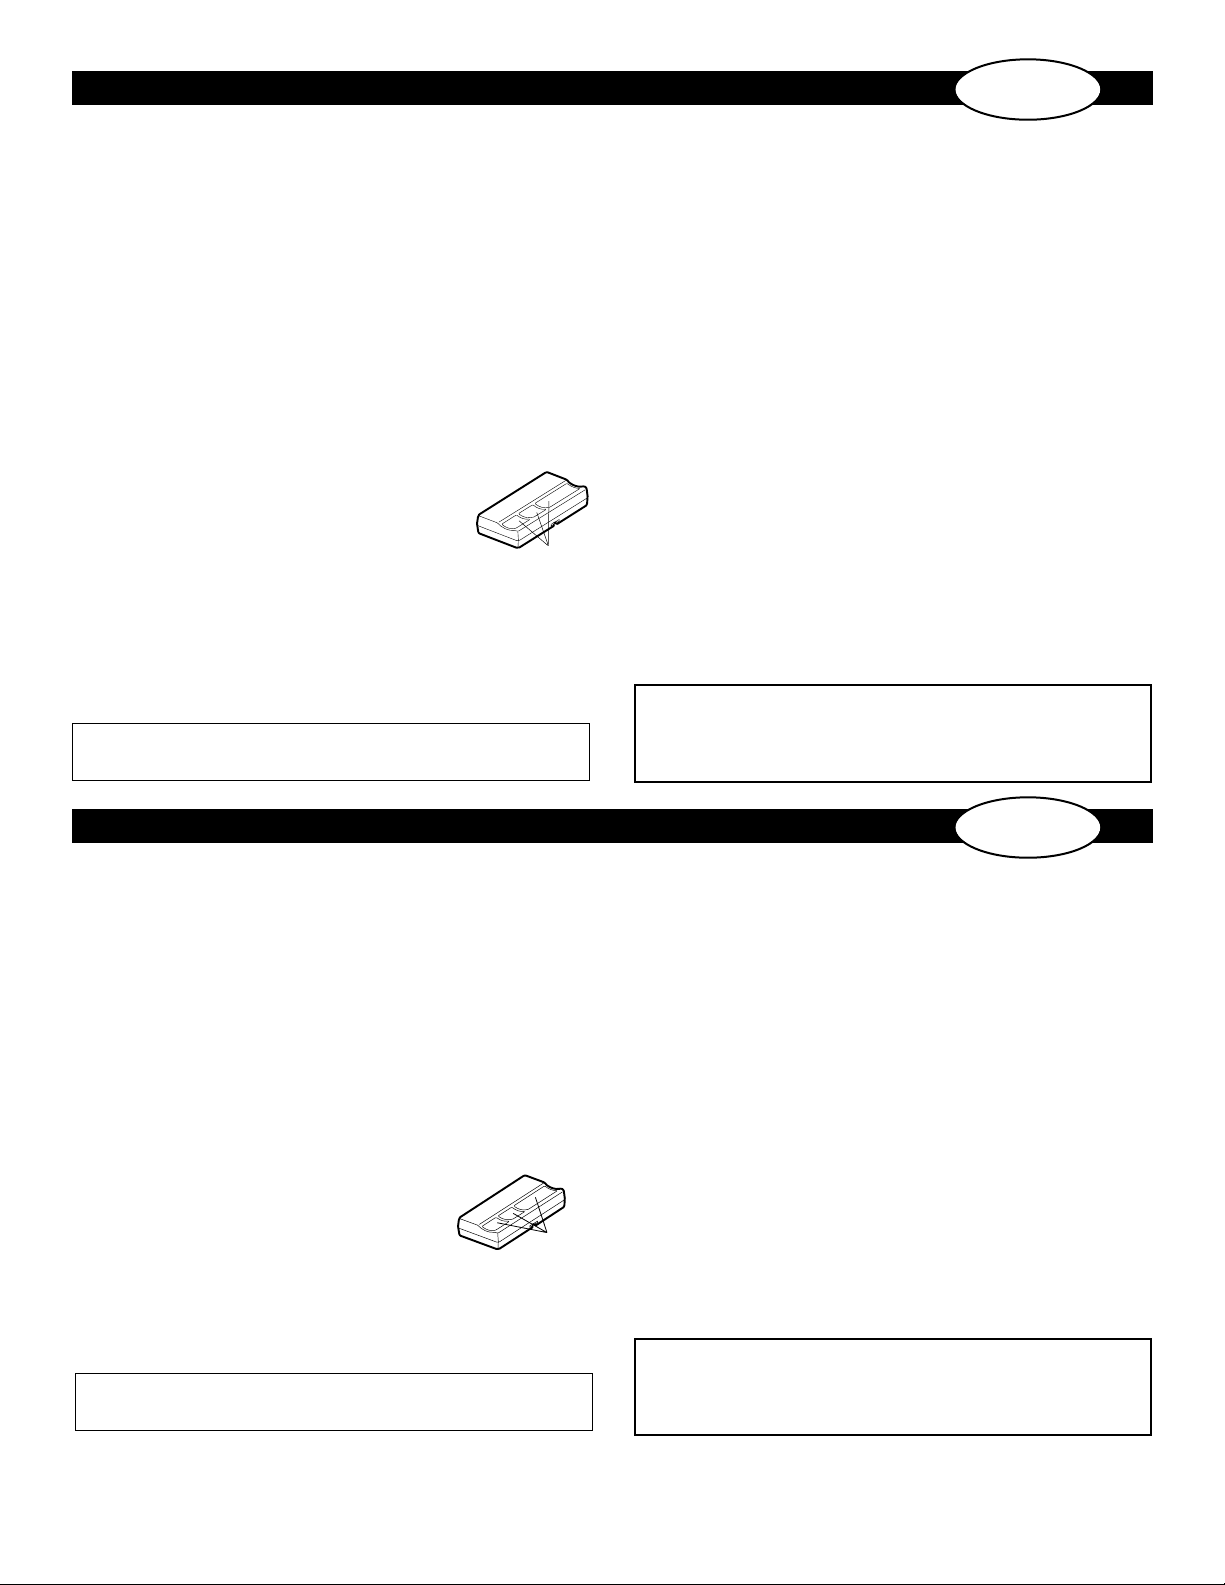
• Enfoncer, puis relâcher, le bouton d’« apprentissage » sur la
commande d’éclairage enfichable avec la pointe d’un stylo
ou d’un crayon. Le voyant indicateur d’apprentissage
s’allume en continu pendant 30 secondes.
• Dans un délai de 30 secondes, enfoncer le bouton
de la télécommande manuelle et le maintenir
enfoncé.
• Relâchez le bouton de la télécommande. Le réglage du
code est maintenant terminé.
Pour que le code soit accepté par la commande d’éclairage, il faut que
le bouton de la télécommande reste enfoncé jusqu’à ce que le témoin
du récepteur clignote.
EFFACEMENT DES CODES
Tous les codes mémorisés seront effacés si le bouton “LEARN” du
récepteur est maintenu enfoncé jusqu’à ce que le témoin jaune adjacent
s’éteigne (il faut environ 6 secondes).
MODE D’EMPLOI
Si deux commandes d’éclairage ou plus sont installées, elles doivent
être situées à une distance d’au moins 3 mètres (10 pieds) pour éviter
les interférences électroniques.
• En premier lieu, branchez la lampe sur une prise murale et
ALLUMEZ-LA.
• Tout en laissant l’interrupteur de la lampe à ON, débranchez le fil de
la lampe et branchez-le sur la prise polarisée de la commande
d’éclairage.
Brancher la commande d’éclairage sur une prise polarisée de 120 V
alternatifs. L’ampoule ne s’allumera pas.
• POUR VÉRIFIER: Enfoncez et relâchez la commande-poussoir de la
commande d’éclairage. La lampe devrait S’ALLUMER. Appuyez sur le
bouton de la télécommandé. La lampe devrait S’ÉTEINDRE.
Si le signal de la télécommande ne fait pas allumer la lampe, vérifiez:
• Si vous appuyez bien sur le bouton d’émetteur qui a été choisi pour
faire fonctionner la lampe.
• Si la pile de la télécommande est chargée. Consultez les instructions
relatives à la télécommande pour connaître la façcon de changer
la pile.
Sélectionner un
bouton-poussoir
CLASIFICACION NOMINAL
Carga resistiva. . . . . . . . . . . . . . . . . . . . . . . . . . . . . . . . 10 Amperios
Carga del motor . . . . . . . . . . . . . . . . . . . . . . . . . . . . . . . . . . . 1/3 HP
Lámpara incandescente . . . . . . . . . . . . . . . . . . . . . . . . . . 600 Vatios
El control remoto de luz está diseñado para operar las luces de acuerdo
con la tabla de clasificación nominal mostrada. Por favor lea las
instrucciones y las limitaciones de potencia, cuidadosamente, para
asegurar el uso apropiado y la seguridad máxima. NO se recomienda
para usar con tostadoras, cafeteras, sistemas de iluminación
fluorescentes o halógenos.
Este control de luz puede operarse por los controles remotos de
315MHz SECURITY✚®.
El receptor de control remoto de luz necesita aprender el código de
control remoto. Siga las instrucciones de abajo:
• Enchufe el control de luz en un tomacorrientes polarizado de 120Vca.
Los contactos del enchufe están diseñados para tomacorrientes
polarizados solamente.
• Oprima y suelte el botón de "learn" en el control de luz con una
lapicera o punta de lapicera. La luz indicadora de
“learn” brilla firmemente por 30 segundos.
• Dentro de 30 segundos, oprima y mantenga
oprimido el botón en el remoto manual.
• Suelte el botón de control remoto. La
configuración del código está ahora completa.
Debe mantenerse oprimido el botón de control remoto hasta que
centellee la luz indicadora del receptor para que el control de luz
aprenda el código del control remoto.
Seleccionar
un botón
AVISO: Para cumplir con las reglas de la FCC y/o de Canadá (IC), las reglas, ajustes o modificaciones
de este receptor y/o transmisor están prohibidos, excepto por el cambio de la graduación del código o el
reemplazo de la pila. NO HAY OTRAS PIEZAS REPARABLES DEL USUARIO.
AVIS : Les règles de la FCC ou d’Industrie Canada (IC), ou les deux, interdisent tout ajustement ou toute
modification de ce récepteur et/ou de cet émetteur, sauf pour modifier le code ou pour remplacer la pile.
IL N’EXISTE AUCUNE AUTRE PIÈCE SUSCEPTIBLE D’ÊTRE ENTRETENUE PAR L’UTILISATEUR.
CARACTÉRISTIQUES NOMINALES
Charge résistive . . . . . . . . . . . . . . . . . . . . . . . . . . . . . . .10 Ampères
Charge de moteur . . . . . . . . . . . . . . . . . . . . . . . . . . . . . . . . . .1/3 HP
Lampe à incandescence . . . . . . . . . . . . . . . . . . . . . . . . . .600 Watts
ELIMINACION DE CODIGOS
Si se oprime y mantiene oprimido el botón de LEARN hasta que se
apague la luz amarilla indicadora lateral (en 6 segundos
aproximadamente), todos los códigos memorizados se eliminan.
INSTRUCCIONES DE OPERACION
Si se instalan dos o más controles de luz de enchufe, los mismos deben
estar ubicados separados por 10 pies por lo menos para prevenir la
interferencia electrónica.
• Primero, enchufe la lámpara a un tomacorrientes de pared y
ENCIENDA.
• Con la lámpara todavía en la posición ON, enchufe en un enchufe
polarizado en el control de luz. Enchufe el control de luz en un
enchufe polarizado de 120Vca. La lámpara no se ilumina.
• PARA PROBAR: Oprima y suelte el actuador de control de luz. La luz
debe ENCENDERSE. Oprima el botón de control remoto. La luz debe
APAGARSE.
Inspeccione para asegurarse, si el control remoto no activa la luz:
• Que usted presiona el botón de control remoto seleccionado para
operar el control de luz.
• Que la batería del control remoto tiene potencia. Para información
acerca de cambio de la batería, refiérase a las instrucciones de
control remoto.
© 2006, The Chamberlain Group, Inc.
www.liftmaster.com
114A3150B All Rights Reserved • Tous droits réservés • Todos los derechos reservados
FRANÇAIS
NOTICE D’UTILISATION
ESPAÑOL
INSTRUCCIONES DEL PROPIETARIO

Other Chamberlain Control Unit manuals

Chamberlain K1A6424-2 User manual

Chamberlain

Chamberlain K1A6424-2 User manual

Chamberlain 41A7114-7 User manual

Chamberlain

Chamberlain 41A7114-7 User manual

Chamberlain CAPXLCAM Instruction Manual

Chamberlain

Chamberlain CAPXLCAM Instruction Manual

Chamberlain LiftMaster Professional CB124 User manual

Chamberlain

Chamberlain LiftMaster Professional CB124 User manual

Chamberlain LiftMaster GOC1A User manual

Chamberlain

Chamberlain LiftMaster GOC1A User manual

Chamberlain 041A8071-4 User manual

Chamberlain

Chamberlain 041A8071-4 User manual

Chamberlain 41D7742-7 User manual

Chamberlain

Chamberlain 41D7742-7 User manual

Chamberlain MyQ 888LM User manual

Chamberlain

Chamberlain MyQ 888LM User manual

Chamberlain 041-0200-000 User manual

Chamberlain

Chamberlain 041-0200-000 User manual

Chamberlain LiftMaster CB1 User manual

Chamberlain

Chamberlain LiftMaster CB1 User manual

Chamberlain 945CB User manual

Chamberlain

Chamberlain 945CB User manual

Chamberlain ELITE SERIES K1A6426-2 User manual

Chamberlain

Chamberlain ELITE SERIES K1A6426-2 User manual

Chamberlain MyQ 825LM User manual

Chamberlain

Chamberlain MyQ 825LM User manual

Chamberlain CLLA1 User manual

Chamberlain

Chamberlain CLLA1 User manual

Chamberlain LiftMaster CB202EV User manual

Chamberlain

Chamberlain LiftMaster CB202EV User manual

Chamberlain 79LM User manual

Chamberlain

Chamberlain 79LM User manual

Chamberlain 41A7928-3 User manual

Chamberlain

Chamberlain 41A7928-3 User manual

Chamberlain liftmaster CB2 User manual

Chamberlain

Chamberlain liftmaster CB2 User manual

Chamberlain CB24 User manual

Chamberlain

Chamberlain CB24 User manual

Chamberlain 041D8071-4 User manual

Chamberlain

Chamberlain 041D8071-4 User manual

Chamberlain GCU User manual

Chamberlain

Chamberlain GCU User manual

Popular Control Unit manuals by other brands

GEM 620 Series Assembly instructions

GEM

GEM 620 Series Assembly instructions

Viega 2281.7 Instructions for use

Viega

Viega 2281.7 Instructions for use

Campbell LLAC4 instruction manual

Campbell

Campbell LLAC4 instruction manual

Seeed Technology MeshBee Series Cookbook

Seeed Technology

Seeed Technology MeshBee Series Cookbook

Toshiba AJ65VBTCU-68ADVN user manual

Toshiba

Toshiba AJ65VBTCU-68ADVN user manual

camry Dual-18650 instruction sheet

camry

camry Dual-18650 instruction sheet

DUKER 4510 Series operating instructions

DUKER

DUKER 4510 Series operating instructions

Toto TMT1NNC installation manual

Toto

Toto TMT1NNC installation manual

Vexve X Series installation, operation, adjustment and maintenance manual

Vexve

Vexve X Series installation, operation, adjustment and maintenance manual

Bray McCANNALOK Series Installation, operation and maintenance manual

Bray

Bray McCANNALOK Series Installation, operation and maintenance manual

CARLO GAVAZZI NES13DB24 Series user manual

CARLO GAVAZZI

CARLO GAVAZZI NES13DB24 Series user manual

Digilent PmodUSBUART 410-212 Reference manual

Digilent

Digilent PmodUSBUART 410-212 Reference manual

Grundfos PM 1 Installation and operating instructions

Grundfos

Grundfos PM 1 Installation and operating instructions

Long Range Systems Butler II Quick setup & operation

Long Range Systems

Long Range Systems Butler II Quick setup & operation

RHINO PSL-24-BCM240 instructions

RHINO

RHINO PSL-24-BCM240 instructions

Cameron GENERAL VALVE Twin Seal 400 Series Installation, operation and maintenance manual

Cameron

Cameron GENERAL VALVE Twin Seal 400 Series Installation, operation and maintenance manual

Danfoss VLT HVAC Drive FC 102 instruction manual

Danfoss

Danfoss VLT HVAC Drive FC 102 instruction manual

Keysight N5262BW Series Product notes

Keysight

Keysight N5262BW Series Product notes

manuals.online logo
manuals.online logoBrands
  • About & Mission
  • Contact us
  • Privacy Policy
  • Terms and Conditions

Copyright 2025 Manuals.Online. All Rights Reserved.