2
DVR Kit Features:
h
h
h
h
h
h
h
h
h
Locking enclosure to prevent tampering
4-channel camera recording capability
H.264 compression to maximize Hard Drive Space
1-channel audio recording and playback
3G compatibility for easy viewing on your smart phone
Ethernet connection for easy networking
IR control capability
PTZ camera control, compatible with Channel Vision PTZ cameras
Central Management System (CMS) for viewing multiple DVRs
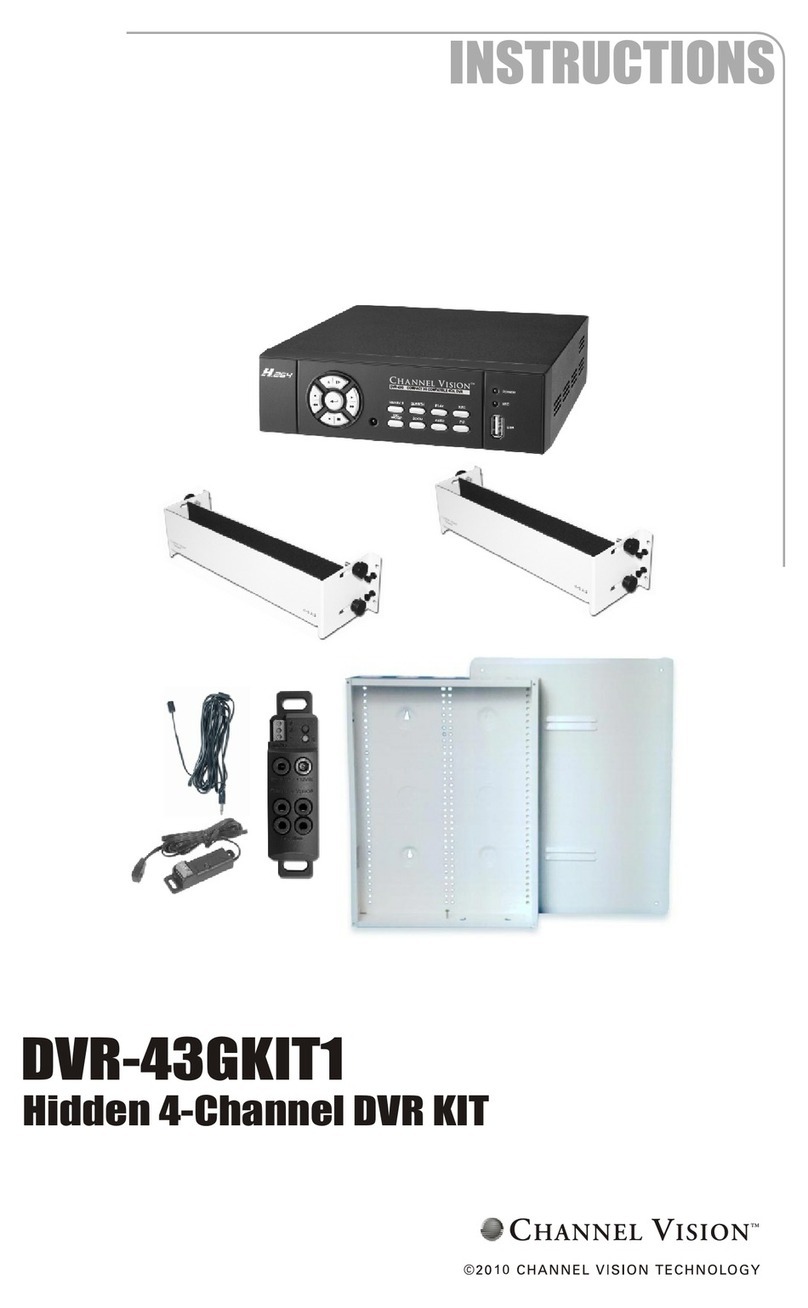
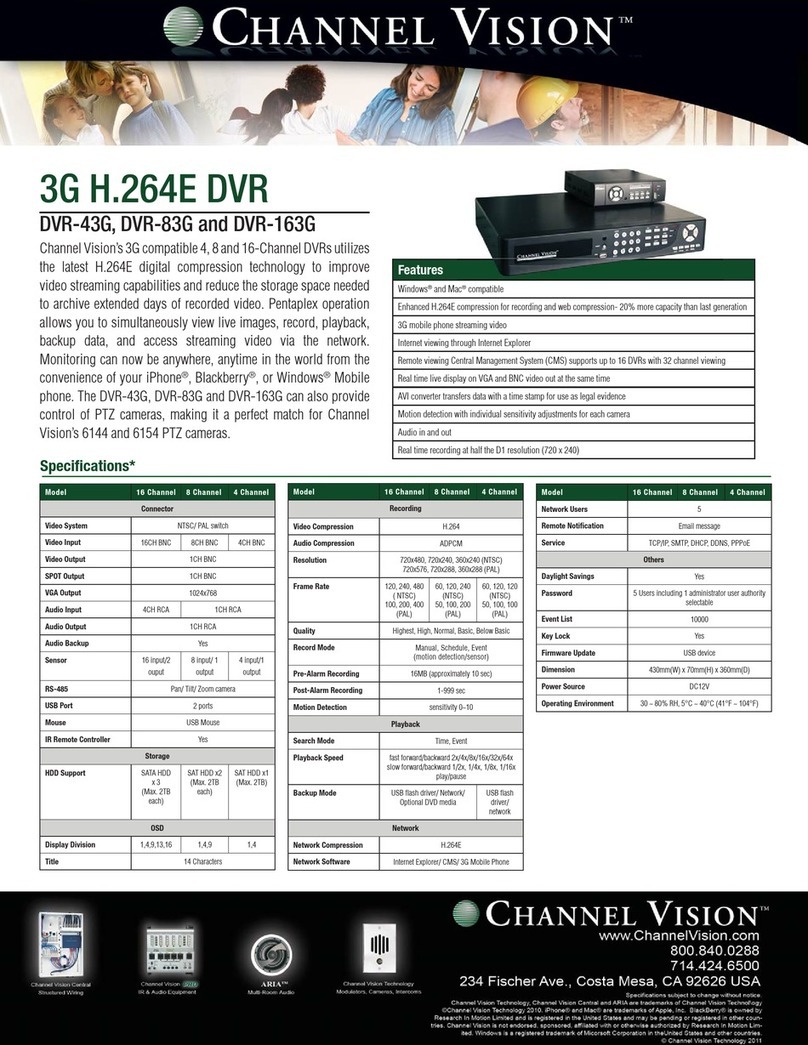
Channel Vision’s Hidden DVR Kit includes the DVR-43G
Compact 3G compatible 4-Channel DVR, an IR control system, a
mounting bracket and a 19” Structured Wiring Enclosure to mount
everything in. The DVR-43GKIT1 is the easiest way to bring digital video
surveillance to your structured wiring system. Finally, your DVR can be
hidden in the wall where it can be easily wired to access your data
network and its video output can be modulated into your TV distribution
system. The included IR repeating system allows you to control the DVR
from anywhere in the home with the handheld remote control.
DVR-43GKIT1
The includes Channel Vision’s 19” Structured Wiring
Enclosure. The kit’s contents can also be installed into larger enclosures,
including models: C-0119E, C-0128E, C-0138E, and C-0150E.
DVR-43GKIT1
Installation:
h
h
h
h
h
h
h
Reverse the back plate of the C-1312 bracket (see its manual for
details).
Place the DVR into the C-1312 and tighten the thumb screws to
secure it.
Secure the completed assembly in the structured wire enclosure by
pushing the snap pins into place.
Connect the IR-3001 Emitter to the IR-1203 Hub and place the emitter
over the IR window on the DVR-43G.
Locate the IR-2400 Receiver near the desired viewing monitor and
connect it to the IR-1203 with CAT5 cable. See the included IR
product manuals for details.
Connect cameras and video monitor or video distribution system.
In commercial applications, lock the enclosure so it is only available to
management and post signs notifying customers and employees that
a surveillance system is in place for the purposes of premises and
property protection and that their actions and activities may be
observed and/or recorded.
3
Installation
DVR-43G COMPACT3G COMPATIBLE 4CH. DVR
Tighten thumbscrews
to secure product.
IR Window - secure IR emitter here
Remove thumbscrews and reverse
the rear plate as shown to maximize
the mounting depth.
Attach the supplied neoprene
pad here to help secure the
DVR.
Note: It is easiest to secure the DVR
into the C-1312 prior to installing them
into the enclosure.
Remove the DVR feet
prior to installation.
Secure brackets by snapping
push pins into place.
Secure the IR-1203 with the
double sided tape provided
Connect IR Emitter here
(See IR-1203 manual for connection details)
Connect Cameras
Use RG59 for video and 18/2 for power
If only CAT5 cable is available, use
Channel Vision Baluns: B-201, B-300 or B-321
Video Output
Connect to video
distribution system
Wire Recommendations for
12VDC* Camera Power Supplies
Wire Run length Wire Gauge
1-300ft 18AWG
300-475ft 16AWG
475-750ft 14AWG
*Assuming a camera current draw of 100mA
and a 410mA power supply. For longer runs
use a higher current power supply.
C VHA N N E L I S I ON TM
Central
C-1312
C-1312
DVR-43G COMPACT3G COMPATIBLE 4CH. DVR
C VHA N N E L I S I ON TM
Central
