Chase Bliss Audio Lossy User manual


Table of Contents
2
4
6
8
14
18
24
26
28
30
32
34
36
38
40
Overview
Setup
Getting Started
Controls
Hidden Options
Loss
Filter
Verb
Freeze
Gate
Customize
Ramping
External Control
Bye
Signal Flow
Power req: 9V DC Center Negative ~400 mA
Lossy was developed in collaboration with Goodhertz.
20
22
23
Modes
Packets
Ideas

The pedal can be broken into three main blocks:
You won’t find a specific format or influence
replicated here, but instead a wide-ranging
exploration of all the right and wrong sounds
made possible through data compression.
It’s both familiar and unlike anything else.
Overview
03
02
Lossy captures the special kind of degradation
that happens to digital audio when it’s shrunk,
transferred, and otherwise contorted:
Streaming music on a 56k modem,
an MP3 ripped from a CD-R,
a viral video from 2007 played
through a cellphone.
All the nasty and beautiful mistakes of heavily-
deconstructed digital audio in an easy-to-tweak
real-time pedal.
Artifacts on demand.
Let’s see.
A loss section that deconstructs
the audio (pg. 18).
A filter section to shape and
emphasize the artifacts (pg. 24).
A reverb section to feed or diffuse
the loss (pg. 26).

Setup
If you have a mono input but want to split it to
stereo output: Turn on the MISO dip switch.
And if you want to use Lossy to create a wide stereo
image: Turn on the SPREAD dip switch (pg. 32).
OPTIONS
Lossy has lots of ways to customize and fine-tune
your experience. If you’d like to get right into all
that, check out:
Hidden Options (pg. 14)
Customize (pg. 32)
Ramping (pg. 34)
External Control (pg. 36)
Otherwise it’s probably best to start with all dip
switches in this position:
Okay let’s get started.
05
04
Let’s get Lossy settled into its new home. If you’re
experienced with pedals you can probably ignore
this bit and dive right in.
POWER
Lossy requires a 9V DC, center negative power
supply with at least 400 mA of current.
You’ll see this symbol
on your power supply:
I / O
Lossy can be used in mono, stereo, or mono to
stereo. The default setting will automatically
work for either mono or stereo:
Mono in, mono out Stereo in, stereo out
TS CABLE TRS CABLE
Many stereo devices use dual mono jacks, so
you may need a TRS to dual TS-style cable.
Try out some different filter
positions and notice how
they emphasize and pull
different harmonics out of
the artifacts.
And turn on the freeze to
create a roaming spectral
companion.
Getting Started
07
06
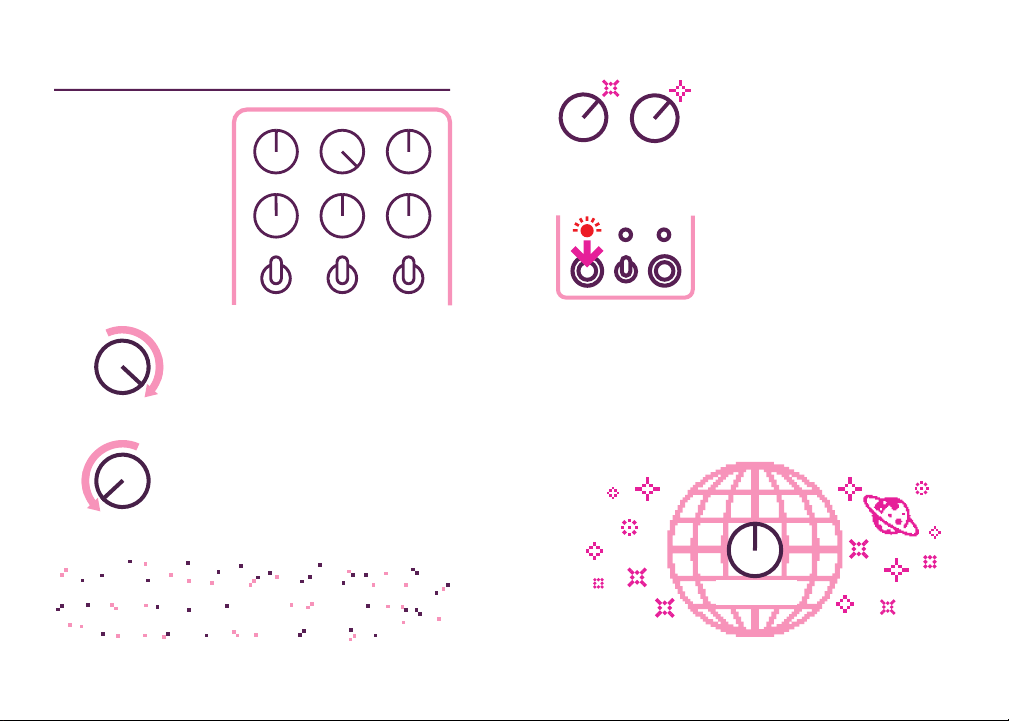
Begin with this:
Everything right
up the middle
except GLOBAL.
FILTER GLOBAL VERB
FREQ SPEED LOSS
SLOPE PACKETS MODE
LOSS
...then SPEED down to min.
Now slowly turn LOSS up
to max...
SPEED
You should find yourself immersed
in a sea of spectral artifacts.
FILTER
FREQ
Once you have things to your liking, roll back the
GLOBAL knob to mellow out the intensity of the
effect. This is a good formula for getting comfy
with Lossy and making new presets – start with
GLOBAL at max to really hear what it can do, then
adjust to taste.
GLOBAL
There is a lot more to explore, so let’s begin.
Other Chase Bliss Audio Music Pedal manuals

Chase Bliss Audio
Chase Bliss Audio Brothers User manual

Chase Bliss Audio
Chase Bliss Audio Thermae User manual

Chase Bliss Audio
Chase Bliss Audio Blooper User manual

Chase Bliss Audio
Chase Bliss Audio Mood User manual

Chase Bliss Audio
Chase Bliss Audio Cooper FX Generation Loss User manual

Chase Bliss Audio
Chase Bliss Audio Thermae User manual

Chase Bliss Audio
Chase Bliss Audio Reverse Mode C User manual

Chase Bliss Audio
Chase Bliss Audio Blooper User manual

Chase Bliss Audio
Chase Bliss Audio Generation Loss MKII User manual

Chase Bliss Audio
Chase Bliss Audio MOOD MKII User manual


