manuals.online logo
Brands
  1. Home
  2. •
  3. Brands
  4. •
  5. Chauvet
  6. •
  7. Controllers
  8. •
  9. Chauvet RLC-737 User manual

Chauvet RLC-737 User manual

Other Chauvet Controllers manuals

Chauvet CH-751 User manual

Chauvet

Chauvet CH-751 User manual

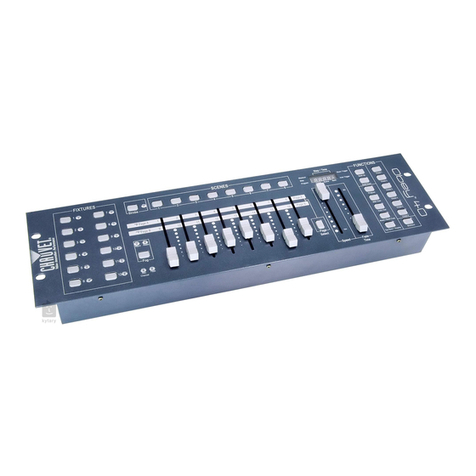
Chauvet Obey 10 User manual

Chauvet

Chauvet Obey 10 User manual

Chauvet Obey 40 User manual

Chauvet

Chauvet Obey 40 User manual

Chauvet Obey 40 User manual

Chauvet

Chauvet Obey 40 User manual

Chauvet SC-1000M User manual

Chauvet

Chauvet SC-1000M User manual

Chauvet Obey 40 User manual

Chauvet

Chauvet Obey 40 User manual

Chauvet CH-865 User manual

Chauvet

Chauvet CH-865 User manual

Chauvet Tiger DMX 60 User manual

Chauvet

Chauvet Tiger DMX 60 User manual

Chauvet DMX-40B User manual

Chauvet

Chauvet DMX-40B User manual

Chauvet Obey 6 Owner's manual

Chauvet

Chauvet Obey 6 Owner's manual

Chauvet Obey 40 User manual

Chauvet

Chauvet Obey 40 User manual

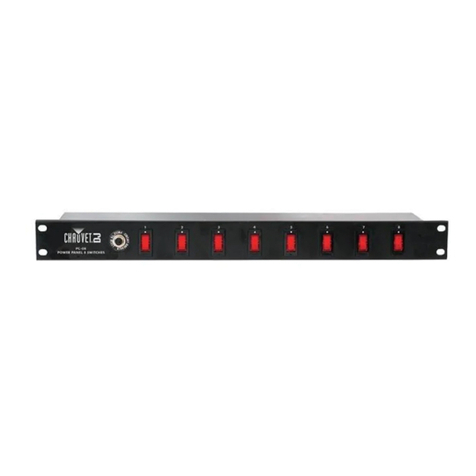
Chauvet Power Panel PC-08 User manual

Chauvet

Chauvet Power Panel PC-08 User manual

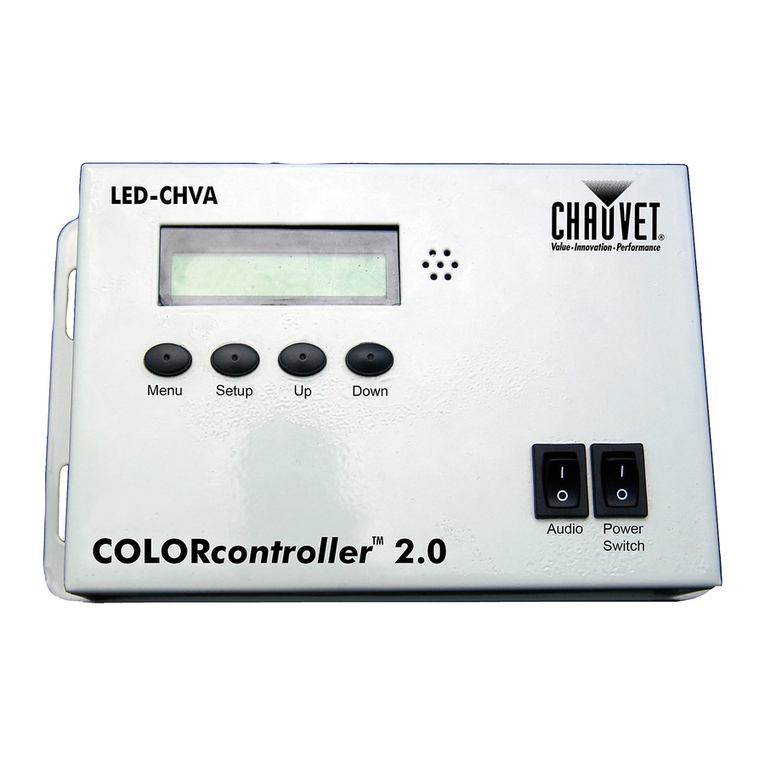
Chauvet LED-CHVA User manual

Chauvet

Chauvet LED-CHVA User manual

Chauvet DMX-55 User manual

Chauvet

Chauvet DMX-55 User manual

Chauvet CA-6 Installation guide

Chauvet

Chauvet CA-6 Installation guide

Chauvet Director LC-2000 User manual

Chauvet

Chauvet Director LC-2000 User manual

Chauvet ART-1CON User manual

Chauvet

Chauvet ART-1CON User manual

Chauvet DMX-40A User manual

Chauvet

Chauvet DMX-40A User manual

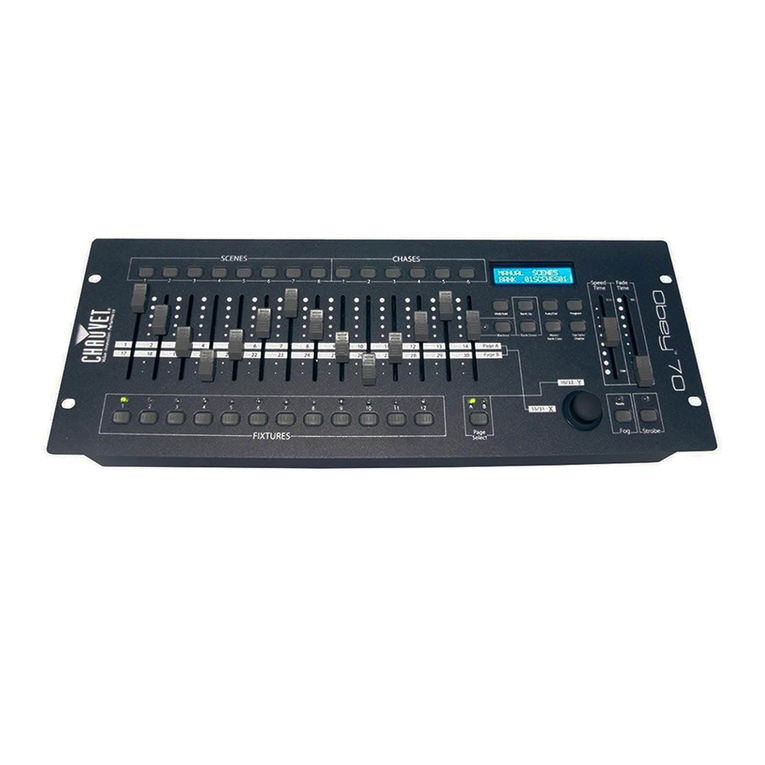
Chauvet Obey 70 User manual

Chauvet

Chauvet Obey 70 User manual

Chauvet DMX-7 User manual

Chauvet

Chauvet DMX-7 User manual

Chauvet DMX-50A User manual

Chauvet

Chauvet DMX-50A User manual

Chauvet DMX-2X User manual

Chauvet

Chauvet DMX-2X User manual

Chauvet CH-865 User manual

Chauvet

Chauvet CH-865 User manual

Chauvet GrafXpress User manual

Chauvet

Chauvet GrafXpress User manual

Popular Controllers manuals by other brands

Sunricher SR-ZV9003T3-RGBW-US Installation

Sunricher

Sunricher SR-ZV9003T3-RGBW-US Installation

Ksenia intro Installation and configuration manual

Ksenia

Ksenia intro Installation and configuration manual

Inovance CAN200 Series manual

Inovance

Inovance CAN200 Series manual

Gauzy LC6 FLEX Controller Installation and operation guide

Gauzy

Gauzy LC6 FLEX Controller Installation and operation guide

Viking SLP-1 Technical practice

Viking

Viking SLP-1 Technical practice

CKD KBX-30E-U Series instruction manual

CKD

CKD KBX-30E-U Series instruction manual

Sharp Energy Sun Flux User manual & installation guide

Sharp Energy

Sharp Energy Sun Flux User manual & installation guide

Yamaha RCX40 user manual

Yamaha

Yamaha RCX40 user manual

AB Quality PowerFlex 400 Frames D-H Service bulletin

AB Quality

AB Quality PowerFlex 400 Frames D-H Service bulletin

Yamaha MJC8 owner's manual

Yamaha

Yamaha MJC8 owner's manual

AL-KO ATC operating instructions

AL-KO

AL-KO ATC operating instructions

Savant SmartControl 2 Deployment guide

Savant

Savant SmartControl 2 Deployment guide

GameSir T3S user manual

GameSir

GameSir T3S user manual

Kostal inveor operating manual

Kostal

Kostal inveor operating manual

Emerson Yarway 20-55 Operating and safety instructions

Emerson

Emerson Yarway 20-55 Operating and safety instructions

CoCo ACM-LV24 Quick installation guide

CoCo

CoCo ACM-LV24 Quick installation guide

Brooks SLA5810/20 Installation and operation manual

Brooks

Brooks SLA5810/20 Installation and operation manual

SIGMA TEK SR 011 Technical manual

SIGMA TEK

SIGMA TEK SR 011 Technical manual

manuals.online logo
manuals.online logoBrands
  • About & Mission
  • Contact us
  • Privacy Policy
  • Terms and Conditions

Copyright 2025 Manuals.Online. All Rights Reserved.

Technical Specifications
Power
120V~60Hz AC
230V~50Hz AC
Fuse
3A x 4
3A x 4
Dimensions
191 x 102 x 51mm / 7.5in x 4in x 2in
Weight
1.0kg / 2.2lbs
User Information (Please complete for your records)
Date Purchased: / / Serial No:
Dealer Stamp: Model: RLC-737 4-Channel Controller
4 CHANNEL CONTROLLER
RLC-737
Users Guide
Please read these instructions carefully before use
World-wide Headquarters:
3000 North 29th Ct.
Hollywood, FL 33020
Tel: +1-954-929-1115 Fax: +1-954-929-5560
www.ChauvetLighting.com
Introduction
Congratulations on the purchase of your new CHAUVET lighting controller. We are confident you will
enjoy many trouble free hours with this unit. To assist with the care and use of the product we have
prepared this short guide.
Operation
This lighting controller has been designed to function on a mains power supply of either 120V~60Hz or
230V~50Hz and has been fitted with a suitable power plug for use with your local voltage. Check the
label on the unit and the power plug for the correct voltage.
The 1,200 watt unit has been designed to handle a maximum load of 20 pieces of 12ft. ropelight or 15
pieces of 16ft. ropelight or 80ft. of belt lights using 7-watt bulbs. Simply plug the ropelight or belt light
into the ropelight / belt light connector and plug power cable into the mains power supply. If desired,
utilize the four AC outlets on the rear of the unit to operate Par Cans, Pin Spots, Mini Moons and more.
Each of these outlets is responsive to all of the functions of the unit. Maximum load per AC outlet is
300 watts.
When connected to the mains power supply the ropelight or belt light or lights plugged into the AC
outlets should illuminate. This unit provides five modes of operation accessible via the functions dial
(fig. 1). The five modes are as follows: chase to sound, chase, flash, all on and 16 patterns auto.
Turn the functions dial to switch between modes. Adjust the speed control and sound sensitivity dial
(on front of unit) to desired level. Switch between modes to create ever-changing patterns and effects.
Installation / Mounting
This unit has been designed to be hung. It is recommended that, for safety purposes, your lighting
effect be properly mounted using a suitable hanging clamp and safety cable. CHAUVET offers a range
of items, which are ideal for safe mounting.
Cleaning
The body of the unit may be cleaned with a soft damp cloth. We recommend internal cleaning be
carried out by a fully qualified technician.
Replacing Fuses
If the unit does not function at all when connected to the main power i.e. items plugged into the unit do
not operate. Then it is likely that the internal fuse has blown.
Disconnect from main power supply before attempting to replace fuse.
In order to replace the internal fuse, disconnect from the main power supply and unscrew four screws
that hold the unit housing in place. Remove the housing cover to reveal the fuse. The unit has a label
attached which indicates the correct fuse rating or you may refer to the portion this guide labeled
Technical Specifications. It is most important that replacement fuses are of correct rating. Failure to
use the correct fuse could damage the unit beyond economic repair.
The fuse should simply be placed inside the fuseholder and housing cover replaced. Reconnect to
main power.
Maintenance & Servicing
Work on internal parts should be carried out by a qualified technician. Removal of any covers with the
exception to change the internal fuse is considered a breach of warranty and will not be covered under
any such agreement unless authorized first by CHAUVET.
Troubleshooting
•If the unit is not functional - check main power supply is ‘on’ and ropelight or belt light is securely
attached to the proper connector. If using AC outlets, check that units are securely plugged in.
•If unit is not functional - check internal fuse.
•If lights do not move - adjust speed control dial to higher level for sound sensitivity.
If after trying this solution you still have a problem contact CHAUVET.
Power Connections
The unit is supplied with a power plug appropriate to its voltage and destination. Should any other
connections be required they must be carried out with the following configuration.
Earth = Green/Yellow cable
Neutral = Blue cable
Live = Brown cable
In the USA & Europe, it is required that all plugs are 3-pin type i.e. with Earth/Ground connection.
In the UK, it is required that all mains plugs are fitted with 13A fuses.
Mounting Bracket
On/Off Switch
Indicator Lights
Functions Dial
Speed Control Dial
Sound Sensitivity Control Dial
Fig.1
At the Rear:
fiPower Cable
fiVoltage Selector
(Not on European Model)
fiInternally Fused
fiRopelight / Belt Light
Connector
fi4 AC Outlets on Rear
(Responsive to all Functions)