manuals.online logo
Brands
  1. Home
  2. •
  3. Brands
  4. •
  5. Check-line
  6. •
  7. Measuring Instrument
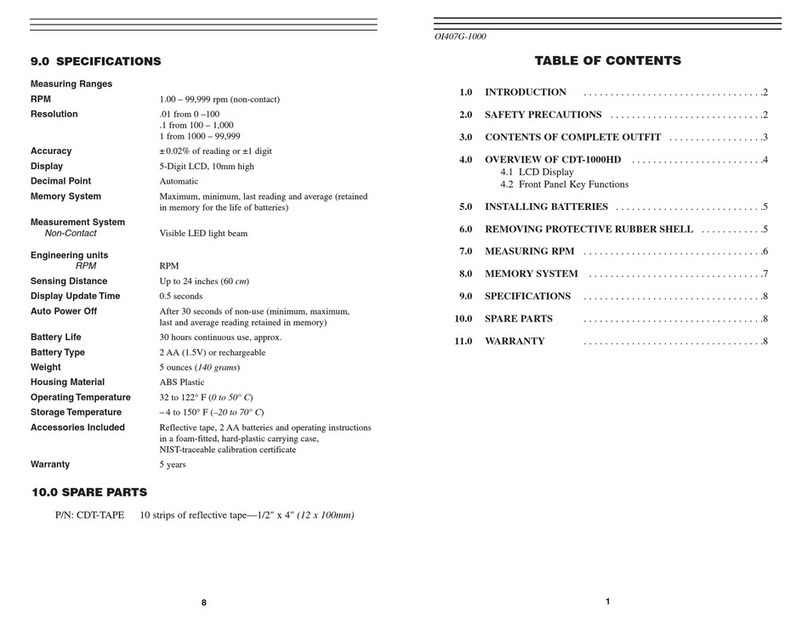
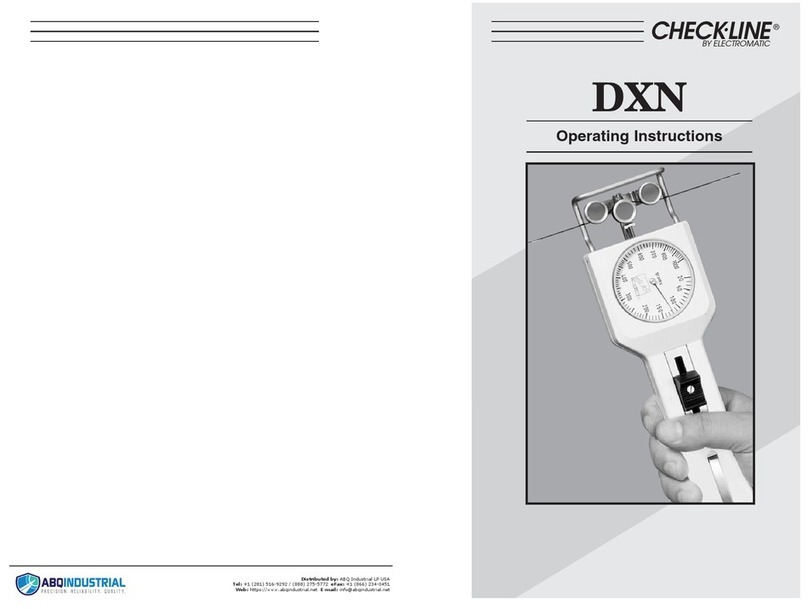
  8. •
  9. Check-line MKM User manual

Check-line MKM User manual

-1 -
1.0 Overview . . . . . . . . . . . . . . . . . . . . . . . . . . . . . . . . . . . . . . . . . . . . . . . 2
2.0 Charging the built-in battery . . . . . . . . . . . . . . . . . . . . . . . . . . . . . . . 3
3.0 Operating procedures . . . . . . . . . . . . . . . . . . . . . . . . . . . . . . . . . . . . 4
4.0 Verifying the calibration . . . . . . . . . . . . . . . . . . . . . . . . . . . . . . . . . . 5
5.0 Technical information . . . . . . . . . . . . . . . . . . . . . . . . . . . . . . . . . . . . 6
5.1 Specification
5.2 Available models
6.0 Service and maintenance . . . . . . . . . . . . . . . . . . . . . . . . . . . . . . . . . 7
6.1 Rollers
6.2 Cleaning
6.3 Verification intervals
7.0 Warranty . . . . . . . . . . . . . . . . . . . . . . . . . . . . . . . . . . . . . . . . . . . . . . . 8
CONTENTS
Tensions that exceed the tension range of the MKM instrument by
more than 100% may cause permanent damage to the movement
and must be avoided under any circumstances.
CAUTION
-8-
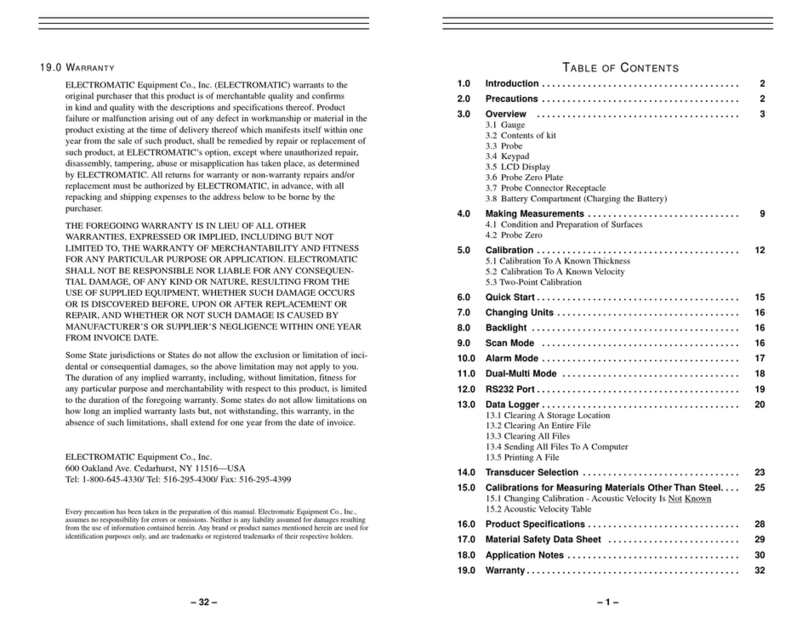
7.0 WARRANTY
ELECTROMATIC Equipment Co., Inc. (ELECTROMATIC) warrants to the
original purchaser that this product is of merchantable quality and confirms
in kind and quality with the descriptions and specifications thereof. Product
failure or malfunction arising out of any defect in workmanship or material in the
product existing at the time of delivery thereof which manifests itself within one
year from the sale of such product, shall be remedied by repair or replacement of
such product, at ELECTROMATIC’s option, except where unauthorized repair,
disassembly, tampering, abuse or misapplication has taken place, as determined
by ELECTROMATIC. All returns for warranty or non-warranty repairs and/or
replacement must be authorized by ELECTROMATIC, in advance, with all
repacking and shipping expenses to the address below to be borne by the
purchaser.
THE FOREGOING WARRANTY IS IN LIEU OF ALL OTHER
WARRANTIES, EXPRESSED OR IMPLIED, INCLUDING BUT NOT
LIMITED TO, THE WARRANTY OF MERCHANTABILITY AND FITNESS
FOR ANY PARTICULAR PURPOSE OR APPLICATION. ELECTROMATIC
SHALL NOT BE RESPONSIBLE NOR LIABLE FOR ANY CONSEQUEN-
TIAL DAMAGE, OF ANY KIND OR NATURE, RESULTING FROM THE USE
OF SUPPLIED EQUIPMENT, WHETHER SUCH DAMAGE OCCURS OR IS
DISCOVERED BEFORE, UPON OR AFTER REPLACEMENT OR REPAIR,
AND WHETHER OR NOT SUCH DAMAGE IS CAUSED BY
MANUFACTURER’S OR SUPPLIER’S NEGLIGENCE WITHIN ONE YEAR
FROM INVOICE DATE.
Some State jurisdictions or States do not allow the exclusion or limitation of
incidental or consequential damages, so the above limitation may not apply to
you. The duration of any implied warranty, including, without limitation, fitness
for any particular purpose and merchantability with respect to this product, is
limited to the duration of the foregoing warranty. Some states do not allow
limitations on how long an implied warranty lasts but, not withstanding, this
warranty, in the absence of such limitations, shall extend for one year from the
date of invoice.
ELECTROMATIC Equipment Co., Inc.
600 Oakland Ave. Cedarhurst, NY 11516—USA
Tel: 1-800-645-4330/ Tel: 516-295-4300/ Fax: 516-295-4399
Every precaution has been taken in the preparation of this manual. Electromatic Equipment Co., Inc.,
assumes no responsibility for errors or omissions. Neither is any liability assumed for damages resulting
from the use of information contained herein. Any brand or product names mentioned herein are used for
identification purposes only, and are trademarks or registered trademarks of their respective holders.
-2-
1
1
2
3
4
5
6
7
2
3
8
9
8
10
11
13
14
12
1.0 OVERVIEW
The MKM tension meter is shipped as a complete kit
that includes the gauge, battery, battery charger and
operating instructions in a hard plastic case.
1. Tension meter handle 08. Jack socket 6.35mm ø for handle
2. Motor switch 09. Scale
3. Jack plug 6.35mm ø 10. Tension meter body
4. Take-up wheel 11. Process material
5. Charger connector 12. Guide eye
6. Jack plug 3.5mm ø 13. Outer rollers
7. Battery charger 14. Measuring roller
-7-
6.0 SERVICE AND MAINTENANCE
The tension meter is easy to maintain. Depending on operating time and load, the
tension meter should be checked according to the locally valid regulations and
conditions.
6.1 Rollers
You should regularly inspect the rollers to assure that they are running
easily and smoothly. You can replace the rollers yourself, as necessary.
When ordering spare rollers, please indicate the tension meter model
and the serial number (on the rear side of the tension meter).
Ordering of spare rollers
Model: MK-12 (on the right side of the tension meter)
Serial number: 300 -888888 (on the right side of the tension meter)
Standard rollers: Order number R12013
6.2 Cleaning
For cleaning the unit, do not use any AGGRESSIVE SOLVENTS such as
trichloroethylene or similar chemicals. NO WARRANTY OR LIABILITY
shall be accepted for damage resulting from improper cleaning.
6.3 Verification Intervals
The question of finding the right frequency of calibration accuracy
verification depends on several different factors:
• Operating time and load of the tension meter
• Tolerance band defined by the customer
• Changes of the tolerance band compared to previous verifications of
calibration
Therefore, the interval between verifications must be determined by the
user`s Quality Assurance Department based on the user`s experience.
Assuming normal operating time and load as well as careful handling of the
tension meter, we recommend a verification interval of 1 year.
-3-
2.0 CHARGING THE BATTERY
Before using your tension meter for the first time, the built-in battery must
be charged. The built-in battery should be recharged after every six hours
(maximum) of use.
Plug the battery charger (7) into the appropriate power source. Connect the jack
plug (3) of the battery charger (7) with the charger connector (5) of the tension
meter.
NOTE: Battery charging time is 14 hours.

5
6
7
CAUTION
To avoid damage, do not move the center roller by hand.
-6-
5.0 TECHNICAL INFORMATION
51 Specifications
Calibration According to SCHMIDT factory procedure
Accuracy ± 1% full scale (FS) or ± 1 graduation on scale
Take up speed 16 m/min
Scale diameter 41 mm
Temperature range 10 – 45°C
Air humidity 85% RH, max.
Housing material Plastic (Makrolon)
Housing dimensions 210mm x 225mm x 54 mm (L x W x H)
Weight approx. 650 g (fully assembled and ready to operate)
5.2 Available Models
MKM-50 5 - 50 225 PA: 0.12 mm Ø
MKM-100 10 - 100 225 PA: 0.12 mm Ø
MKM-400 50 - 400 225 PA: 0.20 mm Ø
** Suitable for 95% of applications. PA = Polyamide Monofilament If the
material to be measured differs significantly from the factory calibration material
in diameter, rigidity, shape, etc., we recommend calibration using customer
material. For this purpose, a material sample of about 5 m should be supplied.
International unit for tension force:1 cN = 1.02 g = 0.01 N
Type Tension Measuring Calibration
Range Hand Width Material
cN mm
-4-
3.0 OPERATING PROCEDURE
NOTE: To facilitate easy use, the MKM handle can be attached to the top or
bottom of the gauge body (see diagram on page 2).
1. Depending on the orientation of use, plug in the jack plug of the handle at
either of the two jack sockets provided on the sides of the tension meter.
2. Thread the process material through the guide eye, the outer rollers
and the measuring roller. Then wind the process material around the
take-up wheel two or three times.
3. Press the motor switch to start measuring. The scale now shows the measured
tension values. If the scale does not show a reading, the process material may
be threaded throug the rollers incorrectly. Not the proper position of the
process material in the diagram below and retry.
Eye guide Take up wheel
Motor switch
Handle
Handle
Process material
Measuring roller
Motor switch
Jack plug
-5-
4.0 VERIFYING THE MK CALIBRATION
All tension meters are calibrated with standard materials—such as polyamide
monofilament (PA)— according the factory procedure. Filament sizes are noted
in Section 5.2.
NOTE: Any difference in process material size and rigidity from the standard
material may cause a deviation of the accuracy.
In 95% of all industrial applications the factory calibration has been proven to
provide the best results and is used for comparative purposes.
If the process material differs significant in size, rigidity and shape we recom-
mend special calibration using customer`s sample. For this purpose a material
sample of 5 meters in length should be supplied.
1. Suspend a known weight that
corresponds to the tension to be
measured (pay attention to the
correct unit of measure) from
the process material, vertically,
as shown in the figure. Always
use a fresh portion of the
material to be measured.
2. Before the final check, move
the process material slowly up
and down to compensate any
friction caused by the instrument
and thus ensure the repeatability.
3. The tension value should be
equal to the value of the
suspended weight.
If this procedure shows a deviation beyond the allowable tolerance and
reliable operation is no longer possible, the instrument must be returned to
the factory for recalibration or repair.
WEIGHT
OUTER
ROLLERS
MEASURING ROLLER
PROCESS
MATERIAL
SCALE
Model MKM
TENSIONMETER
Operating Instructions
CHECK
•LINE®
BY ELECTROMATIC
ELECTROMATIC
E Q U I P M E N T C O., I N C.
600 Oakland Ave., Cedarhurst, NY 11516–U.S.A.
TEL: 516-295-4300 • FAX: 516-295-4399
CHECK
•LINE
®
INSTRUMENTS

This manual suits for next models

3

Other Check-line Measuring Instrument manuals

Check-line StroboVision SMS-400B User manual

Check-line

Check-line StroboVision SMS-400B User manual

Check-line TI-25LTX User manual

Check-line

Check-line TI-25LTX User manual

Check-line ETB User manual

Check-line

Check-line ETB User manual

Check-line TI-25SX User manual

Check-line

Check-line TI-25SX User manual

Check-line DCF-900 User manual

Check-line

Check-line DCF-900 User manual

Check-line TI-CMX User manual

Check-line

Check-line TI-CMX User manual

Check-line BLL User manual

Check-line

Check-line BLL User manual

Check-line BTM-400PLUS User manual

Check-line

Check-line BTM-400PLUS User manual

Check-line YSL-2000HD User manual

Check-line

Check-line YSL-2000HD User manual

Check-line TI-CMXDL User manual

Check-line

Check-line TI-CMXDL User manual

Check-line DTS-200 User manual

Check-line

Check-line DTS-200 User manual

Check-line TMT-425 Use and care manual

Check-line

Check-line TMT-425 Use and care manual

Check-line MINI-MAX User manual

Check-line

Check-line MINI-MAX User manual

Check-line WT-100 User manual

Check-line

Check-line WT-100 User manual

Check-line DLM 107A User manual

Check-line

Check-line DLM 107A User manual

Check-line TI-007X User manual

Check-line

Check-line TI-007X User manual

Check-line TI-25MX User manual

Check-line

Check-line TI-25MX User manual

Check-line TI-25PX User manual

Check-line

Check-line TI-25PX User manual

Check-line DC**-3000PS series User manual

Check-line

Check-line DC**-3000PS series User manual

Check-line CTM User manual

Check-line

Check-line CTM User manual

Check-line TI-25DL-MMX-EXT User manual

Check-line

Check-line TI-25DL-MMX-EXT User manual

Check-line RH6 User manual

Check-line

Check-line RH6 User manual

Check-line ULTRASONIC TI-25LT User manual

Check-line

Check-line ULTRASONIC TI-25LT User manual

Check-line TI-25M User manual

Check-line

Check-line TI-25M User manual

Popular Measuring Instrument manuals by other brands

ELMACRON 1000TR instructions

ELMACRON

ELMACRON 1000TR instructions

YSI Professional Plus quick start guide

YSI

YSI Professional Plus quick start guide

PCE Instruments PCE-VDL 16l user manual

PCE Instruments

PCE Instruments PCE-VDL 16l user manual

THORLABS M2MS quick reference

THORLABS

THORLABS M2MS quick reference

Hameg HMS1000E manual

Hameg

Hameg HMS1000E manual

Flexitron TAXITRONIC TX80 Urba installation manual

Flexitron

Flexitron TAXITRONIC TX80 Urba installation manual

Kamstrup MULTICAL 403 Installation & maintenance instructions

Kamstrup

Kamstrup MULTICAL 403 Installation & maintenance instructions

netAlly AirCheck G3 user guide

netAlly

netAlly AirCheck G3 user guide

Electro Industries/GaugeTech Shark MP200 in Enclosure Installation & operation manual

Electro Industries/GaugeTech

Electro Industries/GaugeTech Shark MP200 in Enclosure Installation & operation manual

National Instruments PCIe-5763 Getting started guide

National Instruments

National Instruments PCIe-5763 Getting started guide

TFA Dostmann AIRCO2NTROL COACH instruction manual

TFA Dostmann

TFA Dostmann AIRCO2NTROL COACH instruction manual

LBA GROUP Siteone 3028 Operator's manual

LBA GROUP

LBA GROUP Siteone 3028 Operator's manual

Promega GloMax Navigator Detection System quick start guide

Promega

Promega GloMax Navigator Detection System quick start guide

Giga-tronics 8650B Series Operation manual

Giga-tronics

Giga-tronics 8650B Series Operation manual

Trotec BL30 quick start guide

Trotec

Trotec BL30 quick start guide

Nordic Propeye OY1211 product manual

Nordic

Nordic Propeye OY1211 product manual

3M Dynatel 2250M Operator's manual

3M

3M Dynatel 2250M Operator's manual

Simex CCM-K-10 operating manual

Simex

Simex CCM-K-10 operating manual

manuals.online logo
manuals.online logoBrands
  • About & Mission
  • Contact us
  • Privacy Policy
  • Terms and Conditions

Copyright 2025 Manuals.Online. All Rights Reserved.