Chef's Choice Manual Diamond Hone User manual

Congratulations! By selecting the
innovative Chef’sChoice®Manual
Diamond Hone®sharpener, you
will be able to enjoy the pleasure
of knives that are sharper and stay
sharp longer than those you may
have sharpened using conventional
manual sharpeners.
Before you begin...
The Chef’sChoice®Manual Diamond
Hone®sharpener is “ambidextrous”
- extremely easy to use whether you
are a right- or left-handed person.
Stages 1 and 2 are marked on both
sides of the sharpener for your
convenience. Place the sharpener
on a level surface about waist high.
If right-handed, hold the handle with
your left hand making certain that
your left index finger and thumb
remain safely behind the partitioning
wall where the handle attaches to
the sharpening stages. (If left-hand-
ed, see Suggestions)
Caution: Keep all fingers clear of
the blade at all times.
Make certain the blade is clean,
then proceed as follows:
1. Sharpening - Stage 1
Holding the knife in the right hand,
place blade in the first slot (above
number 1). Center the blade left to
right in the slot. While keeping the
blade well seated in the slot and
continuously centered in the slot,
INSTRUCTIONS
M4419O4 © EdgeCraft Corporation 2015 F15
EdgeCraft Corporation
825 Southwood Road, Avondale, PA 19311-9765
(800) 342-3255 (610) 268-0500
This product may be covered by one or more EdgeCraft
patents and/or patents pending as marked on the product.
Manual Diamond Hone®
Knife Sharpener
2 stage
445
move the blade back and forth
smoothly along its entire length,
through Stage 1. It is unnecessary
to lift the blade after every stroke.
Apply light downward pressure
on the blade and continue the back
and forth action until the blade is
sharp. Stage 1 creates a first bevel
along the edge. Unless the knife is
very dull, it will take less than 25 full
back-and-forth strokes to sharpen
in Stage 1. Do not proceed to Stage
2 until the edge is very sharp. It
should, for example, be sharp
enough to cut paper well*.
2. Honing - Stage 2
To hone the sharpened edge to
razor sharpness, move the blade
to the slot of Stage 2. This hones
by creating a second “micro-bevel”
along the edge. Maintaining the
blade centered in the slot, move the
blade back and forth through this
slot. Apply little to no downward
pressure on the blade. If the blade
is sharpened adequately in Stage
1, only a few, (less than 10), strokes
will be necessary in Stage 2.
Suggestions
•If left handed, turn the sharpener
around, hold the handle with your
right hand and the knife with your
left, and follow sharpening and
honing instructions above.
•Extremely dull knives can be
sharpened in Stage 1, but many
strokes may be necessary. Stop
periodically and check the blade for
sharpness by carefully cutting
paper. Then hone the knife in
Stage 2.
•Avoid excessive downward
pressure on blade.
Resharpening
Knives can be resharpened by
following the procedure described
above, but, generally, fewer strokes
will be required than for the initial
sharpening.
Maintenance
•The exterior can be cleaned with a
damp, soft cloth.
•No oils or other lubricating liquids
are necessary with this sharpener.
•Not for scissors
EdgeCraft also offers a wide range
of popularly priced powered
Chef’sChoice®Professional
Sharpeners for those who have
many knives or a wide variety of
knives, and for those who wish to
sharpen faster and with less effort
to obtain the ultimate in edge
sharpness and durability.
Chef’sChoice®powered
Professional Sharpeners will safely
sharpen either conventionally
edged or serrated blades. The
pre-sharpening, sharpening and
honing angles are totally compatible
for all models of the Chef’sChoice®
knife sharpeners.
* To test periodically for sharpness, hold a sheet of paper by its
edge, a short (but safe) distance from your fingers, and
carefully slice through the sheet. A sharp blade will cut
smoothly without tearing the paper.
FIGB
Limited Warranty
Used with normal care for family or household purposes
only, this EdgeCraft product is guaranteed against defective
material and workmanship for a period 1 year from the date
of purchase (“Warranty Period”). We will repair or replace at
our option, any product or part that is defective in material
or workmanship without charge if the product is returned
to us postage prepaid, with dated proof of purchase, within
the Warranty Period. This Limited Warranty does not cover
replacement of abrasive pads necessitated by use of the
product or product damage resulting from misuse. ALL
IMPLIEDWARRANTIES,INCLUDING IMPLIED WARRANTIES
OF MERCHANTABILITY AND FITNESS FOR A PARTICULAR
PURPOSE, ARE LIMITED TO THE WARRANTY PERIOD.
EDGECRAFT CORPORATION SHALL NOT BE LIABLE
FOR ANY INCIDENTAL OR CONSEQUENTIAL DAMAGES.
Some states do not allow limitations on how long an implied
warranty lasts and some states do not allow the exclusion
or limitation of incidental or consequential damages, so the
above limitations or exclusions may not apply to you. This
Limited Warranty gives you specific legal rights, and you
may also have other rights which vary from state to state.
THISWARRANTYAPPLIESONLYTONORMALHOUSEHOLD
USE OF THIS SHARPENER AND IS VOID FOR INDUSTRIAL
OR COMMERCIAL USE.

Onnittelut! Koska valitsit Chef’s
Choicen teroittimen, pääset
nauttimaan terävistä ja paremmin
leikkaavista veitsistä pitkään.
Ennen kuin aloitat…
Chef’s Choicen teroitinta on helppo
käyttää sekä oikea- että
vasenkätisenä. Teroitusvaiheet
1 ja 2 on merkattu teroittimen
hahlojen alle, jotta erotat ne helposti
toisistaan. Aseta teroitin tukevalle
pinnalle, kuten pöydälle mieluiten
lantion korkeudelle, kun teroitat.
Oikeakätisenä pidä kahvasta
vasemmalla kädellä kiinni ja
varmista, että sormesi ovat
turvassa teroittamaltasi veitseltä
(vasenkätiselle vinkkejä kohdassa
Ehdotukset).
Huom! Pidä sormesi poissa veitsen
terältä koko ajan. Varmista, että
veitsi on puhdas ja teroita:
1. Vaihe 1 – Teroitus
Aseta teroitin tukevalle alustalle.
Puhdista veitsi huolellisesti ennen
käyttöä. Pidä kiinni teroittimen
kahvasta vasemmalla kädellä
(oikeakätisille).
Aseta veitsen terä hahloon, niin ettei
veisten kumpikaan laita kosketa
hahlon seiniin. Vedä veistä
toistuvasti edestakaisin
teroitushahlossa koko veitsen
terän pituudelta. Paina alaspäin
OHJEET
Chef’sChoice®
Manual Diamond Hone®
Veitsenteroitin
2 vaihetta
445
kevyesti. Älä paina veistä liian
suurella voimalla, ettei veitsen terä
vahingoita teroituskoneistoa! Mikäli
veitsi ei ole erittäin tylsä, tai sitä ei
ole koskaan teroitettu, 25
edestakaista vetoa riittää sen
teroittamiseen. Jatka teroittamista
niin kauan, että veitsi leikkaa
vaivatta paperia tai tomaattia.
2. Vaihe 2 – Terän viimeistely
Tee edestakaista vetoliikettä, kuten
aiemminkin kevyesti painaen.
Varmista, että veitsen terä koskettaa
laikkoihin tasaisesti koko
vetoliikkeen ajan. Noin 10
edestakaista vetoa tässä vaiheessa
riittää terän viimeistelyyn.
Teroittaaksesi myöhemmin
veitsen uudestaan aloita taas
ensimmäisestä vaiheesta ja siirry
sen jälkeen viimeistelyyn.
Ehdotuksia
Jos olet vasenkätinen, pidä
teroitinta oikeassa kädessäsi ja
teroitettavaa veistä vasemmassa.
Seuraa teroitusohjeita yläpuolelta.
Erittäin tylsät veitset voidaan
teroittaa vaiheessa 1, mutta silloin
vaaditaan enemmän edestakaisia
teroitusliikkeitä. Testaa veitsen
terävyys aina välillä paperiin ja,
kun se leikkaantuu vaivatta siirry
vaiheeseen 2. Älä paina veistä liikaa
teroitettaessa!
FI
Takuu
Chef’s Choice veitsenteroittimilla onkahden vuodenrajoitettu
takuu materiaali- ja valmistusvirheille.
M4419O4 © EdgeCraft Corporation 2015 F15
EdgeCraft Corporation
825 Southwood Road, Avondale, PA 19311-9765
(800) 342-3255 (610) 268-0500
Tätä tuotetta saattaa koskea yksi tai useampi EdgeCraft
patentteja ja / tai patenttihakemuksia merkittynä tuotteesta.
Veitsen uudelleenteroitus
Veitsi voidaan teroittaa uudelleen
samojen ohjeiden mukaan, mutta
yleensä teroitusliikkeitä vaaditaan
vähemmän.
Huolto
Teroitin voidaan puhdistaa kuivalla
liinalla. Älä käytä öljyä tai muuta
huolto-ainetta. Teroitin ei ole
tarkoitettu saksille.
• Testataksesiveitsienterävyydenpidäpaperiakulmasta
kiinni ja leikkaa veitsellä paperi kahteen osaan. Terävä veitsi
selviytyy tästä vaivatta repimättä paperia.
Table of contents
Languages:
Other Chef's Choice Kitchen Appliance Accessories manuals

Chef's Choice
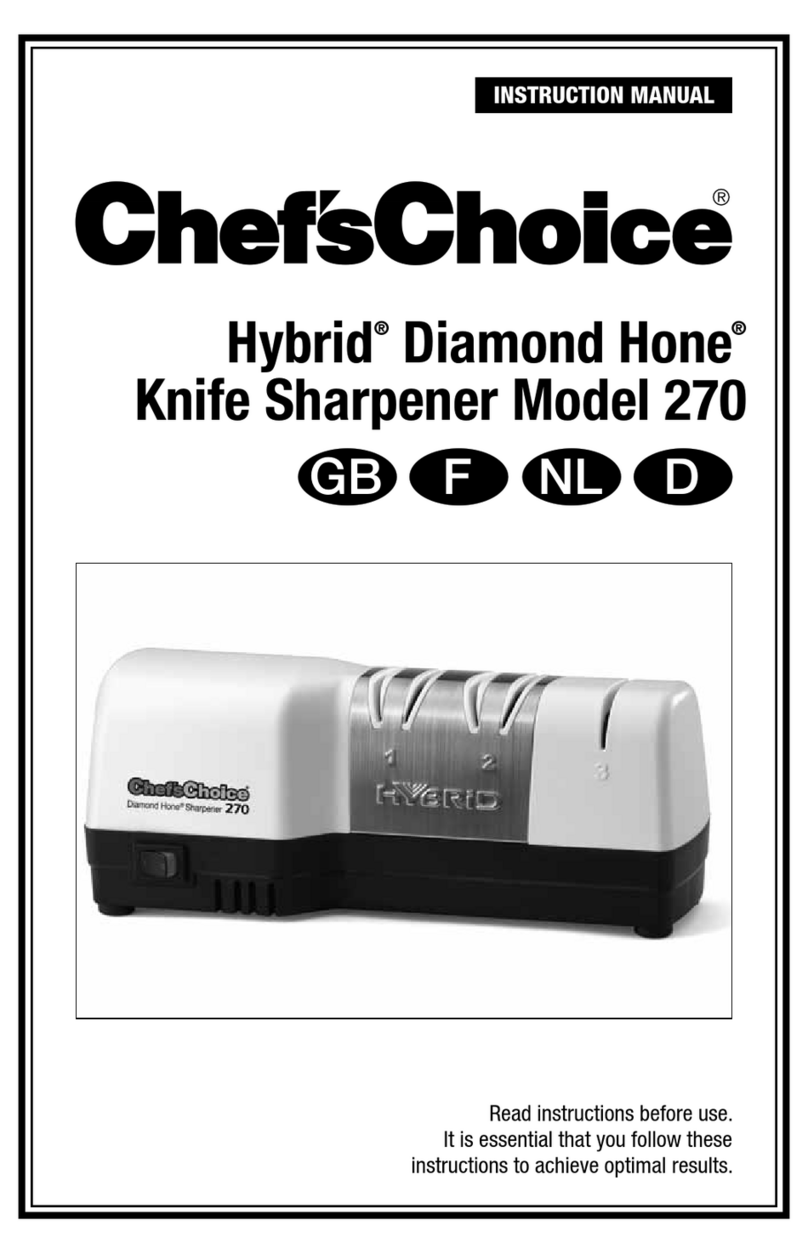
Chef's Choice Hybrid Diamond Hone 270 User manual

Chef's Choice
Chef's Choice Pronto Diamond Hone 463 User manual

Chef's Choice
Chef's Choice Sportsman Xtreme Diamond Hone 317 User manual
Chef's Choice
Chef's Choice Hybrid Diamond Hone 270 User manual
Chef's Choice
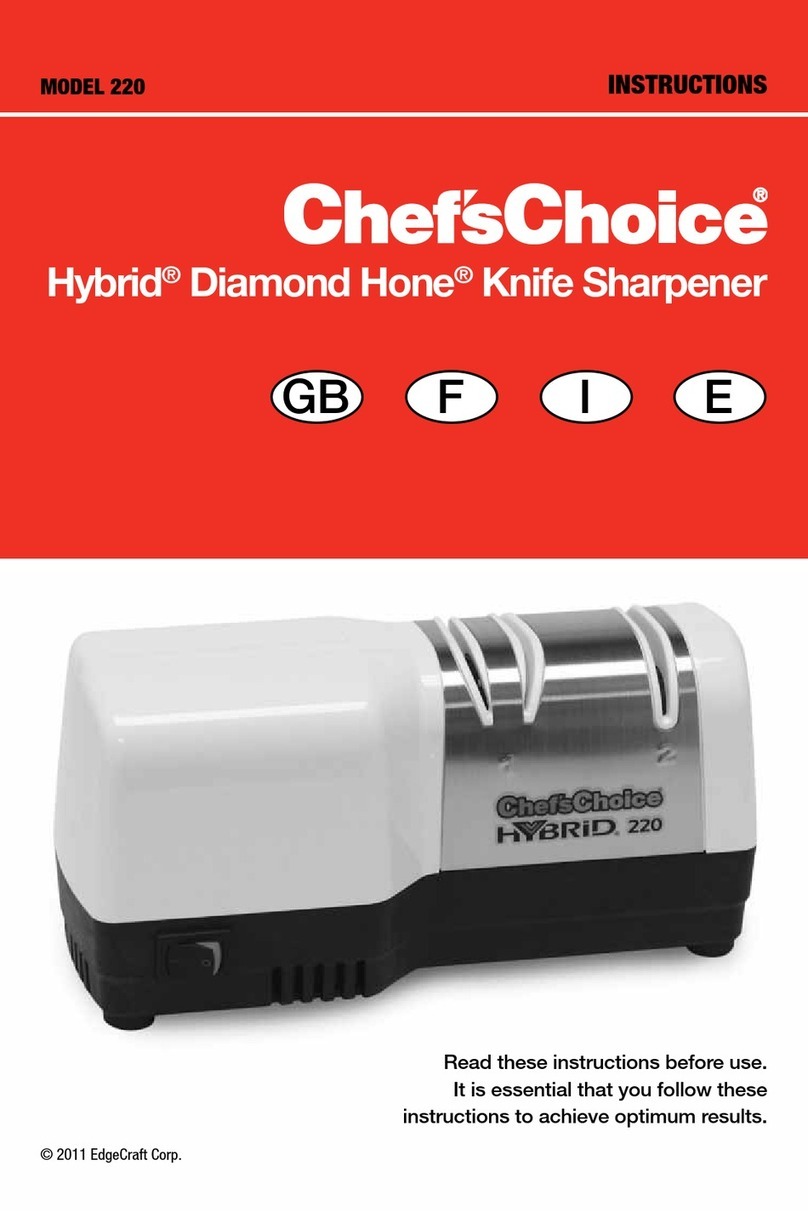
Chef's Choice Hybrid Diamond Hone 220 User manual

Chef's Choice
Chef's Choice G203 User manual
