Chillout Quantum V3 User manual

REGISTER YOUR SYSTEM
To activate your warranty, products must be registered within 30 days of purchase.
Scan the QR code to begin the process or enter the link below.
chilloutsystems.com/pages/product-registration
2
© Copyright Chillout Systems LLC 2022 chilloutsystems.com/pages/gettingstarted
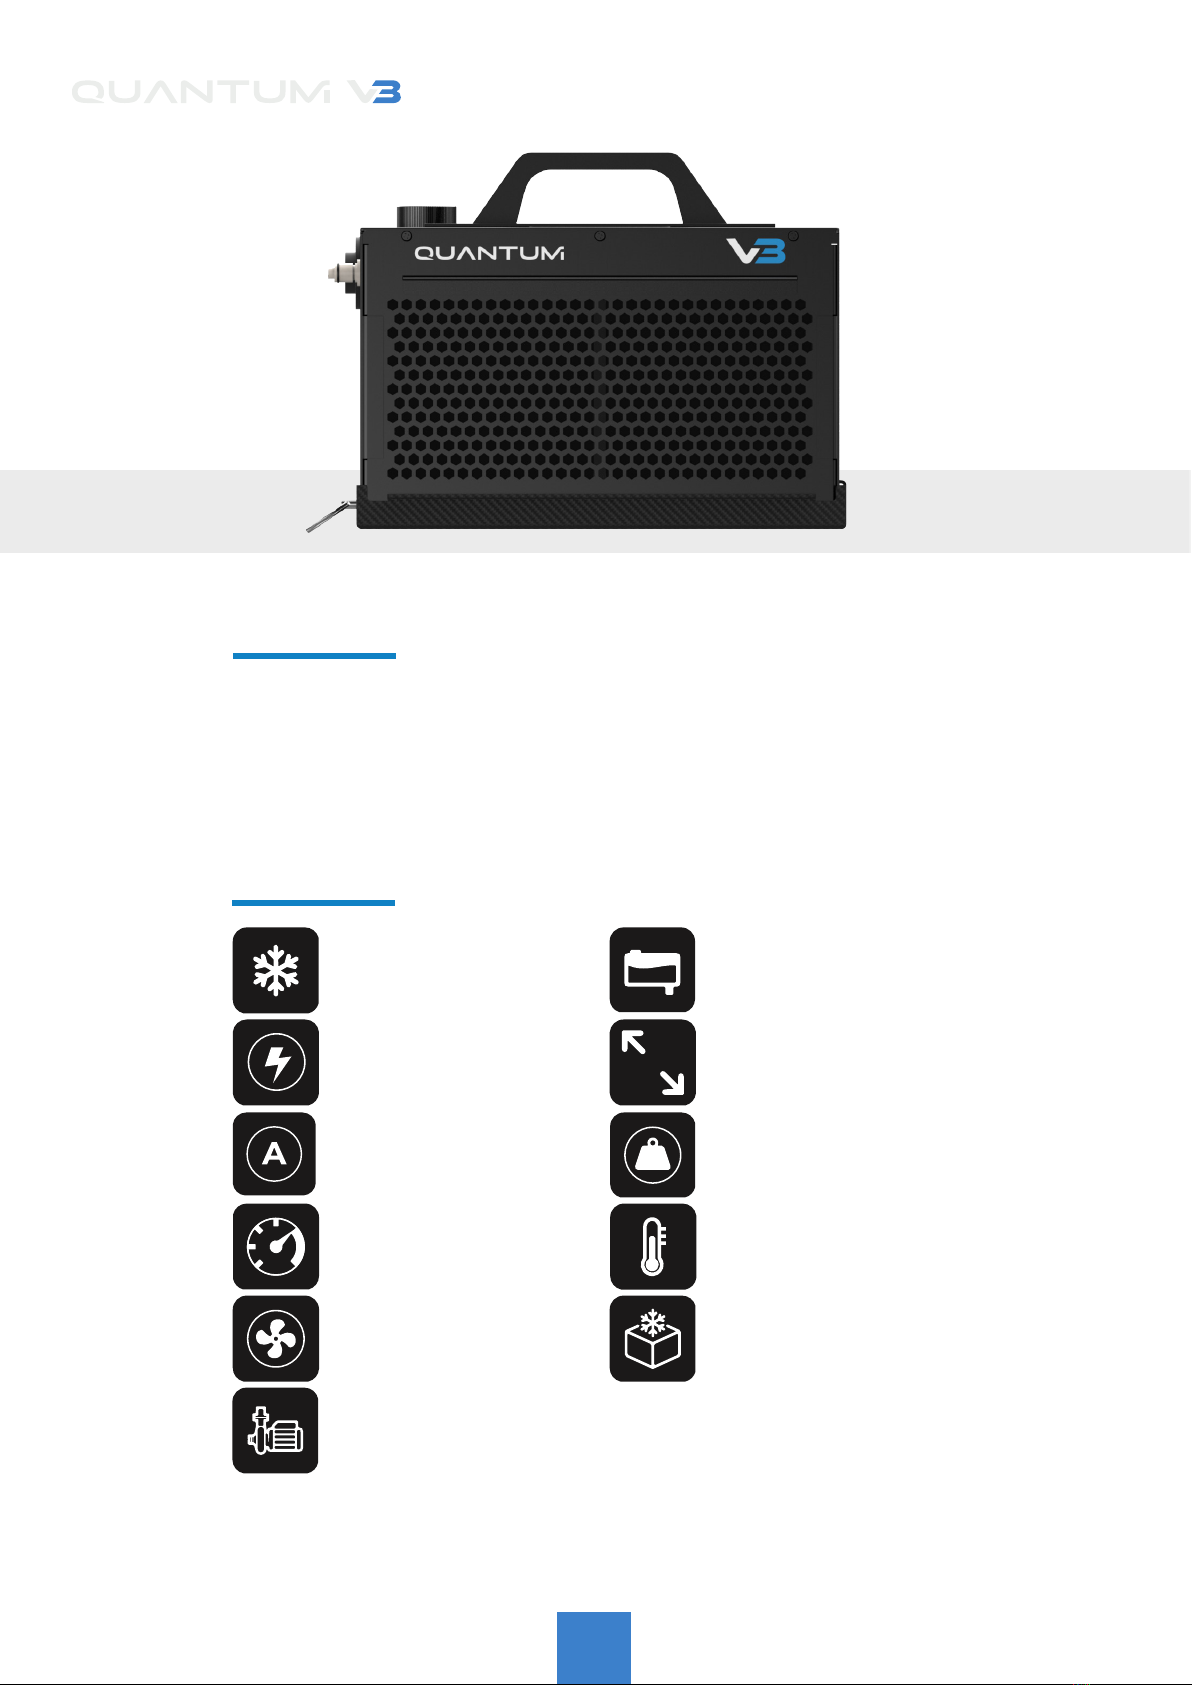
Quantum V3 Cooler
Installation Guide v1.0
MAX CURRENT
30A/15A
WORKING VOLTAGE
12V/24V
RESEVOIR
Volume: 130ml
RATED COOLING CAPACITY
300 watts
COMPRESSOR
Micro Brushless Inverter
Rated Voltage: 24V
Displacement: 1.9cc
FAN
Axial Flow
Rated Voltage: 24V
PUMP
Rated Voltage: 24V
Max Flow: 20L/min
OPERTATING TEMPERATURE
32°F - 130°F / 0°C - 54.4°C
STORAGE TEMPERATURE
14°F - 140°F / 0°C - 60°C
SIZE
Length: 10.74in / 273mm
Width: 6.49in / 165mm
WEIGHT
Cooler: 10.14lbs / 4.6kg
Mounting Plate: 1.98lbs / 0.9kg
SPECIFICATIONS
INCLUDED
• 1x Quantum V3 Cooler
• 1x Wiring loom
• 1x Carbon ber baseplate
• 2x Quick release pins
• 4x Rubber isolaters
3
© Copyright Chillout Systems LLC 2022 chilloutsystems.com/pages/gettingstarted
Quantum V3 Cooler
Installation Guide v1.0
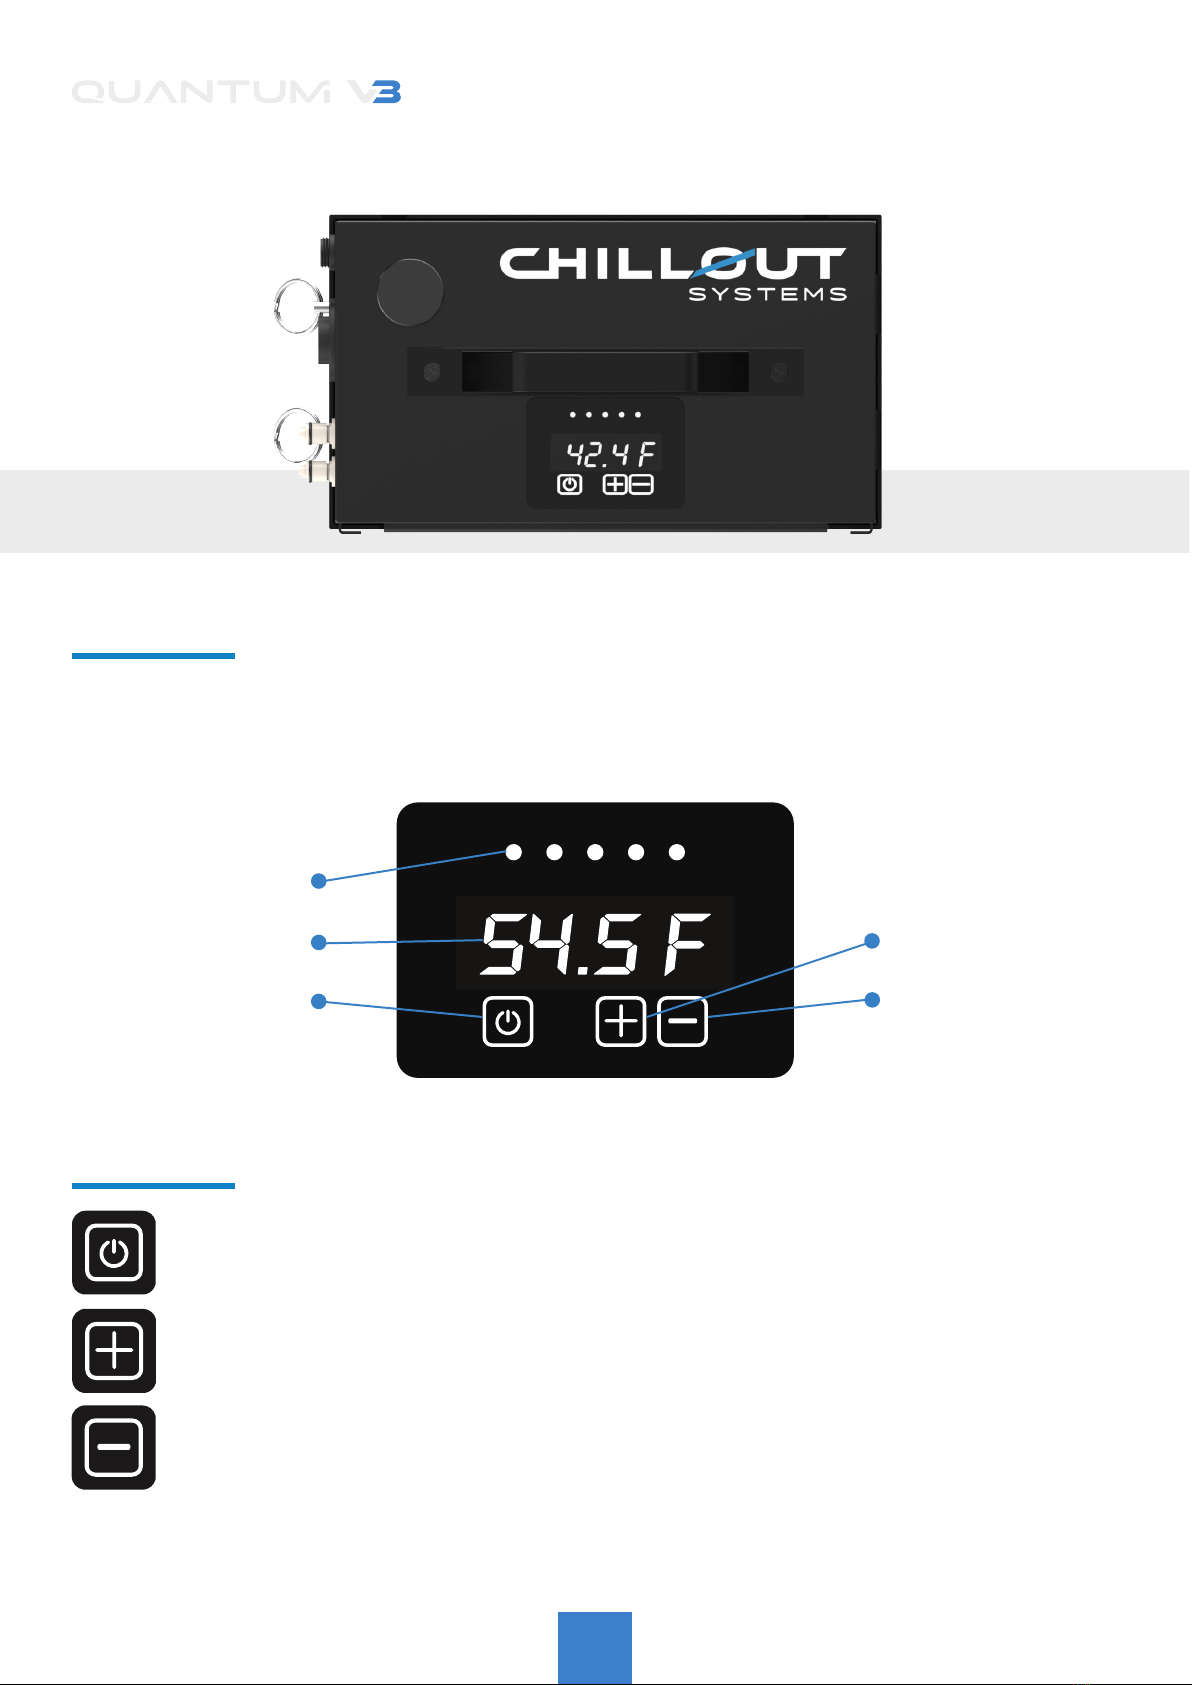
ON|OFF
Long press (2 seconds) to turn the system On/O.
INCREASE SYSTEM TEMPERATURE
Short press the button to increase the uid temperature in increments of 5 degrees farenheit.
Set Temperature will display for 2 seconds before returning to the current system temperature.
DECREASE SYSTEM TEMPERATURE
Short press the button to decrease the uid temperature in increments of 5 degrees farenheit.
Set Temperature will display for 2 seconds before returning to the current system temperature.
Note: To switch between displaying Celsius and Fahrenheit, long press (2 seconds) the “+” and “-” keys while the
system is powered o.
SET TEMP
CURRENT TEMP
ON/OFF
INCREASE TEMP
DECREASE TEMP
SYSTEM DISPLAY
BUTTON SETTINGS
The Quantum V3 Cooler can be controlled via the buttons on the system or by wired remote (sold seperately).
Lights at the top of the display indicate the set temperature settings controlled by the “+” and “-” keys.
4
© Copyright Chillout Systems LLC 2022 chilloutsystems.com/pages/gettingstarted
Quantum V3 Cooler
Installation Guide v1.0
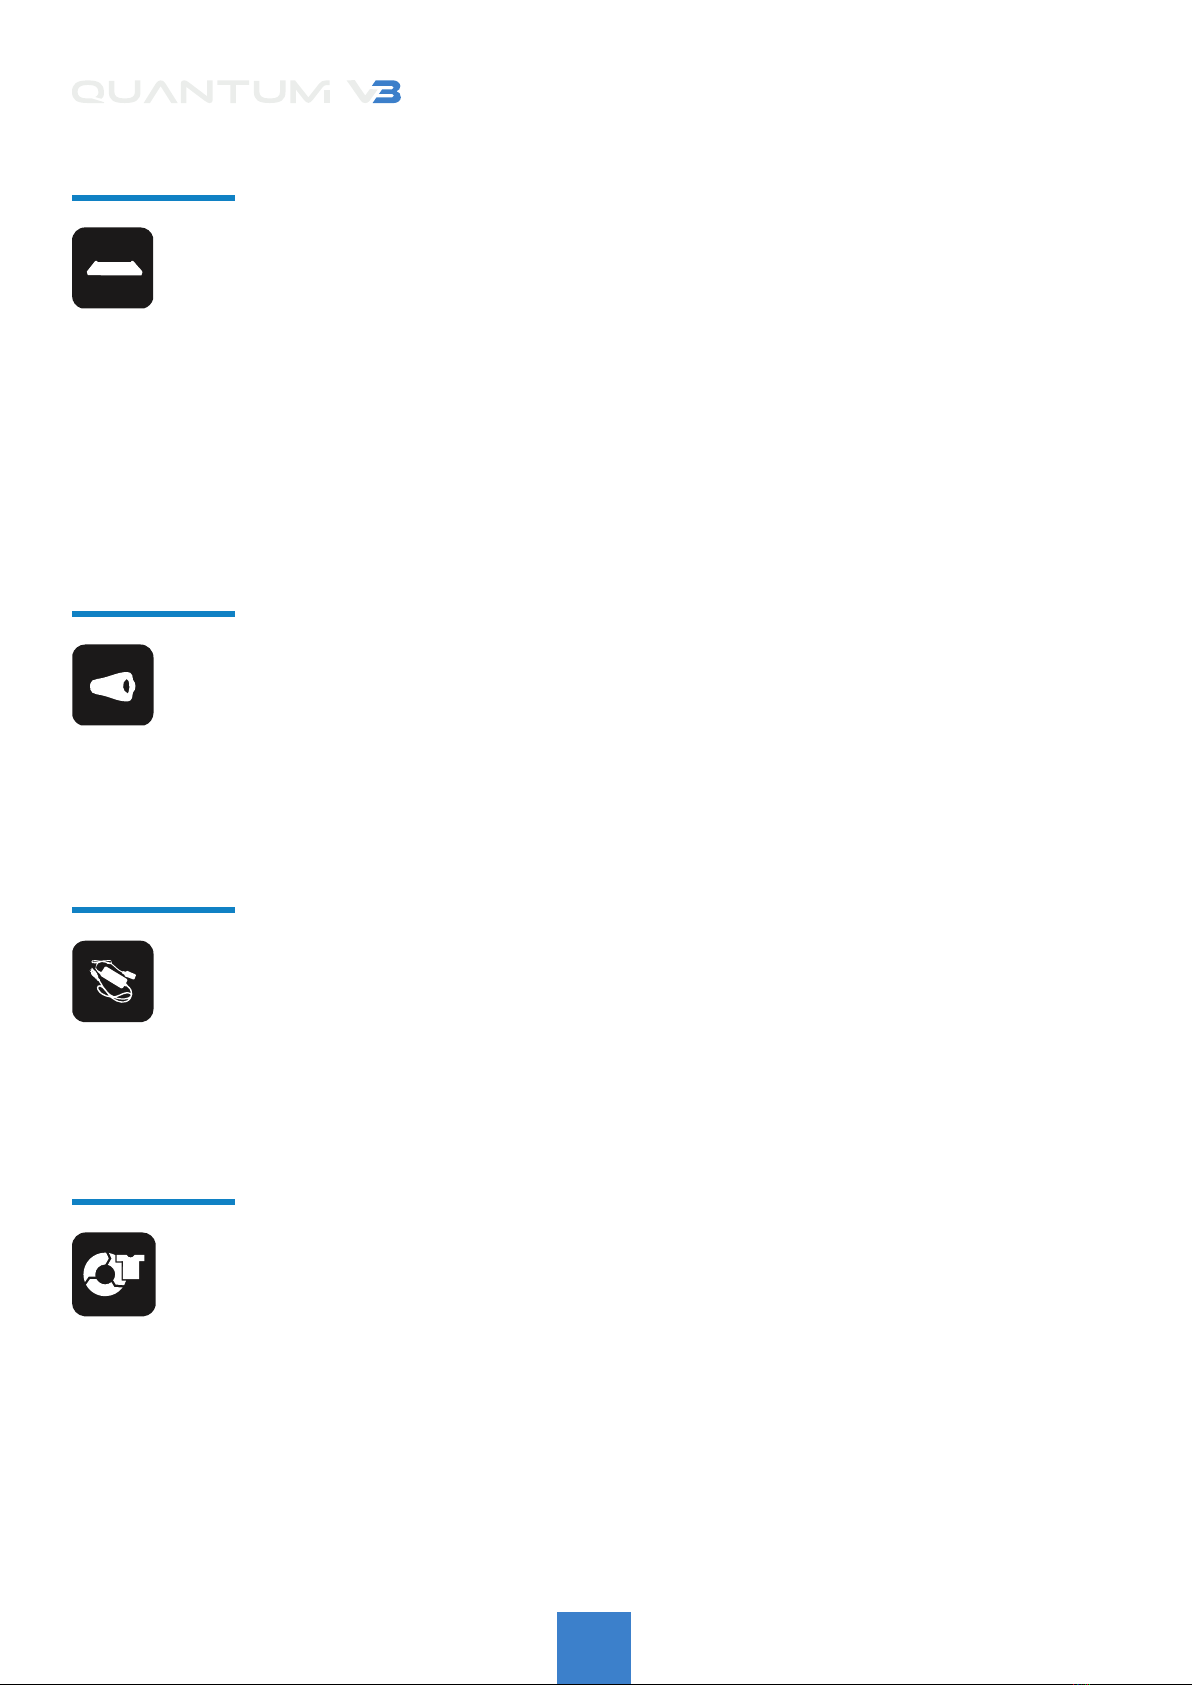
MOUNTING THE BASEPLATE
DUCTING AND PLENUMS
• Determine the best location to mount your system inside the car. If possible, keep your system away
from any heat sources to ensure maxium cooling eciency. Ensure there is a sucient gap between the
back of the unit so that the air can circulate freely.
• Place the systems base platewhere you have decided to install it and use a sharpie to mark the holes
for installation into the vehicle.
• Drill out the holes so that you can install the rivnuts to the vehicle. Once the rivnuts are installed, you
can attach the base plate to the vehicle. Be sure to install the provided rubber isolators between the base
plate and the installed rivnuts to keep airow underneath the unit.
• With the base plate now installed, insert the system into the plate and secure with the 2 ball pin
connectors.
When installing a NACA duct and plenum, consider using ChillOut Systems 4 inch ducting and plenums. With
nearly twice the airow as 3 inch ducting, this is the most ecient way to keep your system cool. In some cases 3
inch ducting may be the only option. In this case, the system must be paired with a in-line 3 inch blower that is
rated to 275 cfm..
• Place the NACA Duct where you have decided to install it and use a sharpie to trace an outline to the
vehicle. Once the outline has been traced onto your window, a rotary cutting tool can be used to cut out
the outline. We recommend using M4 nuts and bolts to secure the naca duct to a lexan window.
INSTALLING THE WIRING
• Connect the wiring harness to the system and run it to your electrical source. This can be directly to
the battery with an inline fuse or to a 40amp relay if you are using a switch for the install.
• Once you gure out the length of wire required you can trim the excess and connect it accordingly.
(Our wiring harness uses 8 AWG wire)
• Connect the remote wire to the system if you have purchased a remote. We recommend putting the
remote somewhere that sun won’t directly glare onto it (This can make it hard to read while driving).
CONNECTING THE SHIRT
• If you are using a dual prong connector, run the insulated hose from the system to where the driver
seat is, making sure there is enough slack to reach the drivers shirt comfortably.
• If you are using Chillout Systems Rapid Release Kit, you can either cut and install it to a regular
insulated hose or use our Insultated Y-Split Hose.
• When using a Y-Split hose, we recommend keeping a dual prong connector on one side of the seat
and installing the rapid release on the opposite side giving you both options in the car for connecting the
shirts to the system.

5
© Copyright Chillout Systems LLC 2022 chilloutsystems.com/pages/gettingstarted
Quantum V3 Cooler
Installation Guide v1.0
FILLING THE RESEVOIR
SYSTEM FAULT CODES
• Open the cap and slowly pour Chillout Systems Coolant Formula into the resevoir until the uid is
visible in the lling port. Be mindful of the pouring speed and do not let the liquid overow.
• Press and hold the power button on the display for 2 seconds to power on the system. You will need
to top up the uid as it cycles through the system until visible again in the lling port.
• When turning the system on for the rst time, the uid level will decrease due to the systems
internal lines containg no uid.
• If you are using Propylene Glycol solution, the volume of concentration should not exceed 25%. If other
antifreeze solution is used, its viscosity at 40°F / 25°C should not exceed 2.2mPa·s.
Note: Puried water is also suitable uid for the system if Chillout Systems Coolant Formula is not available.
If the system experiences a fault, it will automatically shut down.
The fault code will appear on the systems display.
(E1) Temperature Sensor Failure
The systems temperature sensor has an error or the systems temperature has exceeded its monitoring
range (-22~ 392°F/-30~200°C).
(E2) Flow Alarm
No ow of uid detected through the circuit.
Note: The system has a low-voltage protection function. If the vehicles battery is used as the power supply and
the input voltage is lower than the protection voltage (9V~10V), the system will automatically shut down. When
the power supply voltage returns to normal, the host will automatically turn on after 30 seconds.
Note: The system also has a overcurrent protection function. If the current is greater than the protection current
(about 35A), the system will automatically shut down. After the current protection occurs, the system will need to
be powered on manually

6
© Copyright Chillout Systems LLC 2022 chilloutsystems.com/pages/gettingstarted
Quantum V3 Cooler
Installation Guide v1.0

7
© Copyright Chillout Systems LLC 2022 chilloutsystems.com/pages/gettingstarted
Quantum V3 Cooler
Installation Guide v1.0
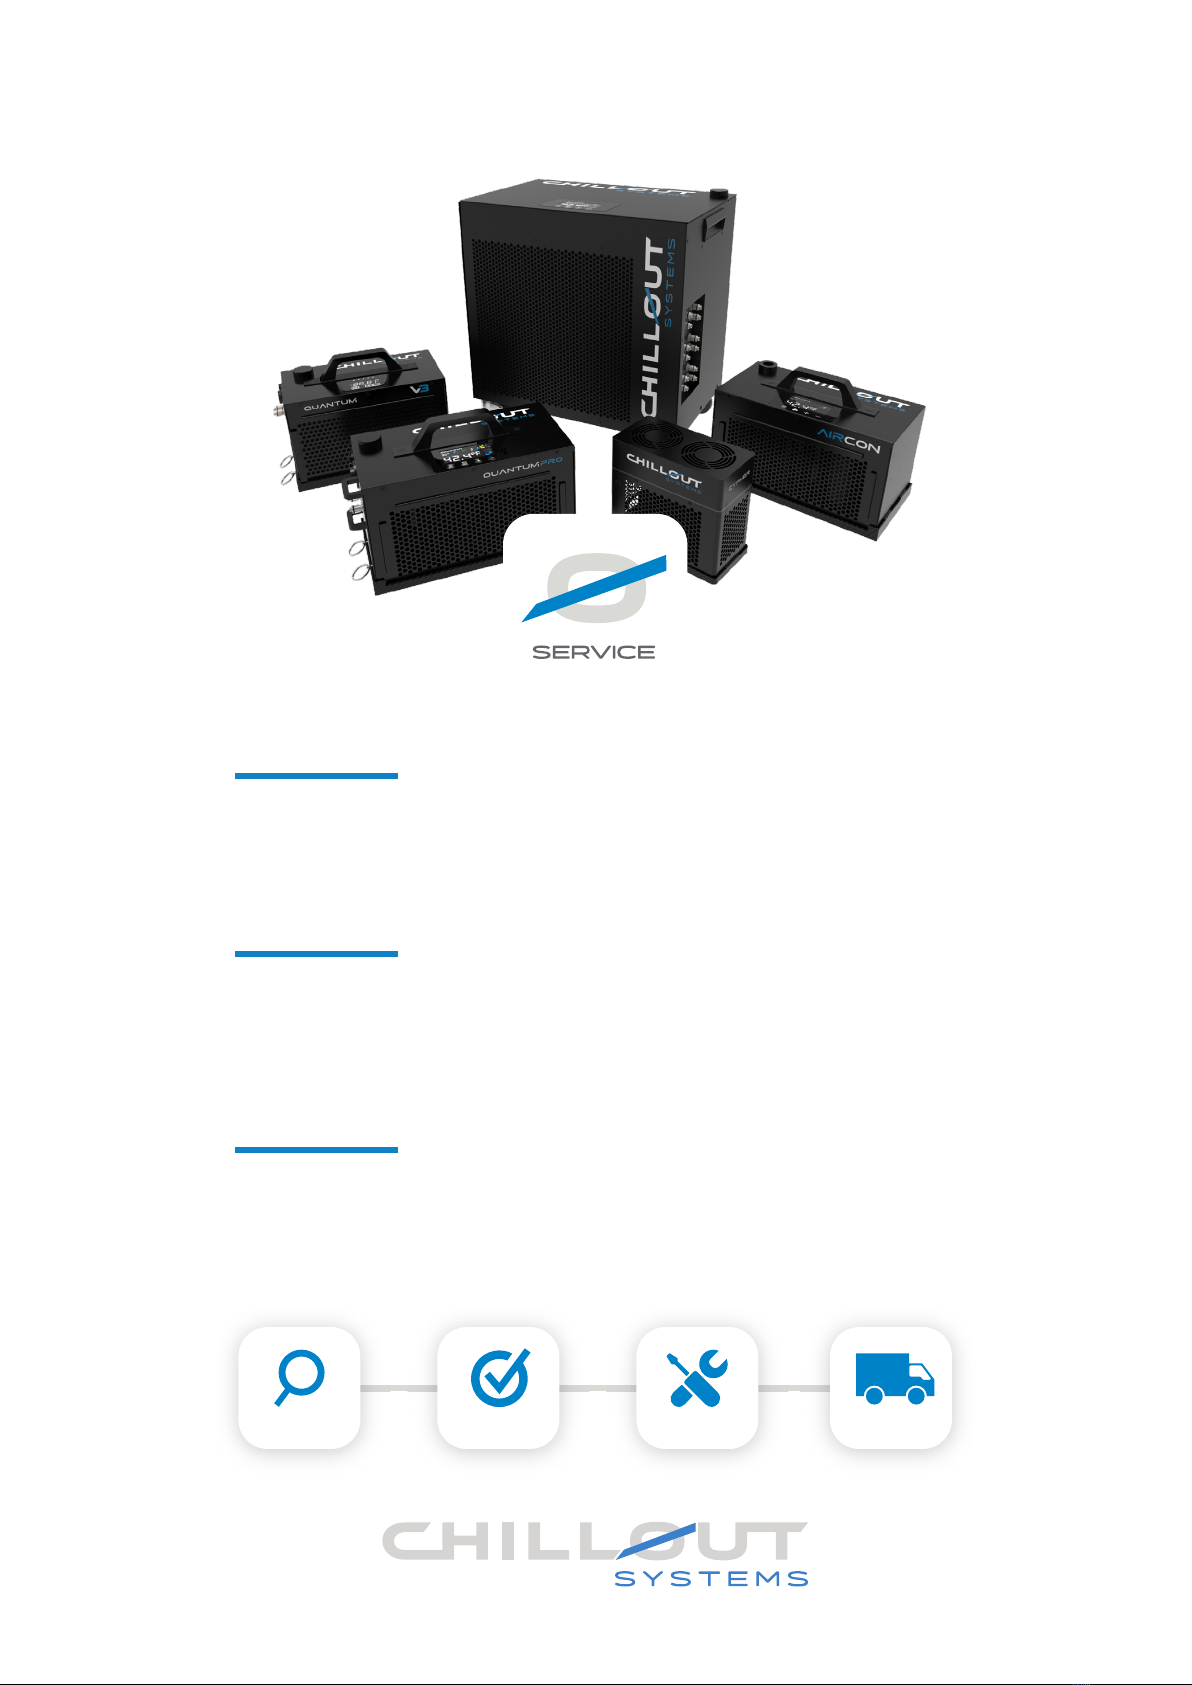
REPAIR RETURNCHECK SERVICE
EXTEND YOUR PRODUCTS WARRANTY
SERVICING
REPAIRREPLACEMENT
Chillout Service gives you the peace of mind of an additional 2 years to your
systems warranty period (36 months total). This includes one free service at any
time during the 36 month warranty period.
• Deep cleaning of all internals (includes fans, condenser, controller boards).
• Servicing of the cooling s
• Freon pressure check and top-up (if necessary).
• Performance checks and optimization.
In the unlikely event of a failure to your system, within your extended warranty
we will expedite a replacement cooler to you via Express Air Service.
Your system will be diagnosed, serviced, repaired and sent back to you.
Table of contents
Other Chillout Accessories manuals


