Gtiiiere'ii&Uing
Pressl normal setting button, can set up: language, key sound, music navigation, DISP-M Rear
view image setting, handbrake test, steering wheel setting, touch screen adjustment.
Disiiyrsetting
Press2 can set up the display mode, chroma, Brightness, contrast.
Vi{iiiil
Press3 can set up the sound effect mode, loud, treble, bass ,and the car's four speakers balancing.
riliiei$ottiod
Press4 time setting, can set up time and Date.
Ba.ik,io,main menu
Pressl4 icon, back to main menu.
c6iii
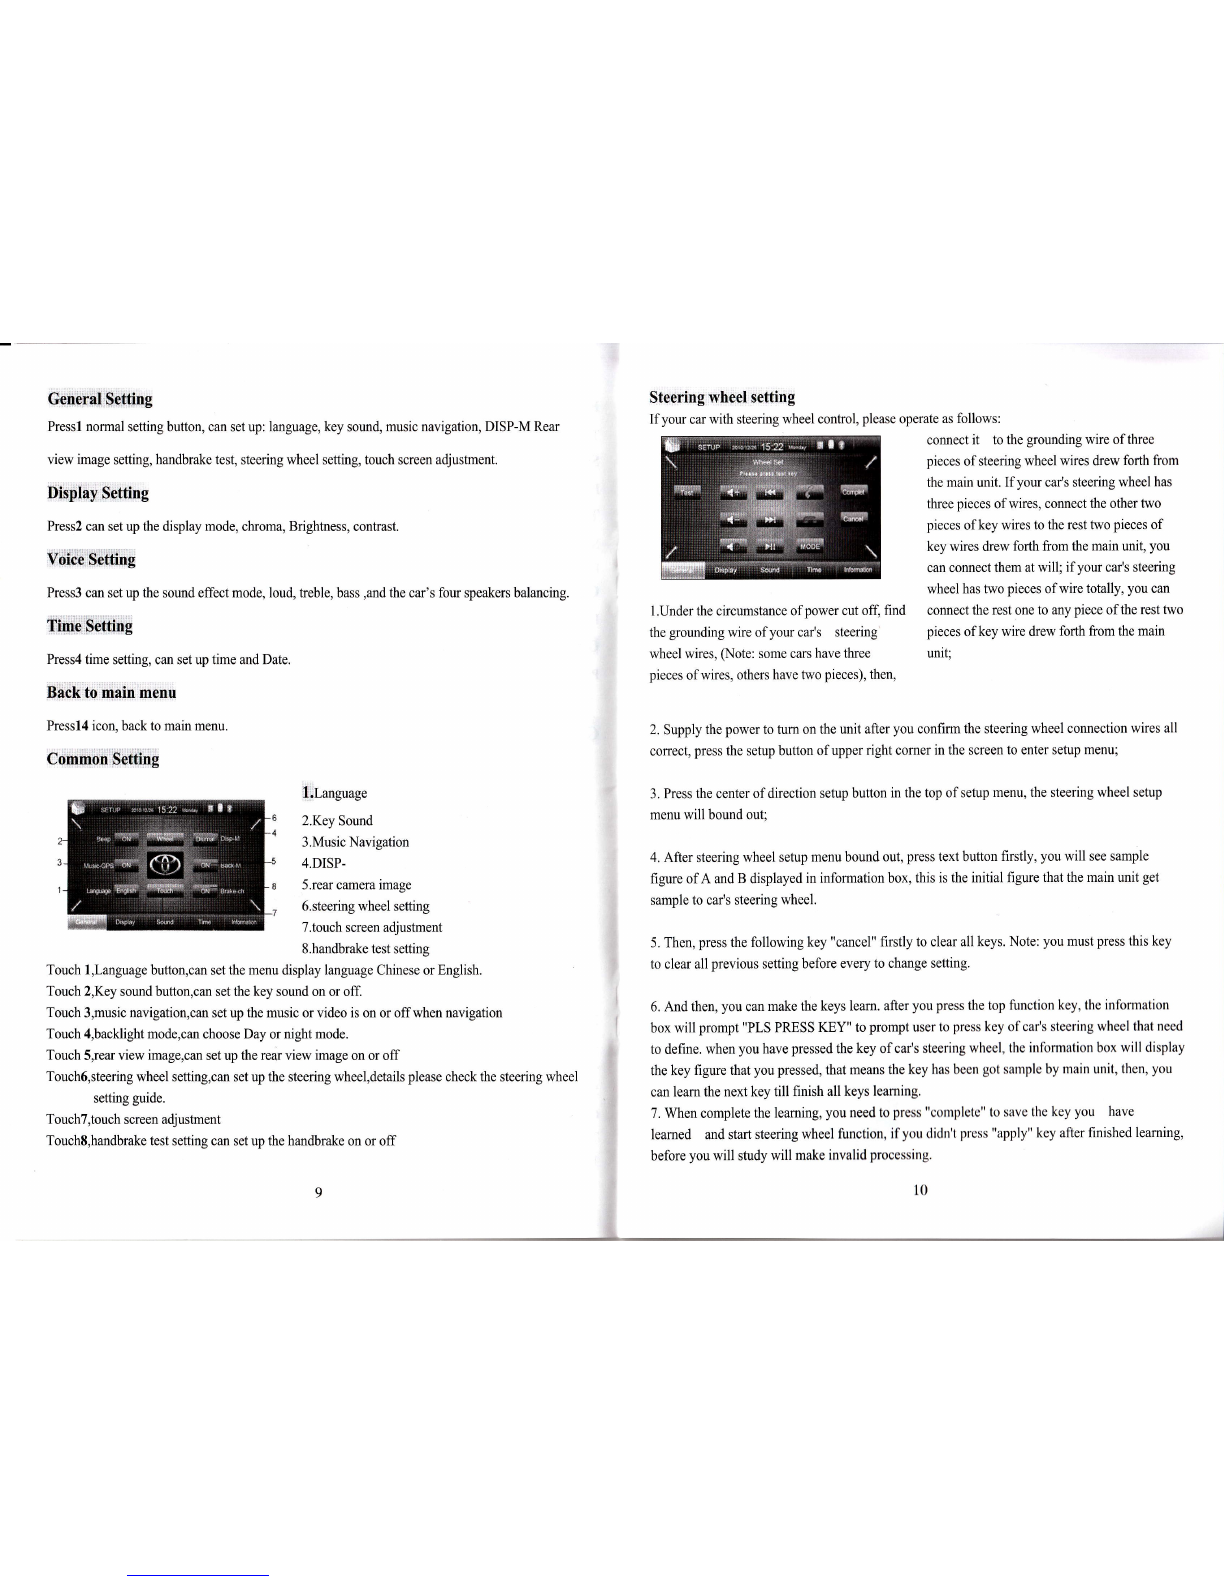
IlLanguage
2.Key Sound
3.Music Navigation
4.DISP-
5.rear camera image
6.steering wheel setting
T.touch screen adjustment
8.handbrake test setting
Touch l,Language button,can set the menu display language Chinese or English.
Touch 2,Key sound button,can set the key sound on or off.
Touch 3,music navigation,can set up the music or video is on or off when navigation
Touch 4,backlight mode,can choose Day or night mode.
Touch S,rear view image,can set up the rear view image on or off
Touch6,steering wheel setting,can set up the steering wheel,details please check the steering wheel
setting guide.
Touch7,touch screen adjustment
TouchS,handbrake test setting can set up the handbrake on or off
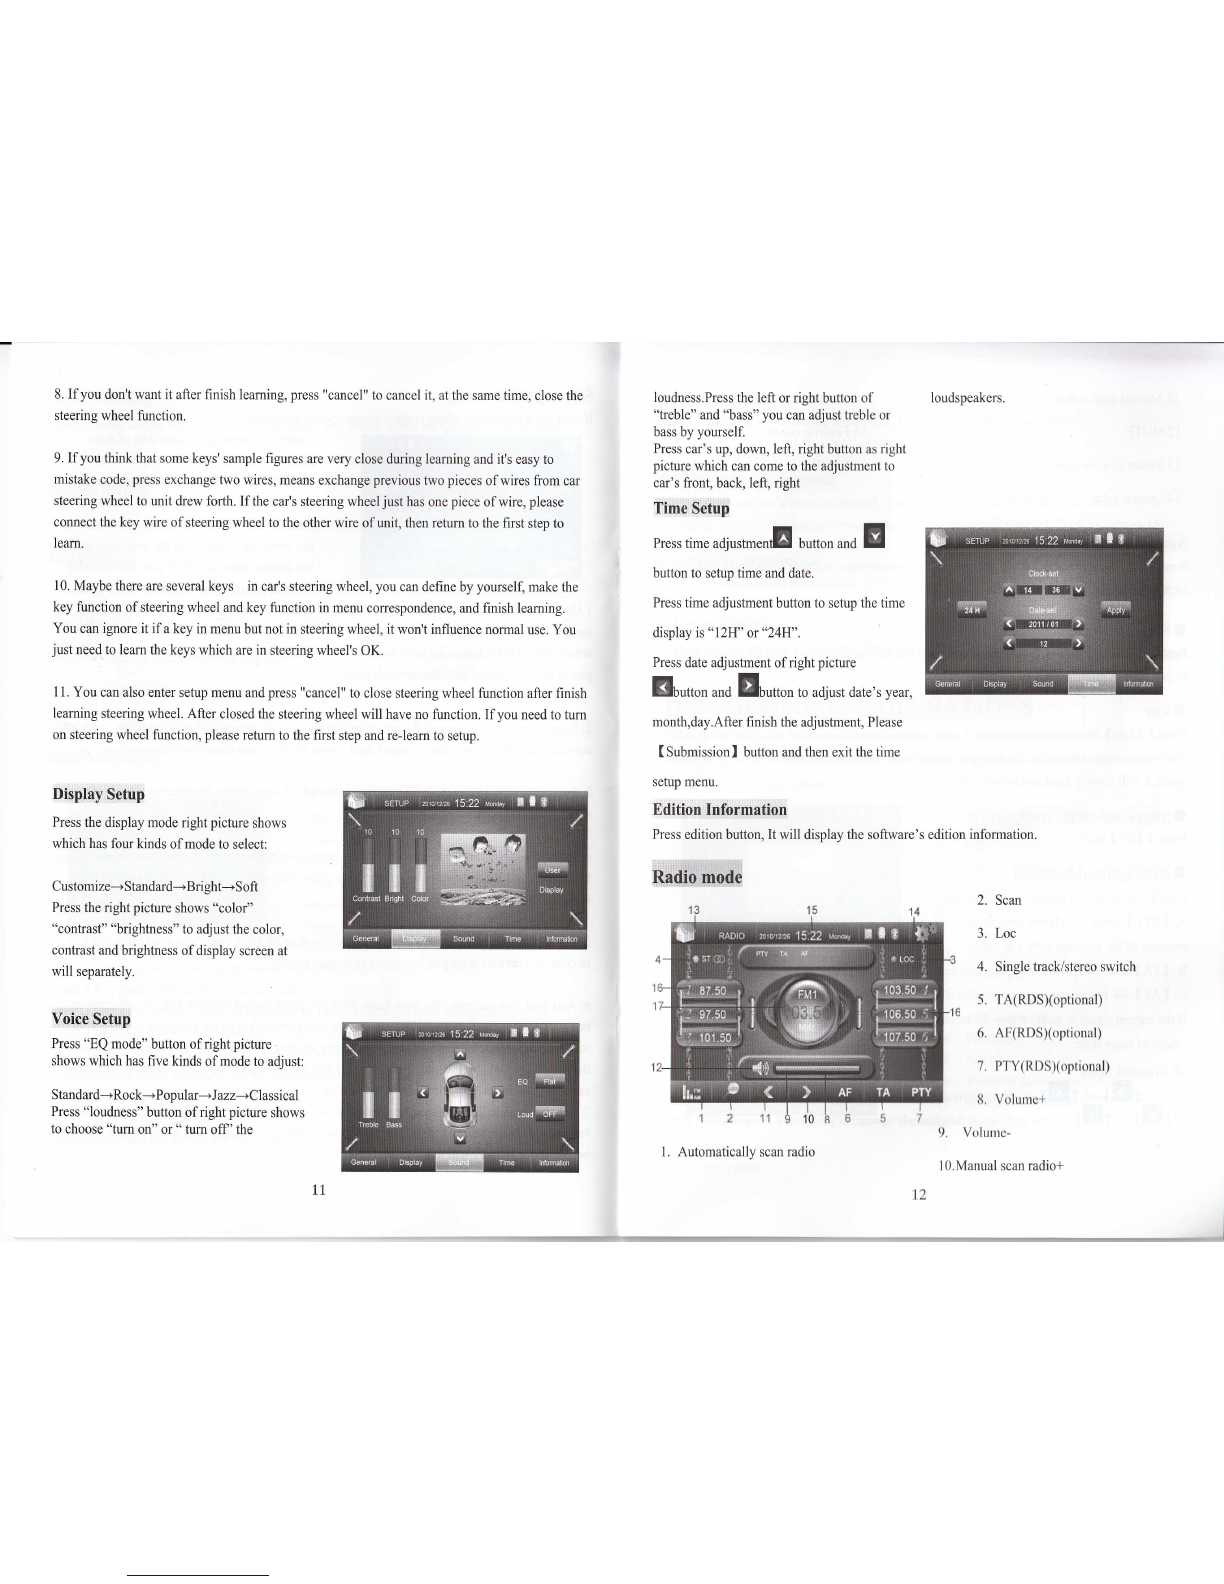
Steering: ryfu e€l setting
If your car with steering wheel control, please operate as follows:
l.Under the circumstance of power cut off, find
the grounding wire of your car's steering
wheel wires, (Note: some cars have three
pieces of wires, others have two pieces), then,
connect it to the grounding wire of three
pieces of steering wheel wires drew forth from
the main unit. If your car's steering wheel has
three pieces ofwires, connect the other two
pieces of key wires to the rest two pieces of
key wires drew forlh from the main unit, you
can connect them at will; ifyour car's steering
wheel has two pieces of wire totally, you can
connect the rest one to any piece ofthe rest two
pieces of key wire drew forth from the main
unit;
2. Supply the power to turn on the unit after you confirm the steering wheel connection wires all
correct, press the setup button ofupper right comer in the screen to enter setup menu;
3. Press the center of direction setup button in the top of setup menu, the steering wheel setup
menu will bound out;
4. After steering wheel setup menu bound out, press text button firstly, you will see sample
figure of A and B displayed in information box, this is the initial frgure that the main unit get
sample to car's steering wheel.
5. Then, press the following key "cancel" firstly to clear all keys. Note; you must press this key
to clear all previous setting before every to change setting.
6. And then, you can make the keys learn. after you press the top function key, the information
box will prompt "PLS PRESS KEY" to prompt user to press key of car's steering wheel that need
to define. when you have pressed the key of car's steering wheel, the information box will display
the key figure that you pressed, that means the key has been got sarnple by main unit, then, you
can leam the next key till finish all keys learning.
7. When complete the learning, you need to press "completo" to save the key you have
learned and start steering wheel function, if you didn't press "apply" key after finished learning,
before you will study will make invalid processing.
l0