Studio One 100 T Quick Start Guide V1.6 Studio One 100 T Quick Start Guide V1.6
1. O er iew
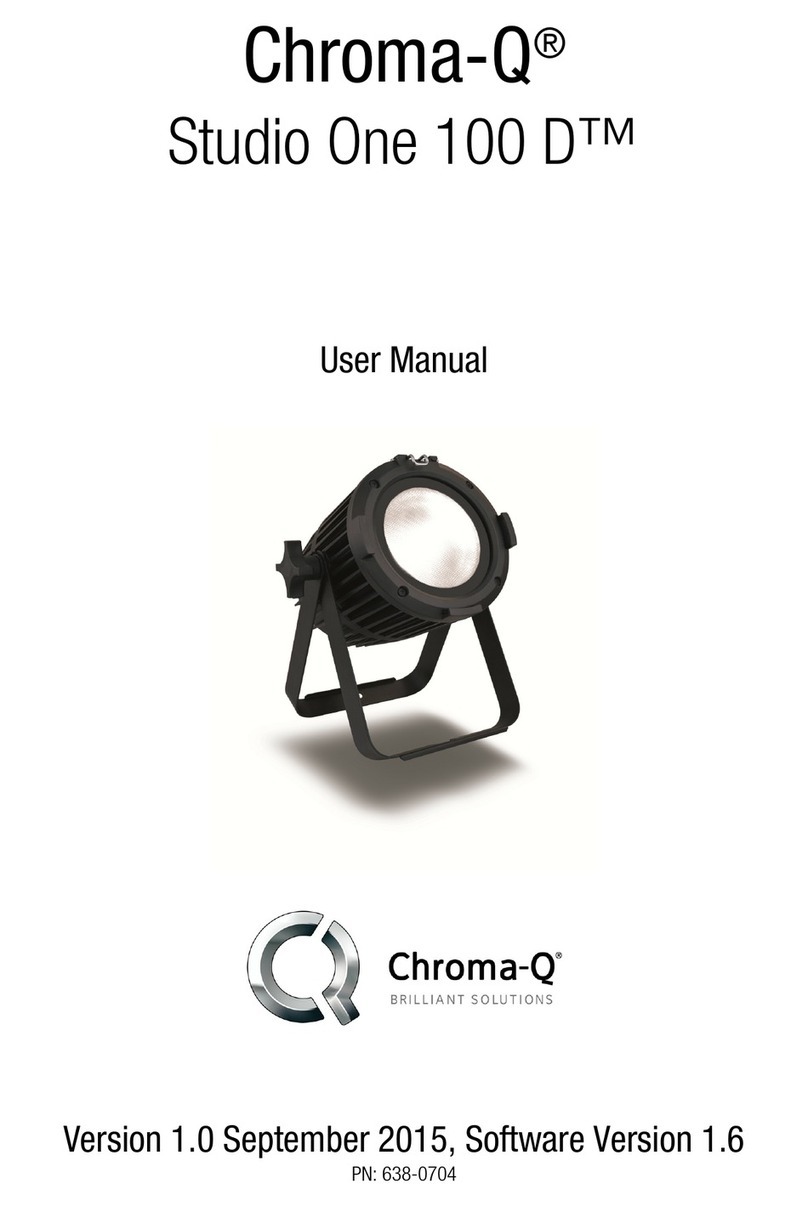
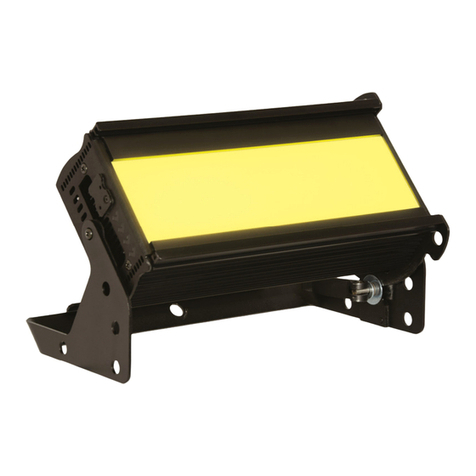
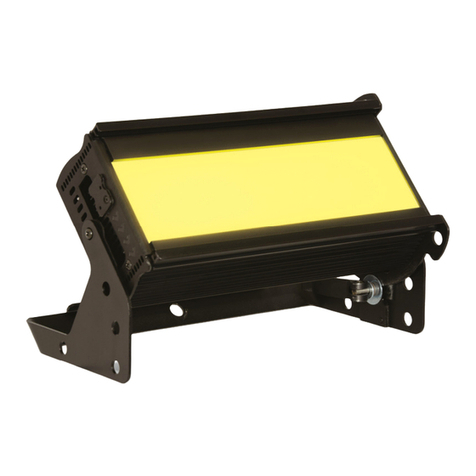
The Chroma-Q® Studio One 100 T is a tungsten LED Par fixture with a fully homogenised beam. Built with an internal power
supply, the fixture operates as a standalone unit with the wireless IR Remote or controlled via an external DMX console.
2. Safety
Caution
CautionCaution
Caution
This product is for professional use only. It is NOT intended for domestic or
2. The bright flash of light during power-up & continuous strobe may cause epileptic seizure.
3. This product must be used with safety cable.
3. Cabling
The Studio One 100 T is built with chassis mount powerCon connectors for power input/through and chassis mount XLR 5-
pin for DMX input/through.
The chassis is ground bonded.
4. Mounting
The Studio One 100 T is built with a split yo e system for floor mounting and overhead hanging applications. Secure the
fixture with a safety bond. A provision for the fixing hold is built into the enclosure.
5. Optics
The Studio One 100 T is built with optical lens that provide a fully homogenised beam angle of approximately ~18°.
6. Control
The control functions are accessed through the LCD display at the rear with 4 push buttons:
Back Arrow (Enter) Stores the menu choice
Up Arrow Increases (+) the mode le el or alue
Down Arrow Decreases (-) the mode le el or alue
Exit Back to the pre ious menu
Power-Up Display:
The software version is displayed on power up then proceeds to the Main Menu. The Main Menu shows the model name,
DMX status and start address, set control mode (Personality) and number of assigned DMX channels.
Display Mode:
The LCD display is bac lit when you access the menu and turns off when left undisturbed for 5 seconds.
IR Remote:
The remote infrared control unit features control buttons for: On, Off, Fade Up, Fade Down; and buttons applicable to the
Color One 100 model - various colours, white and 4 effects (Flash, Strobe, Fade, Smooth). Set the fixture for IR Remote
control by selecting IR Remote in the menu No DMX Present. Point the IR Remote towards the fixture.
Control Menu
To navigate the Control Menu options from the Main Menu,
•Use the Up and Down arrows to navigate the control menu options
•Press the Bac arrow (Enter) to select a control menu option
•Press the Bac arrow (Enter) to save the setting and display shows Done
•Press Exit to return to the Main Menu
Main Menu
Main MenuMain Menu
Main Menu
DMX Address
DMX AddressDMX Address
DMX Address
From the Main Menu, press Enter to adjust the DMX start address
Personality
PersonalityPersonality
Personality
Select from the following control mode options:
Mode Display Ch Description
1 1-Dimmer 1 Intensity control of all LED
2 2-Master 0 Master Standalone
3 3-Slave 0 Slave Standalone
Present
PresentPresent
Present
If DMX is not detected, various output options can be selected:
1-OFF Fixture has no light output
2-Hold Last Fixture holds the last valid DMX state
3-IR Remote Fixture is controlled via remote infrared control unit
4-Loo 1 Fixture snaps to the recorded Loo 1
5-Loo 2 Fixture snaps to the recorded Loo 2
6-Loo 3 Fixture snaps to the recorded Loo 3
7-Loo 4 Fixture snaps to the recorded Loo 4
8-Loo 5 Fixture snaps to the recorded Loo 5
Loo Store
Loo StoreLoo Store
Loo Store
5 Loo s can be stored for standalone operation.
To recall a Loo in standalone operation, use the Up/Down arrows to scroll through Loo 1-5, press Enter to recall
the Loo , press Up/Down to increase or decrease the Intensity “I”, and then press and hold Enter to save the Loo .
Loo s can be recorded to Loo s 1-5, and will be preserved on power down. Loo s will be returned to default settings
upon reset.
To record a loo with a DMX console, use the DMX console to create the Loo , and then go to Loo Store, scroll
through and select/recall from Loo 1–5 then press Enter to save.
To create, edit and record a loo in standalone mode, go to Loo Store, scroll and select/recall from Loo 1-5, use
the Up/Down arrows to toggle and adjust the value of the intensity channel, press and hold Enter until the display
shows Recorded, Loo and Mode.
Technical
TechnicalTechnical
Technical
Software Version, DMX Data settings, internal Temperature and LED Calibration values are displayed; Frequency
settings of the fixture can be changed. In the Frequency menu, select from the following options: 750, 1500, 3000
and 6000 (Hz), which allows for the LED scan rate to be synchronised with the video camera and avoid a flic ering
effect.
All control menu commands are reset to factory defaults: DMX address: 1, Personality: Dimmer, No DMX Present:
Hold Last, Loo Store: Loo 1, Frequency: 750 Hz
7. Further Information
Please refer to the Chroma-Q Studio One 100 T manual for more detailed information. A copy of the manual can be found at
the Chroma-Q website – www.chroma-q.com – under Support.

