manuals.online logo
Brands
  1. Home
  2. •
  3. Brands
  4. •
  5. Citizen
  6. •
  7. Watch
  8. •
  9. Citizen H060 User manual

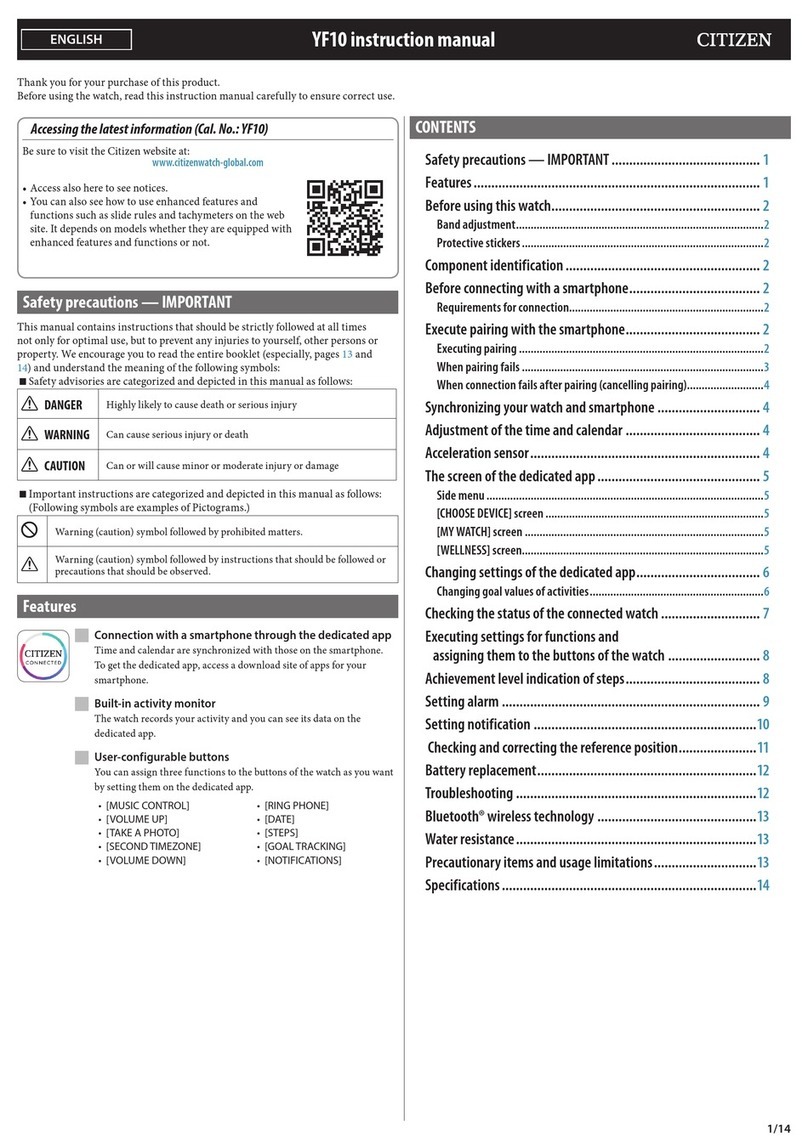
Citizen H060 User manual

1
H060 Abbreviated instruction
• This watch is light-powered. Be sure your watch is fully charged before use.
• For complete instructions for setting, use, charging time and specifications, refer to the full instruction manual:
H060 instruction manual
Component identification
The illustrations in this instruction manual may differ from the
actual appearance of your watch.
Checking the power reserve
1
Ensure that the crown is in position 0.
2
Press the lower right button Abriefly.
The second hand moves to indicate the power reserve.
The second hand indicates
“OK” or “NO”
The watch is sufficiently charged.
The second hand rotates
counterclockwise, then
indicates “OK” or “NO”
The charge of the watch is low.
Charge the watch.
• “OK” and “NO” indicate the reception result of the time
signal and no relationship to the power reserve.
3
Press the lower right button Abriefly to finish the procedure.
The current time is indicated.
• The current time will be indicated automatically after 10
seconds even without pressing the button.
Checking the time signal reception
1
Ensure that the crown is in position 0.
2
Press the lower right button Abriefly.
The second hand indicates the reception result.
OK Reception has succeeded.
NO Reception has failed.
• Try signal reception following the steps in “Receiving the
time signal manually (On demand reception)” if the last
reception failed.
3
Press the lower right button Abriefly to finish the procedure.
The current time is indicated.
• The current time will be indicated automatically after 10
seconds even without pressing the button.
Setting the World Time
By setting the city or time difference from UTC, the local time and
date is shown.
Select the city or time difference to indicate the current time and
date.
• Whether you select the city or time difference depends on the
appearance of your watch.
Watch appearance for setting the city Watch appearance for setting the time
difference
Setting the city
1
Pull the crown out to position 1.
The second hand moves and indicates the city currently
selected.
2
Rotate the crown to select the city for which you want to indicate
the time and date.
• Choose a city from “Table of the city names.”
• Each time you select a city, the time and date of the city you
have selected will be indicated.
3
Push the crown in to position 0to finish the procedure.
After setting the World Time, check the displayed time—Summer
Time or standard time. (See “Switching Summer Time and
standard time.” )
Setting the time difference
1
Pull the crown out to position 1.
The second hand moves and indicates the time difference
currently selected.
2
Rotate the crown to select the time difference.
• You can select the time difference from UTC in the range of
–11 hours to +12 hours, in 1 hour increments.
3
Push the crown in to position 0to finish the procedure.
• Be sure to set the time difference from UTC. To show the
summer time, change the display after setting the time
difference.
• See “Table of the city names” for the time differences for typical
cities.
ENGLISH
Continued on the next page
Crown
Date indicator
Minute hand
City or time difference
Signal reception indication
• OK/NO: Reception result
• RX: Reception in progress
Summer Time
indication (ON/OFF)
Hour hand
Second hand
Lower right button
(A)City indication Time difference
indication
012
Crown position
2
Table of the city names
Indication City name and second hand’s
position
Time
zone
Signal station
LON *London 00Germany
PAR *Paris 3+1
ATH *Athens 5 +2
♦GermanyRUH Riyadh 8 +3
DXB Dubai 10 +4
KHI Karachi 12 +5
♦China
DAC Dhaka 15 +6
BKK Bangkok 18 +7
BJS Beijing 20 +8 China
TYO Tokyo 22 +9 Japan
SYD Sydney 25 +10
♦JapanNOU Noumea 27 +11
AKL Auckland 30 +12
MDY Midway Island 33 –11
♦USAHNL Honolulu 35 –10
ANC **Anchorage 38 –9
LAX **Los Angeles 40 –8
USADEN **Denver 42 –7
CHI **Chicago 45 –6
NYC **New York 48 –5
♦USAMAO Manaus 50 –4
RIO Rio de Janeiro 52 –3
FEN Fernando de Noronha 55 –2 ♦Germany
PDL *Azores (Ponta Delgada) 57 –1
• Cities out of receivable range cannot receive the signal though a
signal station is assigned in the list.
• For cities indicated by */**, the watch shows Summer Time/
standard time in common.
• The time difference in the table is based on UTC.
• The city name and standard time for each country may change
according to their situation.
• The indications in the table are written differently on some
models.
• When you use the watch in a place which is not shown in the
table, select the city in the same time zone as the city you want
to indicate.
• The city of ♦is outside the reception range and signals cannot
be received. (The watch will attempt to receive signals from each
station at the appointed time.)
If necessary, summer time setting can be done manually. (See
“Switching Summer Time and standard time.” )
Receiving the time signal manually (On demand reception)
1
Ensure that the crown is in position 0.
2
Press and hold the lower right button Afor two or more
seconds.
The second hand moves to “RX” and the watch starts receiving.
After receiving the time signal, the second hand will move
normally.
• It takes from two to fifteen minutes to complete the time
signal reception.
Successful signal
reception
The time will be updated and the watch
will resume normal operation.
Failed signal
reception
Normal operation resumes with the
previously set time.
To cancel the reception
Press and hold the lower right button Afor two or more seconds.
Cancel the reception and the current time will be indicated.
Switching Summer Time and standard time
• While the summer time is in effect, some time signals include
the summer time check signal.
• By receiving the time signal, the watch automatically switches
between Summer Time and standard time in accordance with
the summer time check signal (automatic switching function).
• Before and after the summer time season, confirm the watch
shows Summer Time or standard time correctly.
Checking the time currently shown
Check whether the watch shows Summer Time or standard time.
1
Pull the crown out to position 2.
The second hand moves and indicates which time is currently
shown.
ON SummerTime is shown
OFF The standard time is shown
2
Push the crown in to position 0to finish the procedure.
Changing the time to show
1
Pull the crown out to position 2.
2
Rotate the crown to change the time to show.
To show Summer Time:
Rotate the crown to the right to select “ON.”
To show the standard time:
Rotate the crown to the left to select “OFF.”
• If you show the standard time manually, the watch will
not show Summer Time when receiving the time signal.
3
Push the crown in to position 0to finish the procedure.
Continued on the next page
H060 Abbreviated instruction
3
Adjusting the time/calendar manually
1
Pull the crown out to position 2.
2
Press the lower right button Abriefly.
The second hand moves to the 0 second position.
3
Rotate the crown to adjust the minute.
• The second hand rotates around once and the minute hand
moves one minute.
• When it passes “0:00:00,” the date advances by one day.
Be aware of the AM/PM status when you adjust the time.
• If you spin the crown quickly a few times, the hand will
move continuously. To stop it, rotate the crown in either
direction.
4
Press the lower right button Abriefly.
The hour hand moves slightly.
5
Rotate the crown to adjust the hour and date.
• The hour hand and the date indication work together.
• If you spin the crown quickly a few times, the hand will
move continuously. To stop it, rotate the crown in either
direction.
6
Press the lower right button Abriefly.
The second hand indicates the current setting of the month
and year.
7
Rotate the crown to adjust the month and year.
• The year and month are indicated by the second hand.
NO
ON
OFF
RX
OK
-
7
-
9
-
1
1
+
1
2
+
1
1
+
9
+
7
-
5
 
-
3
-
1
O
+
1
+
3
+
5
7
Dec.
Jan.
Feb.
Mar.
Apr.
MayJun.
Jul.
Aug.
Sept.
Oct.
Nov.
The position of the second hand shows the month.
e.g.
When it is April in the second year since the last leap year.
Leap year
1st year since leap year
2nd year since leap year
3rd year since leap year
OFF
-
7
-
9
-
1
1
+
1
2
+
1
1
+
9
+
7
-
5
 
-
3
-
1
O
+
1
+
3
+
5
7
Each minute mark denotes the number of years since the last
leap year.
8
Push the crown in to position 0to finish the procedure.
The time and date are indicated.
Checking and correcting the current reference position
If the time or date is not shown correctly even after proper
reception of the time signal, check whether the reference position
is correct or not.
What is the reference position?
The base position for all the hands to indicate the time and date.
• For the time indication: “0:00:00”
• For the date indication: Between
“31” and “1”
If the time and date indications are off
from the correct reference position, the
watch will not indicate the time and
date correctly.
1
Pull the crown out to position 1.
2
Press and hold the lower right button Afor five or more seconds.
The hands move to the “0:00:00” position. The date indicator
moves to indicate the current reference position.
• No operations are available while the hands and date
indicator are moving.
Reference
position Next operation
Correct Push the crown in to position 0to finish the
procedure.
(You do not need to correct the reference
position.)
Incorrect Correct the reference position.
(Proceed to step 3.)
3
Pull the crown out to position 2.
The hour hand moves slightly.
4
Rotate the crown to adjust the date indication to halfway
between “31” and “1.”
• The hour hand and the date indication work together.
• If you spin the crown quickly a few times, the hand will
move continuously. To stop it, rotate the crown in either
direction.
5
Push the crown in to position 0to finish the procedure.
Correction of the reference position is finished and the time is
indicated.
Resetting the watch—All Reset
1
Pull the crown out to position 2.
2
Press and hold the lower right buttons Afor seven or more
seconds, then release them.
The hands move to the “0:00:00” position and the watch is
reset.
• If the hands do not move, perform step 2 again.
After performing All Reset
You must set the watch again following the procedure below.
• Correct the current reference position.
• Set the World Time.
• Adjust the time/calendar.
CITIZEN WATCH CO., LTD.
H060 Abbreviated instruction
NO
ON
OFF
RX
OK
-
7
-
9
-
1
1
+
1
2
+
1
1
+
9
+
7
-
5
 
-
3
-
1
O
+
1
+
3
+
5
Correct reference position
Other manuals for H060

1

Other Citizen Watch manuals

Citizen YP17747 User manual

Citizen

Citizen YP17747 User manual

Citizen GP10 User manual

Citizen

Citizen GP10 User manual

Citizen F910 User manual

Citizen

Citizen F910 User manual

Citizen J250 User manual

Citizen

Citizen J250 User manual

Citizen F52 User manual

Citizen

Citizen F52 User manual

Citizen HIGH HAND CHRONOGRAPH Series User manual

Citizen

Citizen HIGH HAND CHRONOGRAPH Series User manual

Citizen G910 User manual

Citizen

Citizen G910 User manual

Citizen 891 Manual

Citizen

Citizen 891 Manual

Citizen 0910 User manual

Citizen

Citizen 0910 User manual

Citizen Nighthawk BJ7000-52E User manual

Citizen

Citizen Nighthawk BJ7000-52E User manual

Citizen Quartz windsurfing MC6XXX User manual

Citizen

Citizen Quartz windsurfing MC6XXX User manual

Citizen Eco-Drive EP6051-14L User manual

Citizen

Citizen Eco-Drive EP6051-14L User manual

Citizen H149 User manual

Citizen

Citizen H149 User manual

Citizen F50 User manual

Citizen

Citizen F50 User manual

Citizen 2115 User manual

Citizen

Citizen 2115 User manual

Citizen 8219 User manual

Citizen

Citizen 8219 User manual

Citizen B876 User manual

Citizen

Citizen B876 User manual

Citizen 0S22 User manual

Citizen

Citizen 0S22 User manual

Citizen ADDYSEN BM7251-53L User manual

Citizen

Citizen ADDYSEN BM7251-53L User manual

Citizen Eco-Drive CA0 Series User manual

Citizen

Citizen Eco-Drive CA0 Series User manual

Citizen E010 Operating manual

Citizen

Citizen E010 Operating manual

Citizen W770 User manual

Citizen

Citizen W770 User manual

Citizen Quartz 6760 Manual

Citizen

Citizen Quartz 6760 Manual

Citizen CAL.0S60 User manual

Citizen

Citizen CAL.0S60 User manual

Popular Watch manuals by other brands

Casio QW 5513 Operation guide

Casio

Casio QW 5513 Operation guide

Piaget 560P Instructions for use

Piaget

Piaget 560P Instructions for use

Armitron pro sport MD0346 instruction manual

Armitron

Armitron pro sport MD0346 instruction manual

West Marine BlackTip 13411293 Instruction Booklet and Care Guide

West Marine

West Marine BlackTip 13411293 Instruction Booklet and Care Guide

Jaeger-leCoultre HYBRIS MECHANICA CALIBRE 184 manual

Jaeger-leCoultre

Jaeger-leCoultre HYBRIS MECHANICA CALIBRE 184 manual

FOREVER iGO PRO JW-200 user manual

FOREVER

FOREVER iGO PRO JW-200 user manual

Relic OS10 quick start guide

Relic

Relic OS10 quick start guide

MyKronoz ZeClock manual

MyKronoz

MyKronoz ZeClock manual

Casio QW-782 General guide

Casio

Casio QW-782 General guide

Strikes and Spares SASM80 E-manual

Strikes and Spares

Strikes and Spares SASM80 E-manual

Christopher Ward C1000 Owner's handbook

Christopher Ward

Christopher Ward C1000 Owner's handbook

Lotus ILMFS01 instruction manual

Lotus

Lotus ILMFS01 instruction manual

Chronos Manufactures Chrono Diamond Thyrso 10400 instruction manual

Chronos Manufactures

Chronos Manufactures Chrono Diamond Thyrso 10400 instruction manual

Pandora WATCH2 quick guide

Pandora

Pandora WATCH2 quick guide

Suunto X6 user guide

Suunto

Suunto X6 user guide

Seiko N830 instruction manual

Seiko

Seiko N830 instruction manual

MotionX 365 user guide

MotionX

MotionX 365 user guide

Aplus GV18 user guide

Aplus

Aplus GV18 user guide

manuals.online logo
manuals.online logoBrands
  • About & Mission
  • Contact us
  • Privacy Policy
  • Terms and Conditions

Copyright 2025 Manuals.Online. All Rights Reserved.