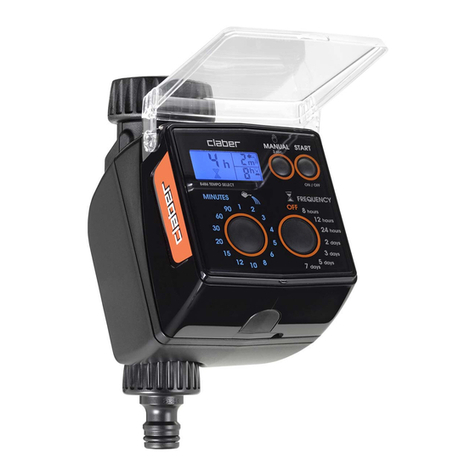
claber 8488 Dual Select User manual

Dual Select
8488
US
ES
FR
02
25
49

Quick-start use - Inicio rápido
Procédure rapide
1
manual program
m
h
m
A
Bm
h
m
A
B
5
m
h
m
A
B
x1...14
m
h
h
A
B
1
x1...8
m
h
B
m
OFF
m
h
A
A
B
m
OFF
Exit
Start / Stop
LINE A
Start / Stop
LINE B
1...23 h
Program
LINE A
START
B
Program
LINE B
Program
LINE B
START
A
START
B
START
A
Program
LINE A
x2...24
Start A/B
5 m
Stop A/B
Program
LINE A-B
4
4
4
44
4
x1
4
3 sec.
3 sec.
OFF
8-12-24 hours
2-3-5-7 days
A
B
A
B
3
4
1-2-3-4-5-6-8-10-12-
15-20-30-60-90 min.
2
6
6
5
m
O
FF
m
O
FF
234

1
manual program
m
h
m
A
Bm
h
m
A
B
5
m
h
m
A
B
x1...14
m
h
h
A
B
1
x1...8
m
h
B
m
OFF
m
h
A
A
B
m
OFF
Exit
Start / Stop
LINE A
Start / Stop
LINE B
1...23 h
Program
LINE A
START
B
Program
LINE B
Program
LINE B
START
A
START
B
START
A
Program
LINE A
x2...24
Start A/B
5 m
Stop A/B
Program
LINE A-B
4
4
4
44
4
x1
4
3 sec.
3 sec.
OFF
8-12-24 hours
2-3-5-7 days
A
B
A
B
3
4
1-2-3-4-5-6-8-10-12-
15-20-30-60-90 min.
2
6
6
5
m
O
FF
m
O
FF
234

US
Table of contents
additional informationimportant note
Symbols adopted in the manual
Introduction .......................................................................................3
Operating tips ....................................................................................3
Features ......................................................................................... 4-5
Batteries installation .......................................................................6-7
Installation .........................................................................................8
Notes .................................................................................................9
Programming ..............................................................................10-17
Selecting a program.....................................................................10
Immediate start........................................................................11
Delayed start............................................................................12
Changing a watering program ...............................................13
Selection of Sequential/Overlap mode .....................................13
Manual watering..........................................................................15
Reset............................................................................................15
Shutting off the timer...................................................................15
Delayed start programming example...........................................16
Operation with Rain Sensor ........................................................18-20
Installation of Rain Sensor ...........................................................18
Rain Sensor status display............................................................20
Cleaning and maintenance...............................................................21
Basic troubleshooting.......................................................................22
Technical specifications....................................................................23
Disposal (WEEE)...............................................................................23
Conditions of warranty.....................................................................24
Declaration of conformity.................................................................24
2

US
Introduction
Thank you for purchasing Claber Dual Select water timer. Please read this
instruction manual carefully before starting to program the timer, and keep
it handy for future reference: each section will provide all the necessary
information on how to perform the single steps correctly.
This appliance has been designed and manufactured exclusively for
programming irrigation systems.
For any questions regarding this product, call our Customer Service line at
Operating tips
1. Use only new AA 1.5V (LR6) alkaline batteries.
2. Replace the batteries at the beginning of each watering season.
3. Wash the filter periodically to prevent clogging.
4. During winter and/or when the timer is not in use, always remove from
faucet and store in a dry place at temperature no lower than 37.4°F
(3°C); also remove batteries so they can last longer than a single season.
5. Keep out of reach of children and animals.
6. When using for the first time, observe the progress of the programs
to ensure that timer operates correctly.
7. Avoid pulling on hoses connected to the timer.
8. Do not use with water pressures lower than 7.3 PSI (0.5 Bar) or
higher than 174 PSI (12 Bar) and with water temperature exceeding
122°F (50°C).
9. Do not install in a valve box, underground or indoors.
10. Do not use with chemicals or liquids other than water.
11. Do not immerse in water or other liquids.
3

US
Features
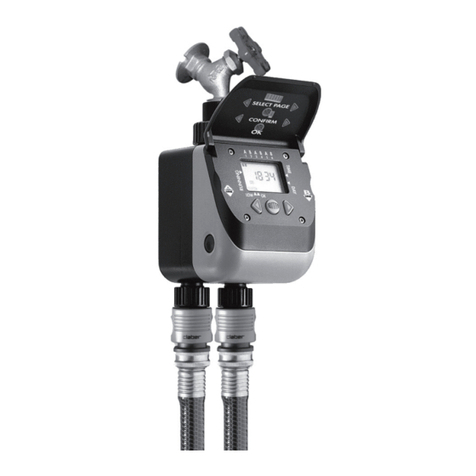
The timer allows to water two areas with different water requirements,
selecting on each line the watering frequency with 7 options from every 8
hours to every 7 days, and the watering duration with 14 settings ranging
from 1 minute to 90 minute. Each line offering 98 customized programs to
cater to every watering need.
• 3/4”femalefaucetconnectorwithstainlesssteelwashablelter
• Timercapableofswivelmovementwhenattachedtothefaucet
• 2Programmablewateringlines
• Delaystartoptionforpostponingprogramsactivationfrom1to23
hours
• Completelywatertightbuttons
• Backlitdisplayforclearviewofsettings
• A 5 minute preset manual function that does not interfere with
selected programs
• 1SensorInputforoptionalRainSensor(wireorradioconnection)
4

US
Features
5. Display appearance:
Countdown to the end of
the current watering cycle
Countdown to the ope-
ning of the next watering
cycle
6. Display showing watering fre-
quency selected
7. Display showing watering du-
ration selected
8. Push-button to set watering
duration
9. Push-button to start program
on line A
10. Push-button to set watering
frequency
11. Push-button to start program
on line B
Legend (fig.1):
1. 3/4”femaletapconnector
2. Washable filter
3. Protective cover
4.
5/8”malethreadedconnectors
5
m
h
m
A
B
4
4
LINE A
LINE B
fig.1
35 8 6 7 9
10 11
2
1
4

US
fig.2
The timer requires 2 AA 1.5V (LR6) alkaline batteries, which normally will
be sufficient for an entire dry season (assuming an average of 3 watering
cycles per day).
To install or replace the batteries, proceed as follows (fig.2):
• Firmlypressthetablocatedatthebottomofthetimer(
➊
)and at
the same time pull back (
➋
).
• Removedeadbatteries,ifinplace.
• Fit the new batteriesinthe holder,observing thecorrectpolarity
(
➌
).
• Retthefrontpartofthetimertothebackfromtoptobottom,mak-
ing sure that the locking tab clicks into place.
1
+
AA
+
AA
3
2
1,5 V
AA
Alkaline
2
Batteries installation
6

US
Notes:
• UseonlyAA1.5V(LR6)alkalinebatteries,andreplacethematthe
beginning of each watering season.
• Thebatterysymbol blinks on the display in two scenarios:
- when program/manual settings are visible; replace batteries
immediately to retain the programs.
- when no settings are visible; replace batteries immediately and
reprogram the timer.
• When the batteriesare dead, the timerwillshut off all functions
automatically and close the valve.
• The current programming remains stored while the batteries
are being replaced, for a maximum duration of 2 minutes. If the
memorized data is lost, the timer must be reprogrammed.
• Always remove the batteries if the timer will not be used for ex-
tended periods.
• Makesuretoproperlydisposedeadbatteriesaccordingtoyourre-
gional waste management specifications.
Batteries installation
7

US
Fit the timer to an outside water
tap, following these instructions
(fig.3):
1. Screwthe3/4”femaletting
onto the tap. Warning: hand
tighten only, do not force with
tools.
2. Attach the garden hoses to
the 5/8”threaded connectors
at the bottom of the timer.
•Do not install in a
valve box, under-
ground or indoors.
• Do not use with chemicals
or liquids other than water.
• Do not use with water
pressures lower than 7.3
PSI (0.5 Bar) or higher
than 174 PSI (12 Bar) and
with water temperature
exceeding 122°F (50°C).
1
4
2
Installation
fig.3
8

US
• Whentheback-lightofthedispayisoff,itcanbeswitchedonsimply
by pressing any one of the buttons.
• Thebuttonscanbeusedtoprogramthetimeronlywhentheback-
light is on (programming enabled).
• Theback-lightdisplaywillgodarkautomaticallyafter30secondsif
no buttons are pressed, to prolong the life of the batteries.
• Attimeofprogrammingthetimerautomaticallysetsitselfonaclock
based on the watering frequency selected.
• ProgramscanbesettooperateinaSEQUENTIALorOVERLAPmode.
By changing the mode after programs have been entered, the mode
selected will be kept but not the programs previously set (see Selec-
tion of Sequential/Overlap Mode on page 13).
Notes
m
h
h
m
h
x 1
m
h
h
30
sec.
h
A
B
A
B
A
B
Programming
enabled
9

US
SELECTING A PROGRAM
START
E
D
m
h
m
M F
LINE“A” LINE“B”
A
B
fig.4
1. Set the watering duration by pressing the “M” button repeatedly until
the required value appears in display field “D”.
2. Set the watering frequency by pressing the “F” button repeatedly until
the required value appears in display field “E”.
Watering frequency can be programmed:
- every 8, 12 or 24 hours
- every 2, 3, 5 or 7 days
Programming
10

US
Programming
3. Decide, according to needs or preference, whether the first watering
cycle should start immediately or have a delayed start.
Immediate start
C
C
m
hh
m
m
h
A
B
A
B
fig. 4A
fig. 4B
Within 10 seconds of selecting a program,
press the
“A-START” button once only to
select line A, or the “B-START” button to
select line B: the message “0 h” will blink
3 times, after which automatic watering
will
start
immediately on the selected line.
During the watering cycle, the display field
“C” (fig. 4A) shows:
- indicating that the watering cycle
is in progress along with the countdown to
the end of the cycle,
-
A
or
B
indicating which watering line
is active.
When the watering cycle is finished, the display field “C” (fig. 4B) shows:
-
A
or
B
indicating which watering line will be activated next;
- indicating the countodown to the opening of the next watering cycle.
11

US
Programming
Delayed start
fig. 4C
C
h
A
Bm
h
Within 10 seconds of selecting a program
,
press the “A-START” button repeatedly
to select line A, or the “B-START” button to
select line B, until the display field “C”
shows the required time delay, between
1-23 hours,
before the opening of the
automatic watering cycle
on the selected line
(fig. 4C).
The time delay will then blink 3 times, after which the program will begin the
countdown to the opening of the automatic watering cycle, shown in display
field “C” above the symbol .
Ifthereisnowateringcycleinprogress,thedisplay“C”shows
the countodwn to the opening of the next watering cycle as
well as the selected line.
Watering frequency and duration programmed on each line can be
displayed at any given moment by pressing the “A-START” or “B-START”
button.
•Ifwateringcycleisprogrammedononelinetostartwhilethe
other line is active, the timer will apply by deafult the “SE-
QUENTIAL”modesothatitsactivationwillstartatthetime
that the previously programmed watering cycle is finished.
• Both lines can be programmed to operate simultaneously in the
“OVERLAP”mode,butmakesurethatwaterpressuresuppliedthrough
yourfaucetissufcient.Forsettingthe“OVERLAP”mode,readSelec-
tion of Sequential/Overlap Mode on page 13.
12

US
Programming
Changing a watering program
Repeat the programming procedure as indicated in “Selectingaprogram”
on page 10; the new program selected will replace the previous one,
with no further steps required.
Selection of Sequential/Overlap Mode
It’spreferible“butnotnecessary”todeterminetheoperation
mode prior to setting the timer to avoid reprogramming.
Thetimerallowswateringonelineatatime(SEQUENTIALmode)orboth
lines simultaneously (OVERLAP mode).
To confirm or change the operation mode on which the timer is currently
set, proceed as follows:
1. Press the “A-START” and “M” buttons simultaneously.
2. Within 5 seconds, the display will show the mode currently selected:
A
and
B
blinking alternately-> SEQUENTIALmode
A
+
B
permanently lit -> OVERLAP mode
To confirm the mode currently showing on the display, release the “A-
START” and “M” buttons within 10 seconds.
To changethemode(fromSEQUENTIALtoOVERLAPandvice-versa),
wait at least 10 seconds, until the new mode appears in the display,
before releasing the “A-START” and “M” buttons.
3. Once the buttons are released, the timer resets by reverting back to the
OFF mode therefore all programs previously entered will be cancelled
whilethemodejustselected(SEQUENTIALorOVERLAP)willbekept.
13

US
Programming
14
LINE A
LINE B program 6
(10 min every 12 h)(5 min every 8 h)
program 2
8:30 pm
8:40 pm
8:30 pm
8:40 pm
10 min.
12 h
8:30 pm
8:40 pm
8:30 pm
8:40 pm
12:35 am
12:40 am
8:35 pm
8:40 pm
5 min. 5 min.
4:35 pm
4:40 pm
4:35 pm
4:40 pm
8 h8 h
LINE A
LINE B program 6
(10 min every 12 h)(5 min every 8 h)
program 2
10 min.
12 h
8:40 pm
8:45 pm
5 min. 5 min.
8 h8 h
10 min.
5 min.
10 min.
5 min.
OVERLAP
SEQUENTIAL
12:35 am
12:40 am
fig.5

US
Programming
MANUAL WATERING
1. Press the “A-START” and “B-START” buttons simultaneously and
hold them for at least 3 seconds ->
when
the timer goes into
manual
mode, the word OFF will blink.
2. To activate line A, press the “A - START” button -> the line will
be activated for 5 minutes (which can not be modified by the user),
confirmed by the symbol. To stop watering within the 5
minutes, press “A-START” a second time.
3. To
exit
the manual function, make sure that both valves are off, then
press the “A-START” and “B-START” buttons and hold them for at
least 3 seconds.
• Wheninmanualmode,thewateringcycleinprogresswillbe
suspended but the program itself will not be cancelled or changed.
•In “manual watering” mode, the two lines can be also
activated simultaneously.
RESET
The factory settings of the timer can be restored at any given moment
by pressing the “A-START” and “B-START” buttons simultaneously and
holding them for at least 10 seconds.
SHUTTING OFF THE TIMER
If the timer needs to be switched off at any point in time, press the “F”
button until the word “OFF”appears, then press “A - START”.
Repeat the procedure for line B.
15

US
Programming
DELAYED START PROGRAMMING EXAMPLE
At 8:30 pm you are programming your timer to water 10 minutes every 12
hours, starting from 11:30 pm.
-Pressthe“M”buttonrepeatedlytosetthewatering duration (i.e. 10
minutes)
-Pressthe“F”buttonrepeatedlytosetthewatering frequency (i.e. 12
hours)
-Pressthe“A-START”4 times
By doing so, on line A a watering cycle of 10 minutes will start automati-
cally in 3 hours and repeat every 12 hours (at 11:30 am and 11:30 pm in
the next day, and so on).
Likewise, when programming line B to water for 5 minutes every 8 hours,
starting immediately, proceed as follows:
-Pressthe“M”buttonrepeatedlytosettherequiredwatering duration
(i.e. 5 minutes).
-Pressthe“F”buttonrepeatedlytosettherequiredwatering frequency
(i.e. 8 hours).
-Pressthe“B-START”buttononce within 10 seconds.
By doing so, on line B a watering cycle of 5 minutes will start immediately
(i.e. at 8:30 pm) and repeat every 8 hours (at 11:30 am and 11:30 pm in
the next day, and so on).
16

US
Programming
17
m
h
m
A
Bm
h
h
A
B
m
h
m
A
B
8:30 pm
13
x 1
8:30 pm
6
m
h
m
A
B
2
m
h
h
A
B
m
h
h
A
Bm
h
m
A
B
M
M
F
x 4
m
h
m
A
B
8:30 pm
5
m
h
m
A
B
8:30 pm
8:30 pm
SUMMARY OF PROGRAMS SELECTED
8:30 pm
4
11:30 pm
LINE A
LINE B
F
8:30 pm 8:30 pm
A A B

US
Operation with Rain Sensor
18
The timer can be connected to a wired Rain Sensor (item 90915) or to a
wireless RF Rain Sensor (item 90831) + RF Rain Sensor Interface (item
8480).
The sensor informs the timer whenever the rainwater collected in the cup
has reached 0.17 ounces/5 mm (‘rain’ status), and when the water has
evaporated (‘normal operation’ status).
The timer suspends the watering program as long as rain status persists,
and the active state of the sensor is displayed (see “Rain Sensor status
display”onpage20).
INSTALLATION OF RAIN SENSOR
The Rain Sensor must be connected to the relative electrical contacts in-
side the water timer, having first removed the jumper from the contacts
(fig.6 -
➊
).
If the Rain Sensor is not going to be used, the jumper must
remain in place across the contacts.
1. RF RAIN SENSOR: install the RF Rain Sensor Interface, routing the
wire antenna through the relative clips (fig.6 -2a ).
2. WIRED RAIN SENSOR: plug in the sensor connector (fig.6
-
2b).
Check that the two-core cable enters the timer by the way of the
recess located on the rear side of the housing (fig.6 -3b).
For further information on the wired Rain Sensor, RF Rain Sensor
and RF Rain Sensor Interface, consult the respective manuals.
Table of contents
Languages:
Other claber Timer manuals
claber
claber Aqua-Home 4-6-8 User manual
claber
claber TEMPO LOGIC User manual

claber
claber Aqua-Home 4-6-8 User manual
claber
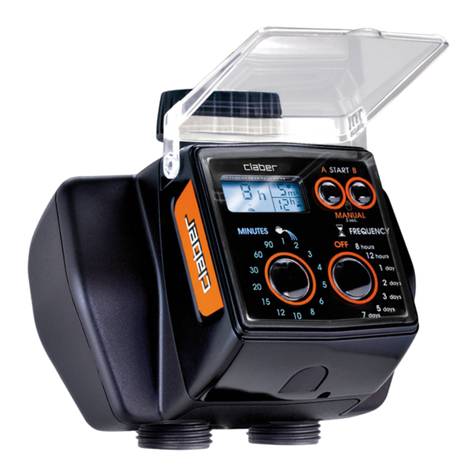
claber DUAL SELECT User manual
claber
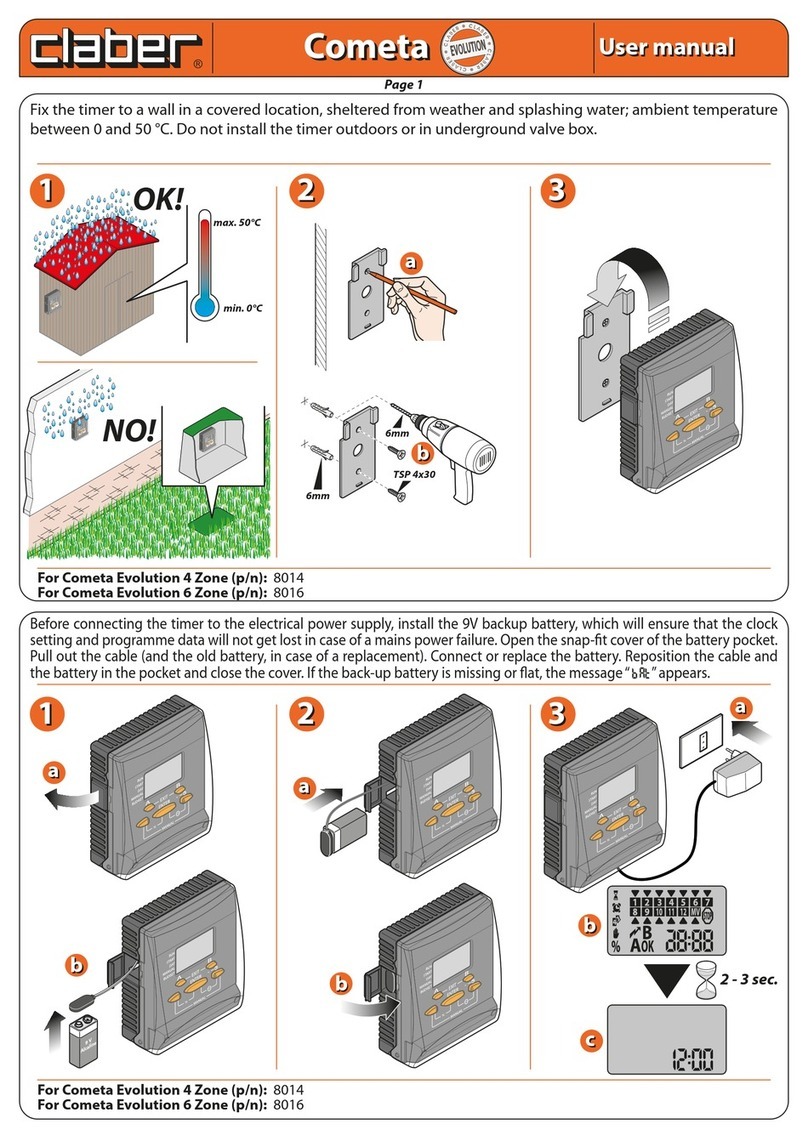
claber Cometa User manual
claber
claber AQUADUE DUPLO EVOLUTION User manual

claber
claber AQUAUNO VIDEO-6 PLUS User manual
claber
claber Aquauno LOGICA User manual
claber
claber AQUAUNO VIDEO-2 User manual
claber
claber 8410 User manual
Popular Timer manuals by other brands
pascom
pascom DPT-9602 Operation manual
Kanlux
Kanlux STER TS-MF1 manual
Tork
Tork EW101B Programming instructions
TJERNLUND
TJERNLUND 950-0014 RELAY-TIMER KIT NON-ADJUSTABLE 8504067 REV.... manual
Intermatic
Intermatic PB300E Series Installation, operation & service manual

Robic
Robic SC-888 instruction manual
