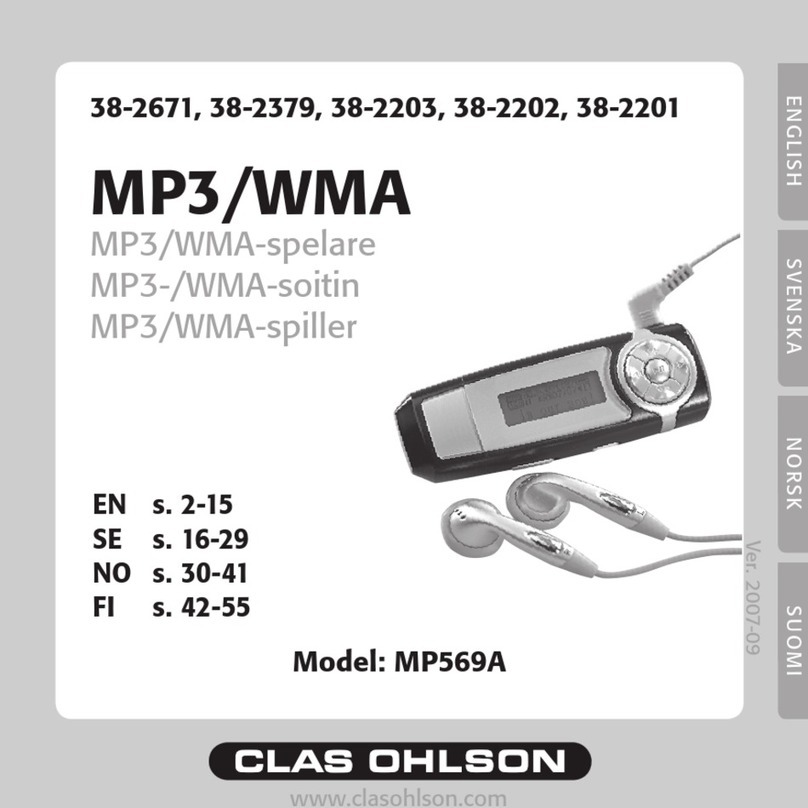
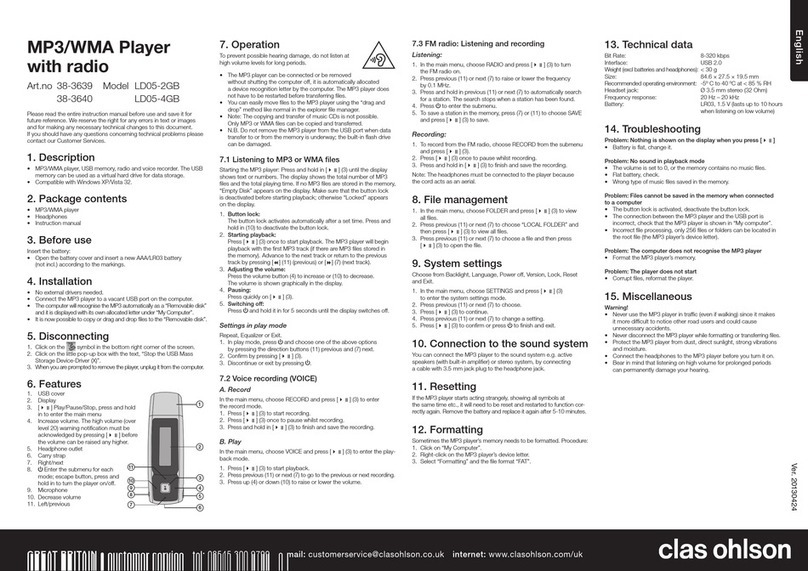
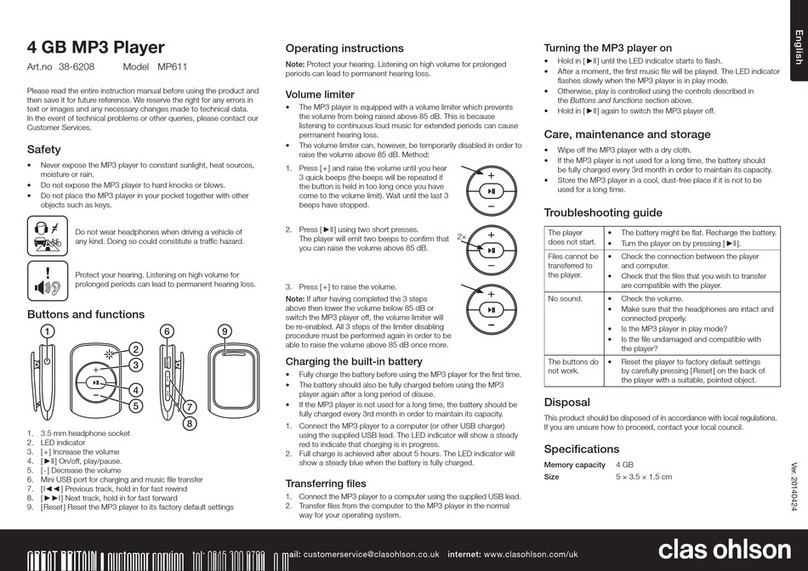
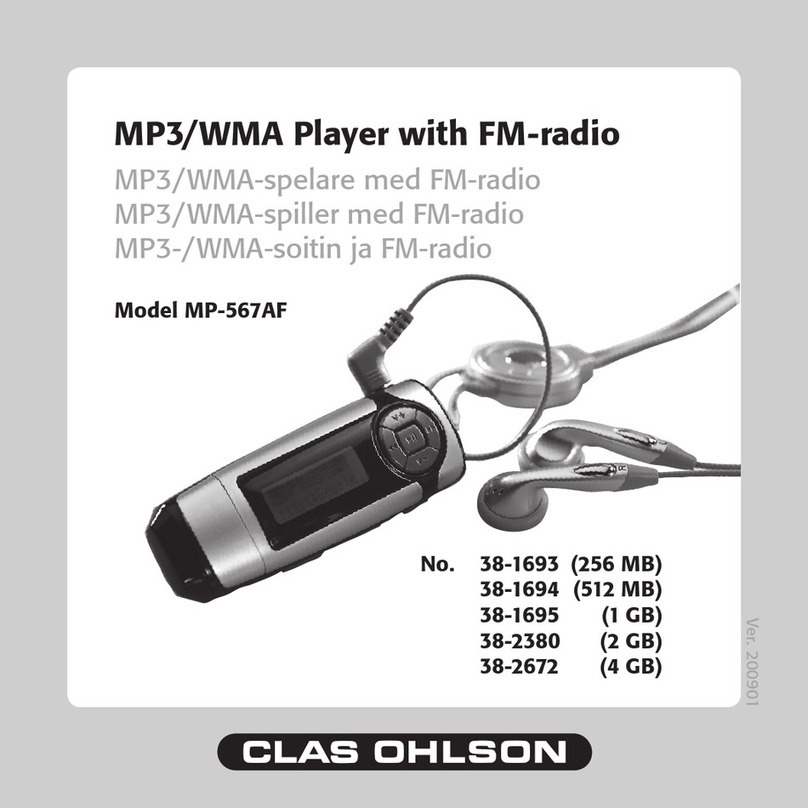
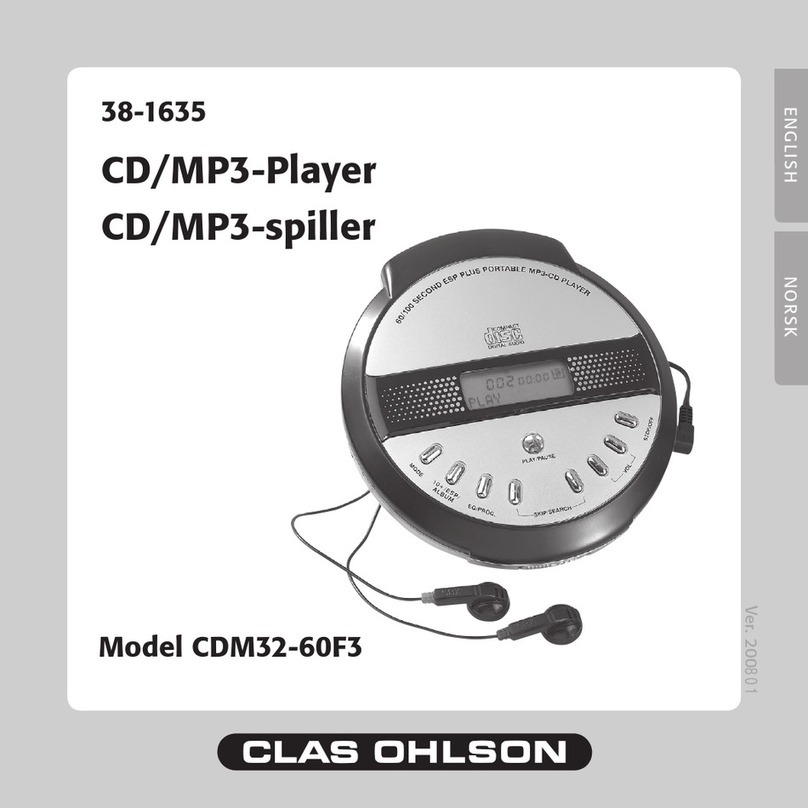
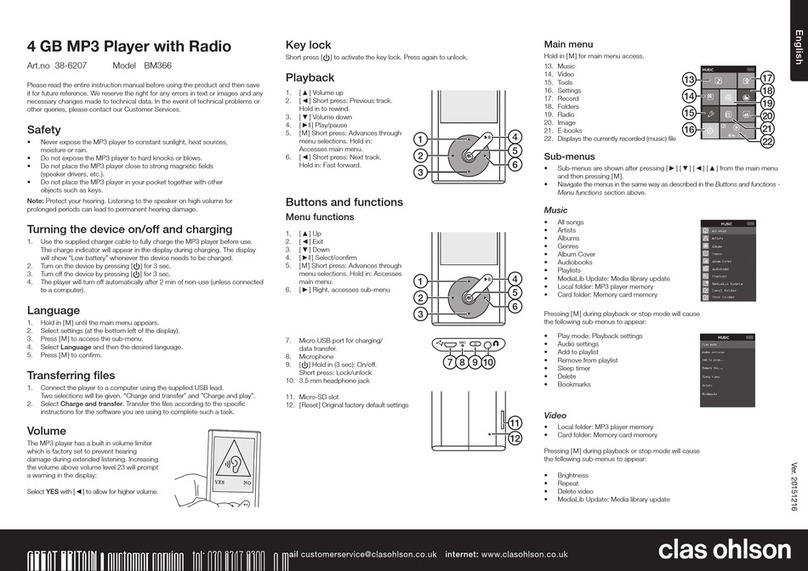
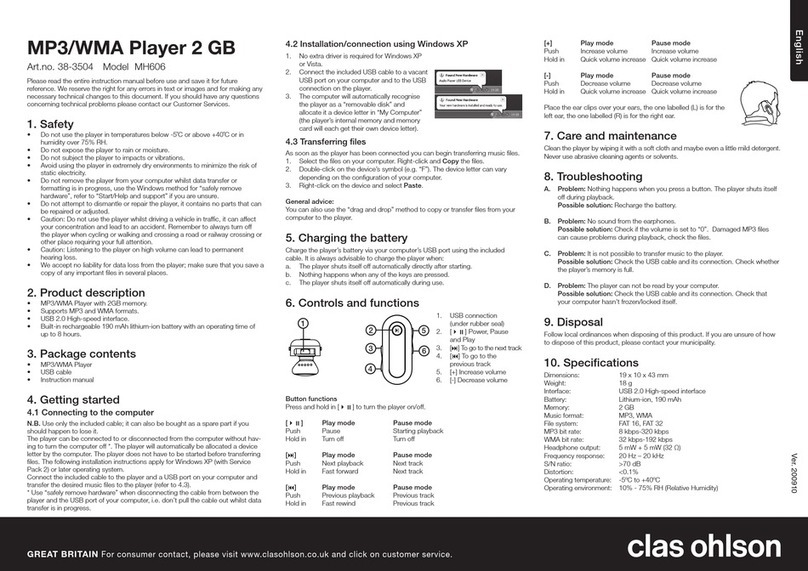
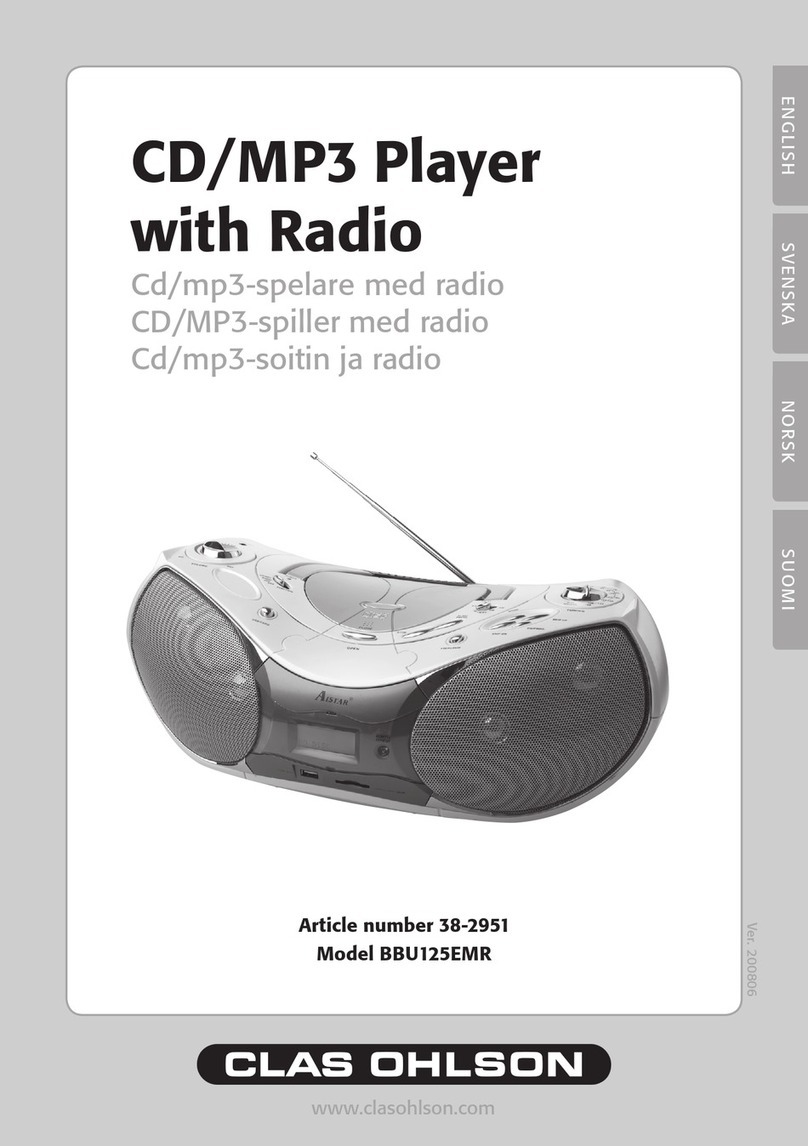
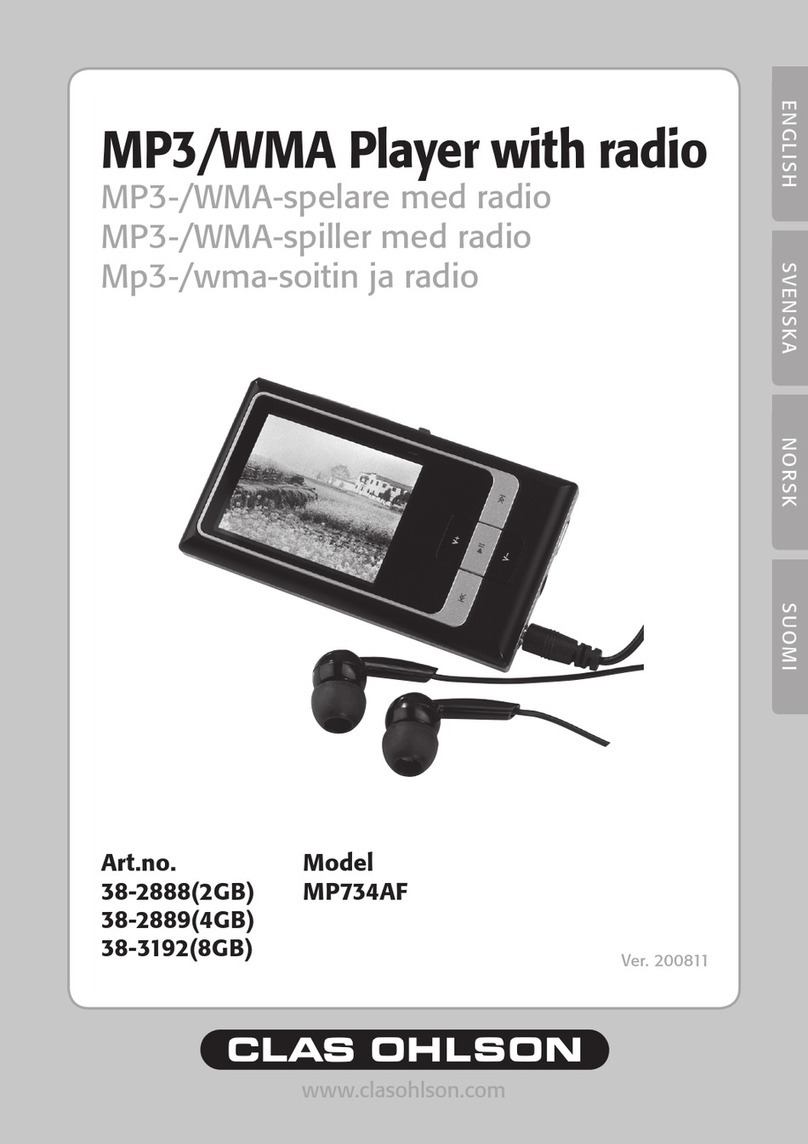
Clas Ohlson MP714AF User manual

SUOMINORSKSVENSKAENGLISH
MP3/WMA Player with radio
Art.no. Model
38-2907 (1GB) MP714AF
38-2911 (2GB)
38-3191 (4GB)


ENGLISH
MP3/MWA Player with radio
Please read the entire instruction manual before using the product and save it for future reference.
We apologise for any text or photographic errors and any changes of technical data. If you have any
questions concerning technical problems please contact our Customer Service Department
(see address on reverse.)
Table of Contents
1. Safety
2. Product Description
. Buttons and Functions 4
4. Getting Started 5
5. Basic Operation 7
6. Operating Instructions 8
7. Converting Video to Other Formats 14
8. Care and Maintenance 15
9. Troubleshooting 15
10. Disposal 15
11. Specications 16
1. Safety
- Long exposure of high volume from headphones can damage your hearing.
- Never expose the player to direct sunlight, sources of heat, moisture or rain.
- Never expose the player to knocks or blows.
- Never place the player beside magnets such as loudspeakers.
2. Product Description
2.1 System requirements
- Pentium 200 MHz or greater
- Windows 98SE/2000/ME/XP/VISTA
- 120 MB of available hard disk space
- USB port
- CD reader

4
ENGLISH
3. Buttons and Functions
1. Headphone socket (.5 mm stereo)
2. USBconnection.
3. A-B/REC – Repeat/Record
4. [ /] – Turn the player on and off/Stop playback/Open sub-menus/Return to previous menu
5. RESET – Push to reset
6. Colourdisplay (1.44˝, 65 K CSTN, 128x128)
7. [] – Right/Next/Quick search forward
8. [M]– Menu/Play/Pause/Conrm
9. [+]– Volume up
10. [] – Left/Previous/Quick search forward
11. [–] – Volume down
12. MicroSD – Memory card slot (microSD)
13. HOLD – Button lock
14. MIC – Built-in microphone

5
ENGLISH
4. Getting Started
4.1 Connecting to the computer
The player can be connected or disconnected from the computer without having to turn the computer
off. The player will automatically be allocated a device letter by the computer.
The MP player does not have to be restarted before transferring les.
The following installation instructions apply for Windows XP with Service Pack 2 installed.
4.1.1InstallationusingWindowsXP
1. No extra driver is required for Windows XP (if your computer is running Win98SE, you must install
the driver provided on the CD before connecting the player to your computer).
2. Connect the supplied USB cable to a vacant USB port on the computer and then to the player’s
USB port (2).
. The computer will automatically recognise the player as “Removable Storage Device” and allo-
cates it its own device symbol/letter in “My Computer” (the player’s memory and the memory card
will each receive their own device letter).
4.1.2Transferringles
When a connection has been made pictures, music and videos can be transferred to the player.
1. Select the les on your computer. Right-click and Copythe les.
2. Double-click on the device’s symbol (e.g. “F”). The device symbol allocated to your computer may
vary depending on the conguration of your computer.
. Right-click on the player and select Paste.
Tip!
- You can also use the “drag and drop” method to copy or transfer les between your computer
and the player.
Sortingles
- The player automatically sorts les after the last character in the le name (up to 15 characters)
and plays les in normal this order unless another order has been chosen (random).

6
ENGLISH
4.1.3Disconnectingtheplayer
1. Double click on SafelyRemoveHardware on the task bar.
2. Highlight USBMassStorage
Unit and then click on Stop.
. Highlight AudioPlayerUSB
Device and click OK.
4. The player can now be safely removed from
the USB port.
N.B: Do not remove the player from the USB port when data is being transferred to or from the
memory. The built-in ash memory could become damaged.

7
ENGLISH
4.2 Charging the battery
The player has a built-in rechargeable battery. The status of the battery is indicated by the battery
symbol in the upper right-hand corner of the display. When the symbol appears empty it is time
to recharge the battery. A USB charger cable is provided for recharging the battery.
1. Connect the USB cable to a vacant USB port on your computer and then to the USB port on
the player.
2. When the battery symbol appears full the battery is fully charged.
Important:
- Charge the battery fully before using it for the rst time.
- Charge the battery as soon as the “Low Battery” message is displayed.
- Release the USB cable when the battery is fully charged. Overcharging the battery will shorten
its life.
- The battery can discharge if the player is not used for a long time (more than months). To avoid
the battery becoming discharged it should be fully charged every second or third month.
4.3 Using a microSD memory card
For a more accessible type of memory storage a microSD memory card (up to 4 GB) can be
connected to the player.
1. Open the ap (12) at the bottom of the device.
2. Insert the memory card with the label facing upwards and the arrow pointing inwards. Carefully
push the memory card into the slot until it clicks into place.
- To remove the card, carefully apply pressure to the edge of the card until it clicks, the card will
then spring out.
- Make sure that you selected SD/TF memorycard as the active memory in the Setup>Storage
menu.
Important:
- Do not remove the card when data is being transferred between the computer and the device.
- Do not remove the card during playback.
5. Basic Operation
5.1 Turning the player on and off
Toturnon – Push and hold [ /] for two seconds.
Toturnoff – Push and hold [ /] for two seconds.
5.2 Adjusting the volume
Press [+] to increase, and [-] to decrease the volume.
5.3 Preparations
- Download les to the player as described in section 4.1.2 Transferring files.
- Make sure that the battery is charged and that your earphones are plugged into one of the jacks.
- If the player is turned off, press and hold [ /] to turn it on.
5.4 Key lock
The key lock prevents unwanted key activity.
- Move the HOLD switch (1) in the direction of the arrow to activate the key lock.
- Move the switch back to deactivate the key lock.

8
ENGLISH
6. Operating Instructions
Key to the main menu selection:
1. Press and hold [M] to enter the main menu from another application.
2. Use [] and [] to browse the menu.
. Press [M] to conrm and select the highlighted function.
4. Use the [ /] button to search backwards in the menu.
1. Music Music playback
2. Picture Picture viewer
3. Movie Video playback
4. Voice Playback of recorded les
5. FMRadio Listening to and recording from the radio
6. Mic.Record Recording via the built-in microphone
7. E-Book Text le reader
8. Setup Changes the basic settings
9. Delete Deletes les and folders
6.1 Music
6.1.1DisplayKey
1. Battery Indicator
2. Music indicator
. Repeat mode
4. Key locked indicator
5. Memory card connected and activated
6. Volume level
7. File format
8. Play/Pause/Stop/Fast forward/rewind
9. Equalizer
10. Current track / total number of tracks
11. Selected sound setting
12. Bit rate/ Sampling frequency
1. Elapsed time
14. Total time
15. Current track information (le name/ID tag)
6.1.2Listeningtomusic
1. Select Music from the main menu and conrm by pressing [M].
2. Use [] and [] to select desired track. Press [M] to conrm and
begin playback.
- Use []and[]to change track forwards or backwards.
- Press and hold []and[]fast forward or rewind.
- Press [M] to pause play, press it once more to continue playback.

9
ENGLISH
6.1.3A-BFunction
- Press the [A-B REC] button once during playback to mark the start of the section to be repeated.
will appear on the display.
- Press [A-B/REC]once more to mark the end of the section. will appear on the display and
the music between the two marks will be played.
- Press [A-B/REC]once more to resume normal playback.
NB: This function can only be used within the same track.
6.1.4Usingthemusicmenu
- In music mode, press [ /]once to enter the music sub-menu. Press [ /]again to exit
the sub-menu.
- Use [] and [] to make a selection, press [M] conrm.
- Select an alternative and press [M] to conrm and exit.
Video Menu Key
- Repeat – Repeats a track, all tracks or a folder. Random playback
- Equalizer – Select from 6 pre-programmed equalizer settings (Normal, Pop,
Rock, Classic, Jazz, Bass) or congure your own mode (Custom EQ).
Conguring your own equalizer setting:
1. Select Custom and conrm using [M].
2. Use [] and [] to highlight the bar (frequency range) you wish to
change.
. Change the setting value using [+] and [-].
4. Continue in the same way with the other bars.
5. Press [M] to save your settings. Press [ /] to exit the menu.
- 3D – Gives the sound more “depth”.
- Playrate – Changes the rate of play.
- File – Navigate through the music les stored in the memory/ on the memory card. Select a le for
playback and press [M] to play the selected le.
6.2 Picture Viewer (Photo)
The picture viewer supports playback of pictures in formats of JPG or BMP.
6.2.1Viewing
1. Select Photo from the main menu and conrm by pressing [M].
2. Use [] and [] to select viewing mode. Press [M] to conrm.
- Manual – Manual picture viewing. Use [] and [] to select previous
or next picture.
- SlideShow – Shows all pictures as a slide show. The slide show starts
automatically.
- Thumbnail – Miniatures. Select picture using [] and []. Press [M]
to view the chosen picture.
. Press [ /] to return to the previous menu.
N.B: The pictures must be in either JPG or BMP format.
10
ENGLISH
6.3 Video (Movie)
The built-in video player can play videos in MTV format. Videos can be converted
to MTV format using the converter programme on the accompanying CD-ROM.
See section 7. Converting video files.
6.3.1Watchingavideo
1. Select Movie from the main menu and conrm by pressing [M].
2. Use [] and [] to select which video you wish to play. Press [M] to
start playback.
- Use [] and [] to select another video le.
- Press and hold []and[]fast forward or rewind.
- Press [M] to pause play, press it once more to continue playback.
6.3.2Repeat
1. In video mode, press [ /]to enter the sub-menu, press [ /]once
more to exit the picture menu.
2. Repeat is selected. Press [M].
. Use [] and [] to make a selection, press [M] conrm.
- Normal – Normal playback, the lm clips are shown in the normal order.
- RepeatOne – One of the lm clips is repeated
- RepeatAll – All of the lm clips are repeated
- Random&Repeat – All of the lm clips are shown and repeated in
random order
4. Press [ /] to go back.
6.4 Listening to recordings (Voice)
Listen to les recorded from the radio or via the built-in microphone.
6.4.1Listeningtomusic
1. Select Voice from the main menu and conrm by pressing [M].
2. Use [] and [] to select which recording you wish to play. Press [M]
to start playback.
- Use [] and [] to select another recording.
- Press and hold []and[]fast forward or rewind.
- Press [M] to pause play, press it once more to continue playback.
6.5 Radio (FM)
6.5.1Listeningtotheradio
1. Select FM from the main menu and conrm by pressing [M].
2. The rst time you use the radio or after resetting, the radio automatically
searches for all radio stations with the strongest reception and saves the rst
20 in the memory.
. The rst of the stored stations will start to be played as soon as the search
has nished.

11
ENGLISH
6.5.2DisplayKey
1. Battery Indicator
2. Radio indicator
. Key locked indicator
4. Volume level
5. Current playing preset channel
6. FM region indicator
7. MONO or STEREO indicator
8. Automatic channel search
9. Current playing frequency
6.5.3Manualchannelsearching
- Use [] and [] to select manual channel searching.
6.5.4Automaticchannelsearching
- Press and hold [] or [] to automatically search for a channel with a strong signal.
6.5.5SelectingFMregion
The correct frequency range/band needs to be chosen for your region.
US(USA) (87.5-108.0 MHz)
EUROPE (Europe) (87.5-108.0 MHz)
JAPAN (Japan) (76.0-90.0 MHz)
1. Press [ /] to open the radio sub-menu.
2. Use [] and [] to make a BAND selection, press [M] to conrm.
. Use [] and [] to select region (US, EUROPE or JAPAN). Conrm using [M].
4. Press [ /] to exit the radio menu.
6.5.6Manualsearchingandsettingofpresetchannels
1. Press [ /] to open the radio sub-menu.
2. Use [] and [] to select AutoScan, press [M] to start the search. The
radio automatically searches for the channels with the strongest reception
and saves the rst 20 in the preset channel memory. When the searching
has nished the radio automatically plays the rst channel found.
. Use [M] and [A-B/REC] to search the preset channels (CH01-CH20).
6.5.7FMrecording
Radio transmissions can be recorded and and saved in WAV format. The stored
WAV les can be listened to in the Voice mode (see section 6.4).
1. Whilst listening to the radio, start recording by pushing and holding in
[A-B/REC] until recording starts (● will appear in the display).
2. Press [M] to temporarily stop (pause) the recording. Click again to resume
the recording.
. Pressing [ /] again will stop the recording. The recorded les are saved
as WAV les (format: FM000001.WAV, FM000002.WAV etc.) in the FM
folder of the device’s internal memory.
Note:
- Recording stops automatically when the memory is full or when the battery reaches a critical level.
Data which is already recorded will be stored automatically.
- The volume is not adjustable during recording.

12
ENGLISH
Press [M]
6.6 Recording using the microphone Record
6.6.1Recordingusingthebuilt-inmicrophone
In Voice mode you can record onto the memory using the built-in microphone or
play previously recorded les.
1. Select Mic.Record from the main menu and conrm by pressing [M].
2. The recording menu opens and recording starts automatically (• appears in
the display).
. Press [M] to temporarily stop (pause) the recording. Click again to resume
the recording.
4. Pressing [ /] again will stop the recording. The recorded le is saved in
the format.WAV (MIC00001.WAV, MIC00002.WAV etc.).
5. The player automatically reverts to Voicemode for recording. Press [M] to
play recordings. See section 6.4.
Note:
- Recording stops automatically when the memory is full or when the battery reaches a critical level.
Data which is already recorded will be stored automatically.
6.7 E-Book
The device supports the playback of les in TXT format. Other formats must be
saved as TXT format before transfer to the device.
1. Select E-Book from the main menu and conrm by pressing [M].
2. A list of the available text les will be displayed. Use [] and [] to select
desired folder or le. Press [M] to open the folder or view the le.
Changingpages
- [] – previous page
- [] – next page
Automaticpageturner
- Press [M]to activate the automatic page turner. The player automatically turns the page after a
set time. Press [M] once more to turn the automatic page turner off.
Note:
- If stopped the player will remember the last page and open this page next time the e-book viewer
is started.
6.8 Settings
1. Select Settings from the main menu and conrm by pressing [M].
2. Select the desired setting using [] and [], conrm using [M].
6.8.1Languagesettings
Changes the desired menu language.
6.8.2PlayMode(playback)
- Normal – Normal playback, the lm clips are shown in the normal order
- RepeatOne – One of the lm clips is repeated
- RepeatAll – All of the lm clips are repeated
- Random&Repeat – All of the lm clips are shown and repeated in random order

1
ENGLISH
6.8.3RecordSettings(qualitysettings)
Select the quality of the recording. Higher sampling frequency results in higher
quality, but shorter recording time.
6.8.4Contrast
Sets the contrast of the display.
- Use [] and [] to adjust the contrast, press [M] to conrm.
6.8.5Timeroff(automaticshutoff)
Changes the automatic shut off time.
- StopOff – Changes the auto shut-off setting. If no button is pressed the
device shuts off automatically after the set time. 15 seconds to 0 minutes
or Disabled (deactivated).
- SleepOff – Shuts the player off after a set time (sleep mode).
- Backlight – Sets the length of time the backlight illuminates. The backlight
goes off after the set time if no button is pressed.
NB: The backlight is continuously on in picture, video and e-book mode.
6.8.6Storage(memory)
- Internal – Use the device’s internal memory.
- SD/TFCard – Use the SD memory card (not included).
NB: Make sure that the SD memory card is connected before
selecting the alternative SDCard.
6.8.7Reset
Restores the player to the factory default settings.
- Select Yes to reset. Conrm using [M].
6.9 Delete (Erase)
The le manager allows you to organise all the les in the memory (see section
6.8.6Settings>Storage).
6.9.1Deletingale
1. Select Delete from the main menu and conrm using [M], a list of the
available folders and les will be shown.
2. Use [] and [] to select desired folder or le. Open a sub-folder by
pressing [M].
. Press [ /] to delete the highlighted le or folder. Select Yes and press
[ /]0 to conrm.
- Press and hold [M] to exit and return to the main menu.
6.10 About (Memory information)
Displays information about the software and used/unused memory.
N.B: The display only shows information about a memory card if the memory
card is connected.

14
ENGLISH
7. Converting Video to Other Formats
The built-in video player can play videos in MTV format. Other formats, such as .mpg, .rm, .rmvb and
.wmv can be converted using the supplied CD.
7.1 Running the Video Converter
1. Insert the supplied CD into the computer’s CD-ROM drive.
2. Run the le VideoConvert(.exe) in the MTVVideoConverterfolder on the CD.
7.2 Converting a Video Clip
1. Start the MTVVideoConverter program as
instructed above.
2. Click on InputVideo.
. Select the video clip you wish to convert to
MTV format.
4. Select the desired settings for the converted le:
a. VideoOutput (Destination) – Chooses where the
converted le is to be saved. Click on the folder to
the right of the search window to choose another
destination.
b. OutputFrameSize– Sets the size of the picture.
(Video player uses 128 x 128 resolution.)
c. OutputFrameRate– Sets the rate at which the
pictures are displayed.
5. Click on StartConversion to start the conversion.
6. Click on OK when the “End of Conversion” message
appears. The converted le can now be transferred to
the player, see section 4.1.2 Transferring files.

15
ENGLISH
8. Troubleshooting
Theplayerdoesnotstart
- Recharge the battery.
Filescannotbedownloadedtotheplayer
- Check the connection between the player and computer.
- Make sure that the HOLD button is not activated. This protects the memory from being overwritten.
Nosoundfromtheearphones
- Check the volume and that the earphones are connected correctly.
- Check that the music le format is supported by the player.
Recordingscannotbemade
- Make sure that there is enough available memory.
Thetextshownonthedisplayisabnormal
- Make sure that you have selected the correct language.
- Reset the player by pushing in the RESET button using a pencil or the end of a paper clip.
Thebuttonsdonotwork
- The key lock may be activated.
- Reset the player by pushing in the RESET button using a pencil or the end of a paper clip.
Poorradioreception
- Check that the earphones are connected correctly. The earphone cable serves as an aerial.
- Adjust the position of the player and earphones. Move to another location where the radio
reception is better.
- Electrical devices in the vicinity of the player might interfere with the reception. Turn off possible
sources of interference or move to another location.
9. Care and Maintenance
Use a soft damp cloth to wipe the product. Do not use cleaning solutions or solvents.
10. Disposal
Follow local ordinances when disposing of this product. If you are unsure about the disposal of this
product contact your municipality.

16
ENGLISH
11. Specications
Display 1.44˝, 65k CSTN
Resolution 128x128
Music format MP, WMA
Picture format JPG/BMP
Video format MTV
MP bit rate 8 – 20 kbps
WMA bit rate 5 – 20 kbps
Recorded format WAV
Signal to noise ratio > 56.22 dB (0 K lter)
Dynamic range > 80 dB
Distortion < 0.02 %
Frequency range 20 Hz ~ 20 kHz
Power supply Built-in rechargeable battery, 50 mAh (up to 10 hours music playback
or 4 hours video)
Power consumption < 4 mA (MP mode, with backlight deactivated)
< 67 mA (video playback)
< 0.2 mA (standby)
Memory 1GB (8-2907)
2GB (8-2911)
4GB (8-191)
Storage climate Normal room temperature, < 90% humidity
Operating climate -10 °C ~ 40 °C, < 85% humidity
Size 74 x 9 x 12.1 mm
Weight Approx. 40 g (without batteries)

17
SVENSKA
MP3-/MWA-spelare med radio
Läs igenom hela bruksanvisningen före användning och spara den sedan för framtida bruk.
Vi reserverar oss för ev. text- och bildfel samt ändringar av tekniska data.
Vid tekniska problem eller andra frågor, kontakta vår kundtjänst (se adressuppgifter på baksidan).
Innehållsförteckning
1. Säkerhet 17
2. Produktbeskrivning 17
. Knappar och funktioner 18
4. Komma igång 19
5. Grundläggande användning 21
6. Användning 22
7. Konvertera videoler 28
8. Skötsel och underhåll 29
9. Felsökning 29
10. Avfallshantering 29
11. Specikationer 0
1. Säkerhet
- Långvarig exponering av hög ljudvolym från hörlurar kan orsaka skador på din hörsel.
- Utsätt aldrig produkten för direkt solljus, värmekällor, fukt eller regn.
- Utsätt aldrig produkten för hårda stötar eller slag.
- Placera aldrig produkten på magneter, t.ex. ett högtalarelement.
2. Produktbeskrivning
2.1 Systemkrav
- Pentium 200 MHz eller högre
- Windows 98SE/2000/ME/XP/VISTA
- Minst 120 Mb ledigt diskutrymme
- Usb-port
- Cd-läsare

18
SVENSKA
3. Knappar och funktioner
1. Hörlursuttag (,5 mm stereo)
2. Usb-anslutning
3. A-B/REC – Repetition/Inspelning
4. [ /] – Slår på och av spelaren/Stoppar uppspelningen/Öppnar undermenyn/
Återgå till föregående meny
5. RESET – Tryck för att återställning
6. Färgdisplay (1,44”, 65 K CSTN, 128x128)
7. [] – Höger/Nästa/Snabbsökning framåt
8. [M]– Meny/Play/Pause/Bekräfta
9. [+]– Volym upp
10. [] – Vänster/Föregående/Snabbsökning bakåt
11. [-] – Volym ner
12. MicroSD – Plats för minneskort (typ microSD)
13. HOLD – Knapplås
14. MIC – Inbyggd mikrofon

19
SVENSKA
4. Komma igång
4.1 Anslutning till dator
Spelaren kan anslutas och tas bort utan att stänga av datorn. Den tilldelas automatiskt en enhetsbok-
stav av datorn. Spelaren behöver inte startas innan löverföring.
Följande installationsanvisning gäller för Windows XP med servicepack 2 installerat.
4.1.1Installation/anslutningunderWindowsXP
1. Inga extra drivrutiner behövs till Windows XP (för Win98SE nns drivrutiner på medföljande cd-skiva).
2. Anslut medföljande usb-kabel till en ledig usb-port på datorn och sedan till usb-anslutningen (2)
på spelaren.
. Datorn detekterar automatiskt spelaren som en ”Flyttbar disk” och visas med egna enhetsbok-
stäver i ”Min Dator” (spelarens interna minne och minneskortet tilldelas varsin enhetsbokstav).
4.1.2Överföringavler
När en anslutning gjorts kan bild-, musik- och videoler överföras till spelaren.
1. Markera önskade ler som nns på datorns hårddisk. Högerklicka och välj Kopiera.
2. Dubbelklicka på ikonen för spelaren (t.ex. ”F”). Enhetsbeteckningen kan skilja beroende på
datorns kongurering.
. Högerklicka i fältet med enhetens ler och välj Klistrain.
Tips!
- Du kan även använda ”drag och släpp” –funktionen för att kopiera eller ytta ler mellan dator
och spelaren.
Sorteringavler
- Spelaren kan sortera lerna ner till det sista tecknet i lens namn (upp till 15 tecken), och spelar
upp lerna i denna ordning om ingen annan spelordning valts (slumpmässig uppspelning).

20
SVENSKA
4.1.3Kopplaifrånspelaren
1. Dubbelklicka på ikonen Säkerborttagningavmaskinvara i statusfältet.
2. Markera USB-masslagrings-
enhet och klicka sedan på
Stoppa.
. Markera AudioPlayerUSB
Device och klicka på OK.
4. Spelaren kan nu avlägsnas från usb-porten.
Obs! Ta inte bort spelarens från usb-porten när skrivning pågår till eller från minnet.
Det inbyggda ashminnet kan skadas.
Table of contents
Languages:
Other Clas Ohlson MP3 Player manuals

Clas Ohlson
Clas Ohlson MP-567AF User manual

Clas Ohlson
Clas Ohlson BBU125EMR User manual

Clas Ohlson
Clas Ohlson LD05-2GB User manual

Clas Ohlson
Clas Ohlson MP734AF User manual

Clas Ohlson
Clas Ohlson COBY MP-CD521 User manual

Clas Ohlson
Clas Ohlson MPCD-122 User manual

Clas Ohlson
Clas Ohlson MP611 User manual

Clas Ohlson
Clas Ohlson CDM32 User manual

Clas Ohlson
Clas Ohlson BM366 User manual

Clas Ohlson
Clas Ohlson MH606 User manual